I was asked to build 2 benches for a friend. She just wanted a rough bench and she would finish it herself (sanding, staining, painting, etc…). This is great because I can get a project done quicker since I’m not doing the entire job. I usually draw out a plan and line out the details of what kind of lumber I need, but this time went off the top of my head. Bad idea. Always have a plan or prepare to take longer on completing a project!
First I bought a bunch of lumber, which took a while since I was mapping it out while I was standing in Home Depot.

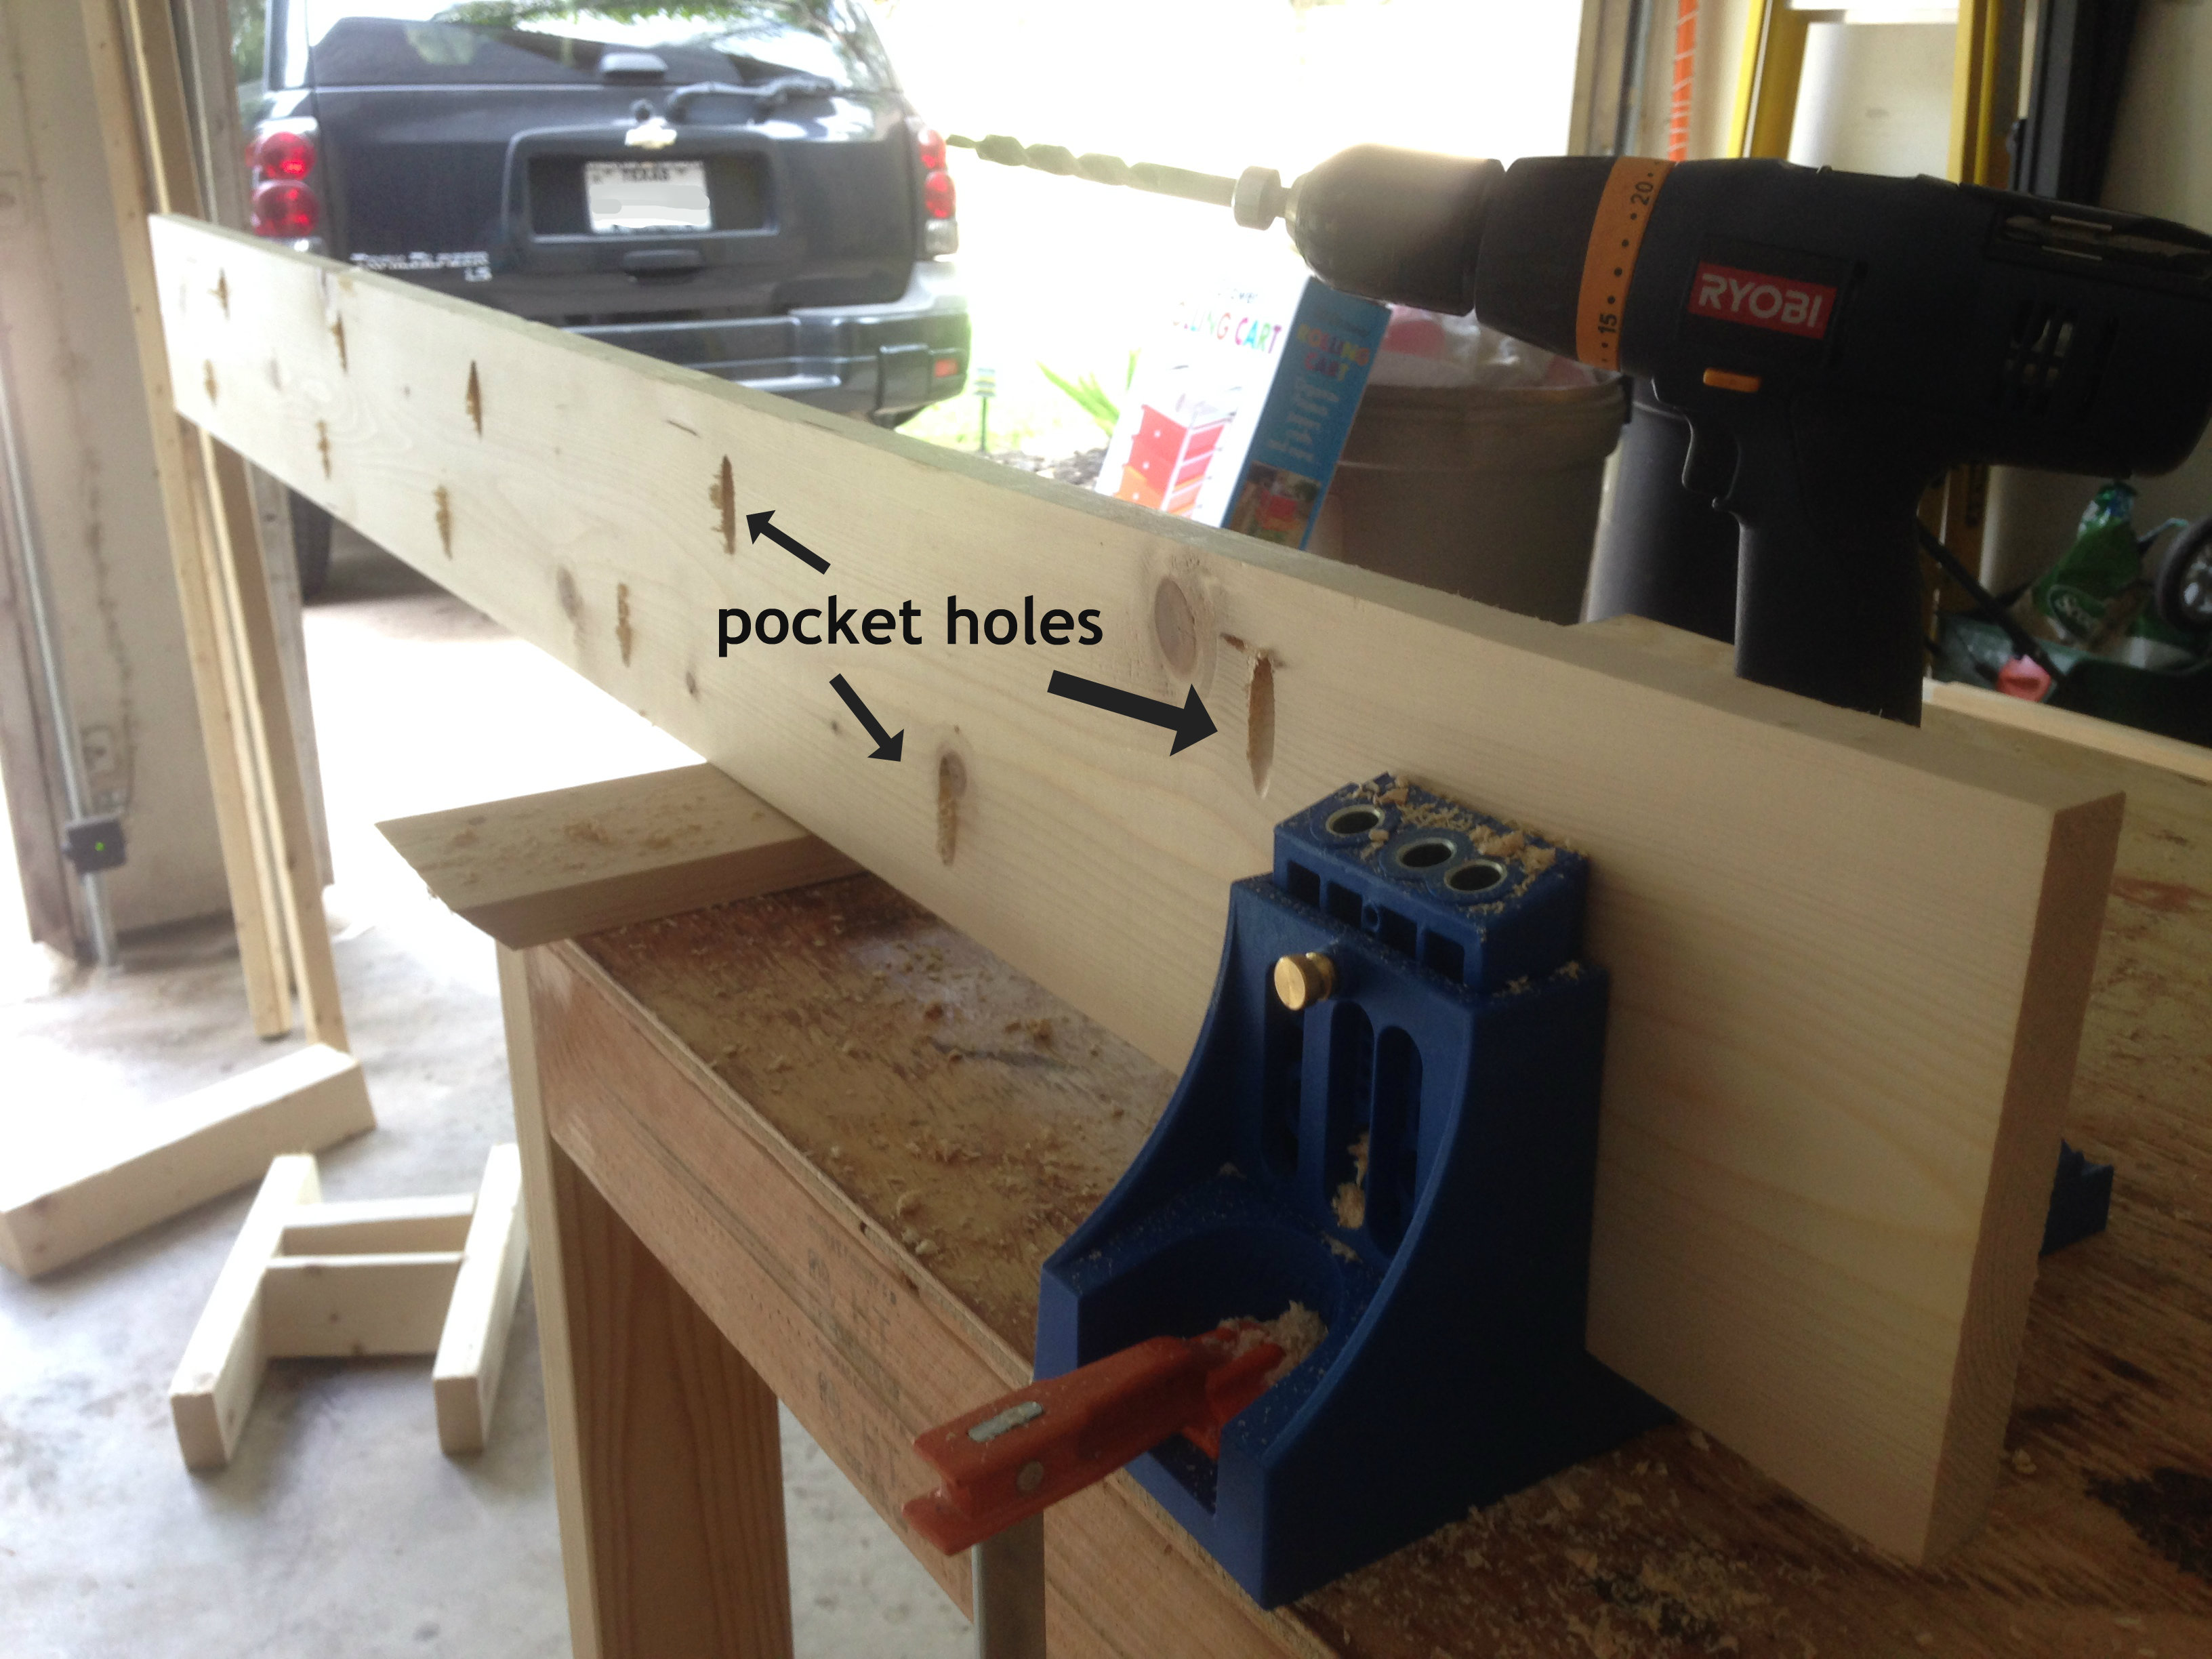
Then I cut everything down to size and I drilled the pocket holes to join the bench top together.
For the legs I wanted to try something different, so I set my miter saw to a 7 degree angle.
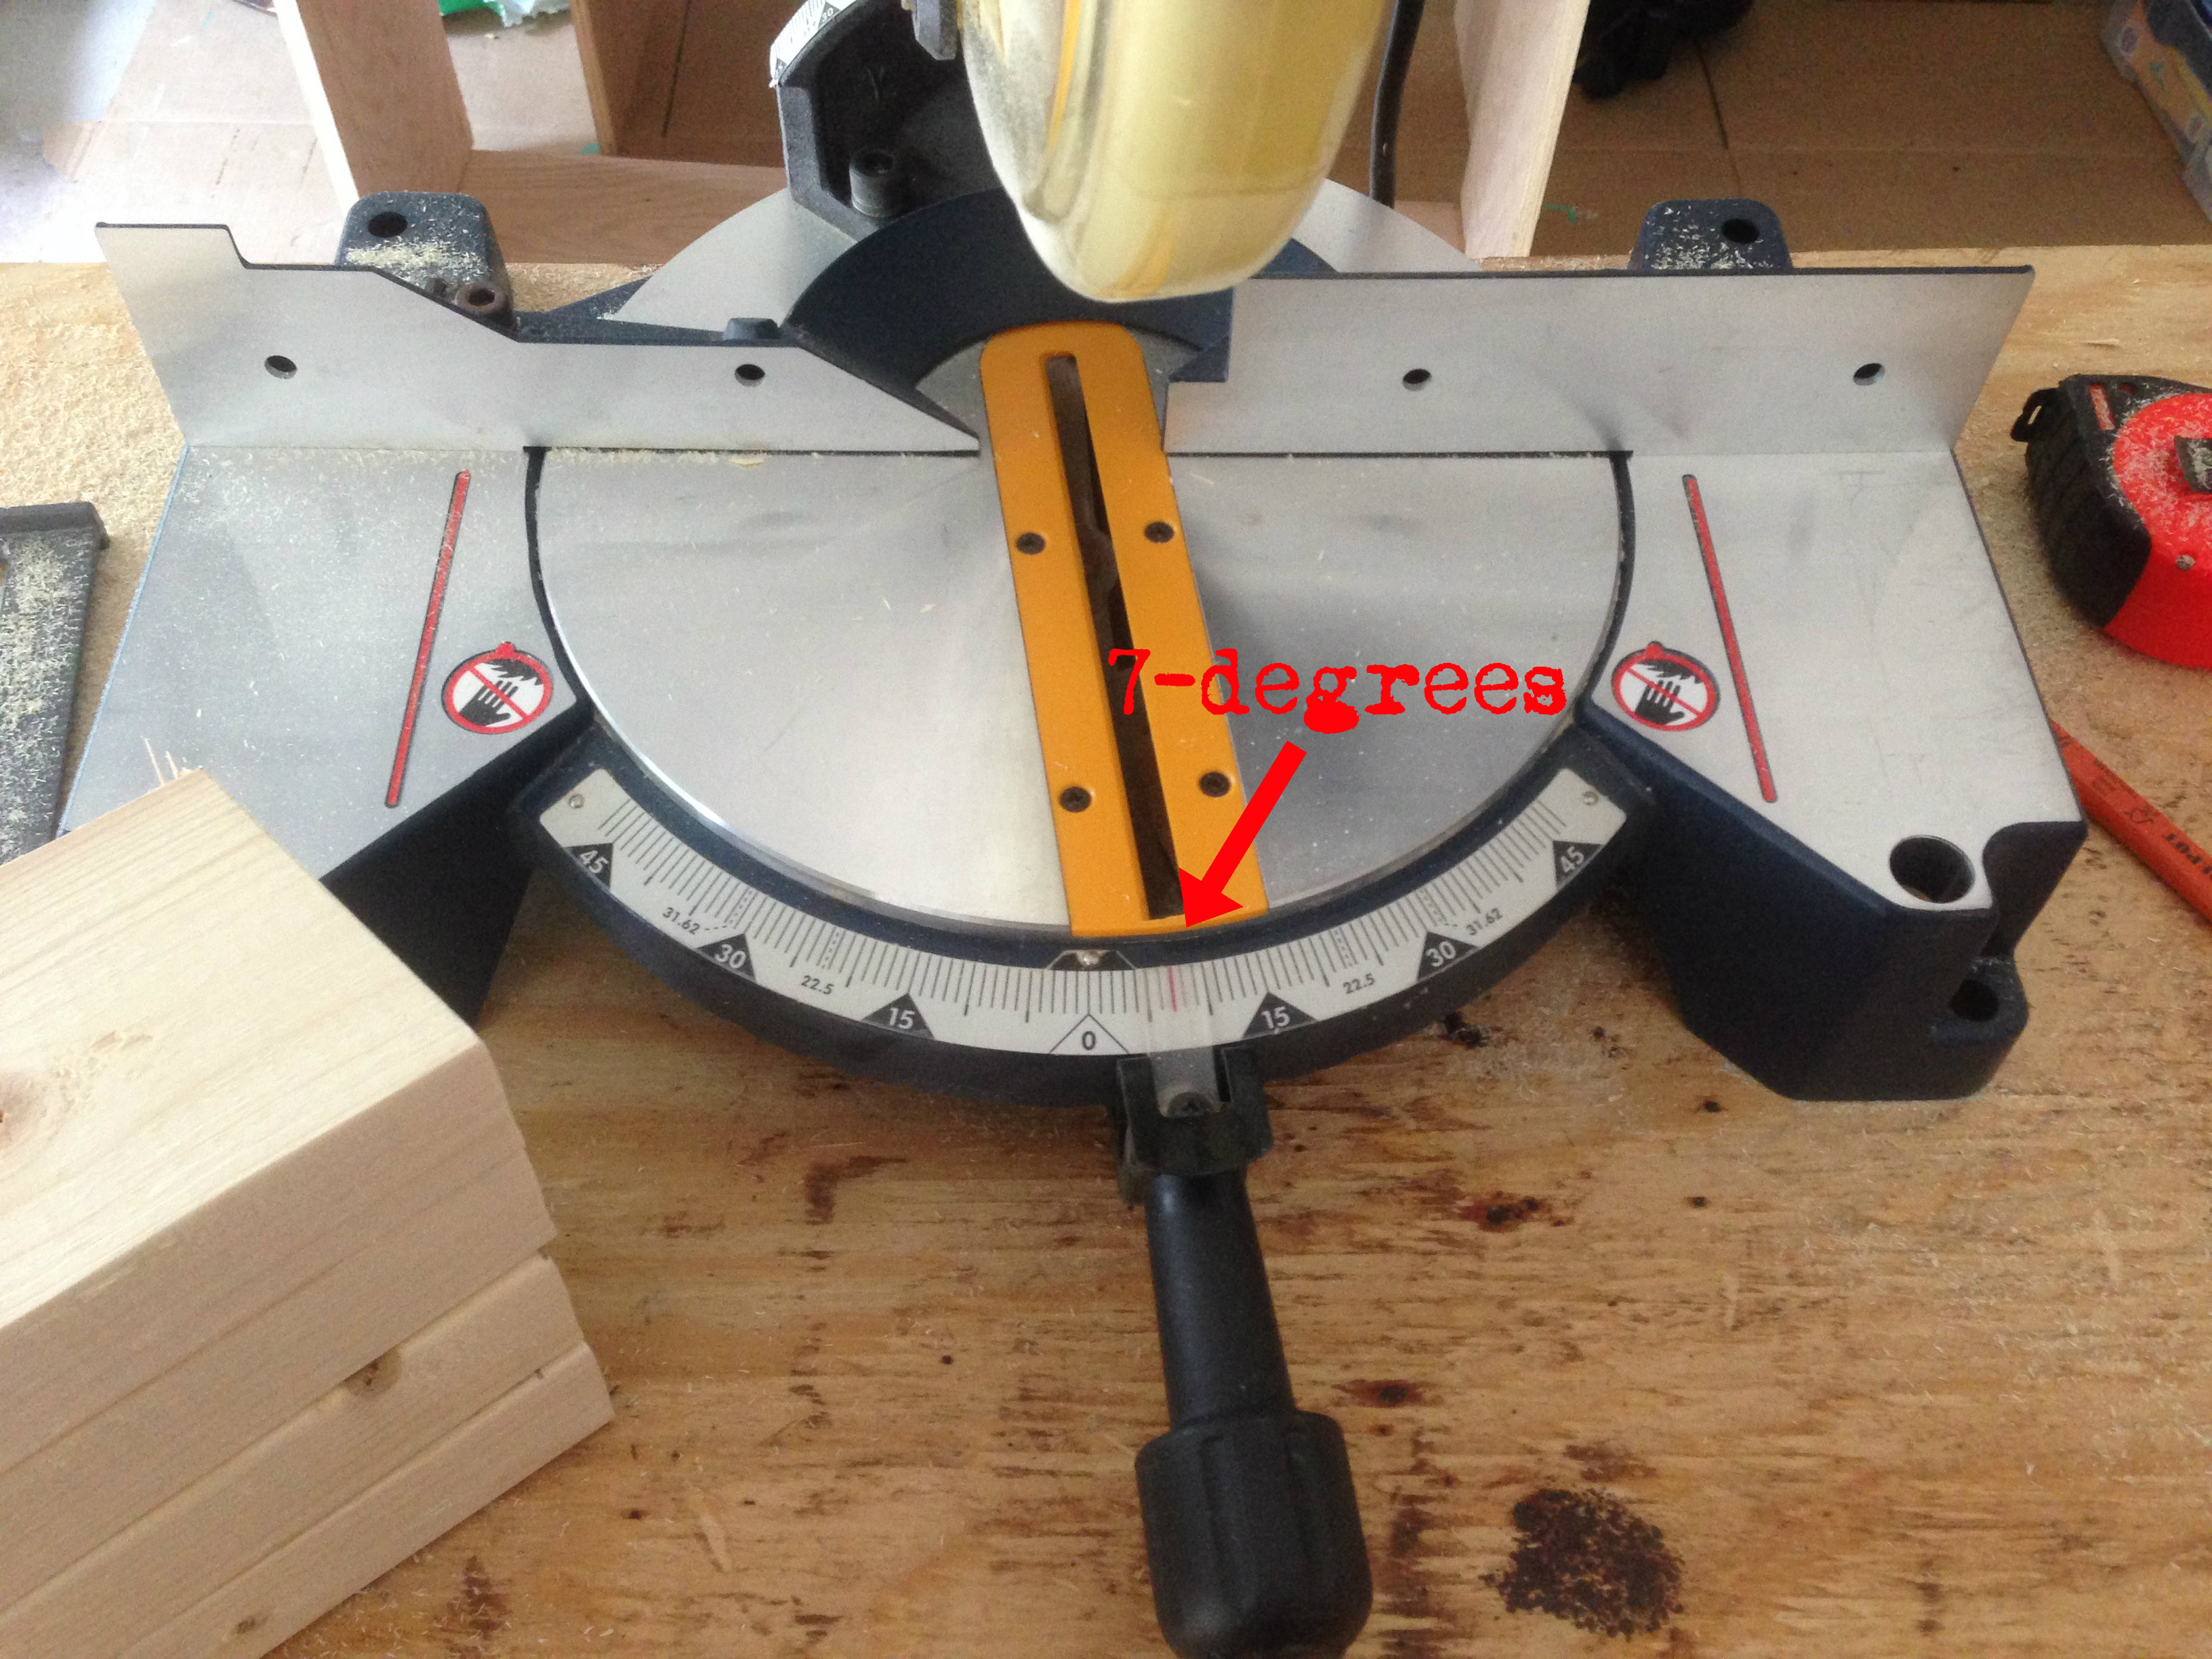
I cut each leg so that it would slant at 7 degrees. I placed a support beam between the 2 legs to keep things strong.

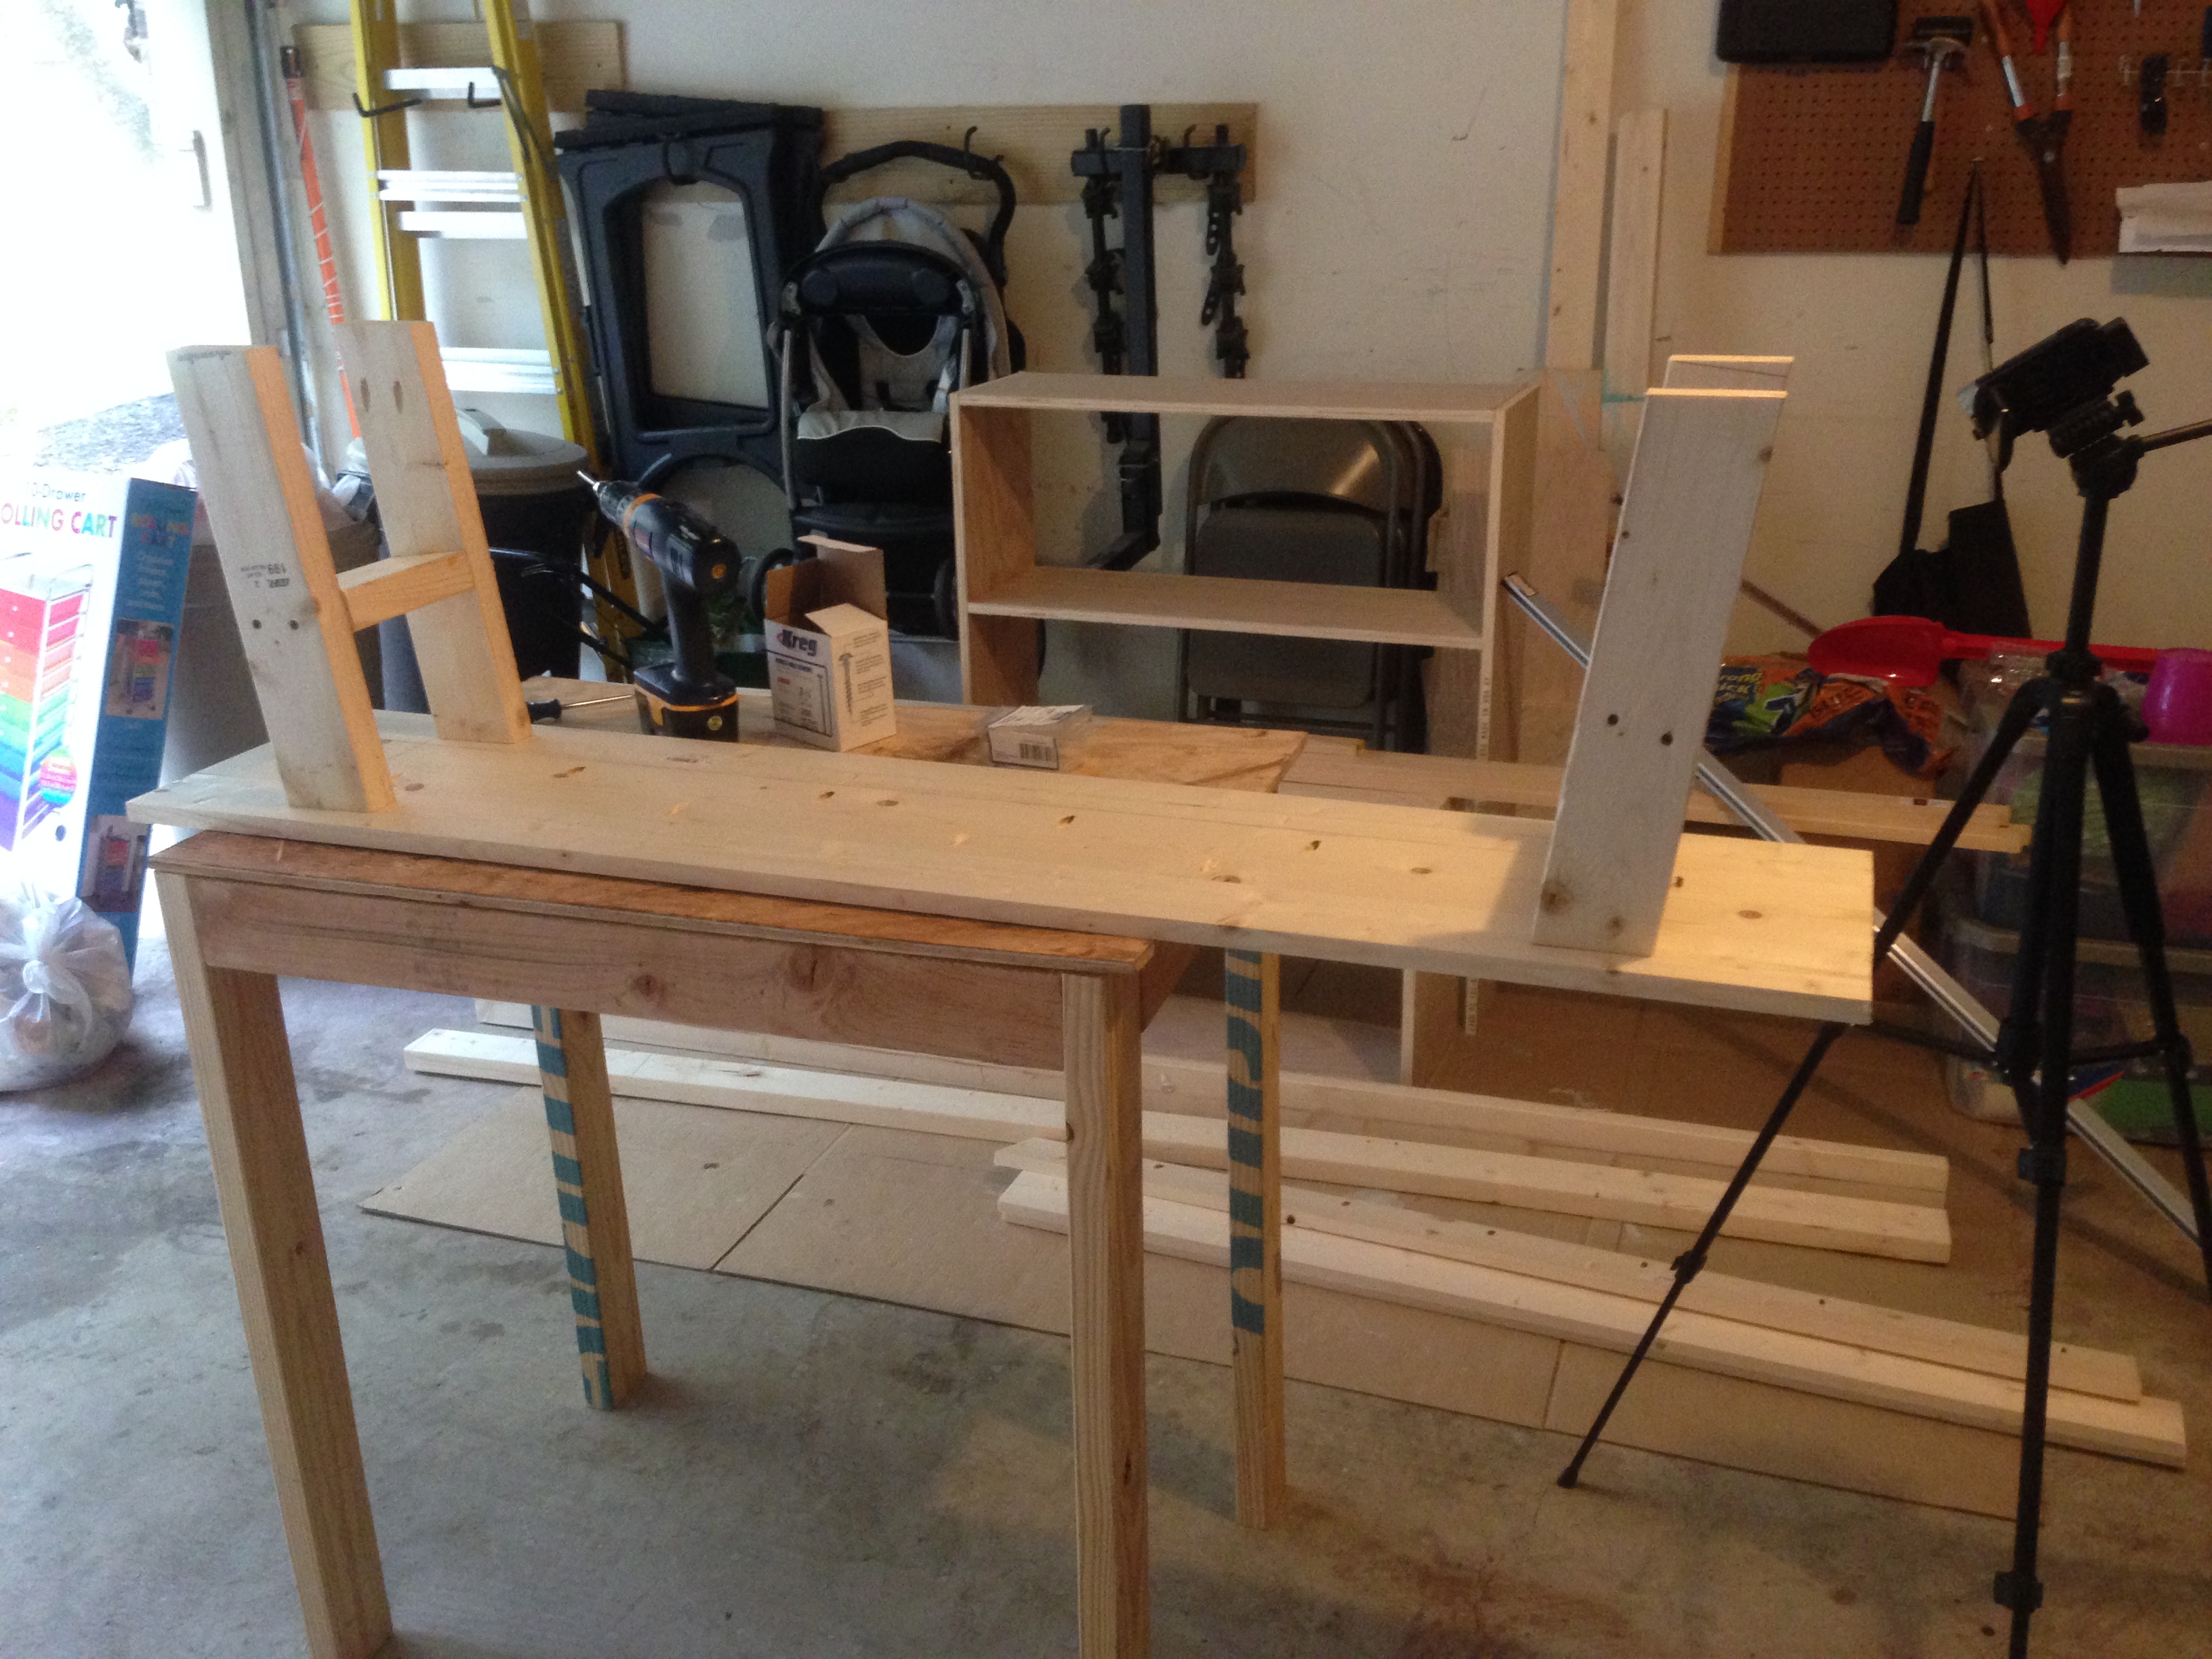
Here’s a mock up of what it was supposed to look like (upside down)
It looked kinda cool, but it was difficult to mount the legs to the bench top, so I scrapped the idea. I salvaged the mitered legs by squaring ’em up again.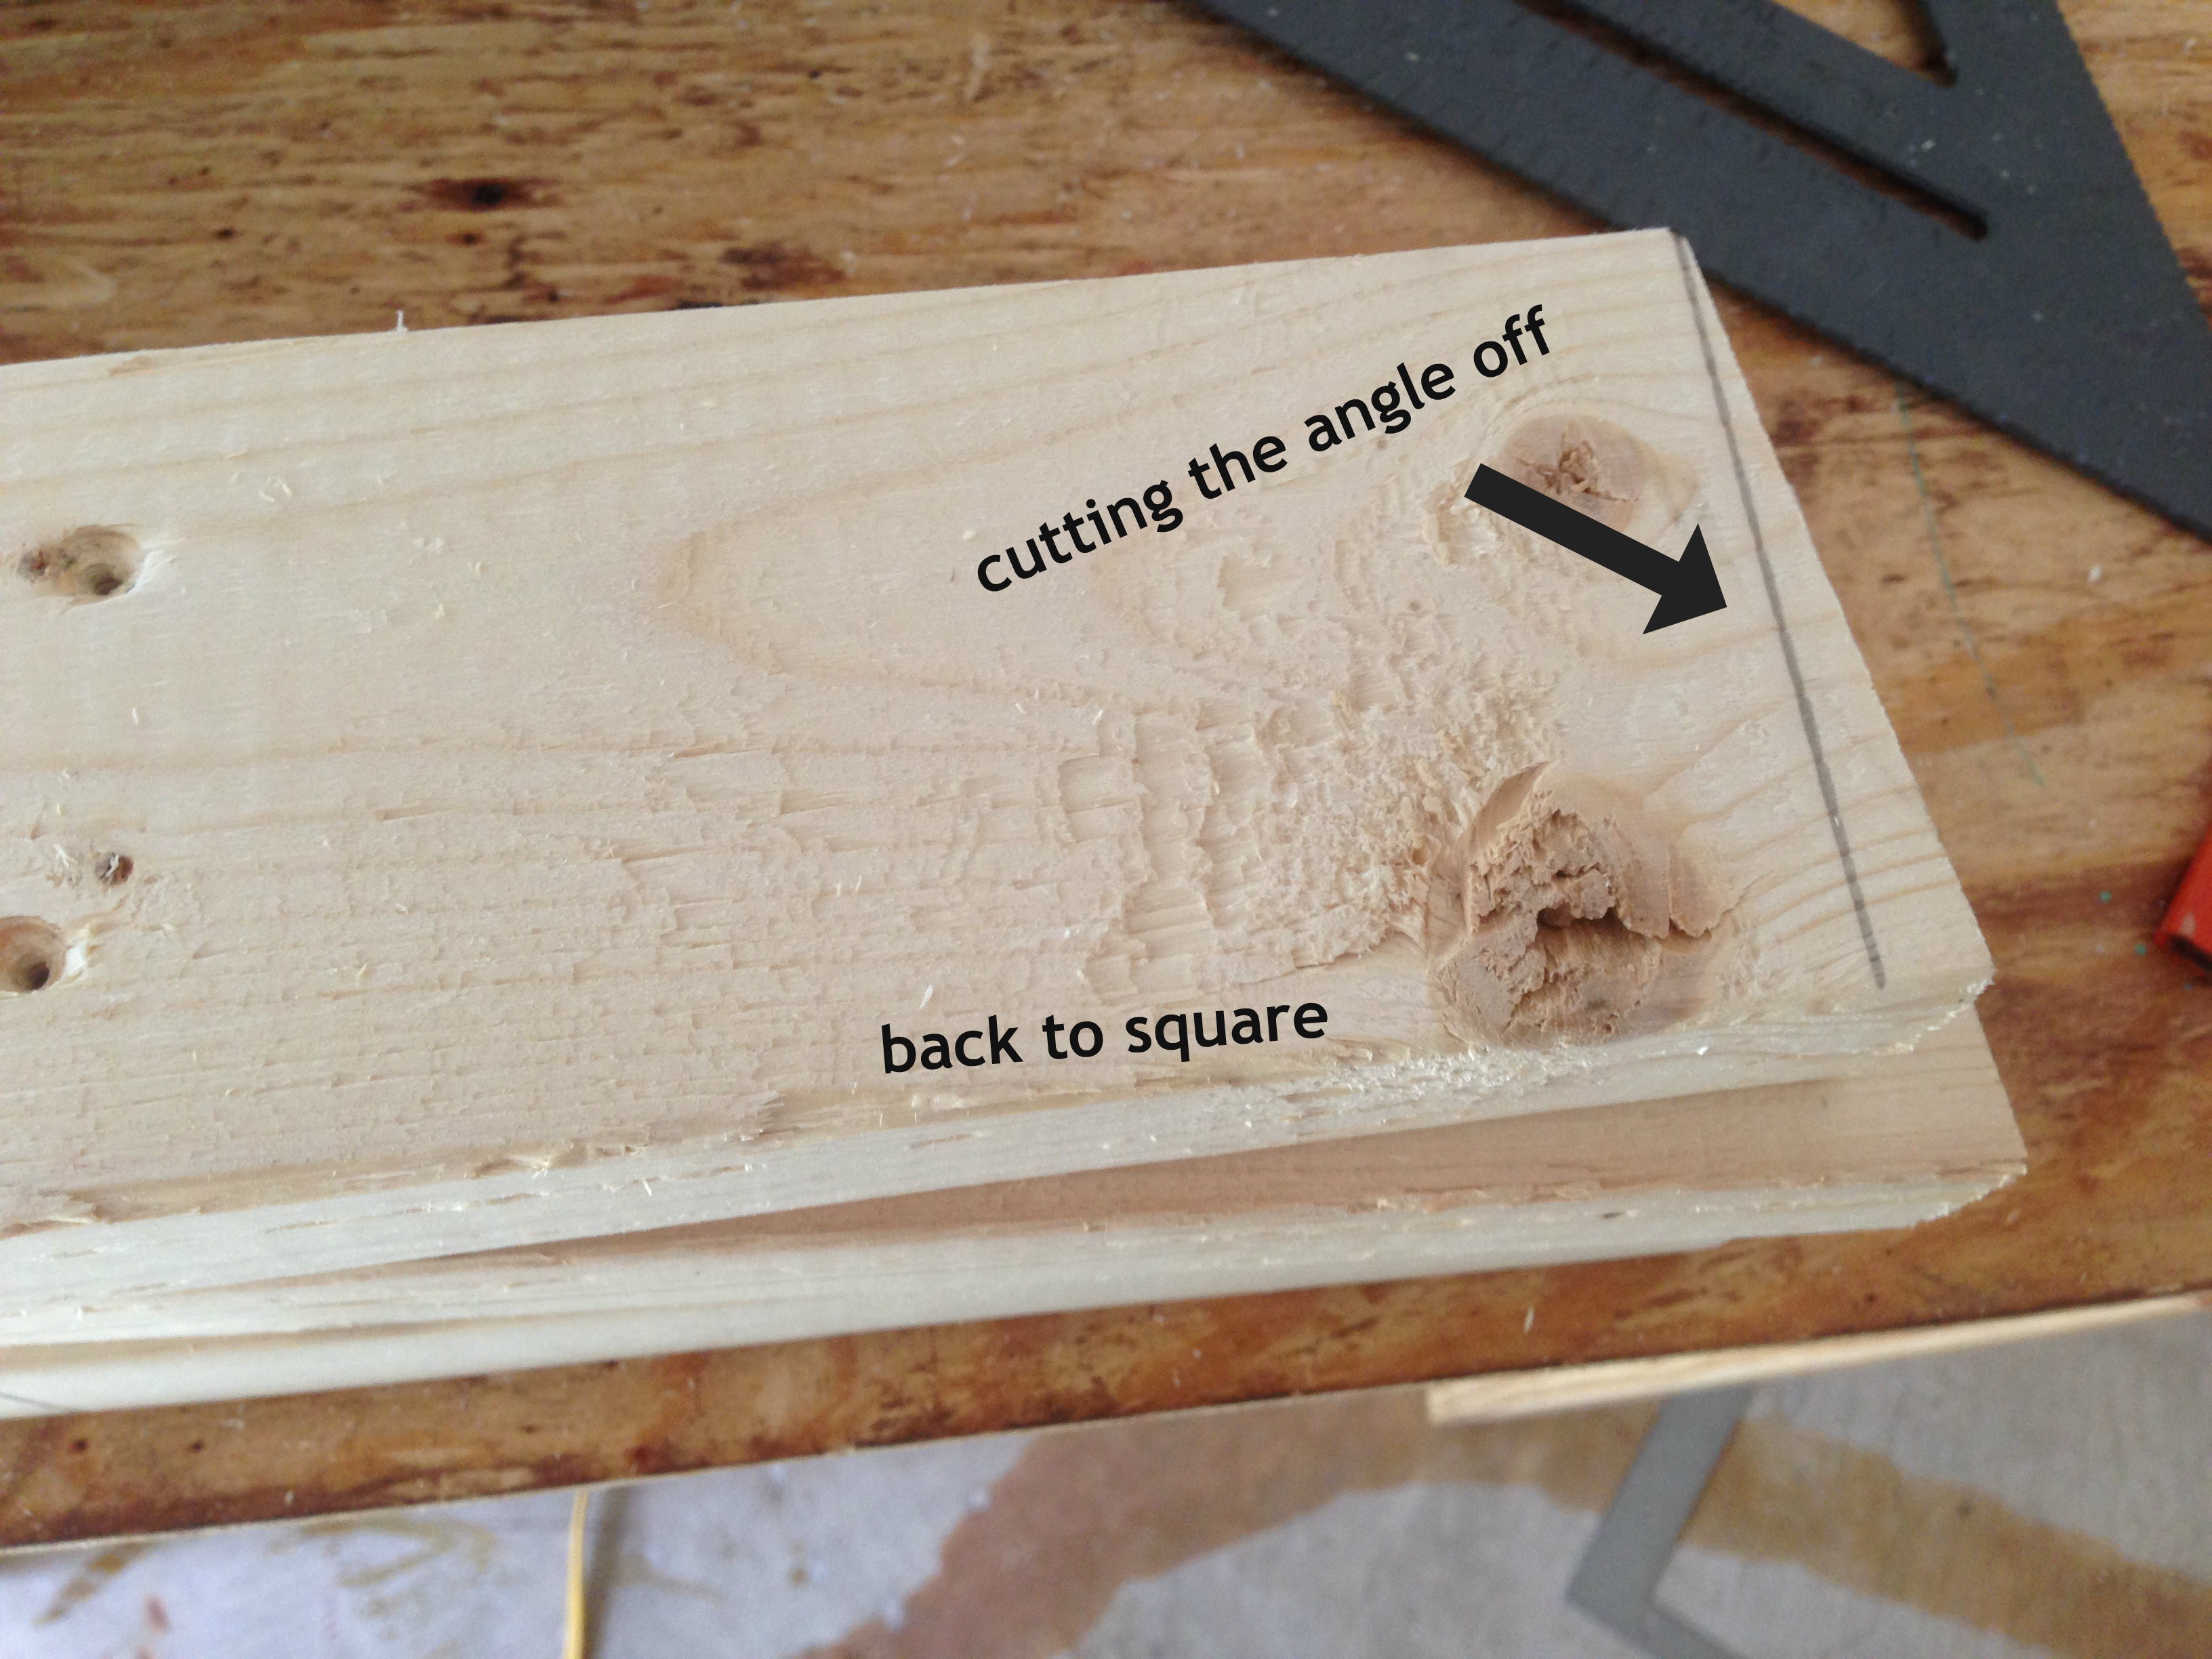
Now I was going for an upside down “T-leg”. I cut the bottom of the legs at a 45 degree angle to dress it up a bit.

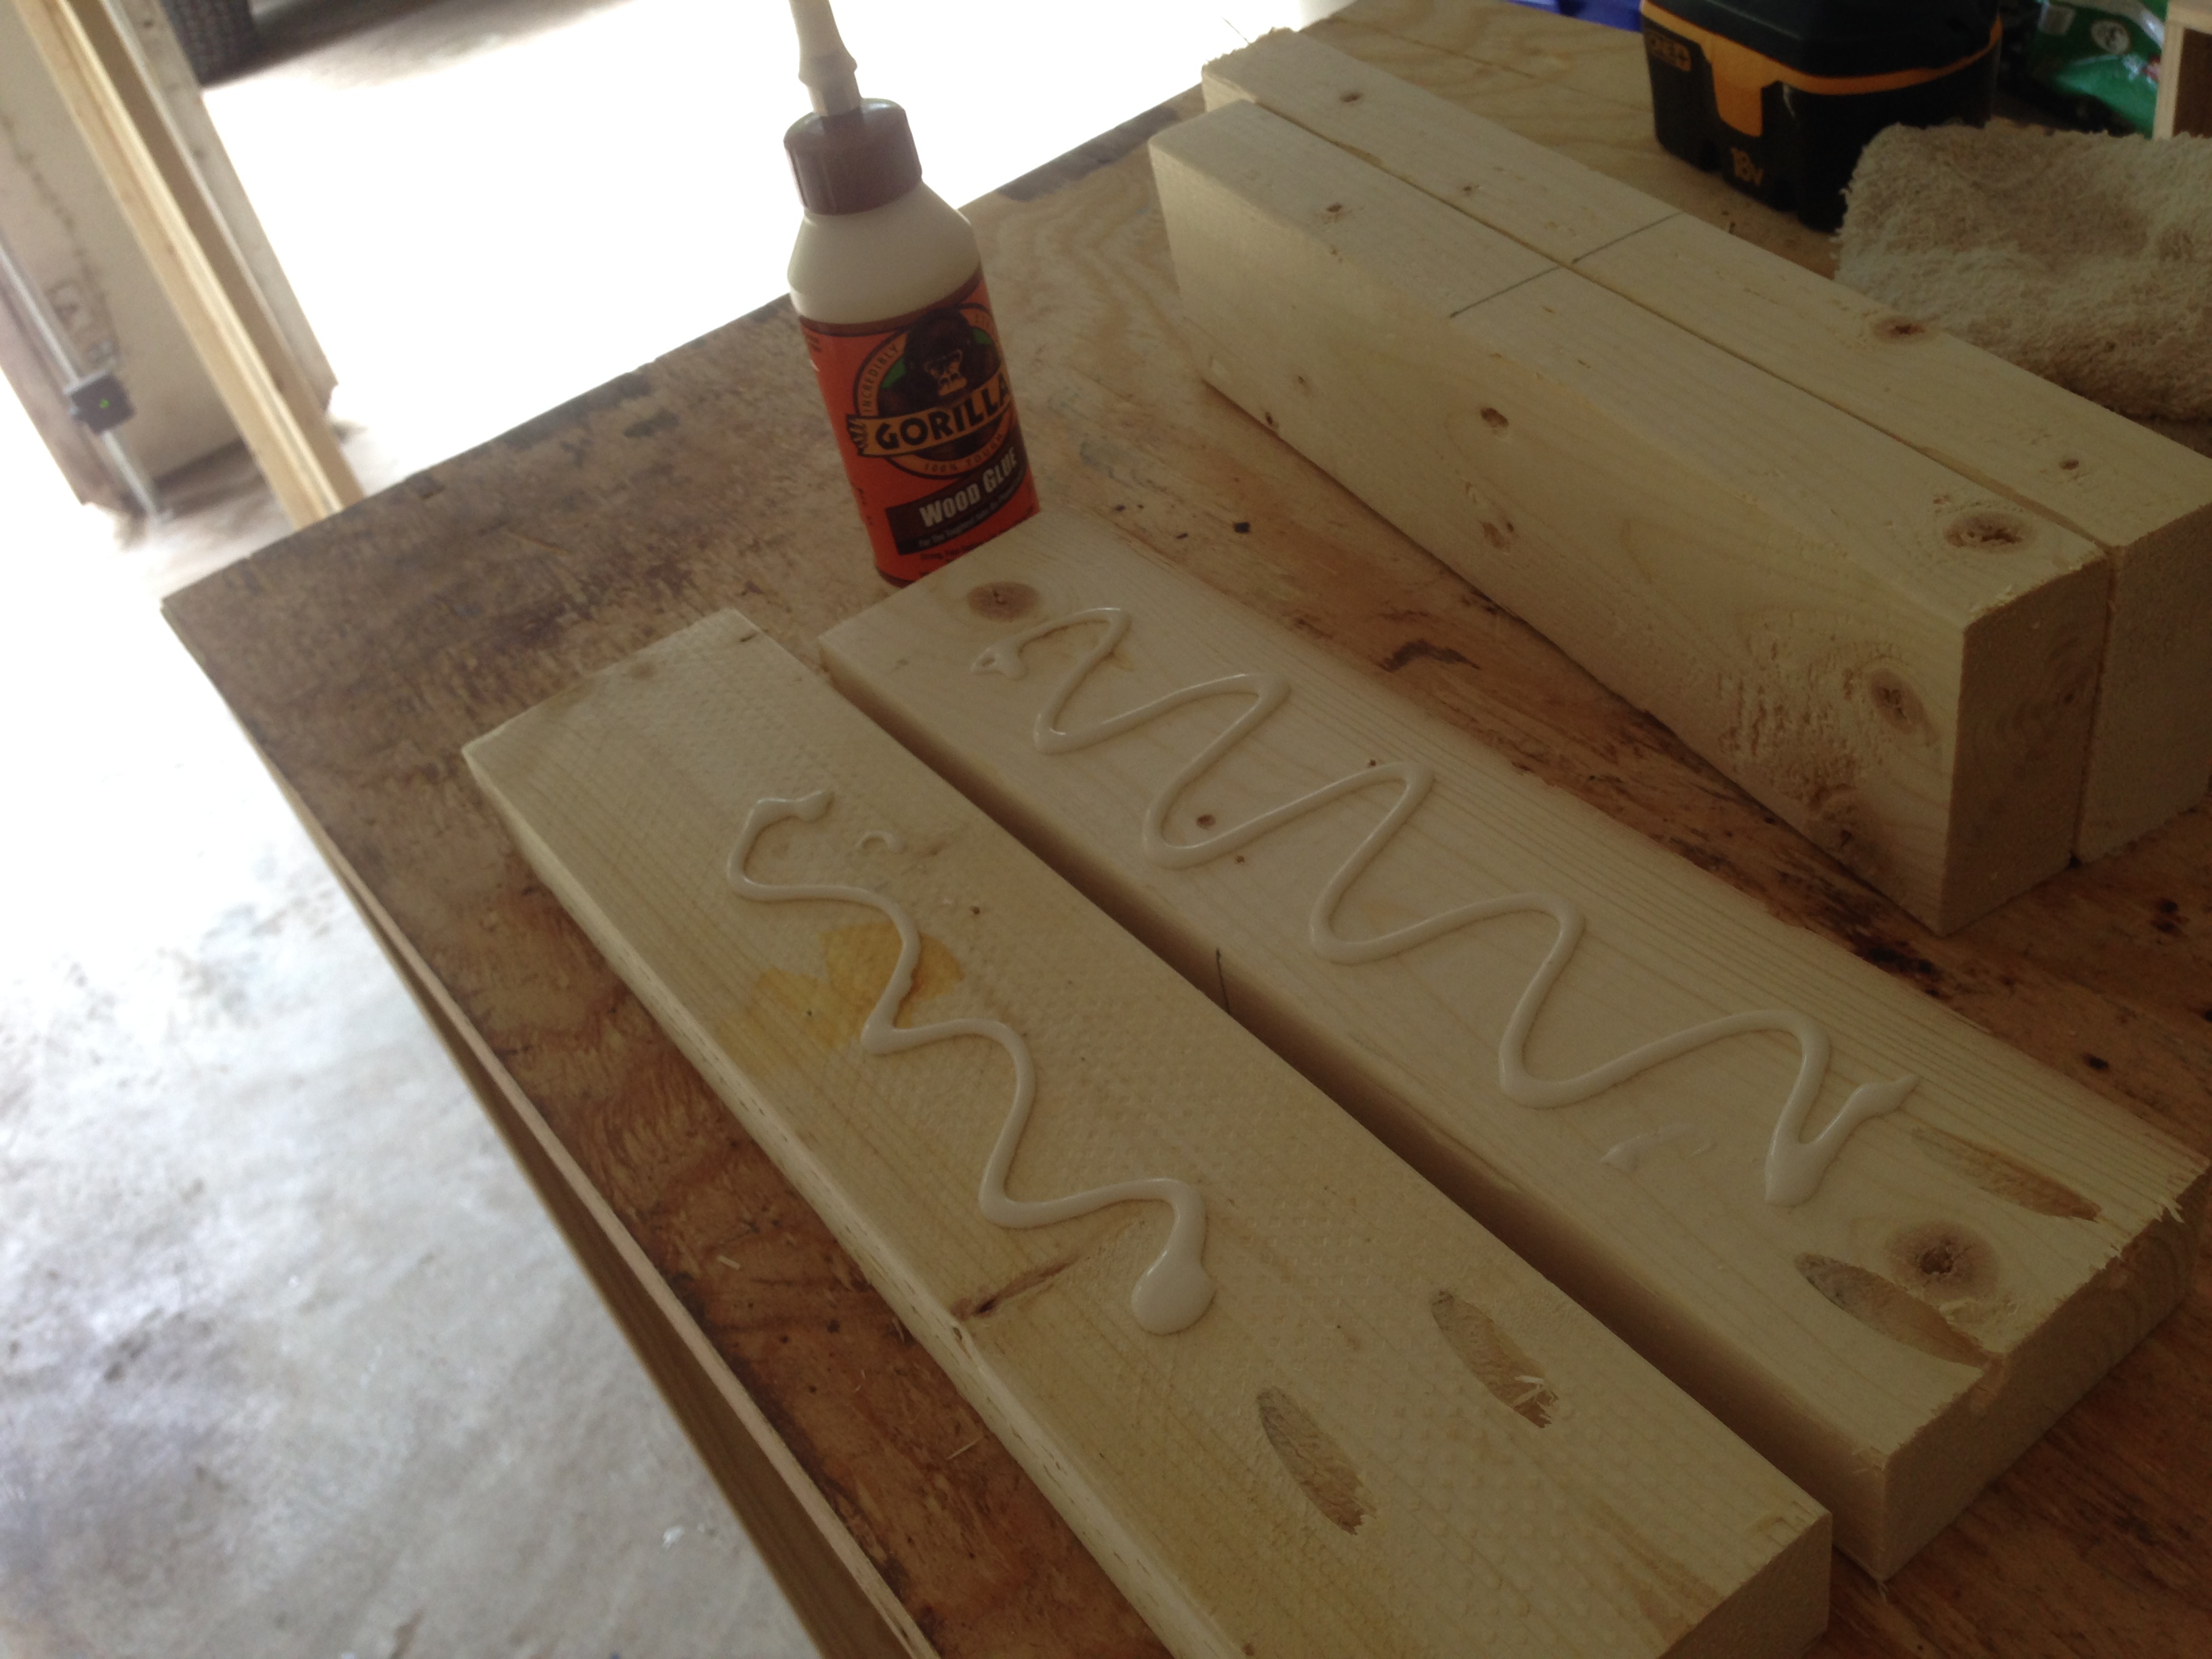
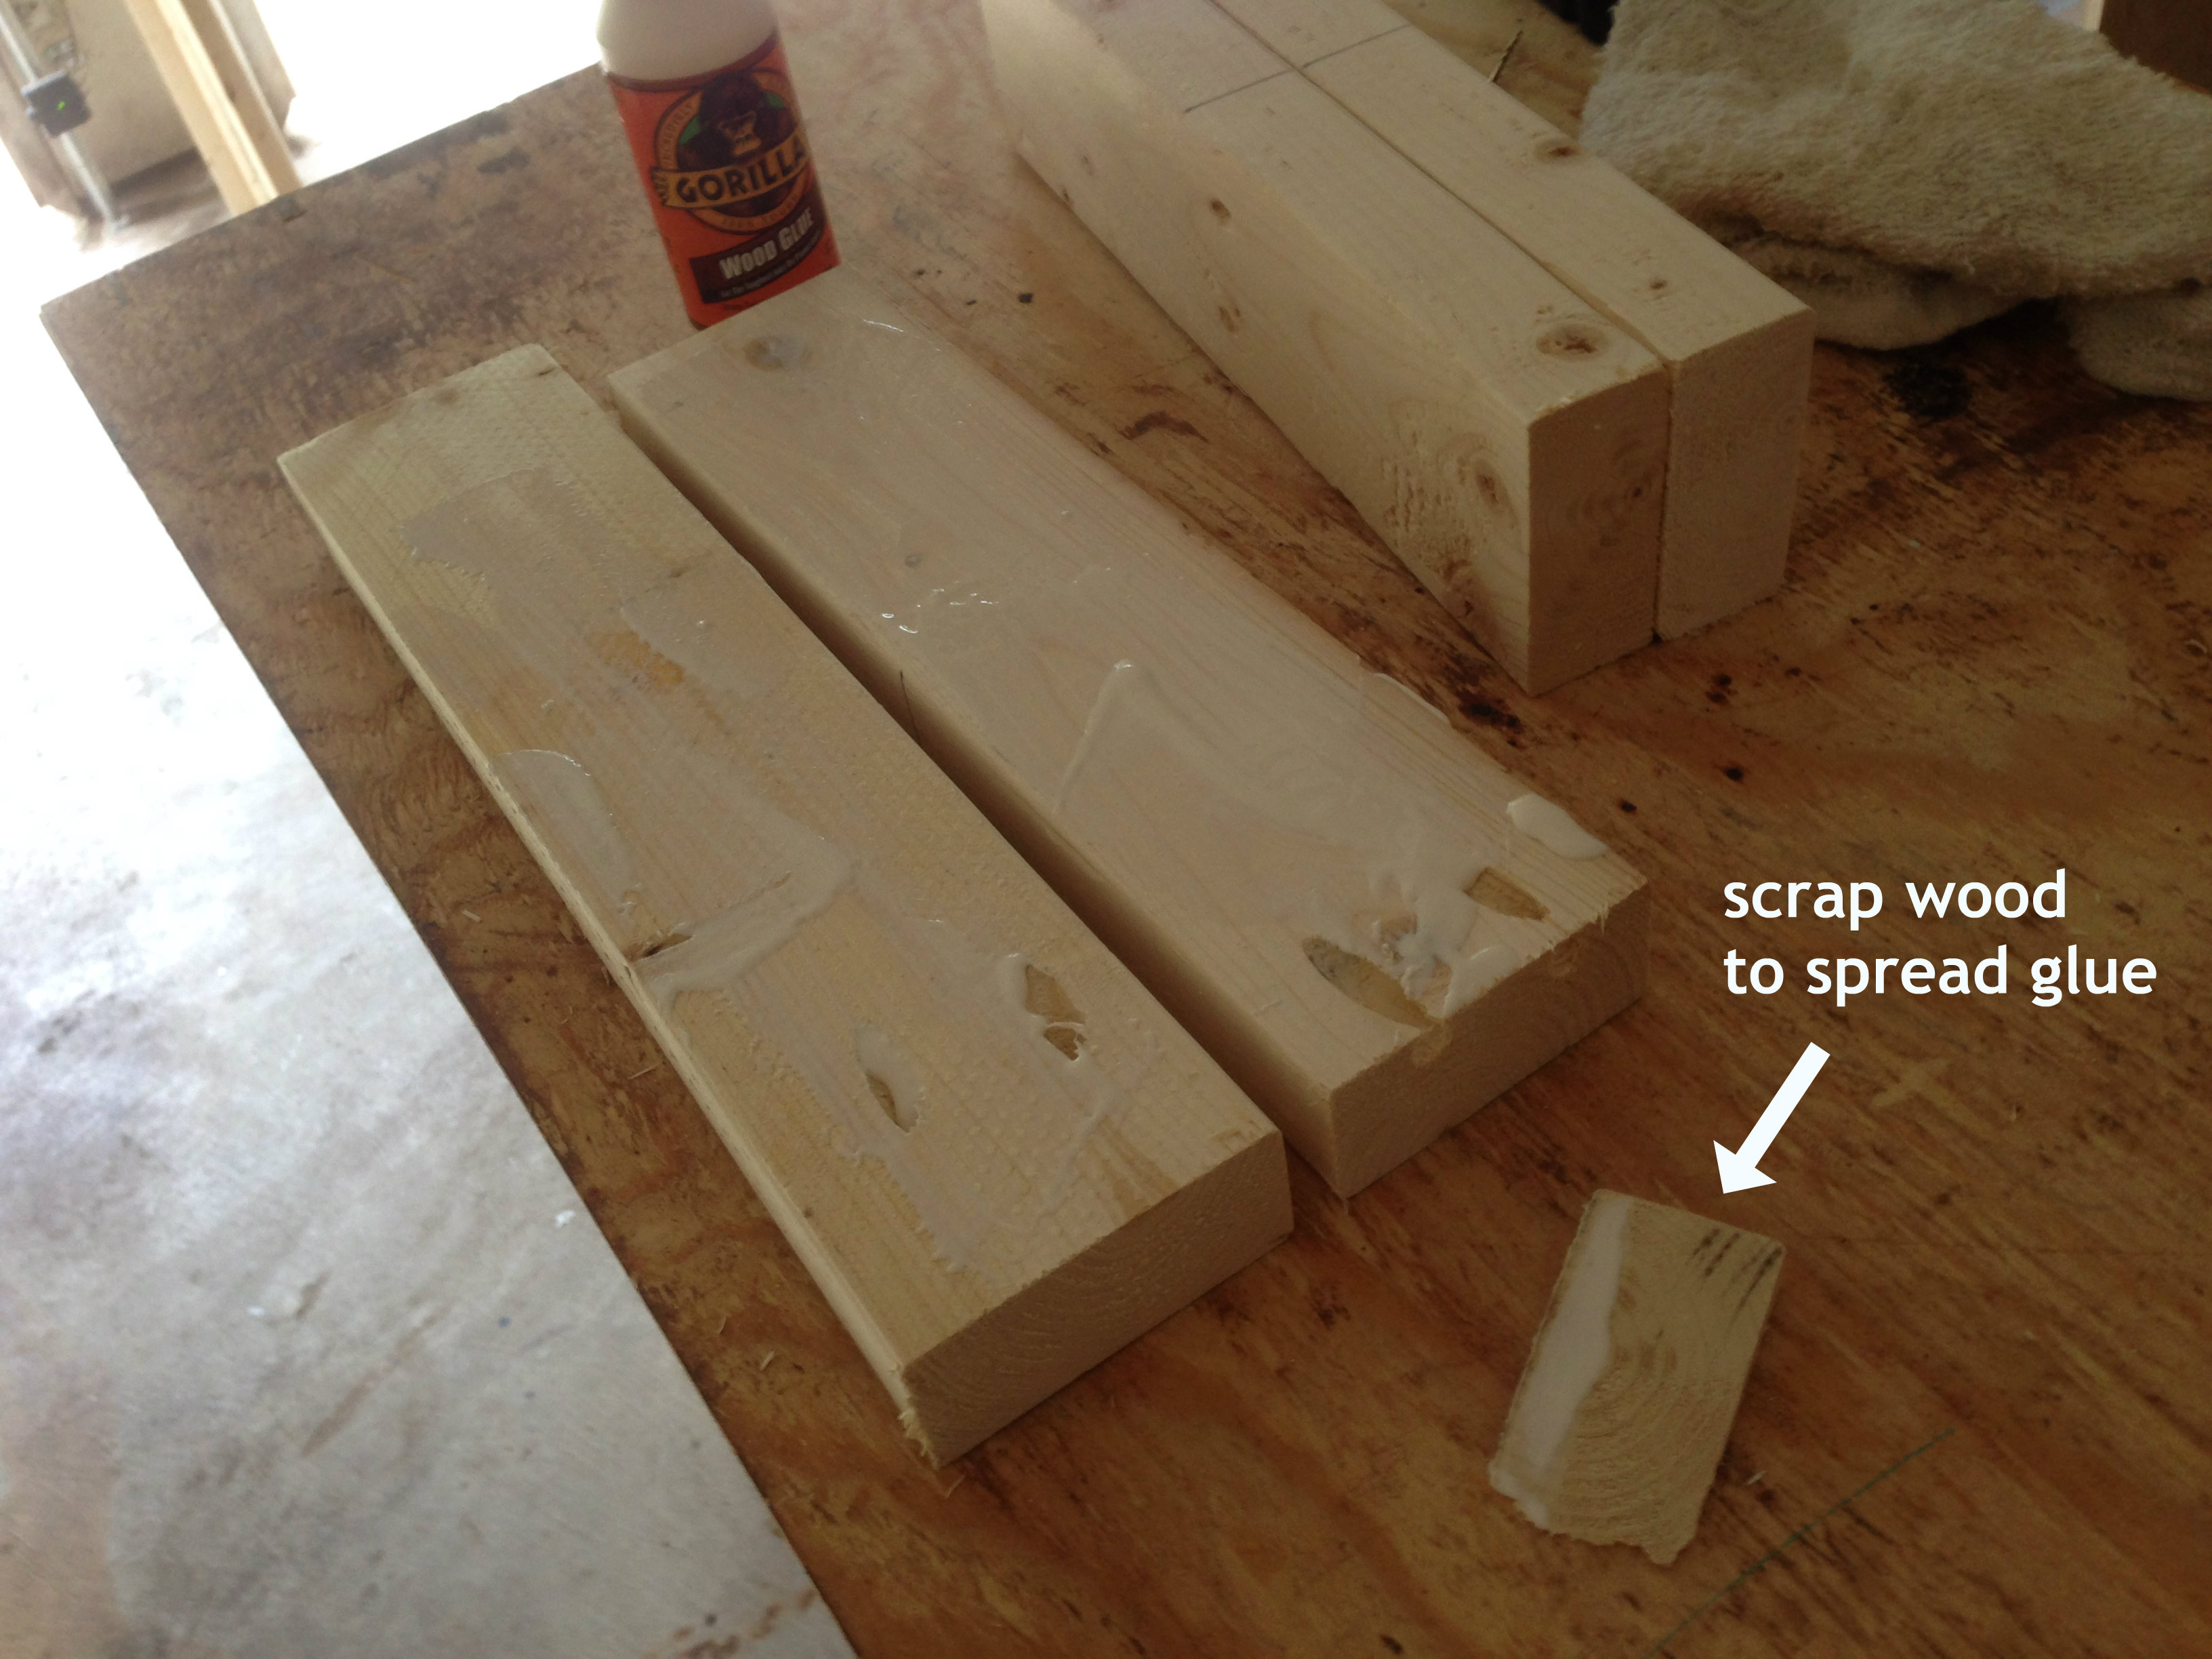
Then I took the squared legs and glue’d and screwed ’em together.
I had to drill some additional pocket holes for added strength.

After it was all done, here’s the finished product:


Lesson learned. Always walk into a project with a plan. I do like the way it turned out, but it could have been done a lot quicker if I planned it out properly.
