My folks are retiring soon, so I decided to get them a nicer TV for their living room. It’s an odd choice for me to get them a TV because I always make fun of them for sitting around and watching Asianet all day… so this gift sorta condones that activity (or lack of activity, whichever way you wanna look at it)… but what’s done is done. Also, its a little self serving because when they retire, I think Layla is probably gonna spend more time at their house, so I figure having a nicer TV that doesn’t take up half of the living room would be mutually beneficial.
Here’s a shot of what the “media area” originally looked like: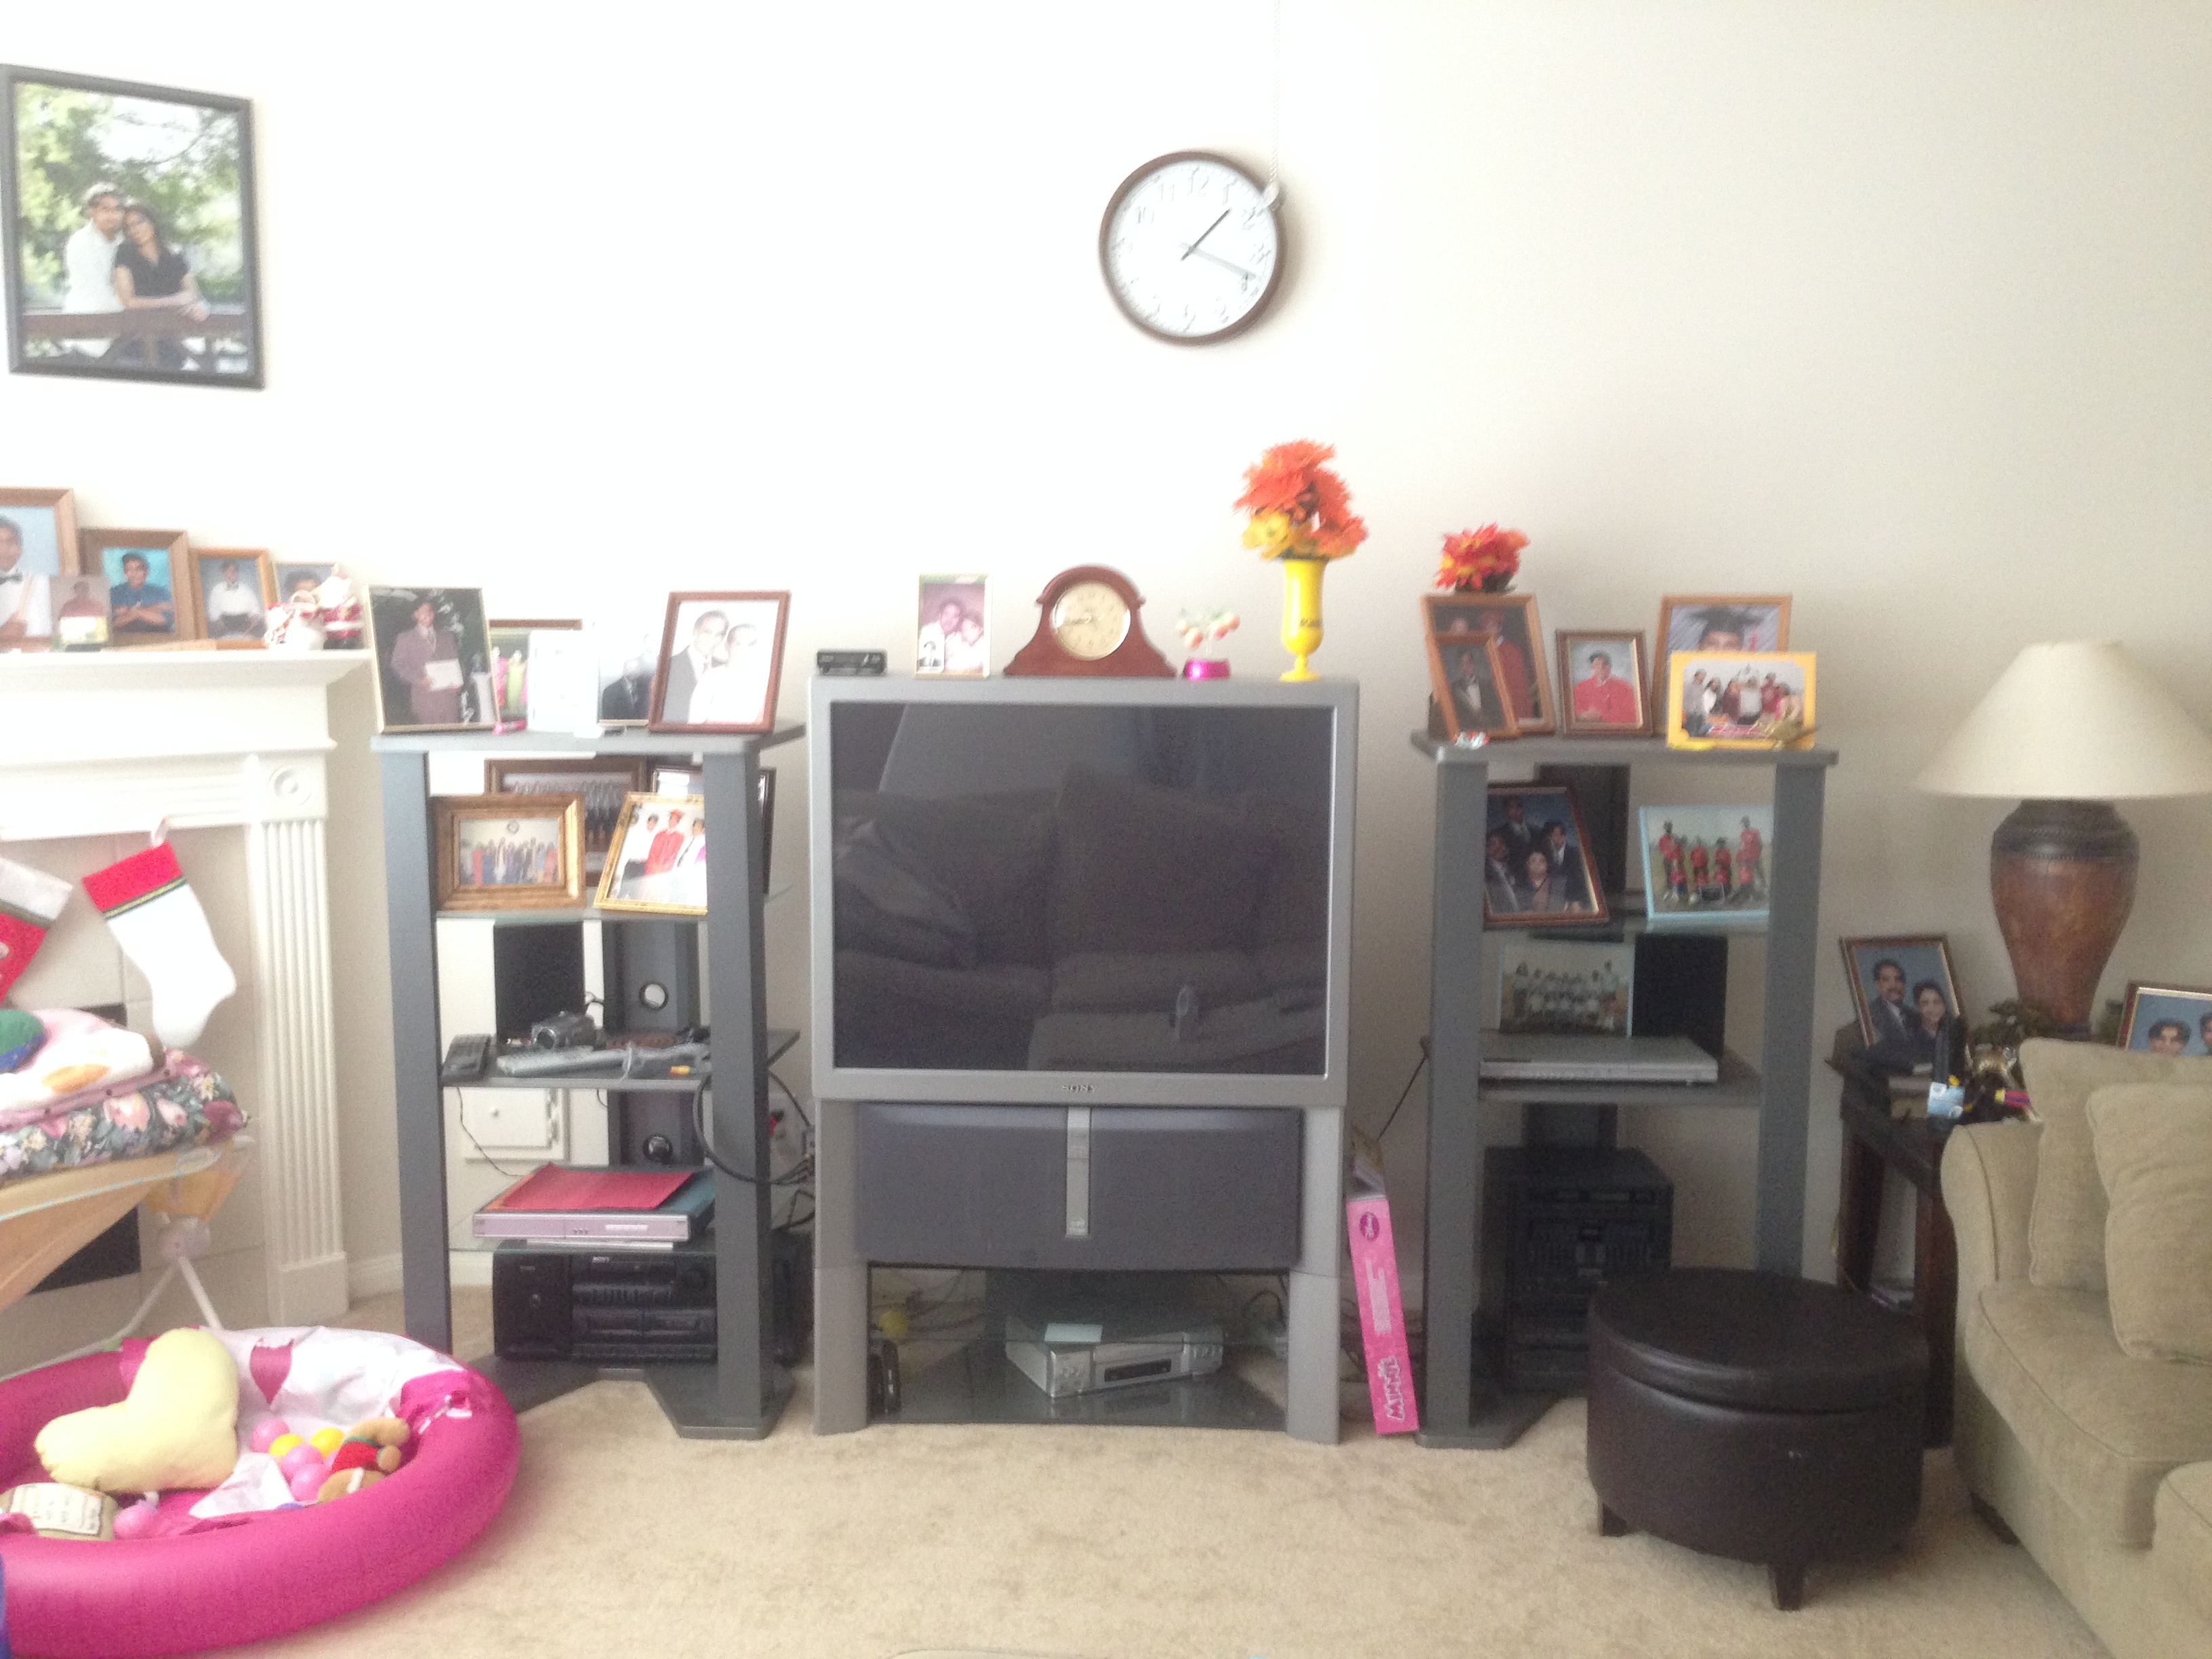
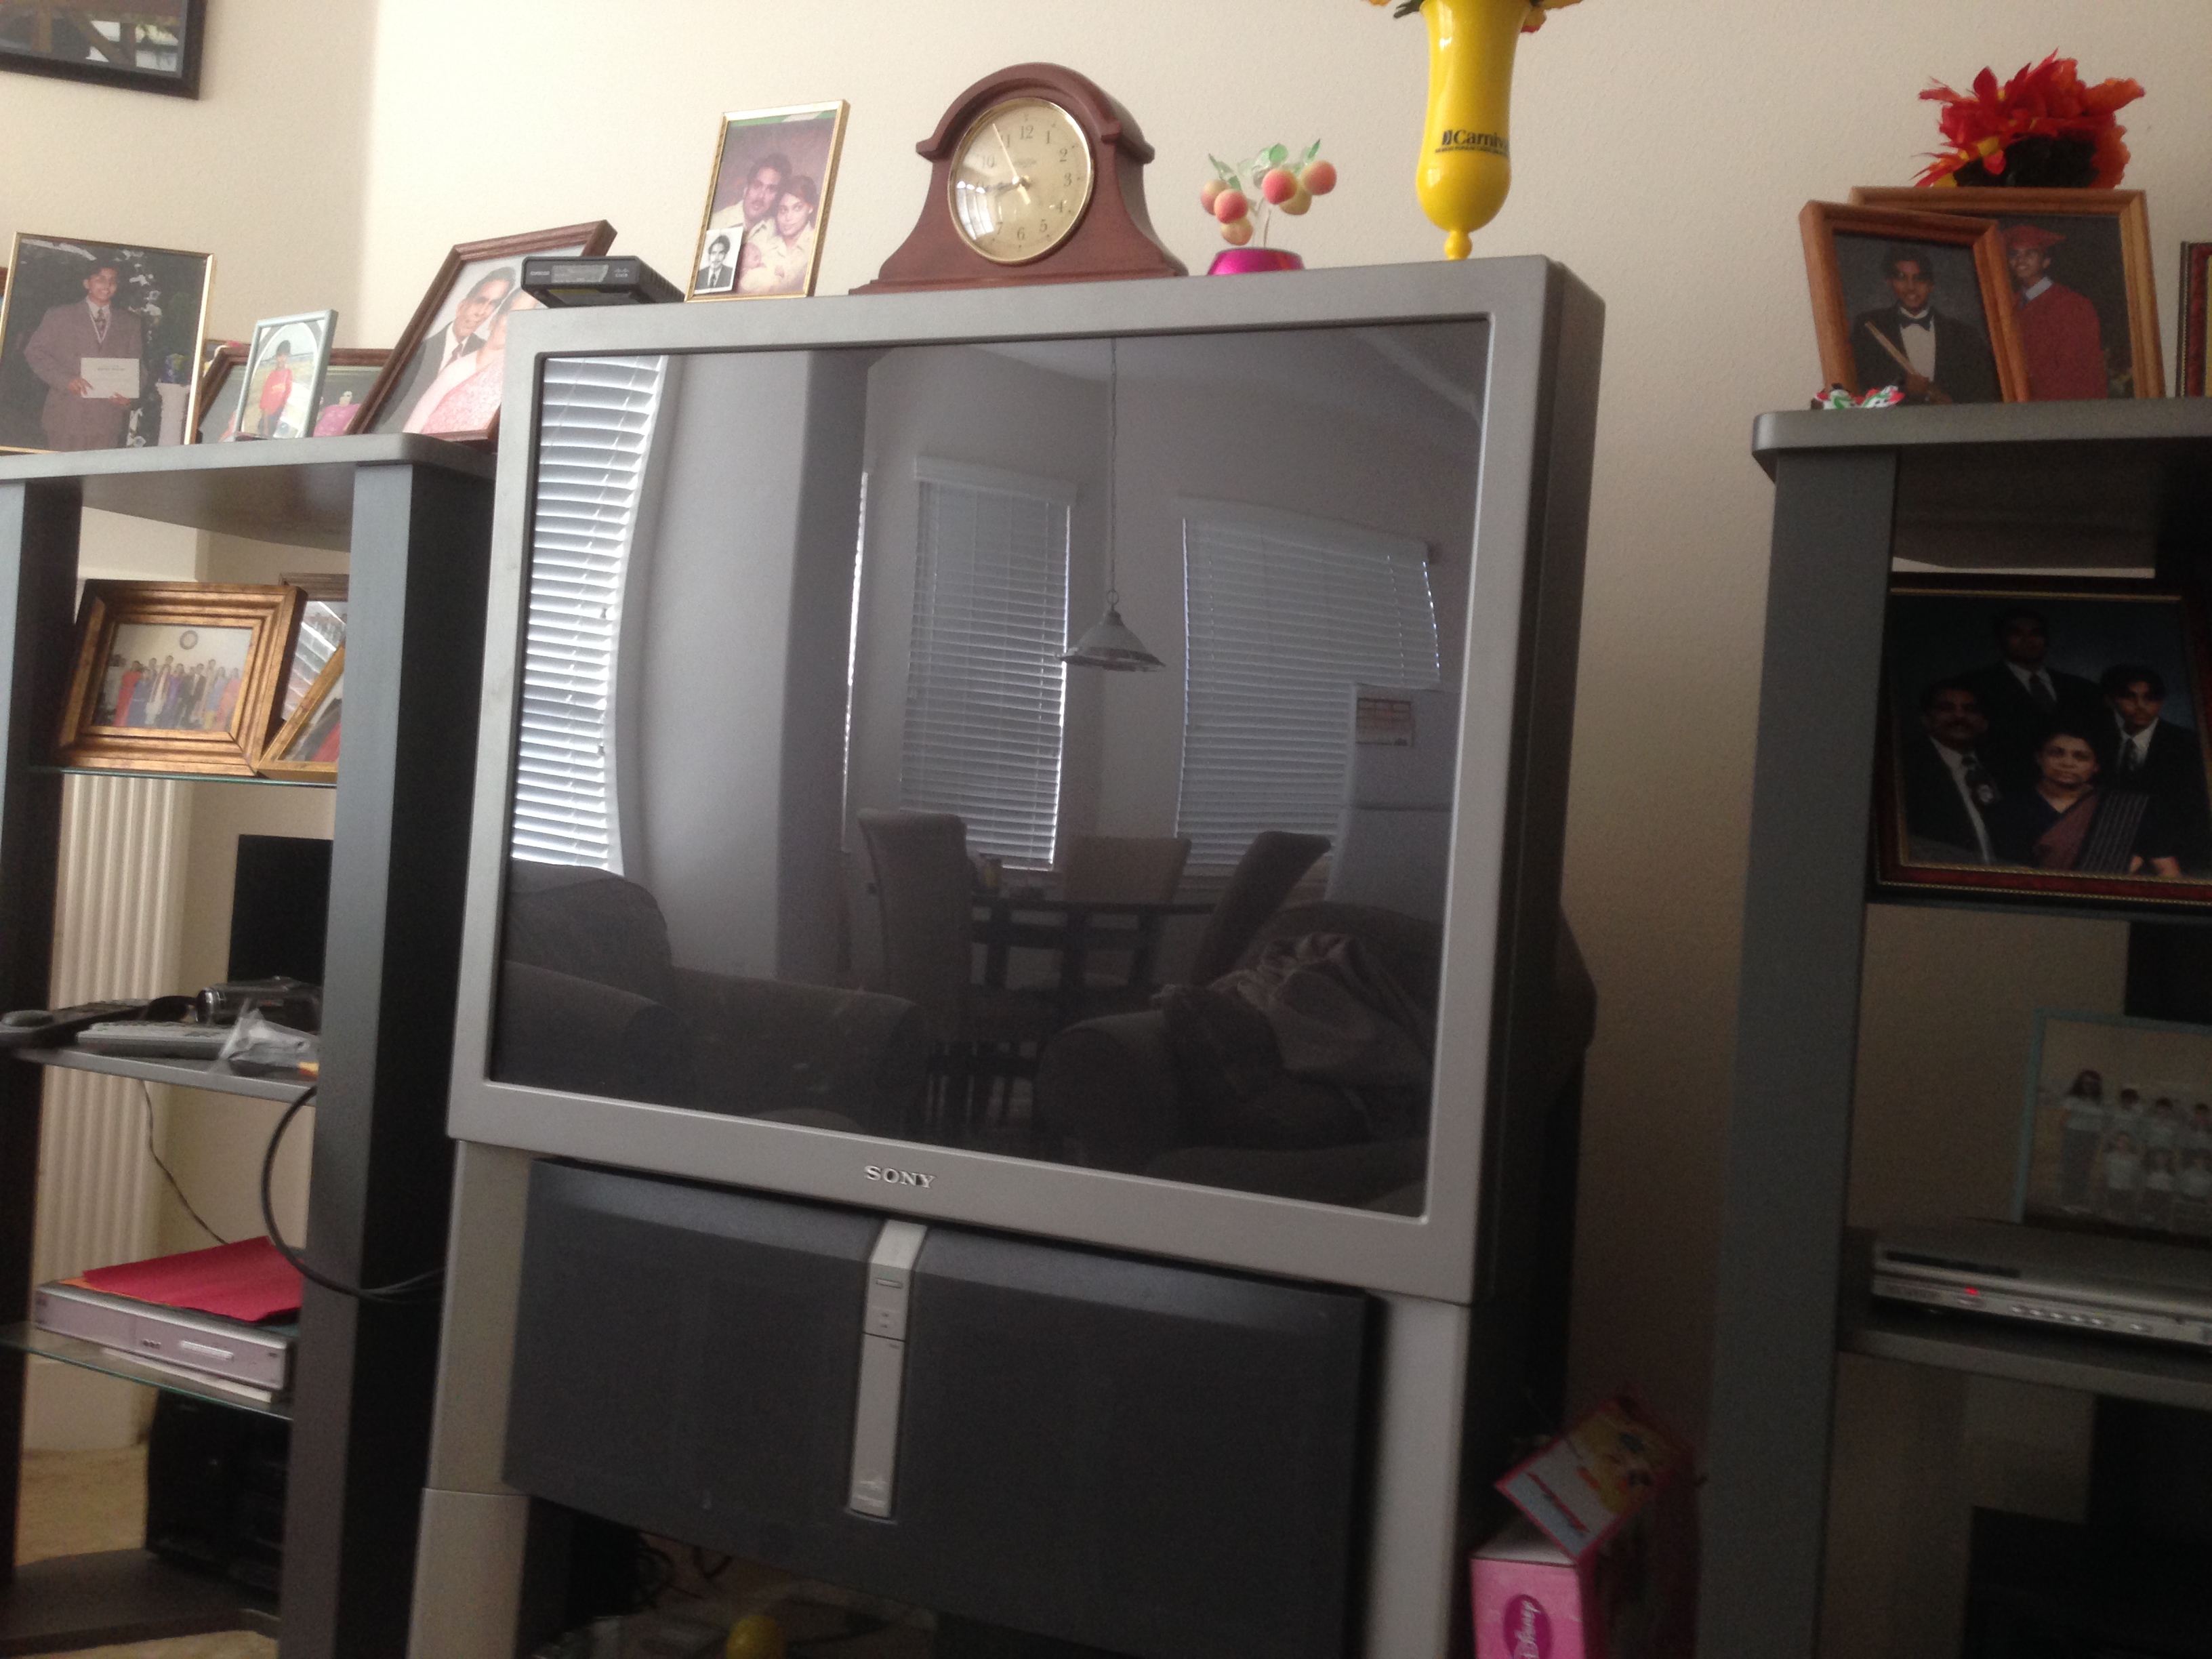 You’ll note there’s a ton of pictures on the media shelves along with other
 junk items. The first step was to remove the beast from it’s current dwelling place and clean out the area to make way for the new TV. I bought the TV from Best Buy and purchased the mount, a new surge protector and cable wall plates from Monoprice.com. If you’re looking for amazing deals on this type of gear, definitely check out Monoprice.
 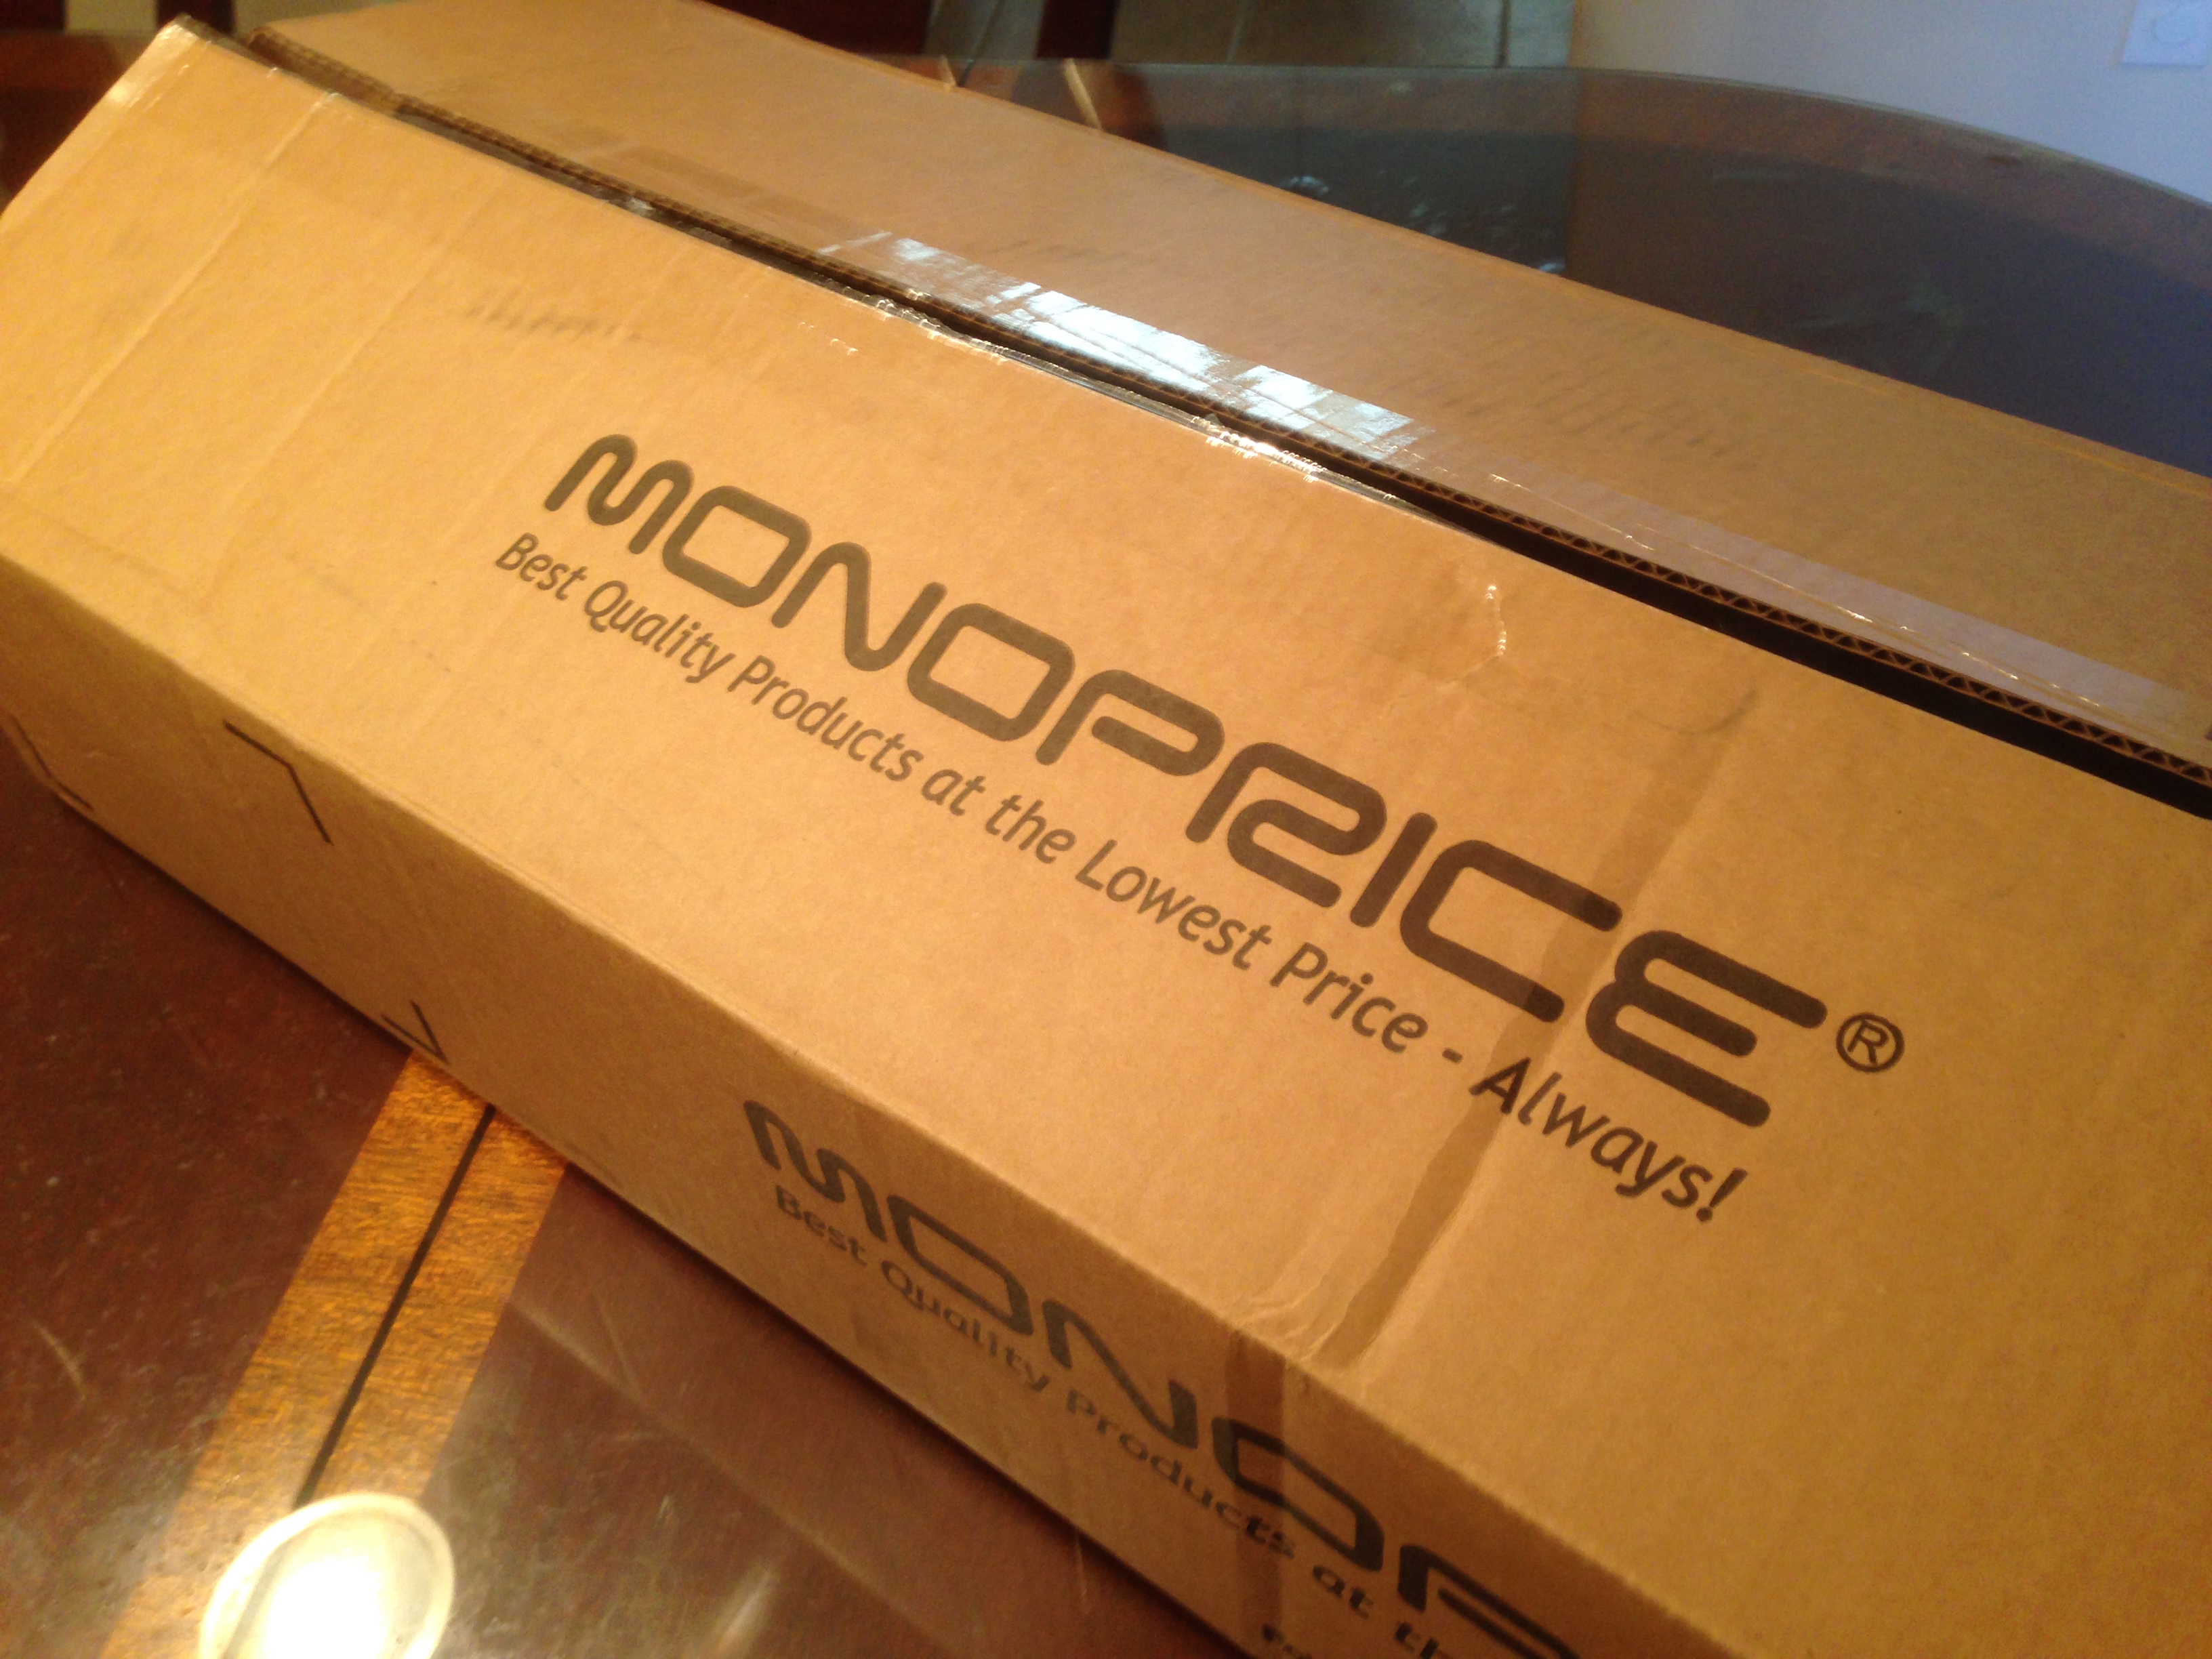 After clearing the area, I used my stud finder to identify the studs on the wall. I marked both sides of the stud and put an “x” in the middle to be abundantly clear where the stud is.
  IT IS VERY IMPORTANT TO FIND THE STUDS. You don’t want your TV hanging only on drywall. I wouldn’t take that chance of it potentially falling and hurting someone. Another tip, use a level to draw a straight line down identifying your studs.
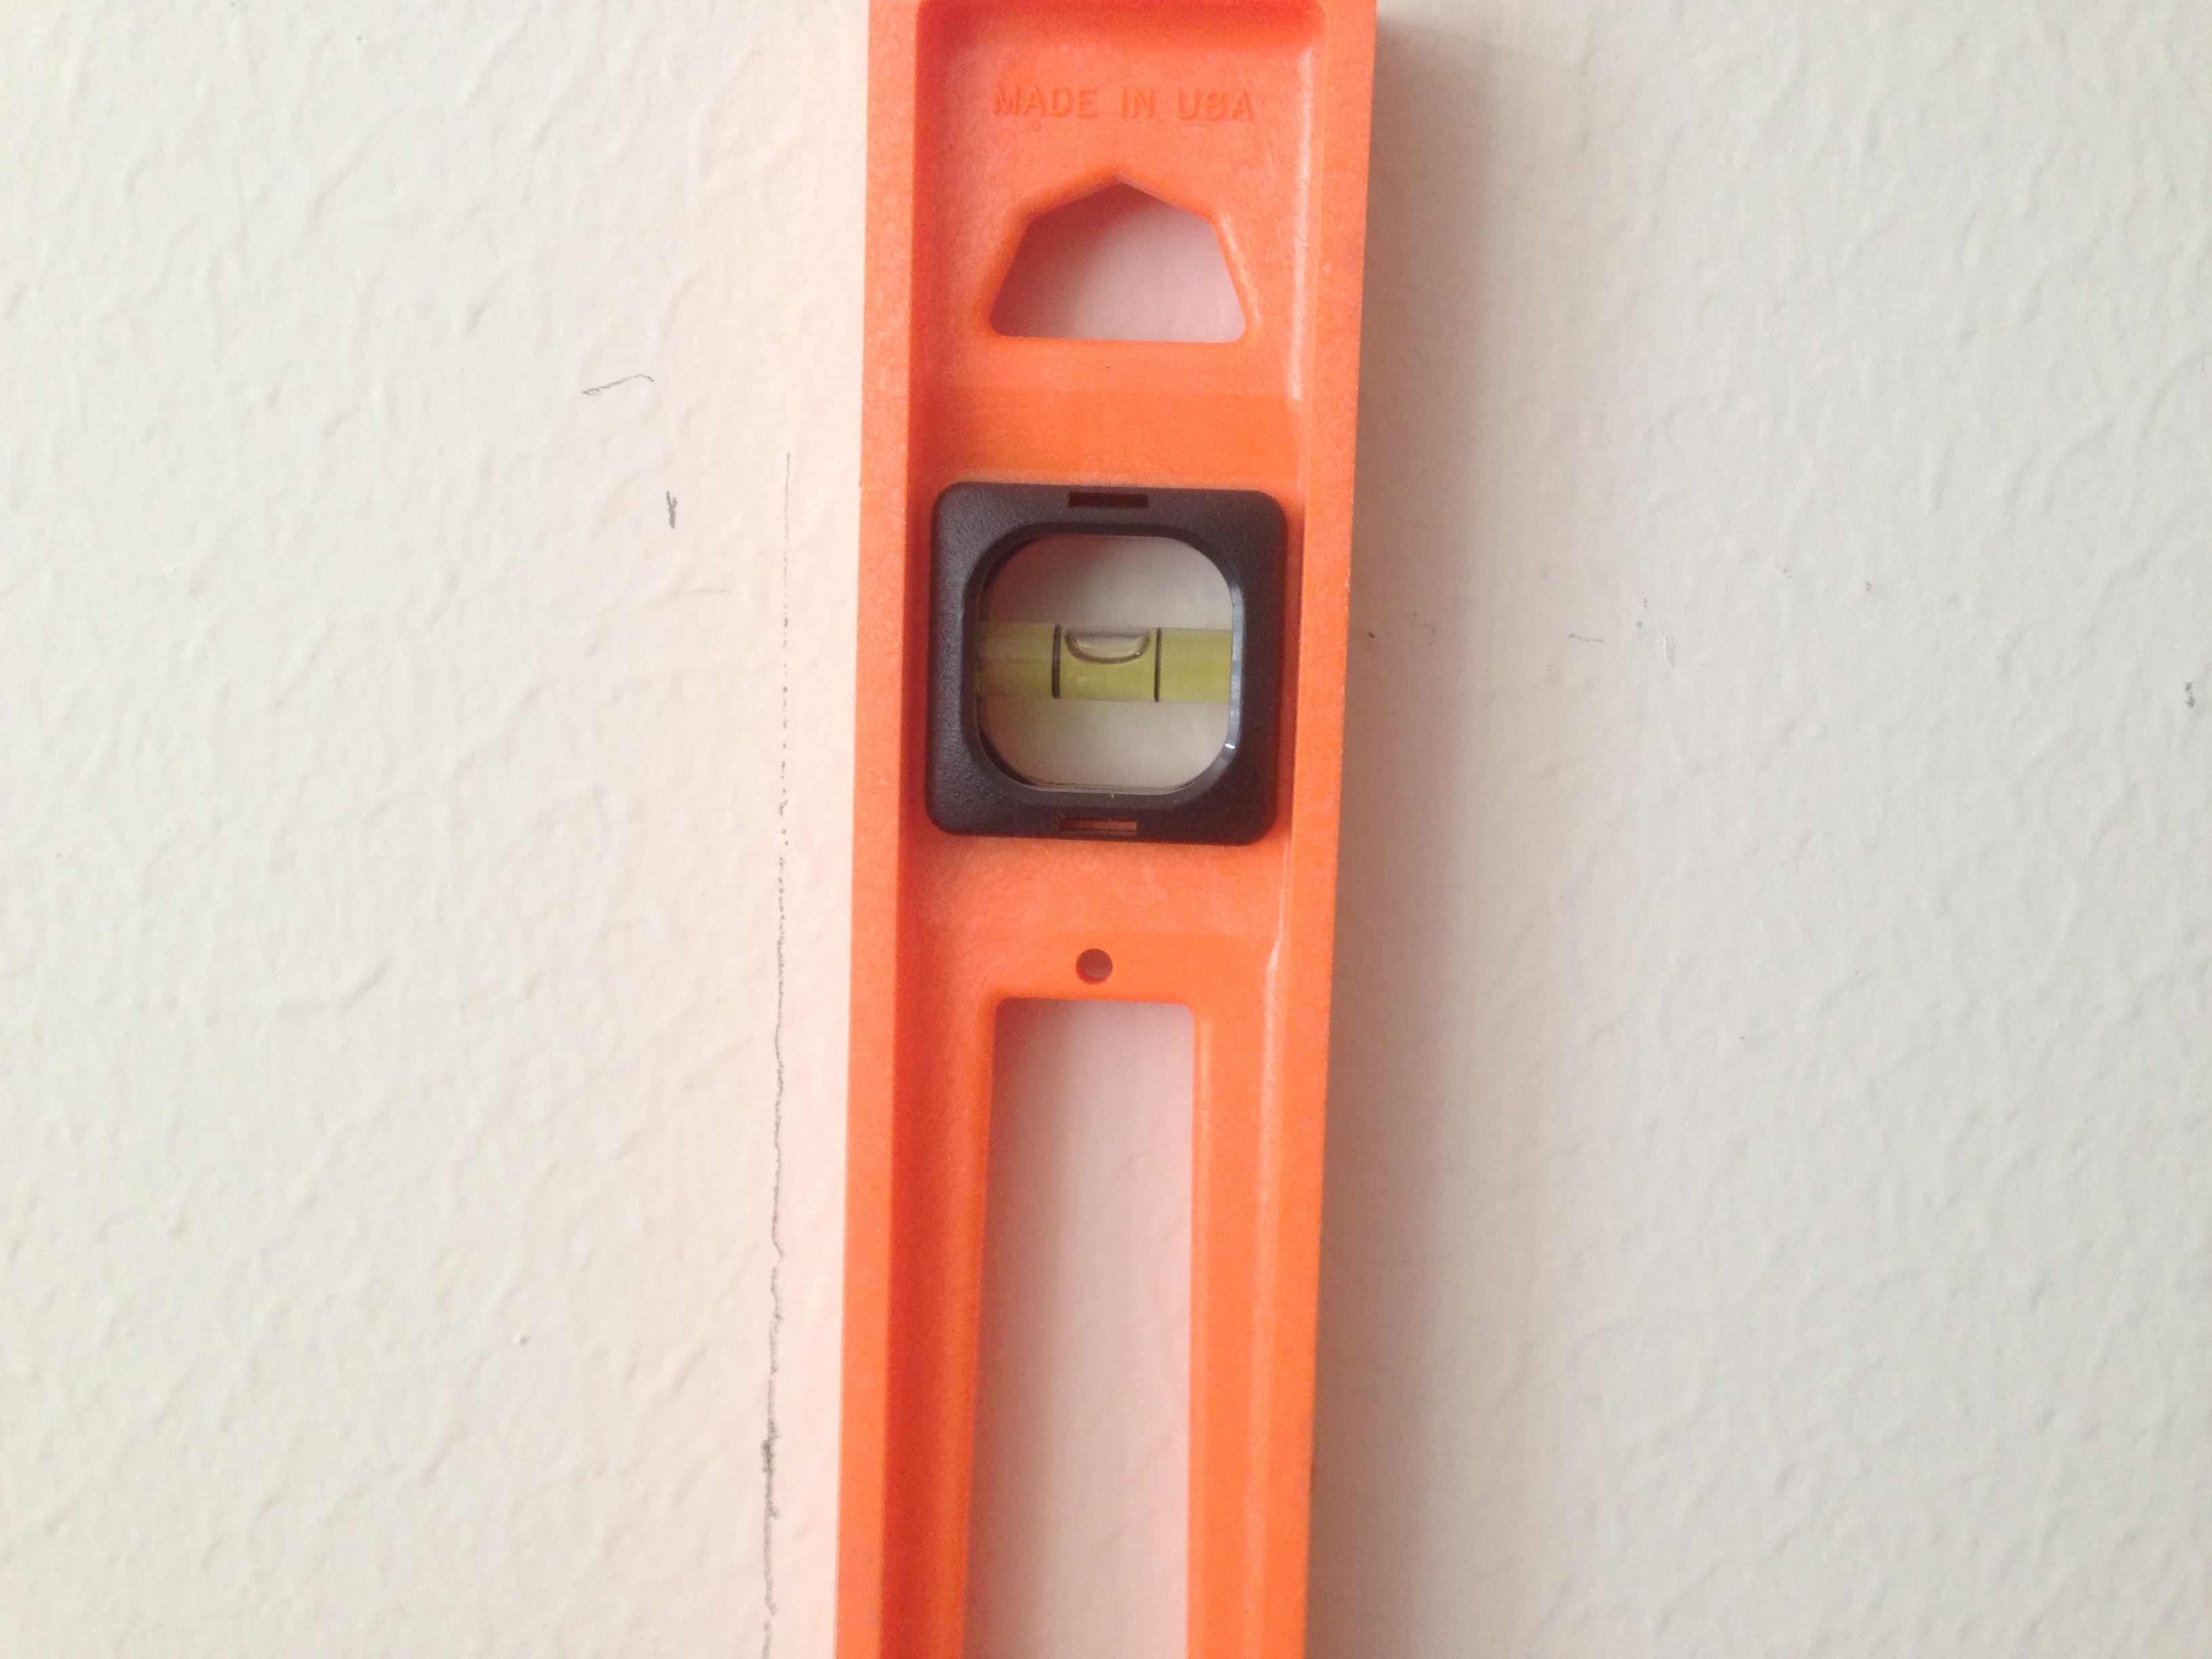
After the studs were marked off, I took out the new TV to take some measurements. First I attached the mounting brackets to the TV.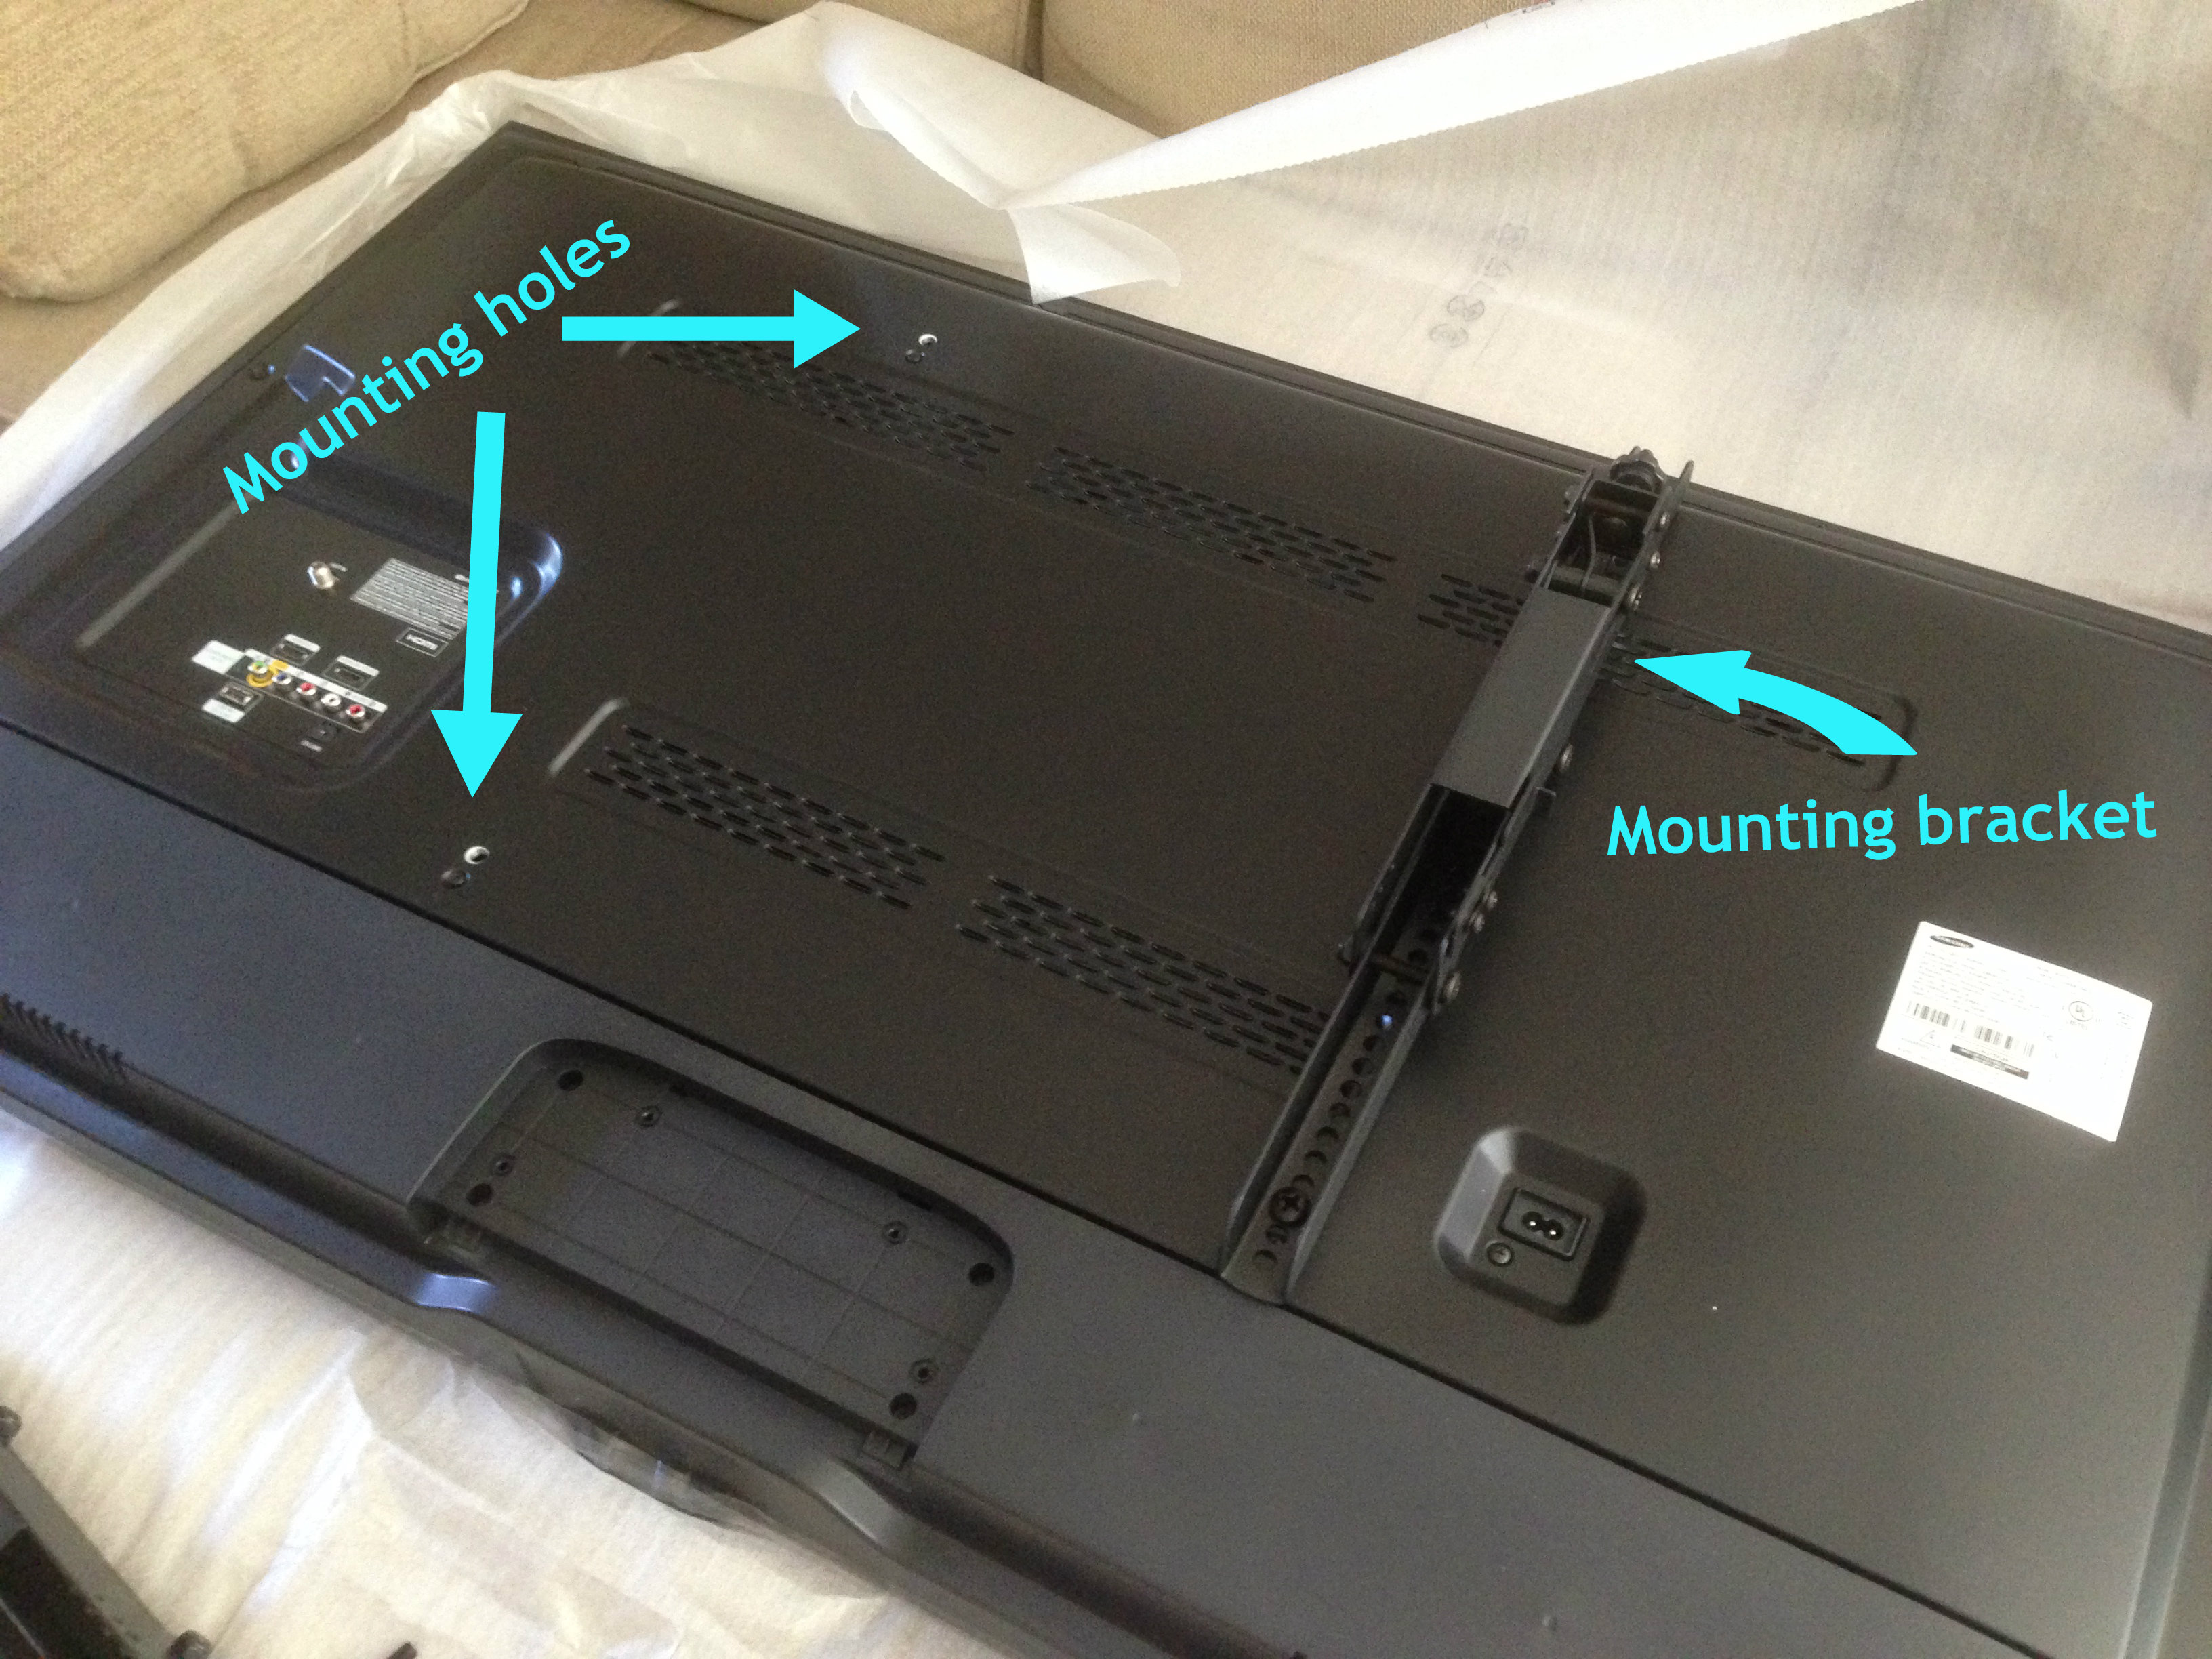 Then I placed the wall mount plate on the mounting brackets to measure the distance from the bottom mounting hole to the bottom of the TV.
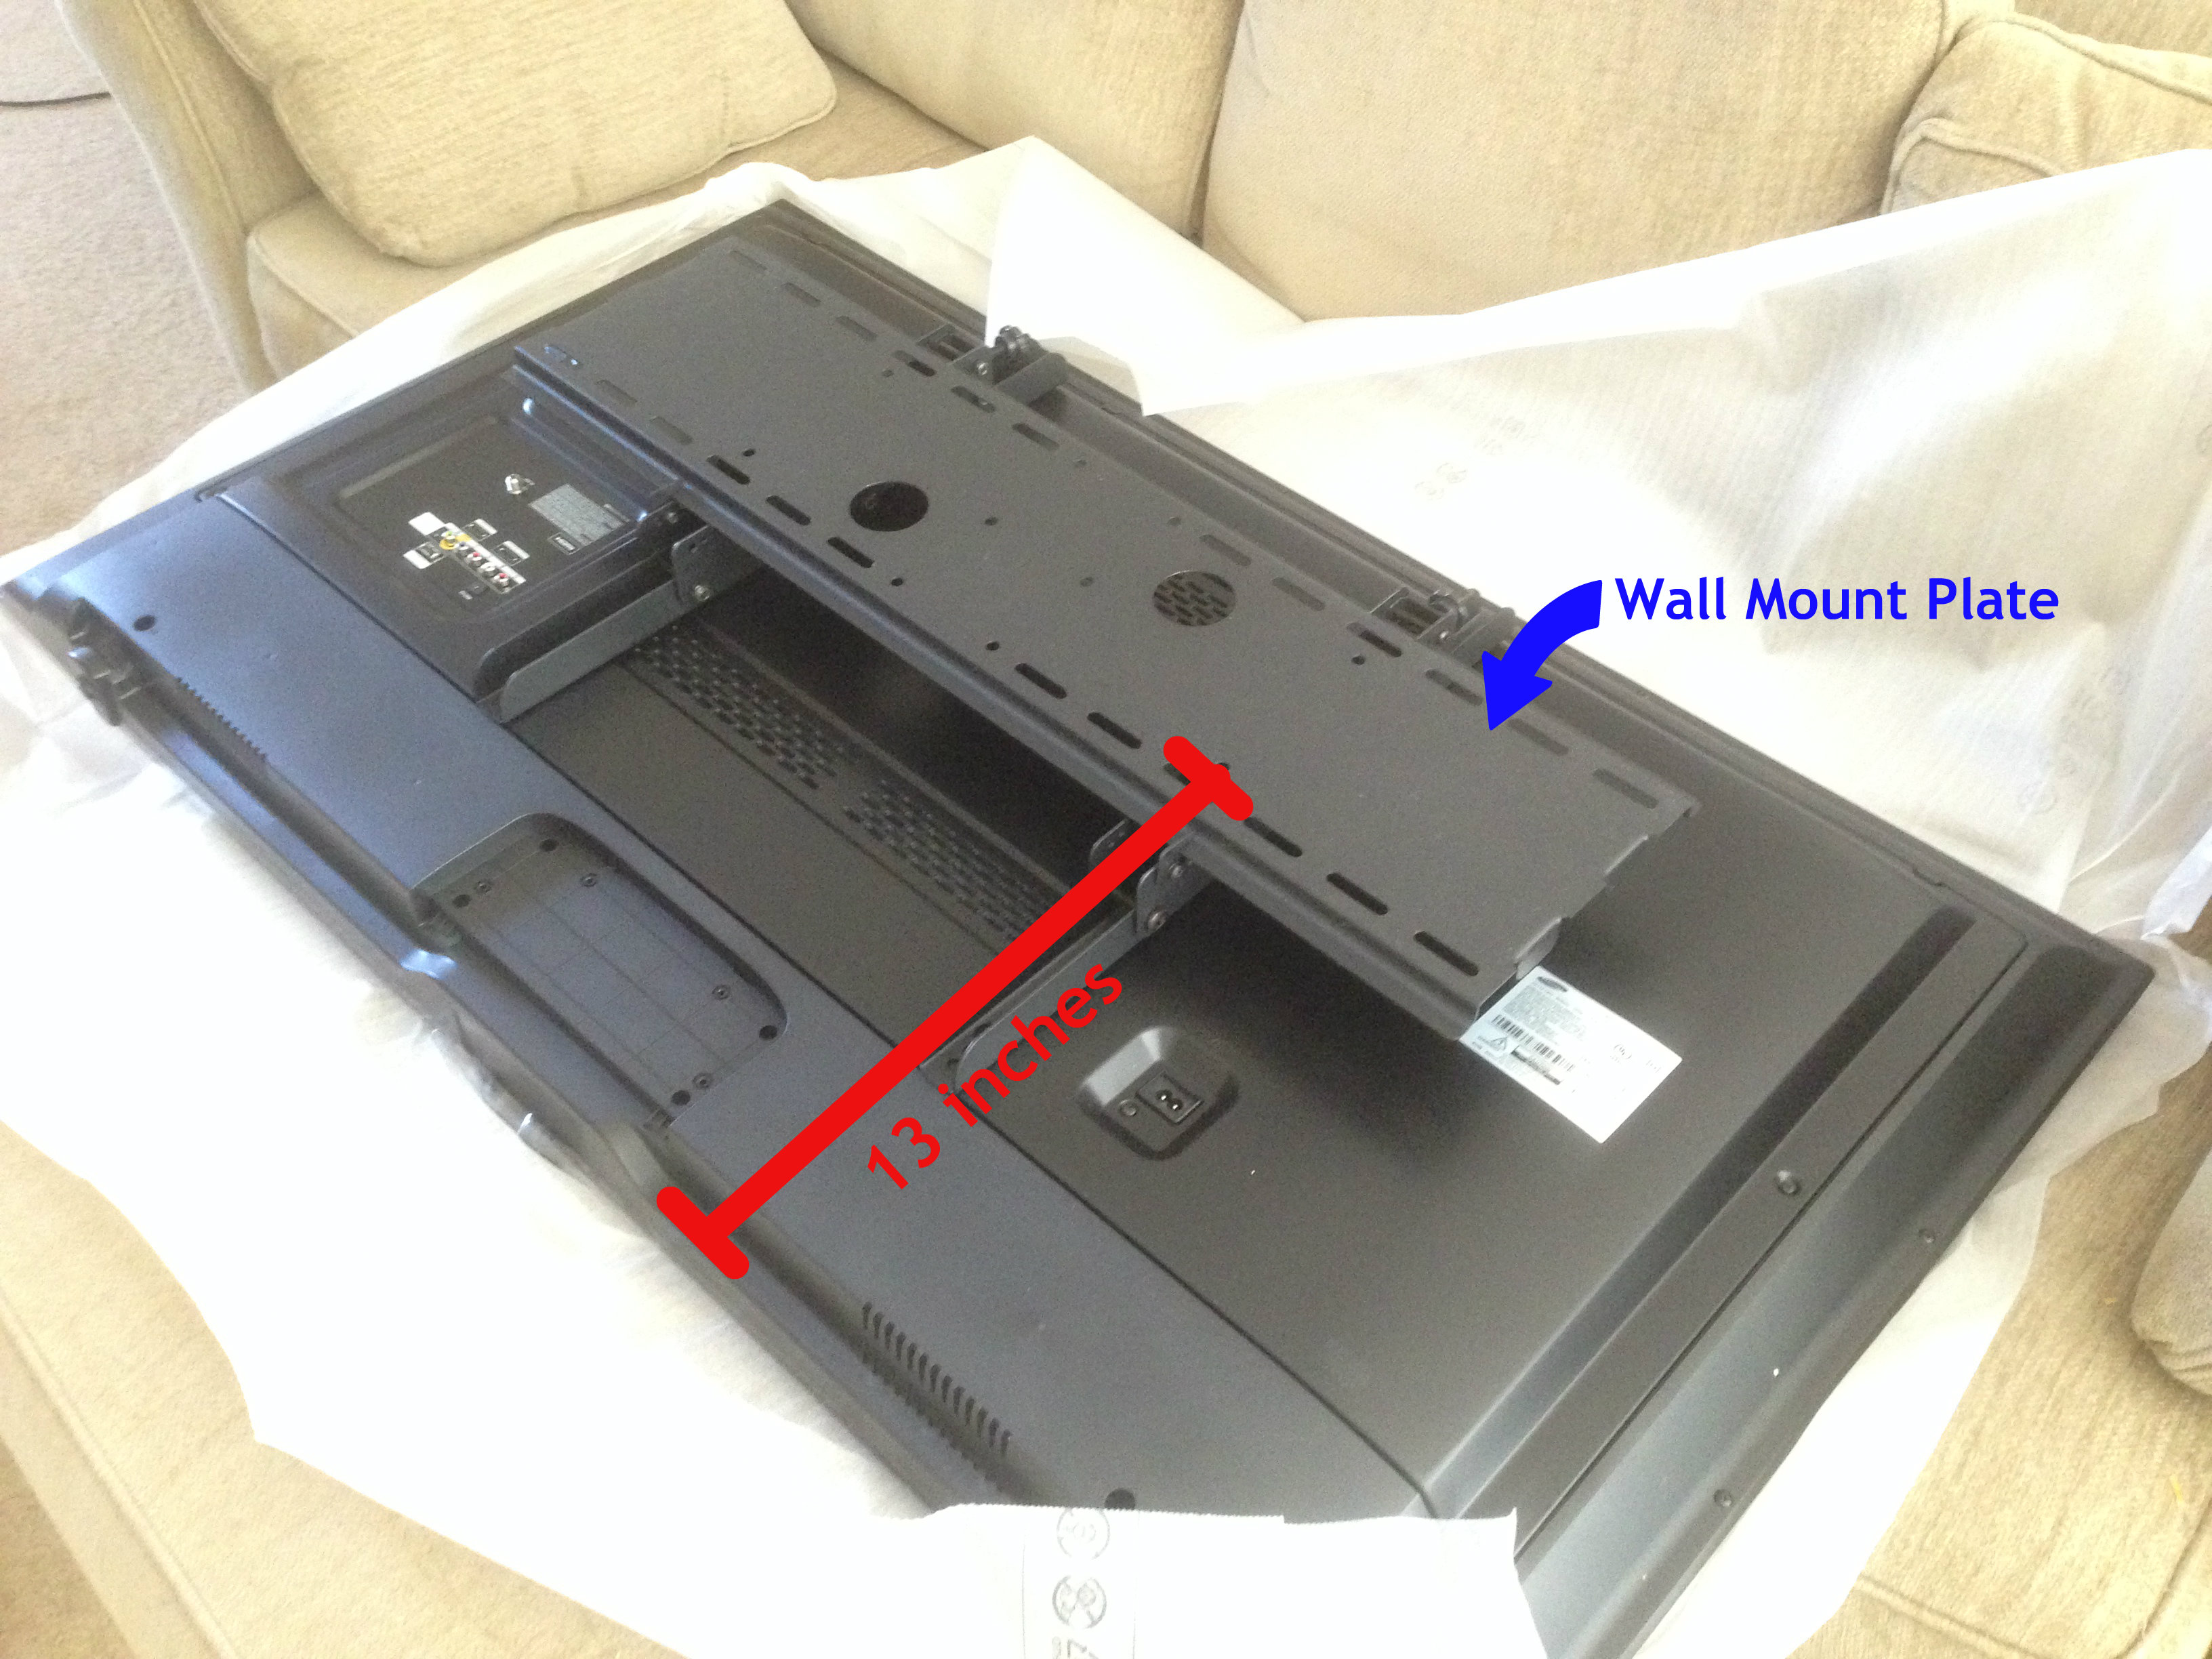 I wanted the TV eye level when you’re sitting down, so based on that I marked the wall as to where I’d want to bottom of the TV to be, then measured up 13 inches (to the bottom mounting hole) along the stud and identified where I wanted the wall plate to be positioned. Then I simply used the wall plate as a template to mark off the holes I needed to pre-drill on to the studs.
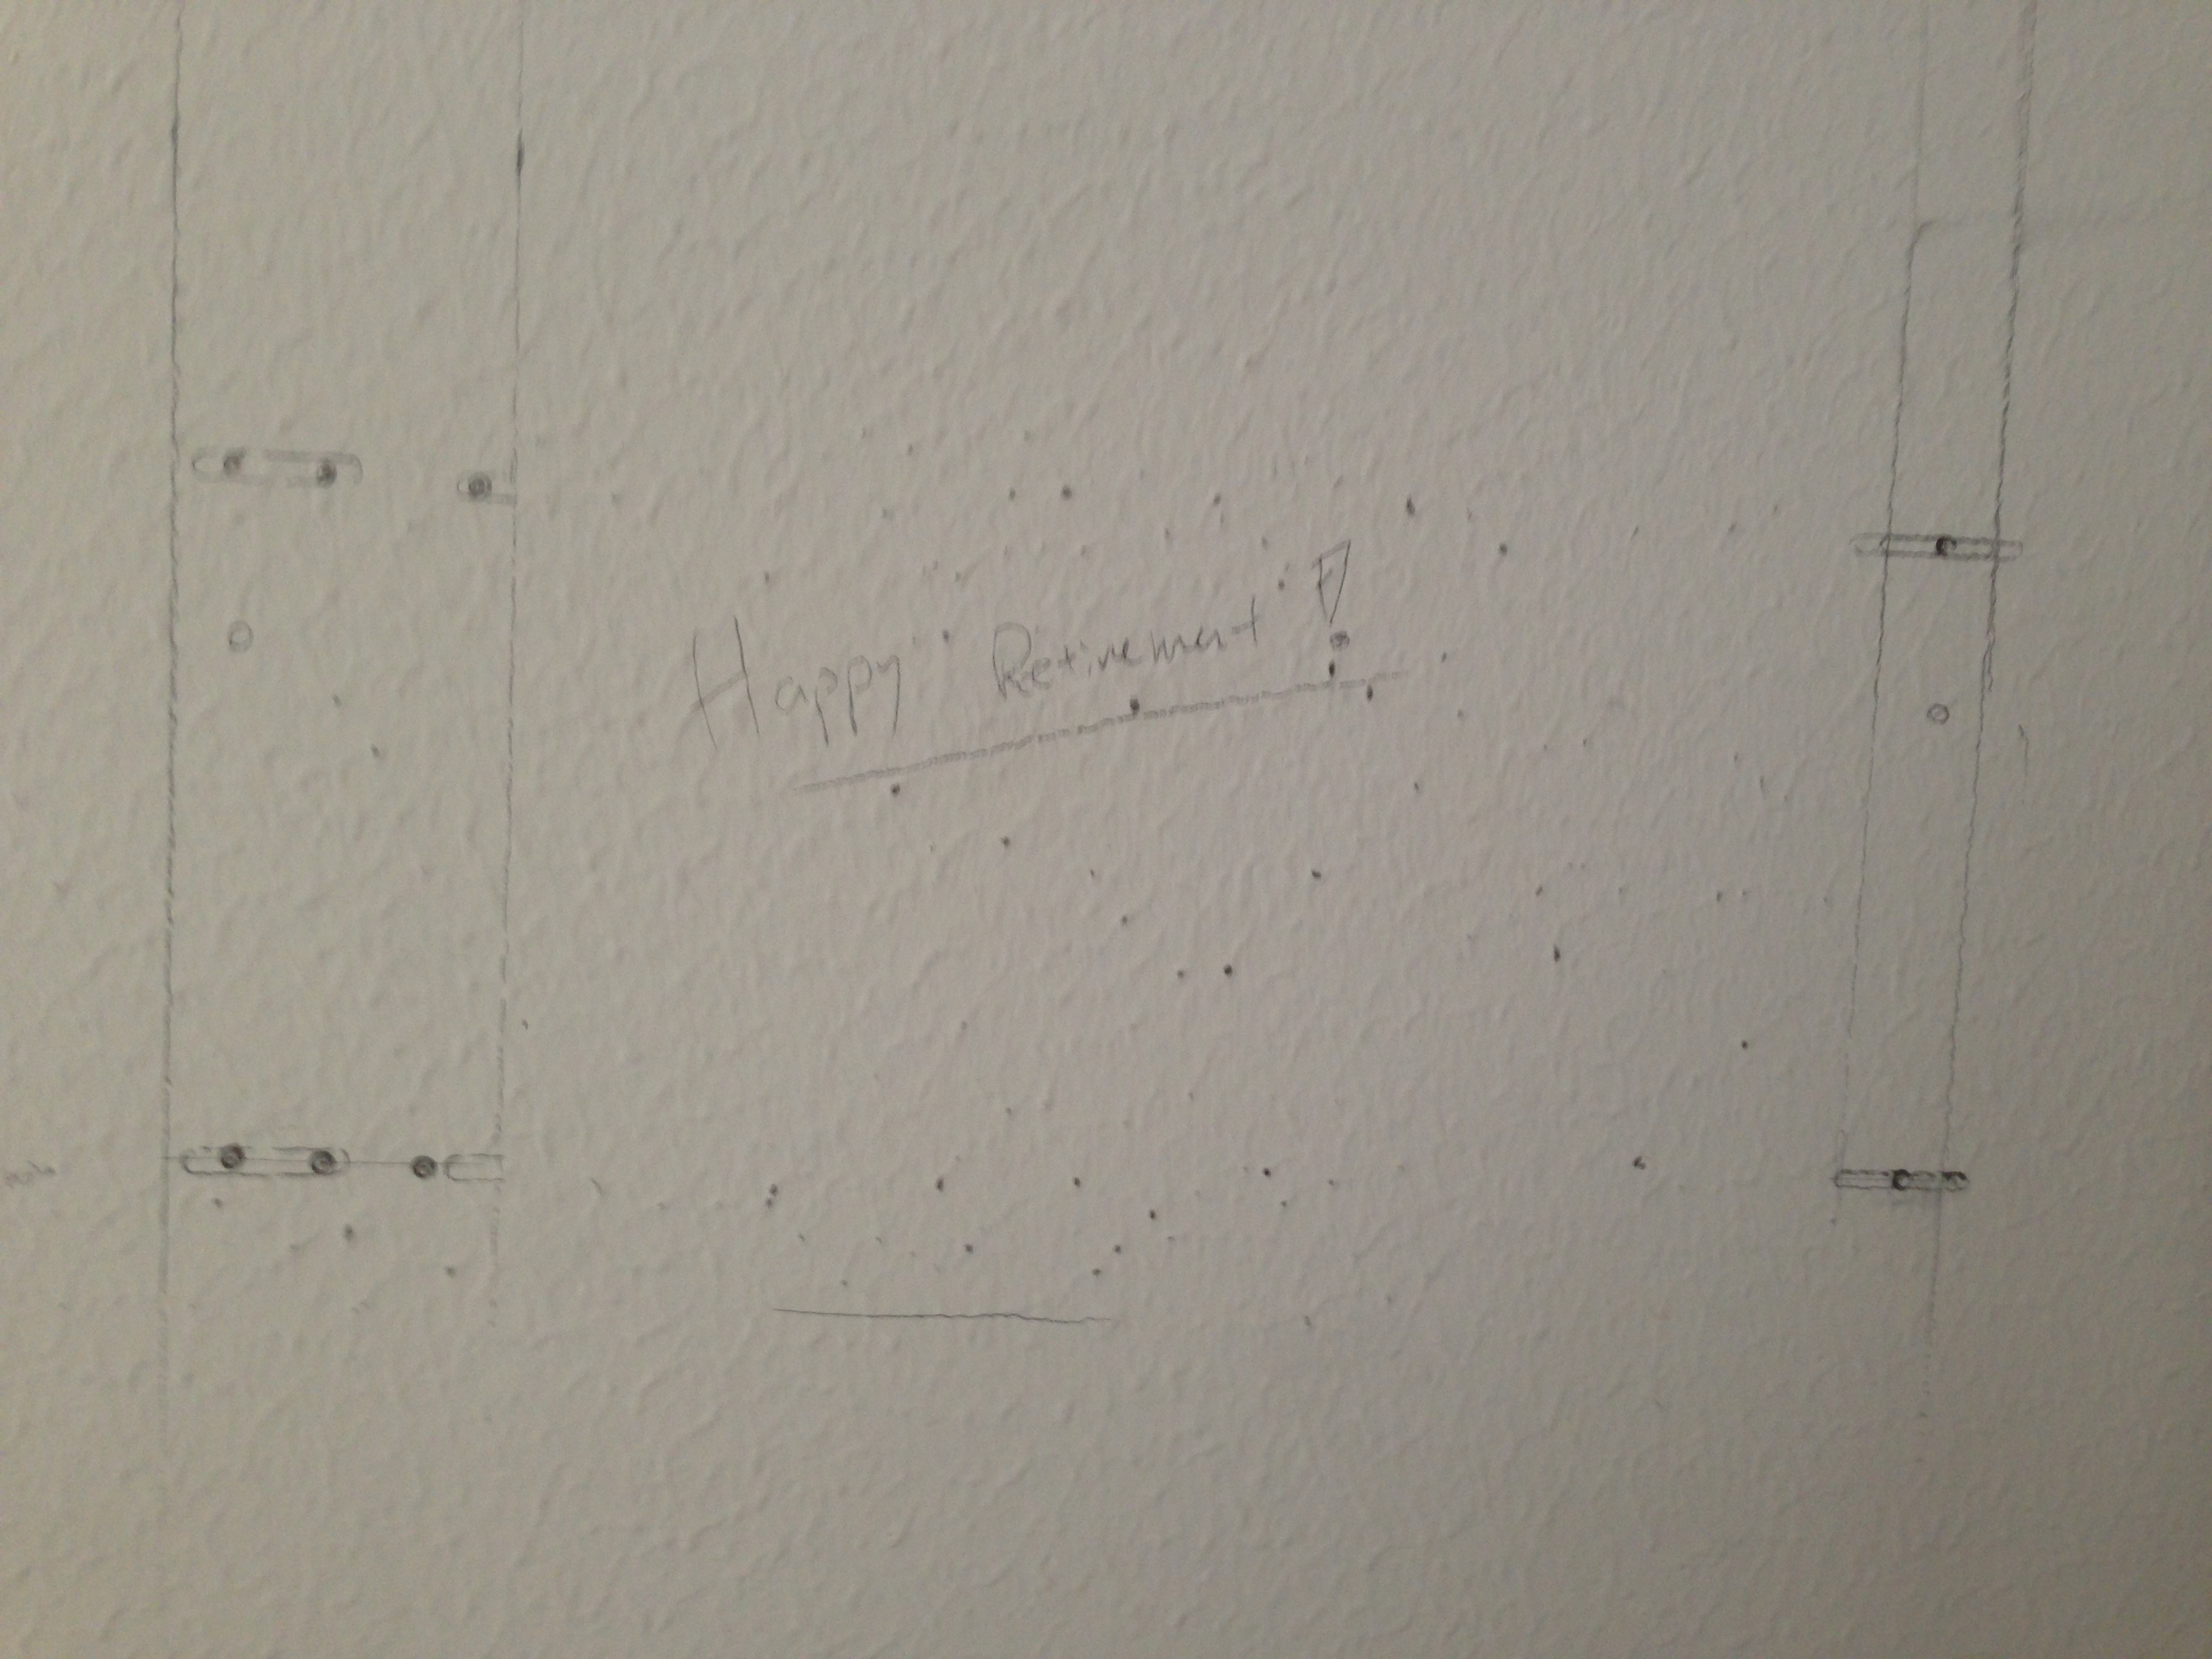 Nobody is going to see all the markings and holes, because the mount and the TV will cover it all up. I took a very small drill bit and tested to see if the stud was actually there, so you’ll note a few extra holes where I was double checking. Again, it’ll all be covered up so it was no big deal. As another measure of checking, I cut the holes for wires to be run so that I could stick my hand in there and feel the actual stud.
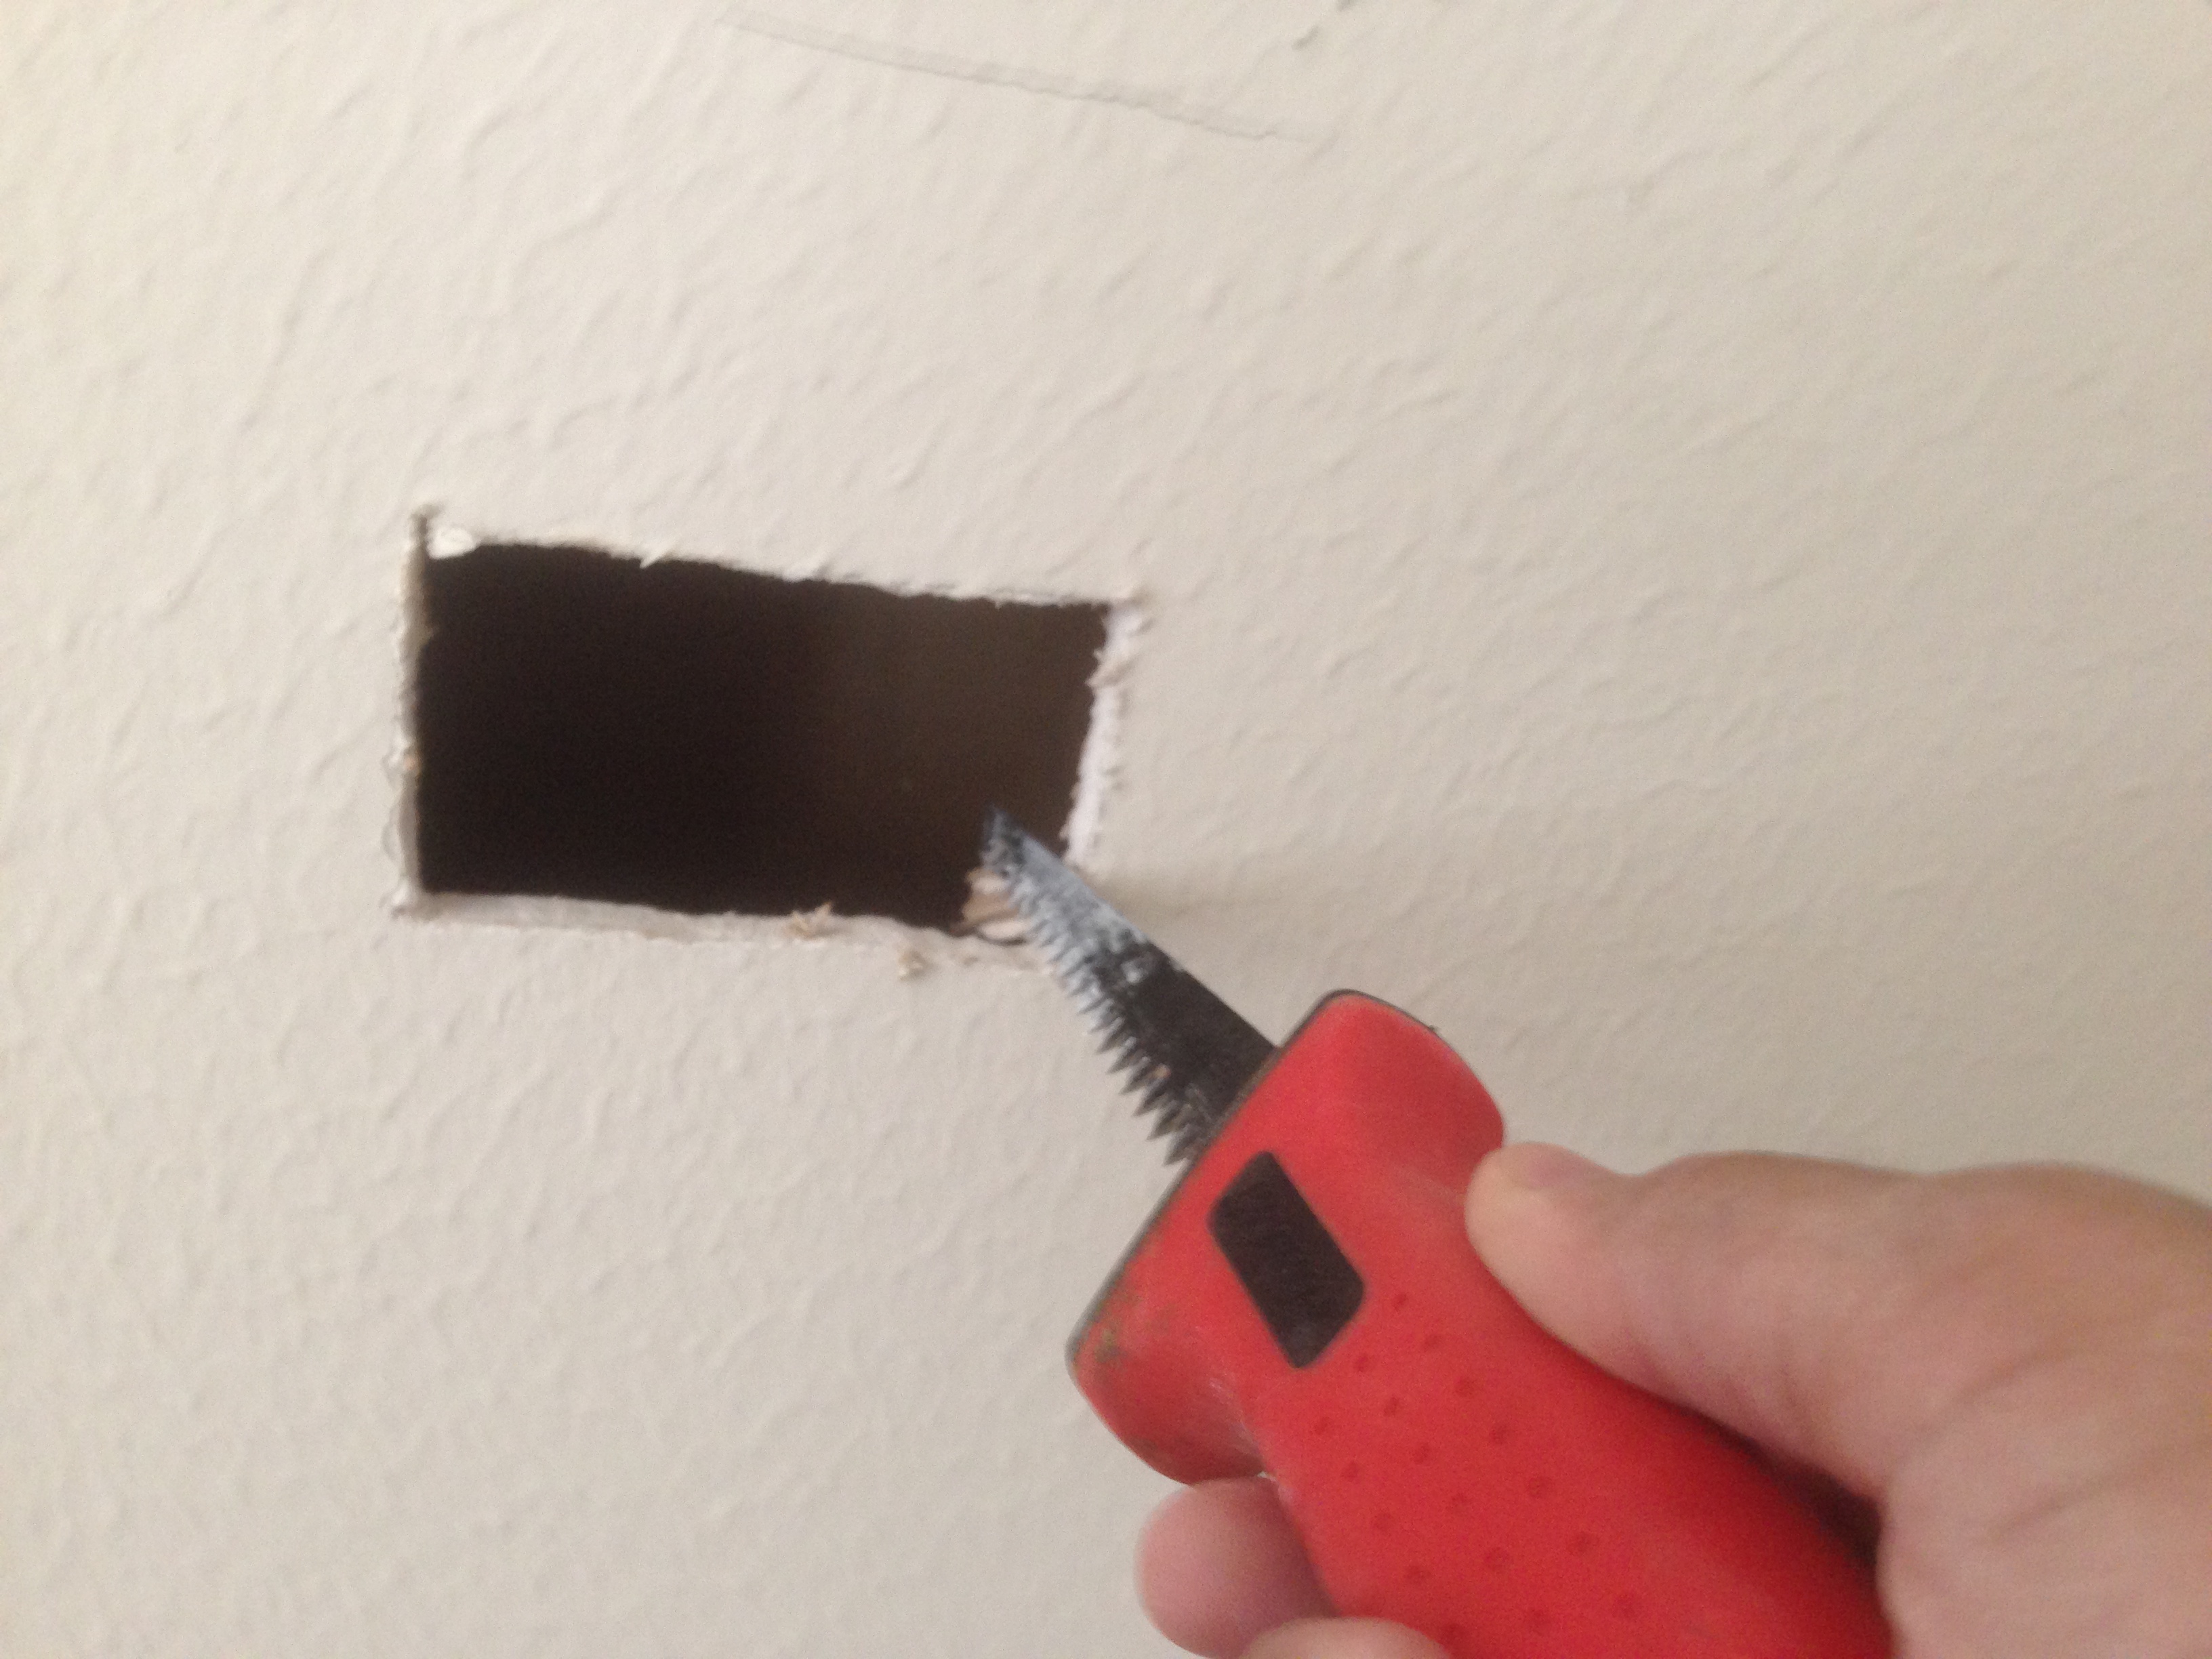 After that final confirmation that the studs were actually where I thought they would be, I took an 11/64th drill bit and made my pre-drilled holes in the appropriate places. Then it was just a matter of screwing the wall plate in place. Before doing the final tightening, I used my level to be sure that everything was straight, which it was.
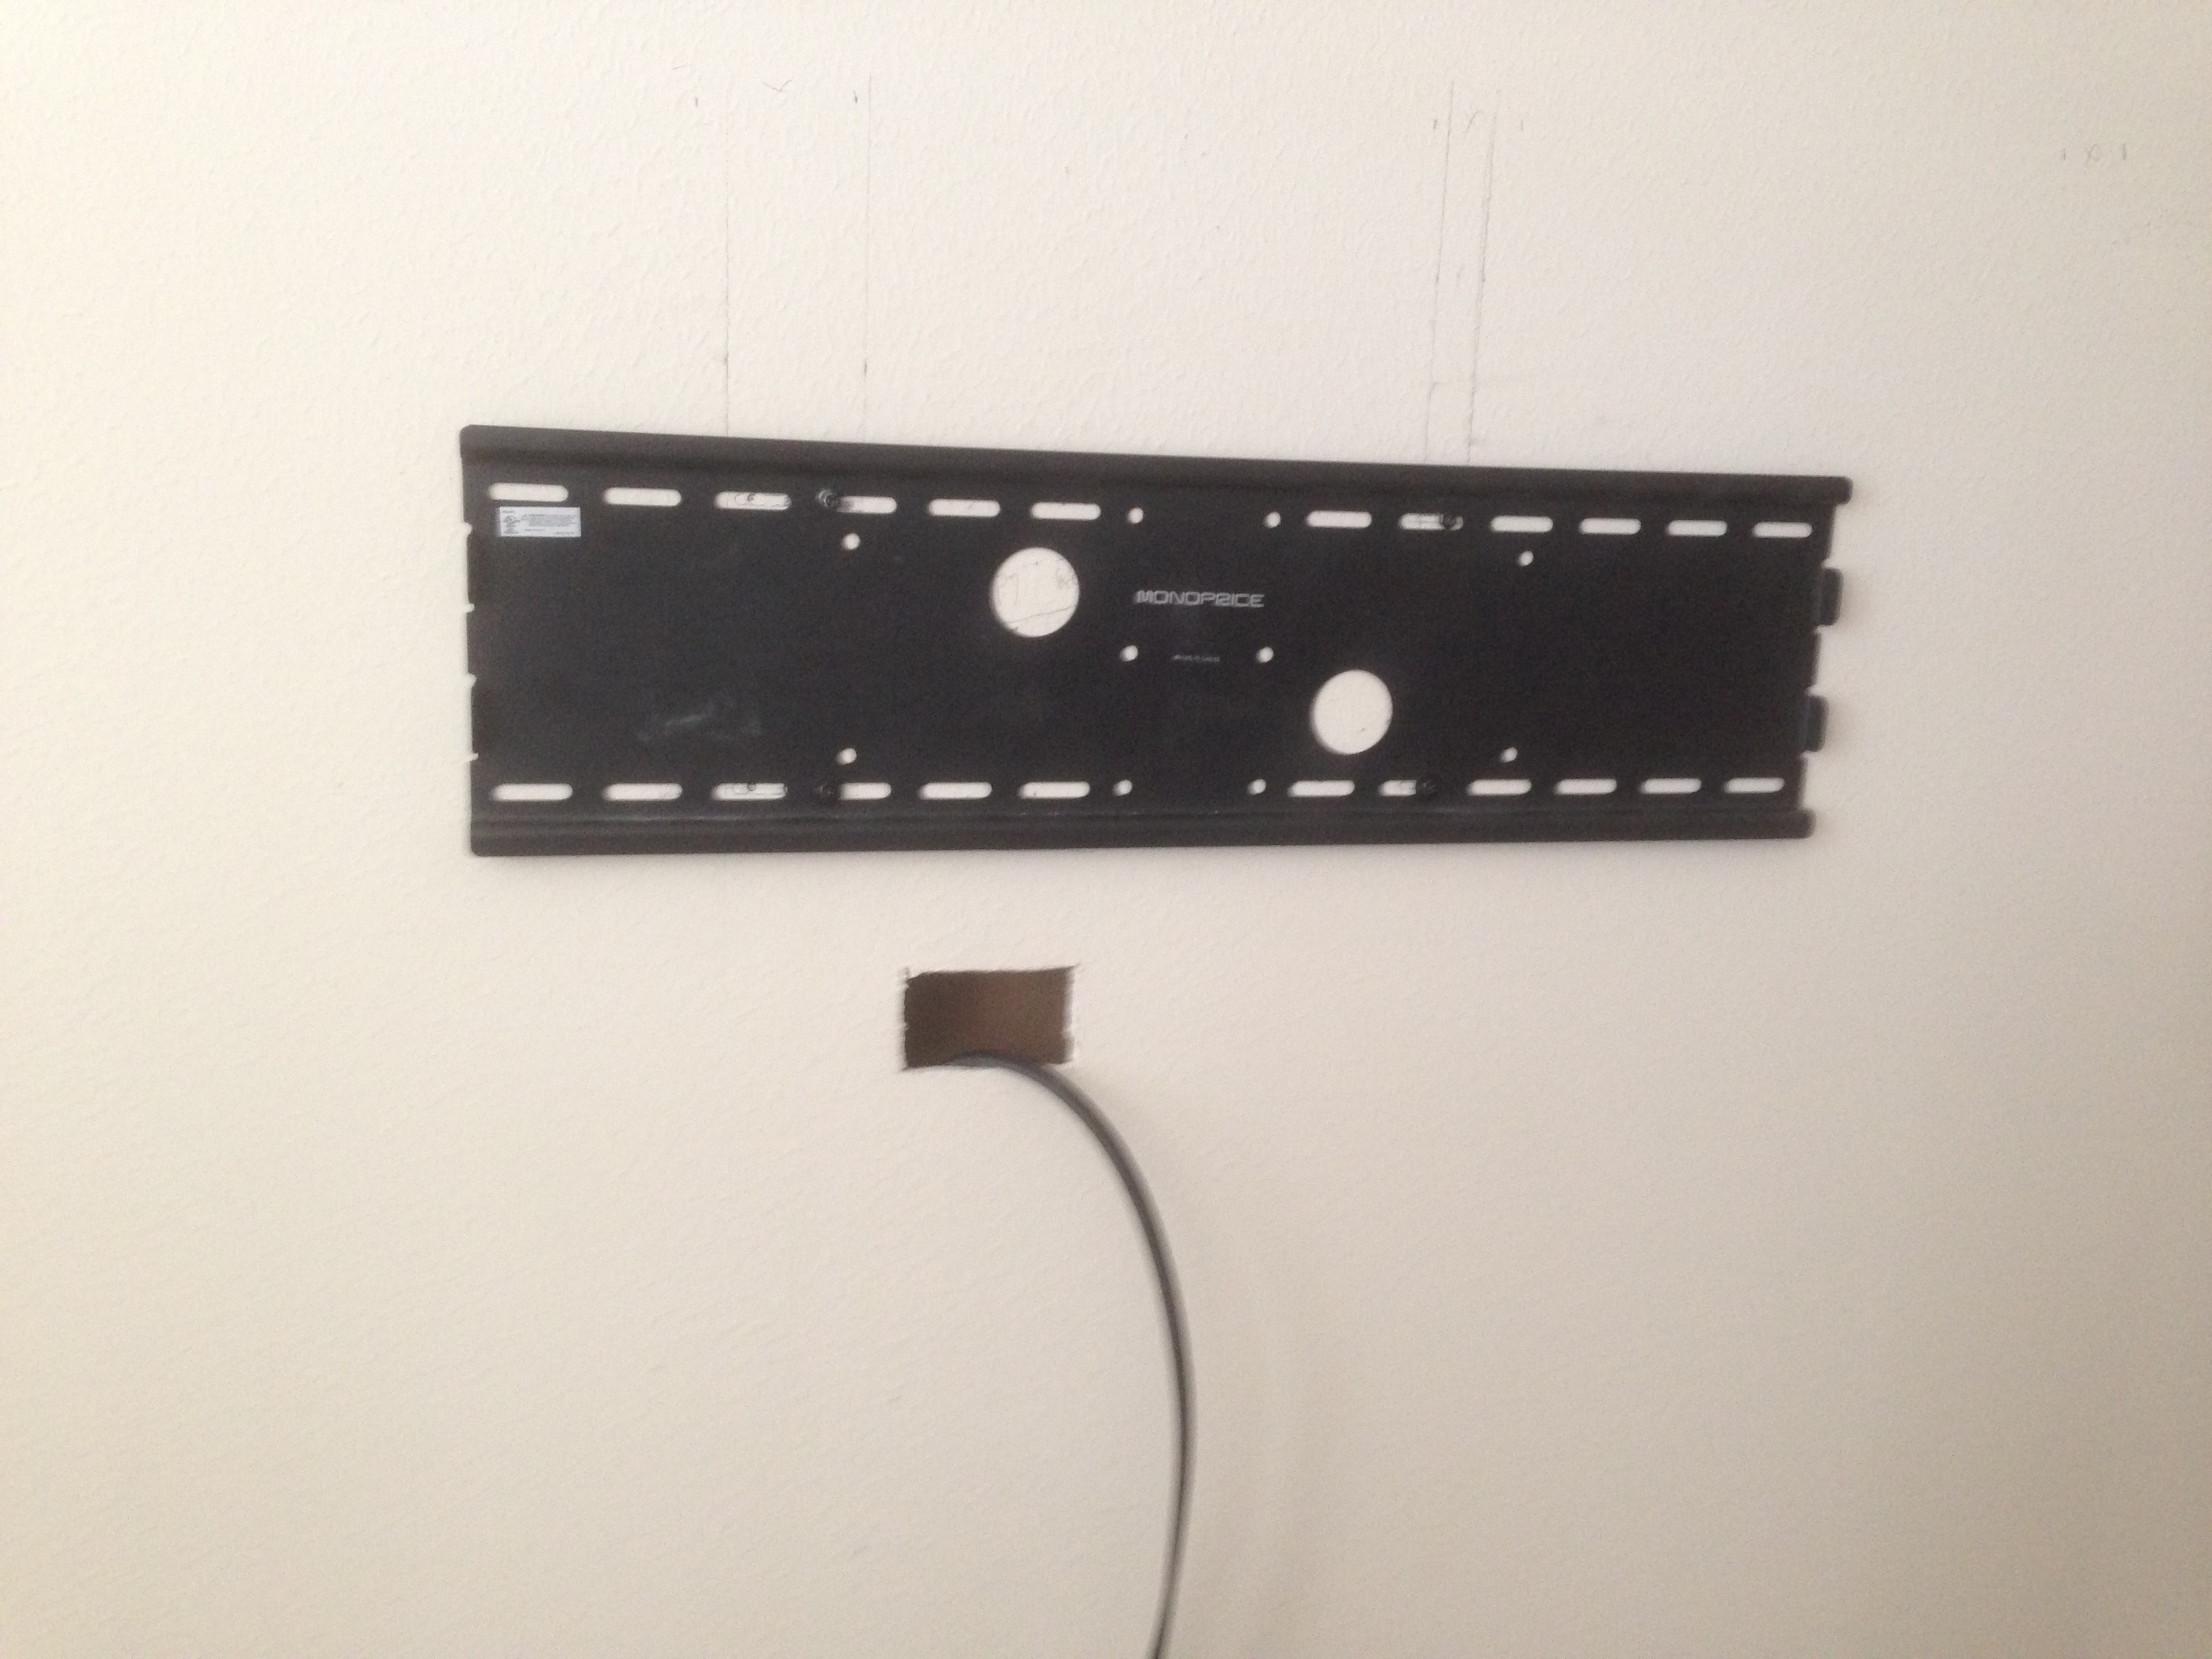 Then I ran the cables and installed the cable wall plates to clean up the look.
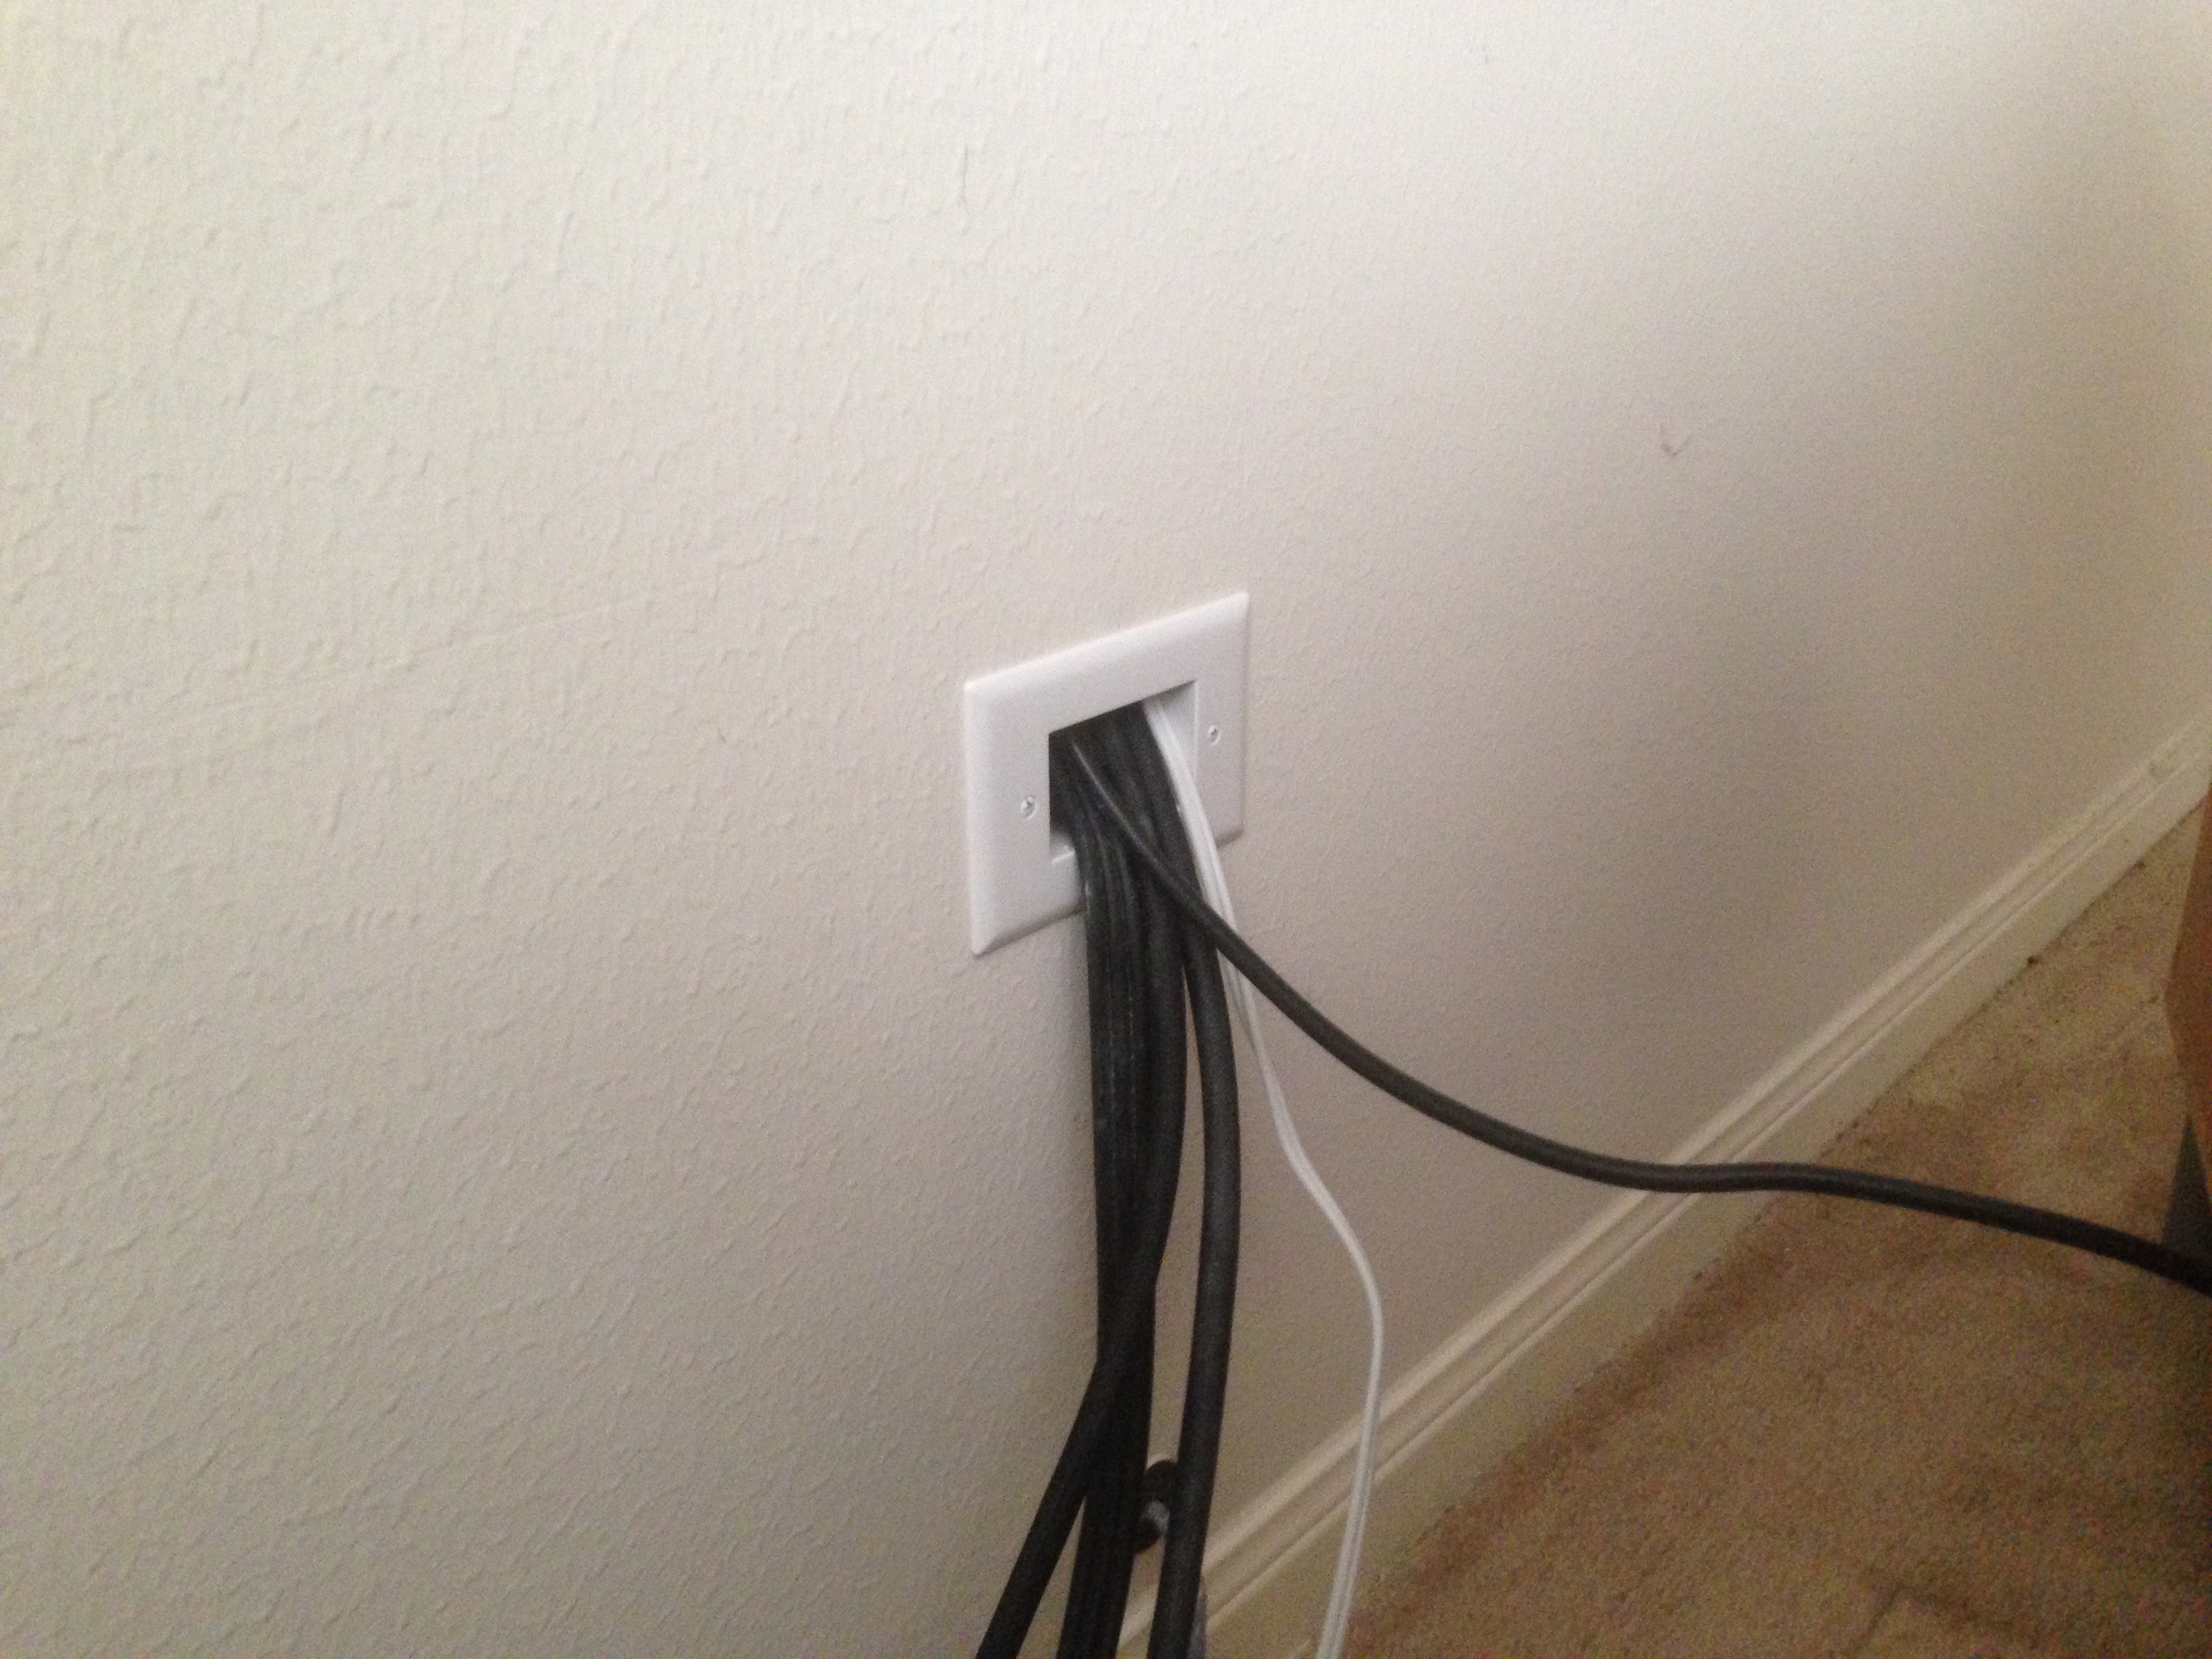 Then I used my stud finder and found Tim Thomas to help me hang the TV on the wall. Not only did he help me put the new TV on the wall, which was relatively easy because it was light, but he also helped me haul the old TV upstairs! That was no easy task! But we’ve been in strong man competitions in the past, so we were able to knock it out. Here’s a pic of us from 2 weeks ago.
 But that’s beside the point…
Here’s what the new TV looks like on the wall!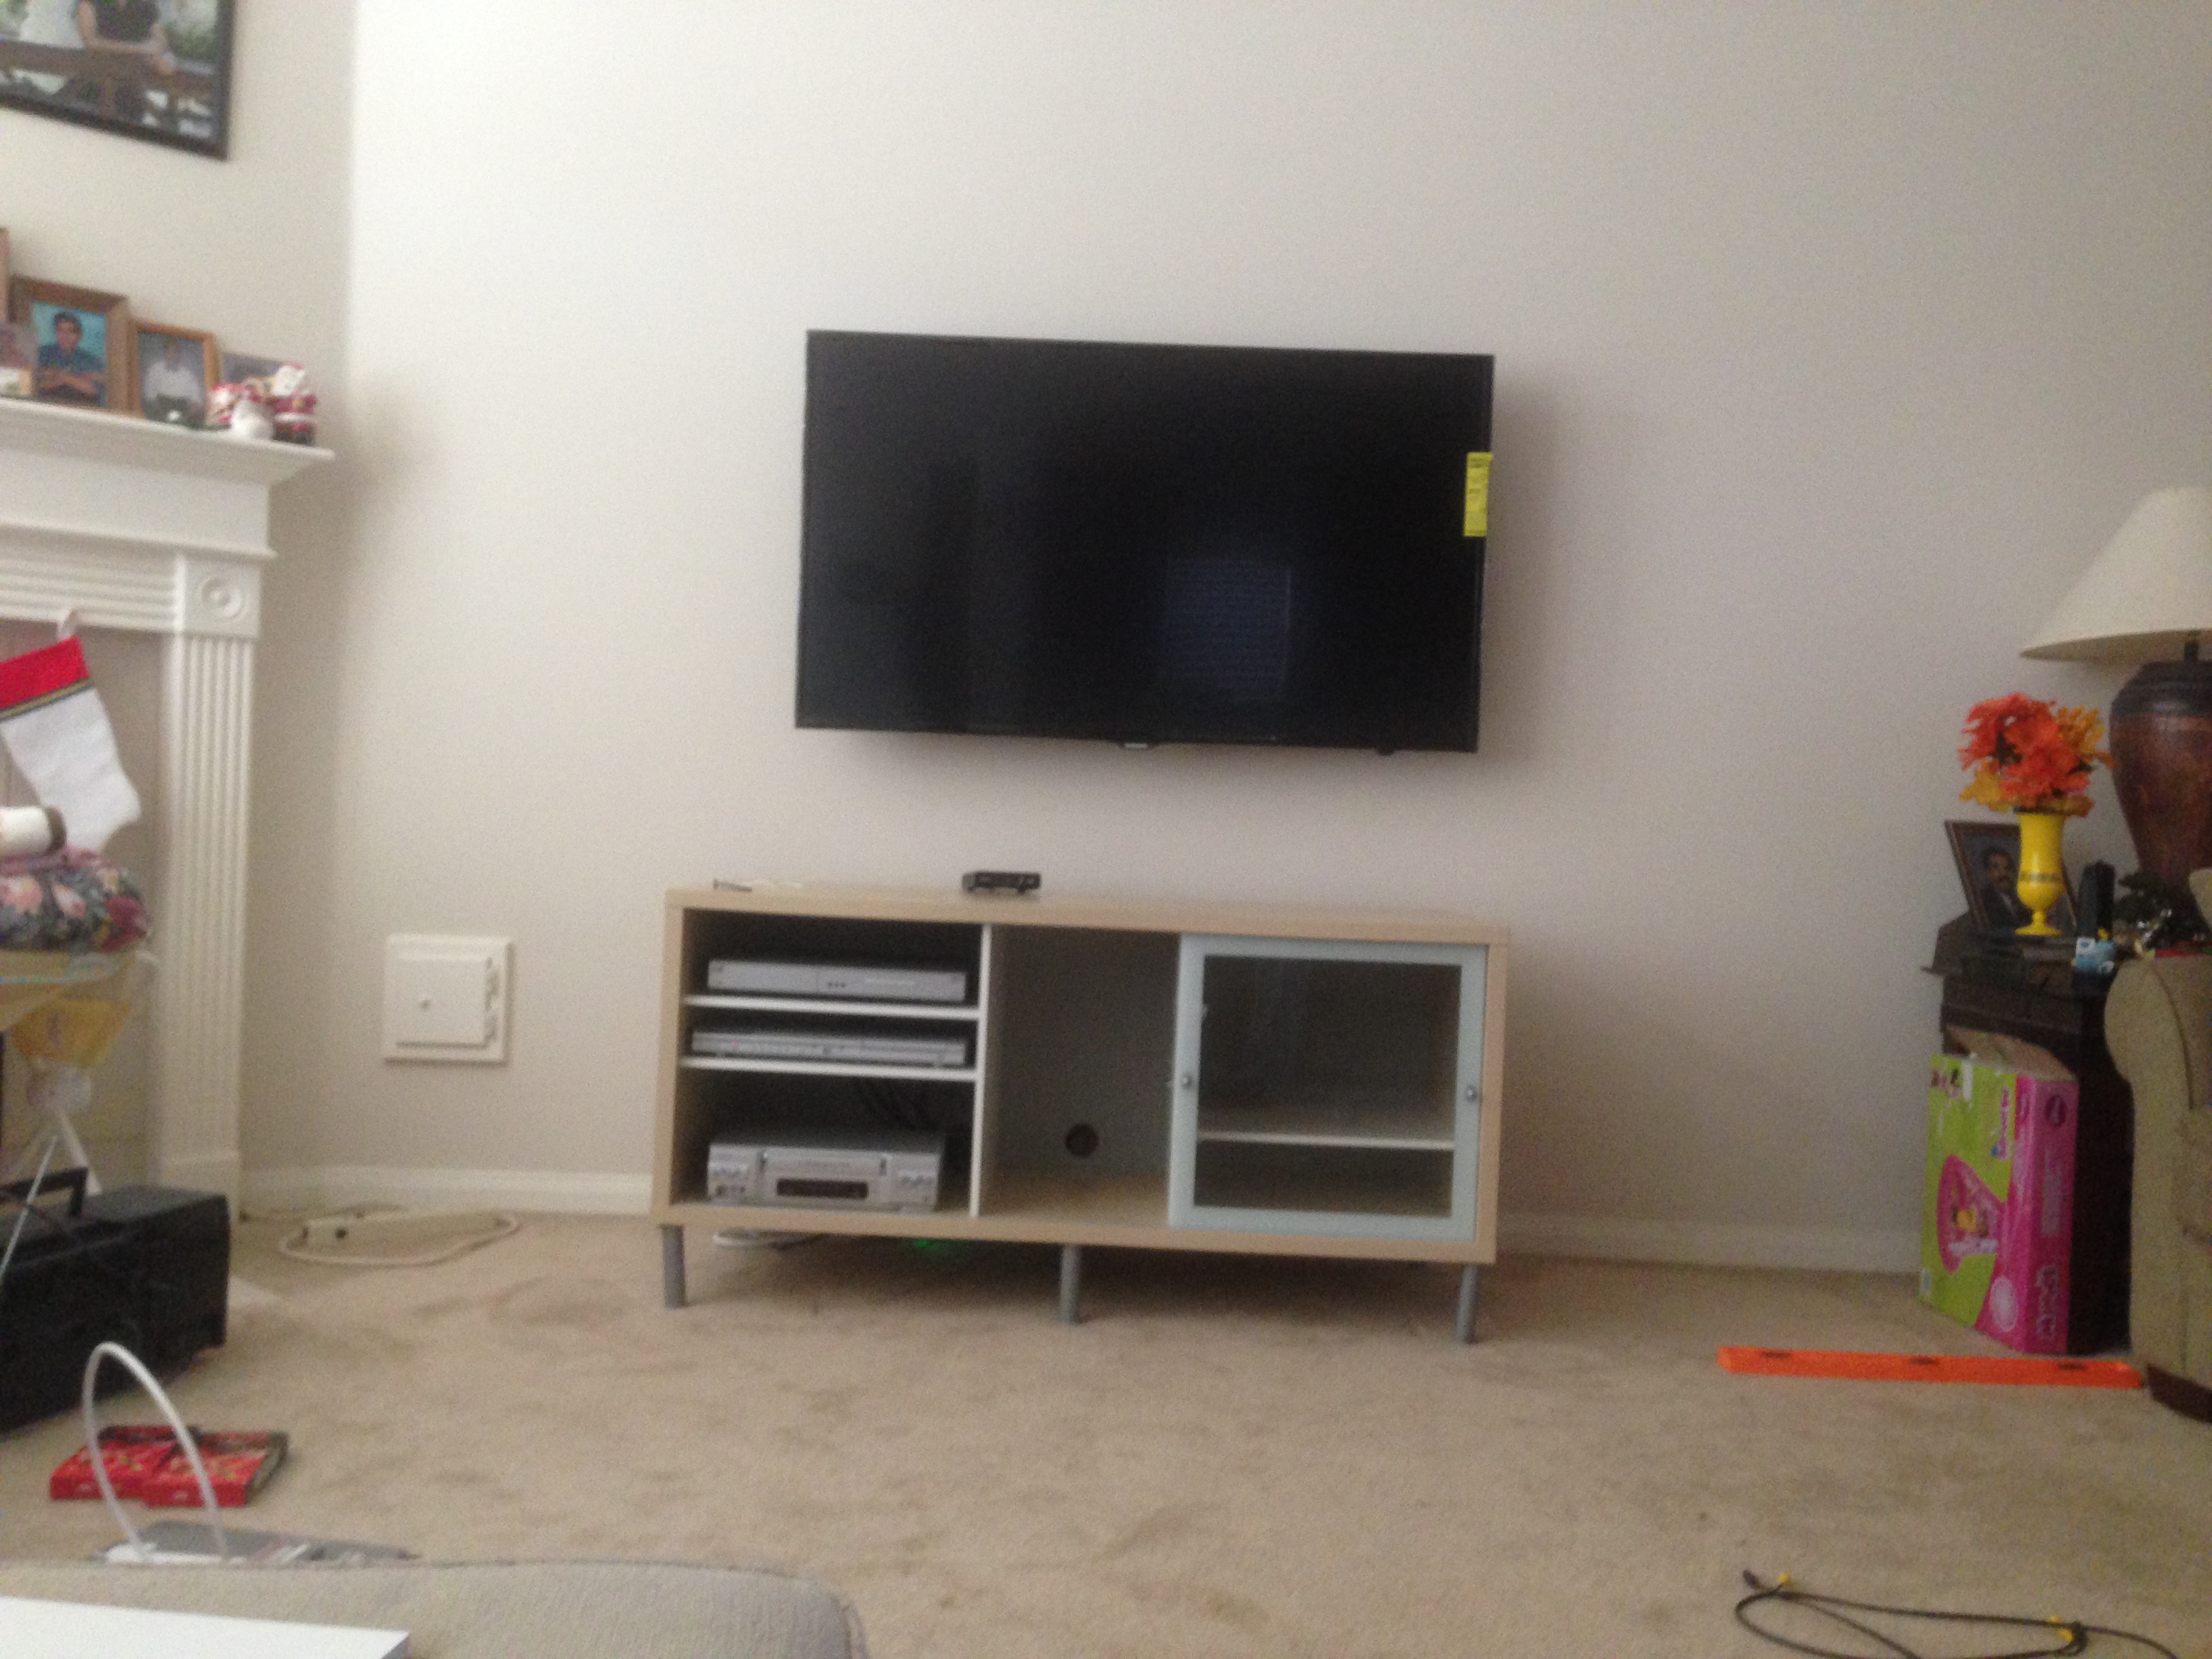
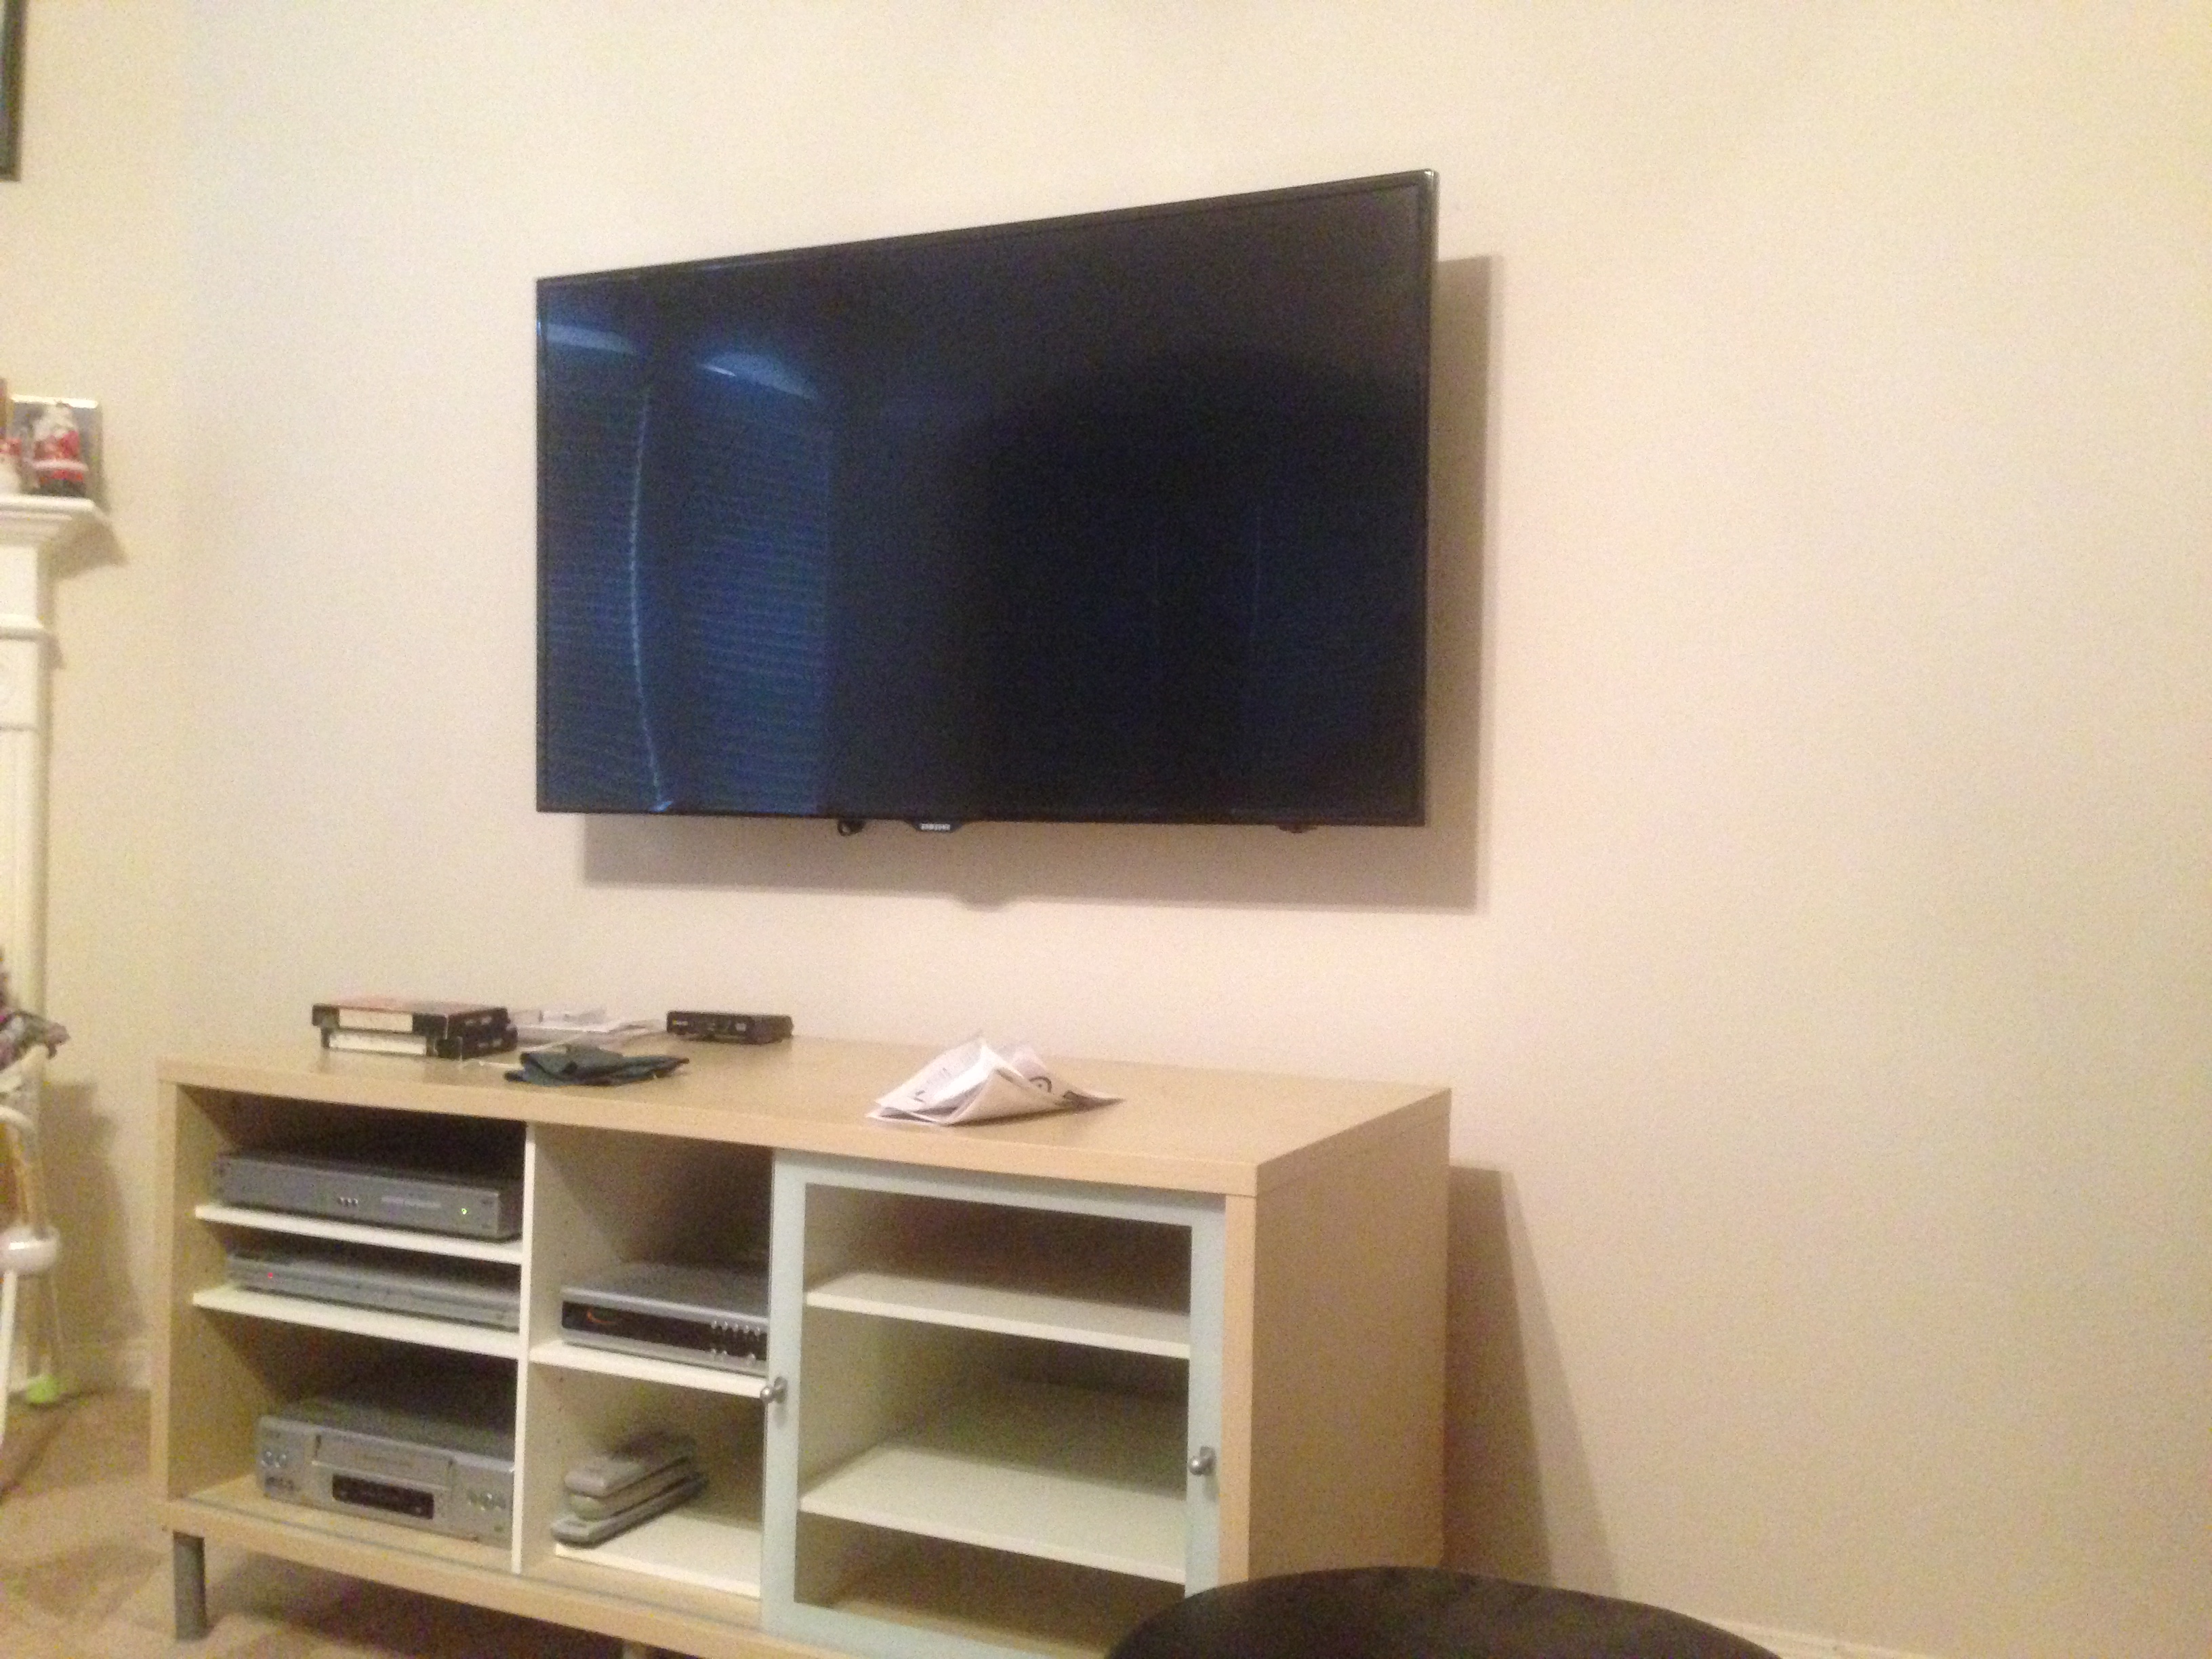 The media cabinet below the TV is from upstairs when Blesson and I lived there. It does the job, but is only there temporarily.
As you can tell, it really opens up the space and doesn’t feel crowded anymore, but it also exposes how naked the walls are. Remember all of the photos that were on the old shelves?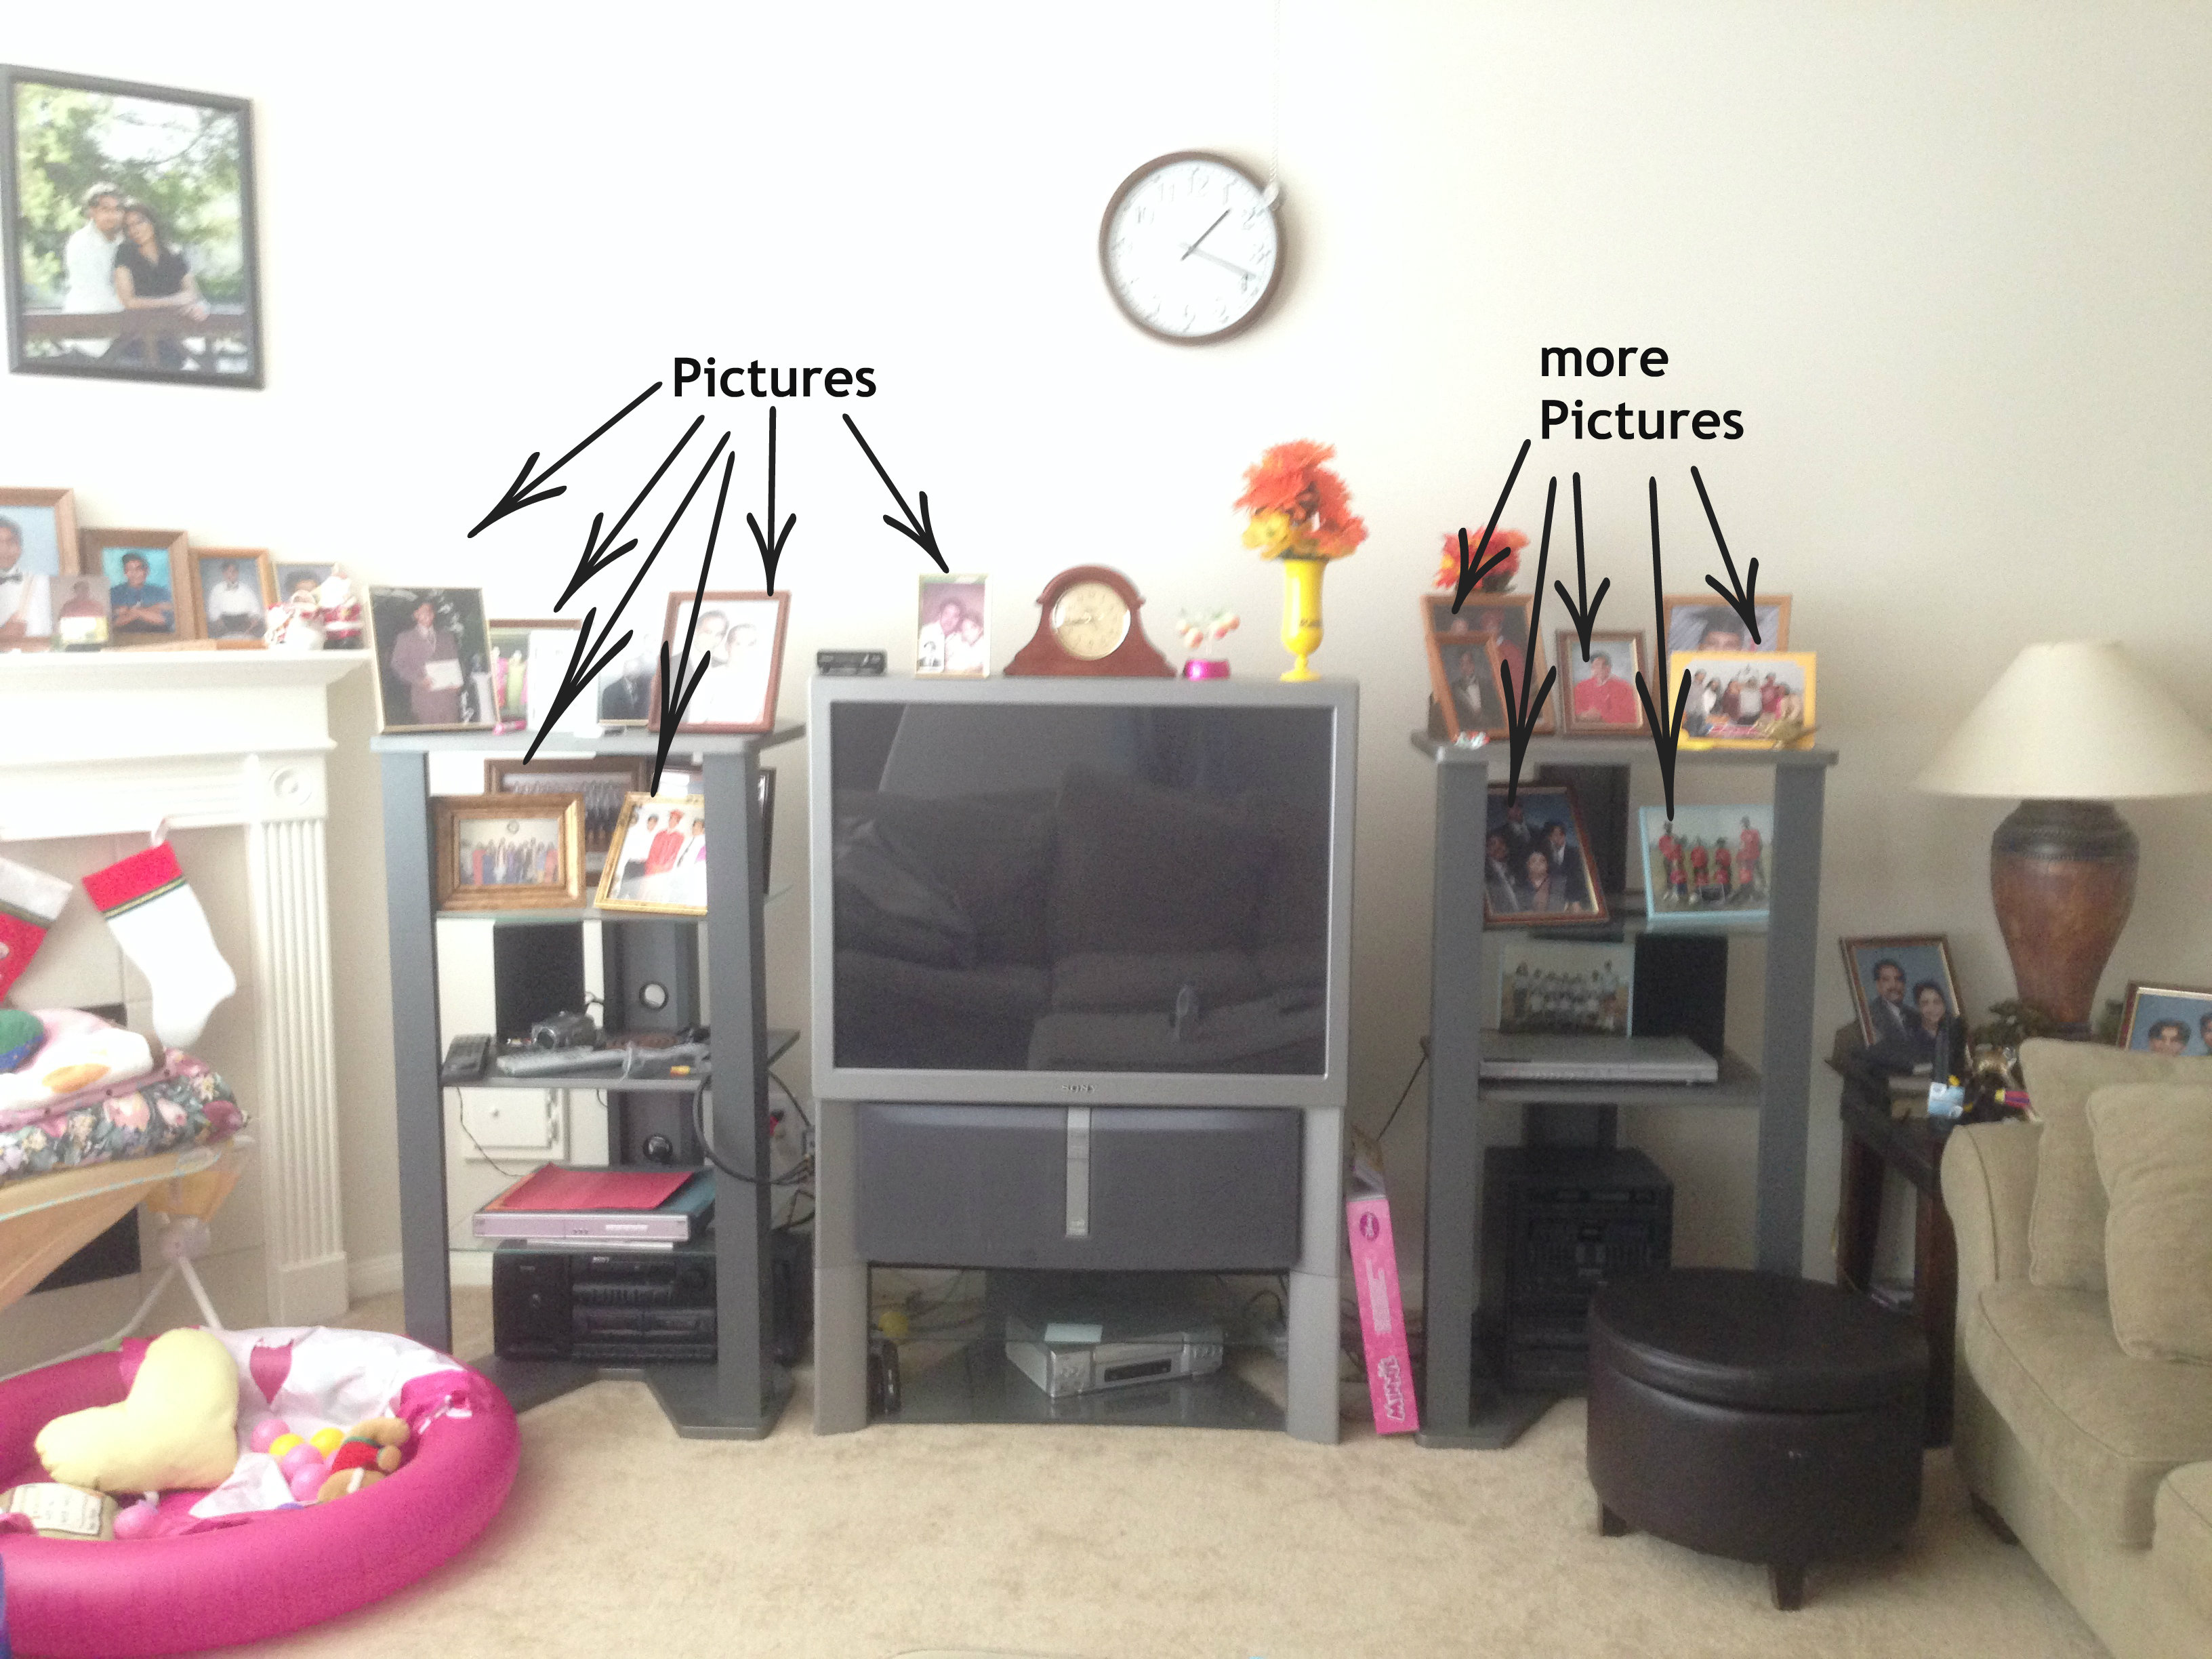 The plan is to build out a few gallery ledges and mount them on the wall next to the TV. That way we can actually see all of the pictures and it’ll be on a shallow shelf off the wall, rather than a bulky stand-alone shelf.
I measured out the space and determined that I can build ledges in the following lengths:
2 – 5 feet
2 – 30 inches
3 – 22 inches
The build is very basic. I used 1×4’s and 1×2’s for the entire project. It consisted of measuring all the pieces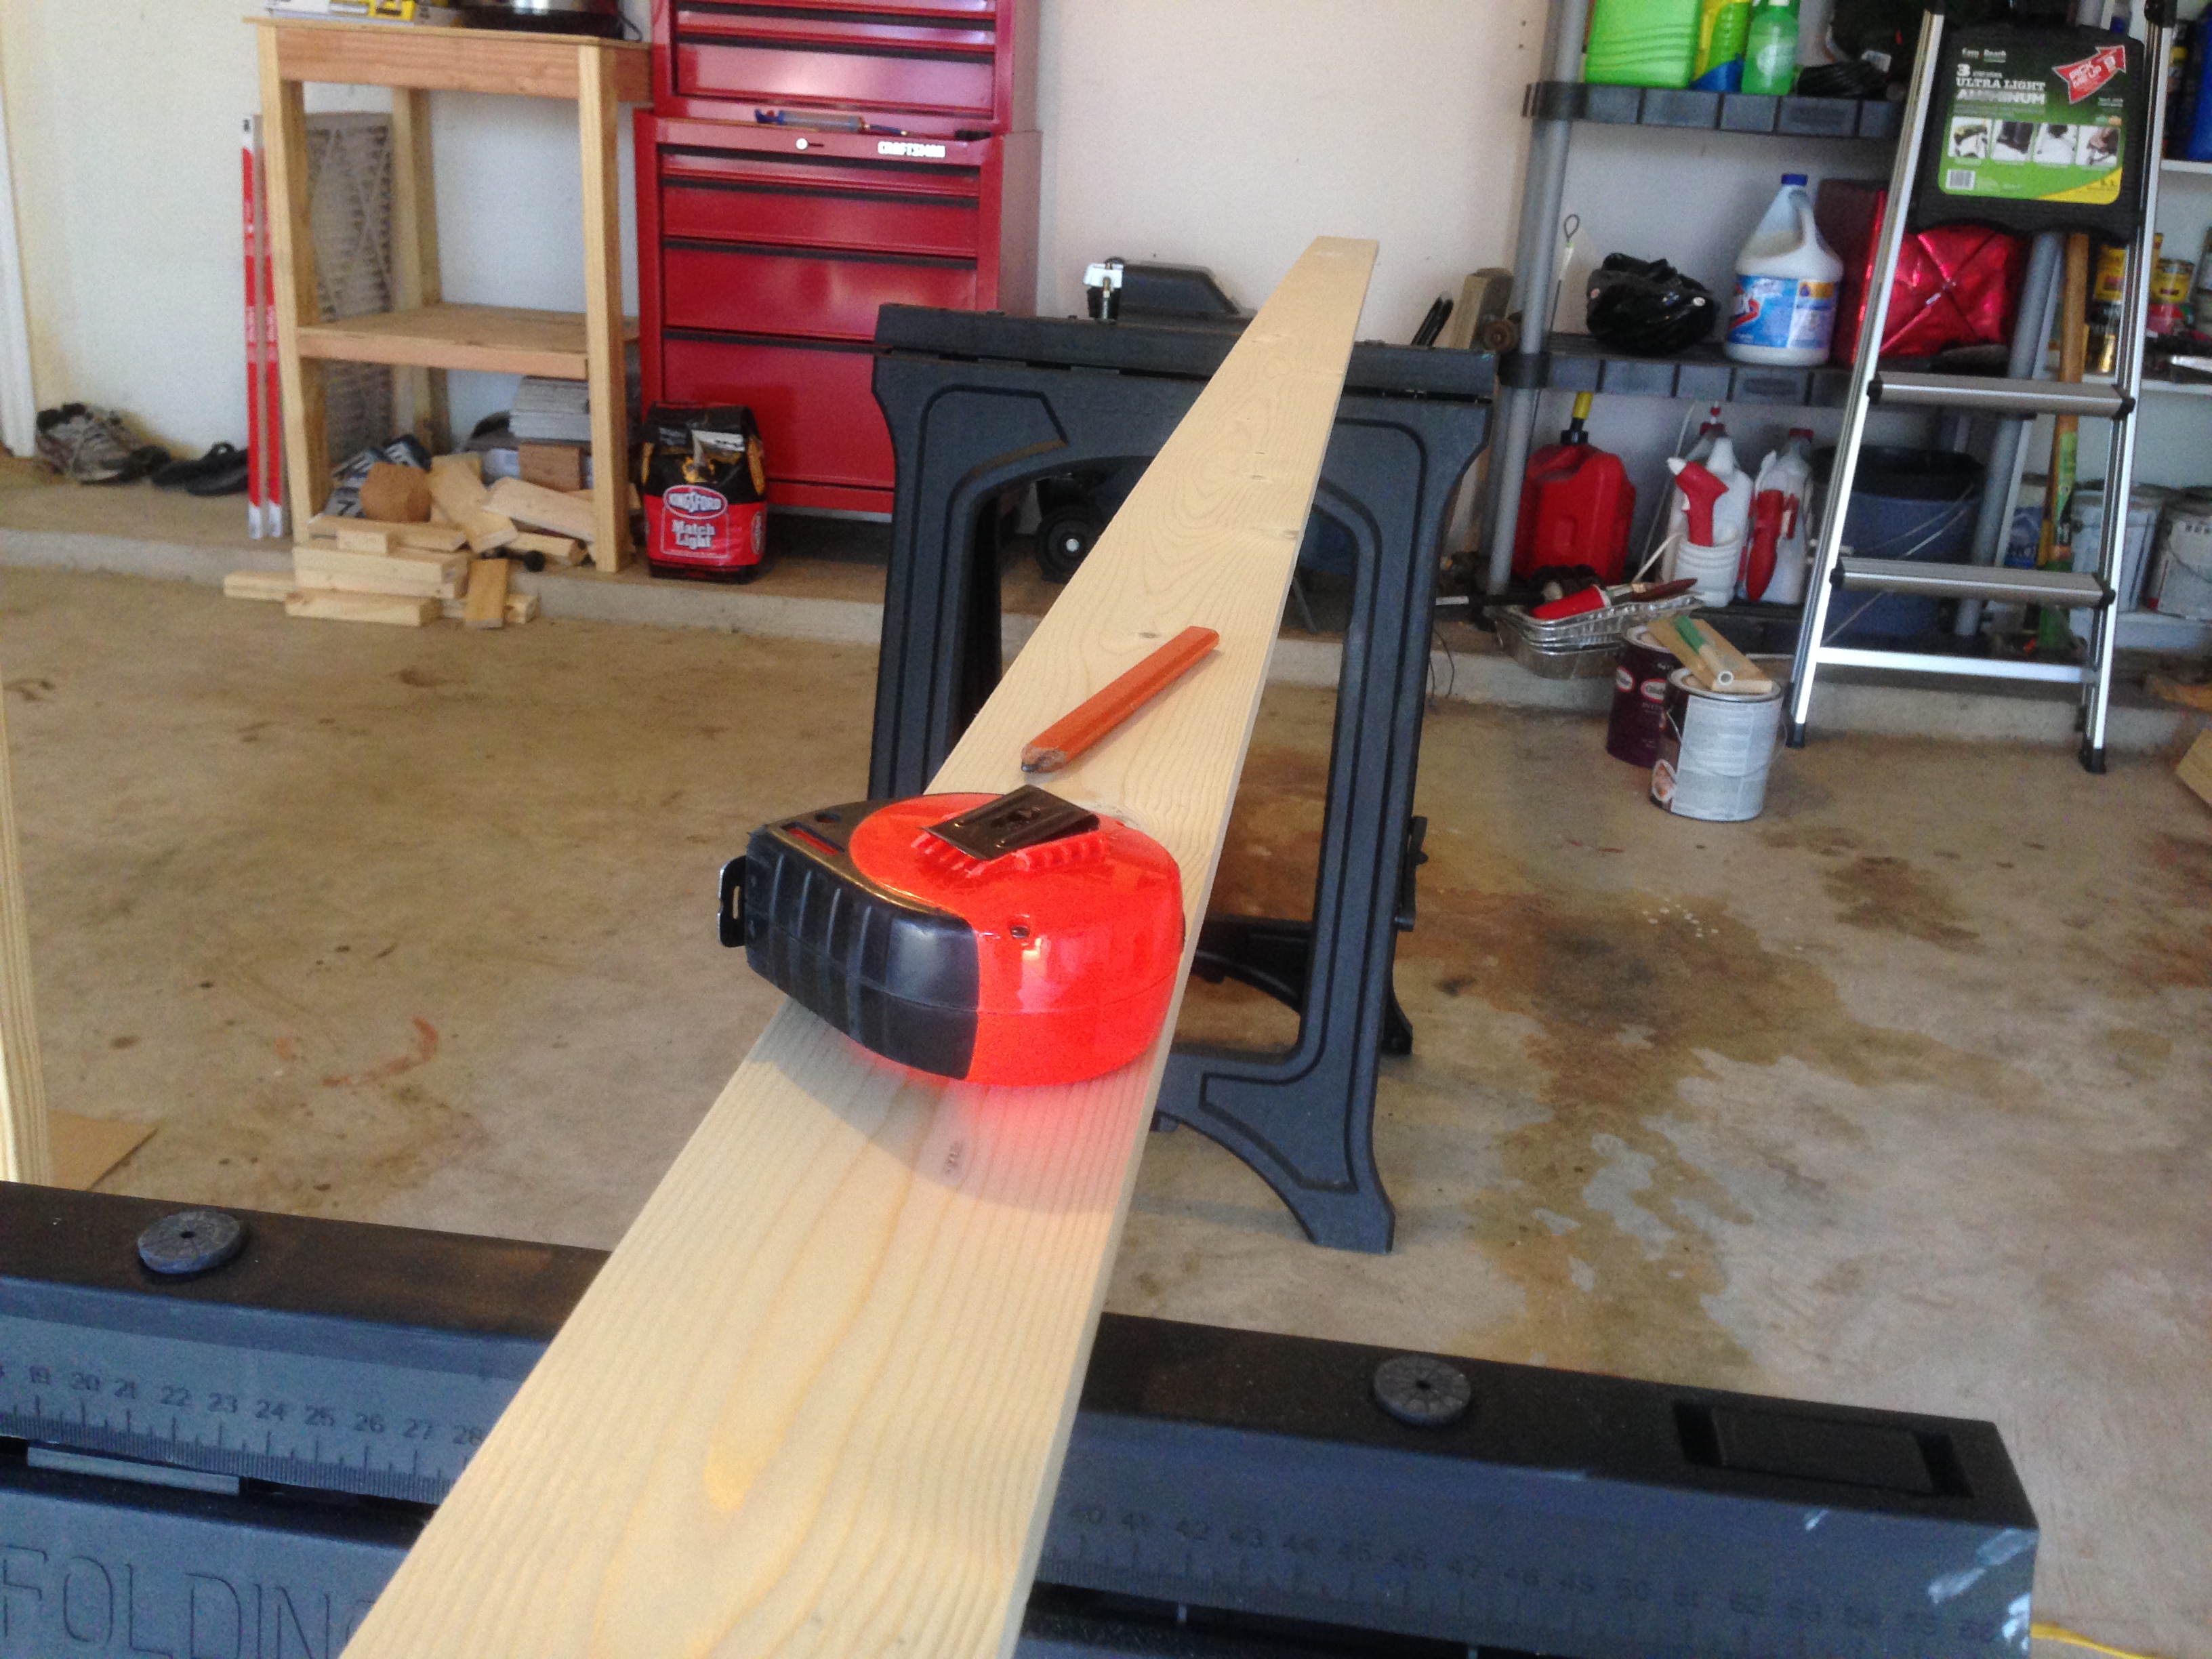
cutting all the boards down to size.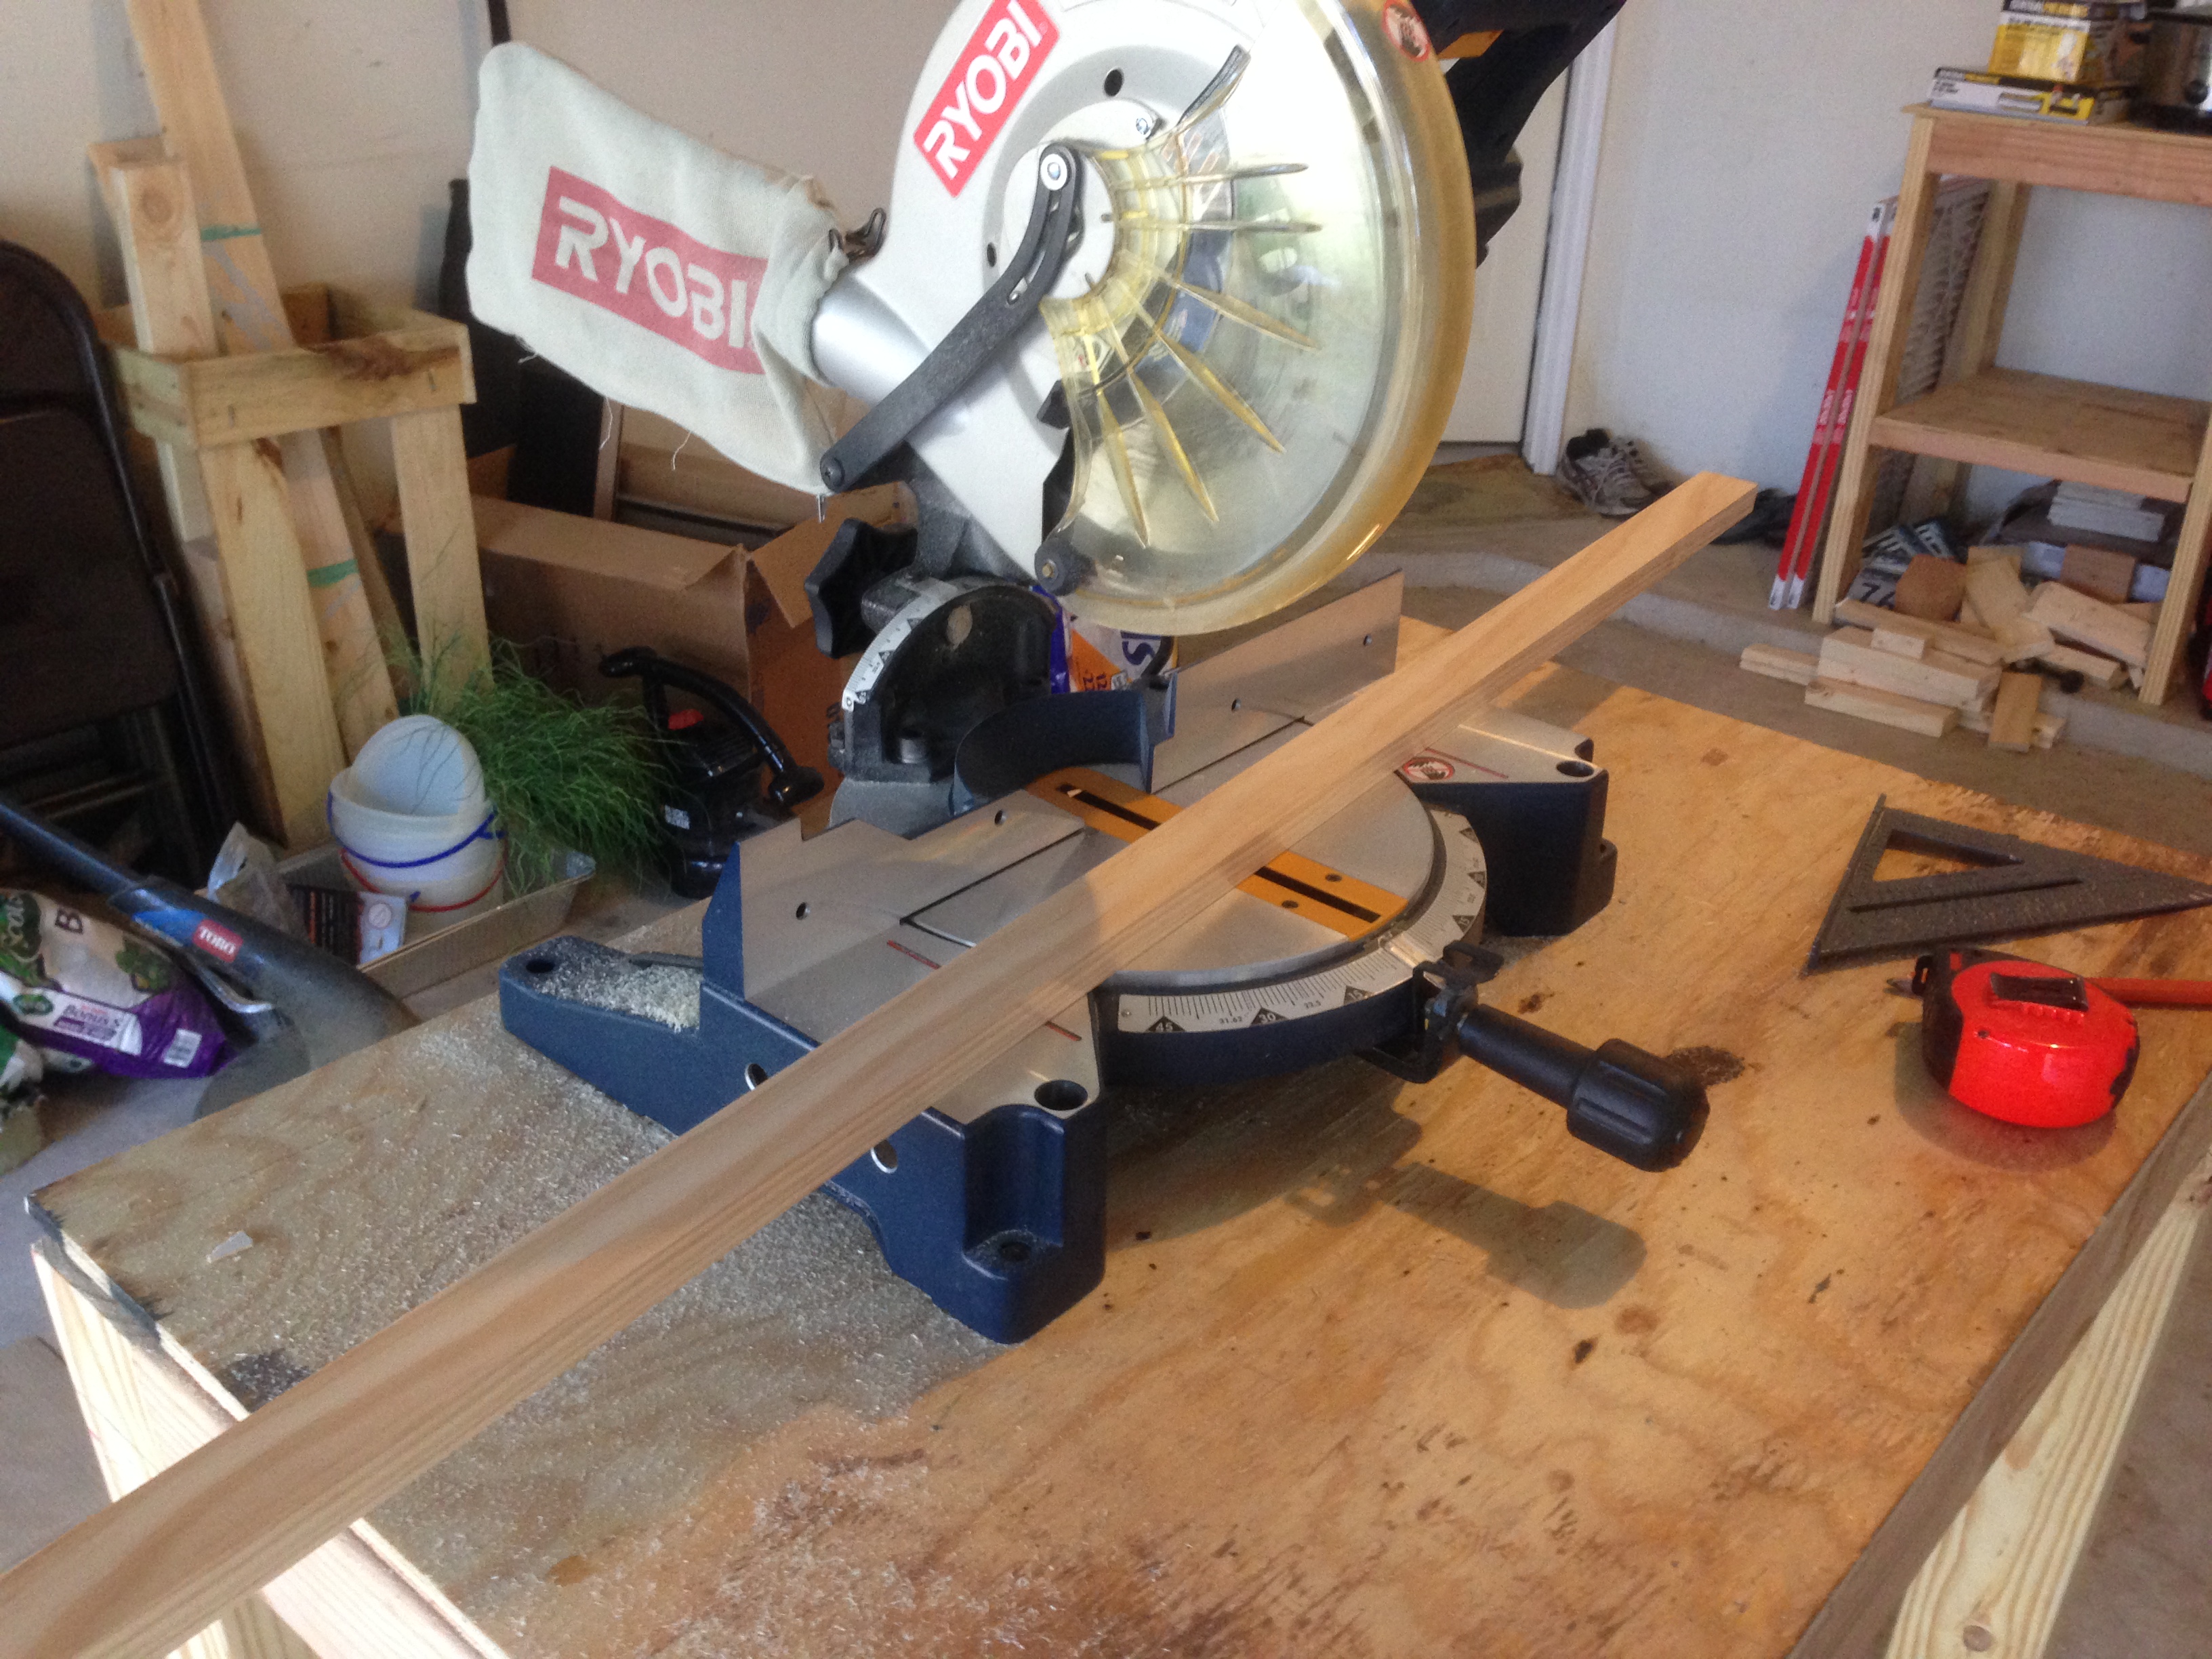 After cutting everything down to size, I grouped each ledge with it’s associated pieces. Each ledge consisted of 2-1×4’s and 1-1×2.
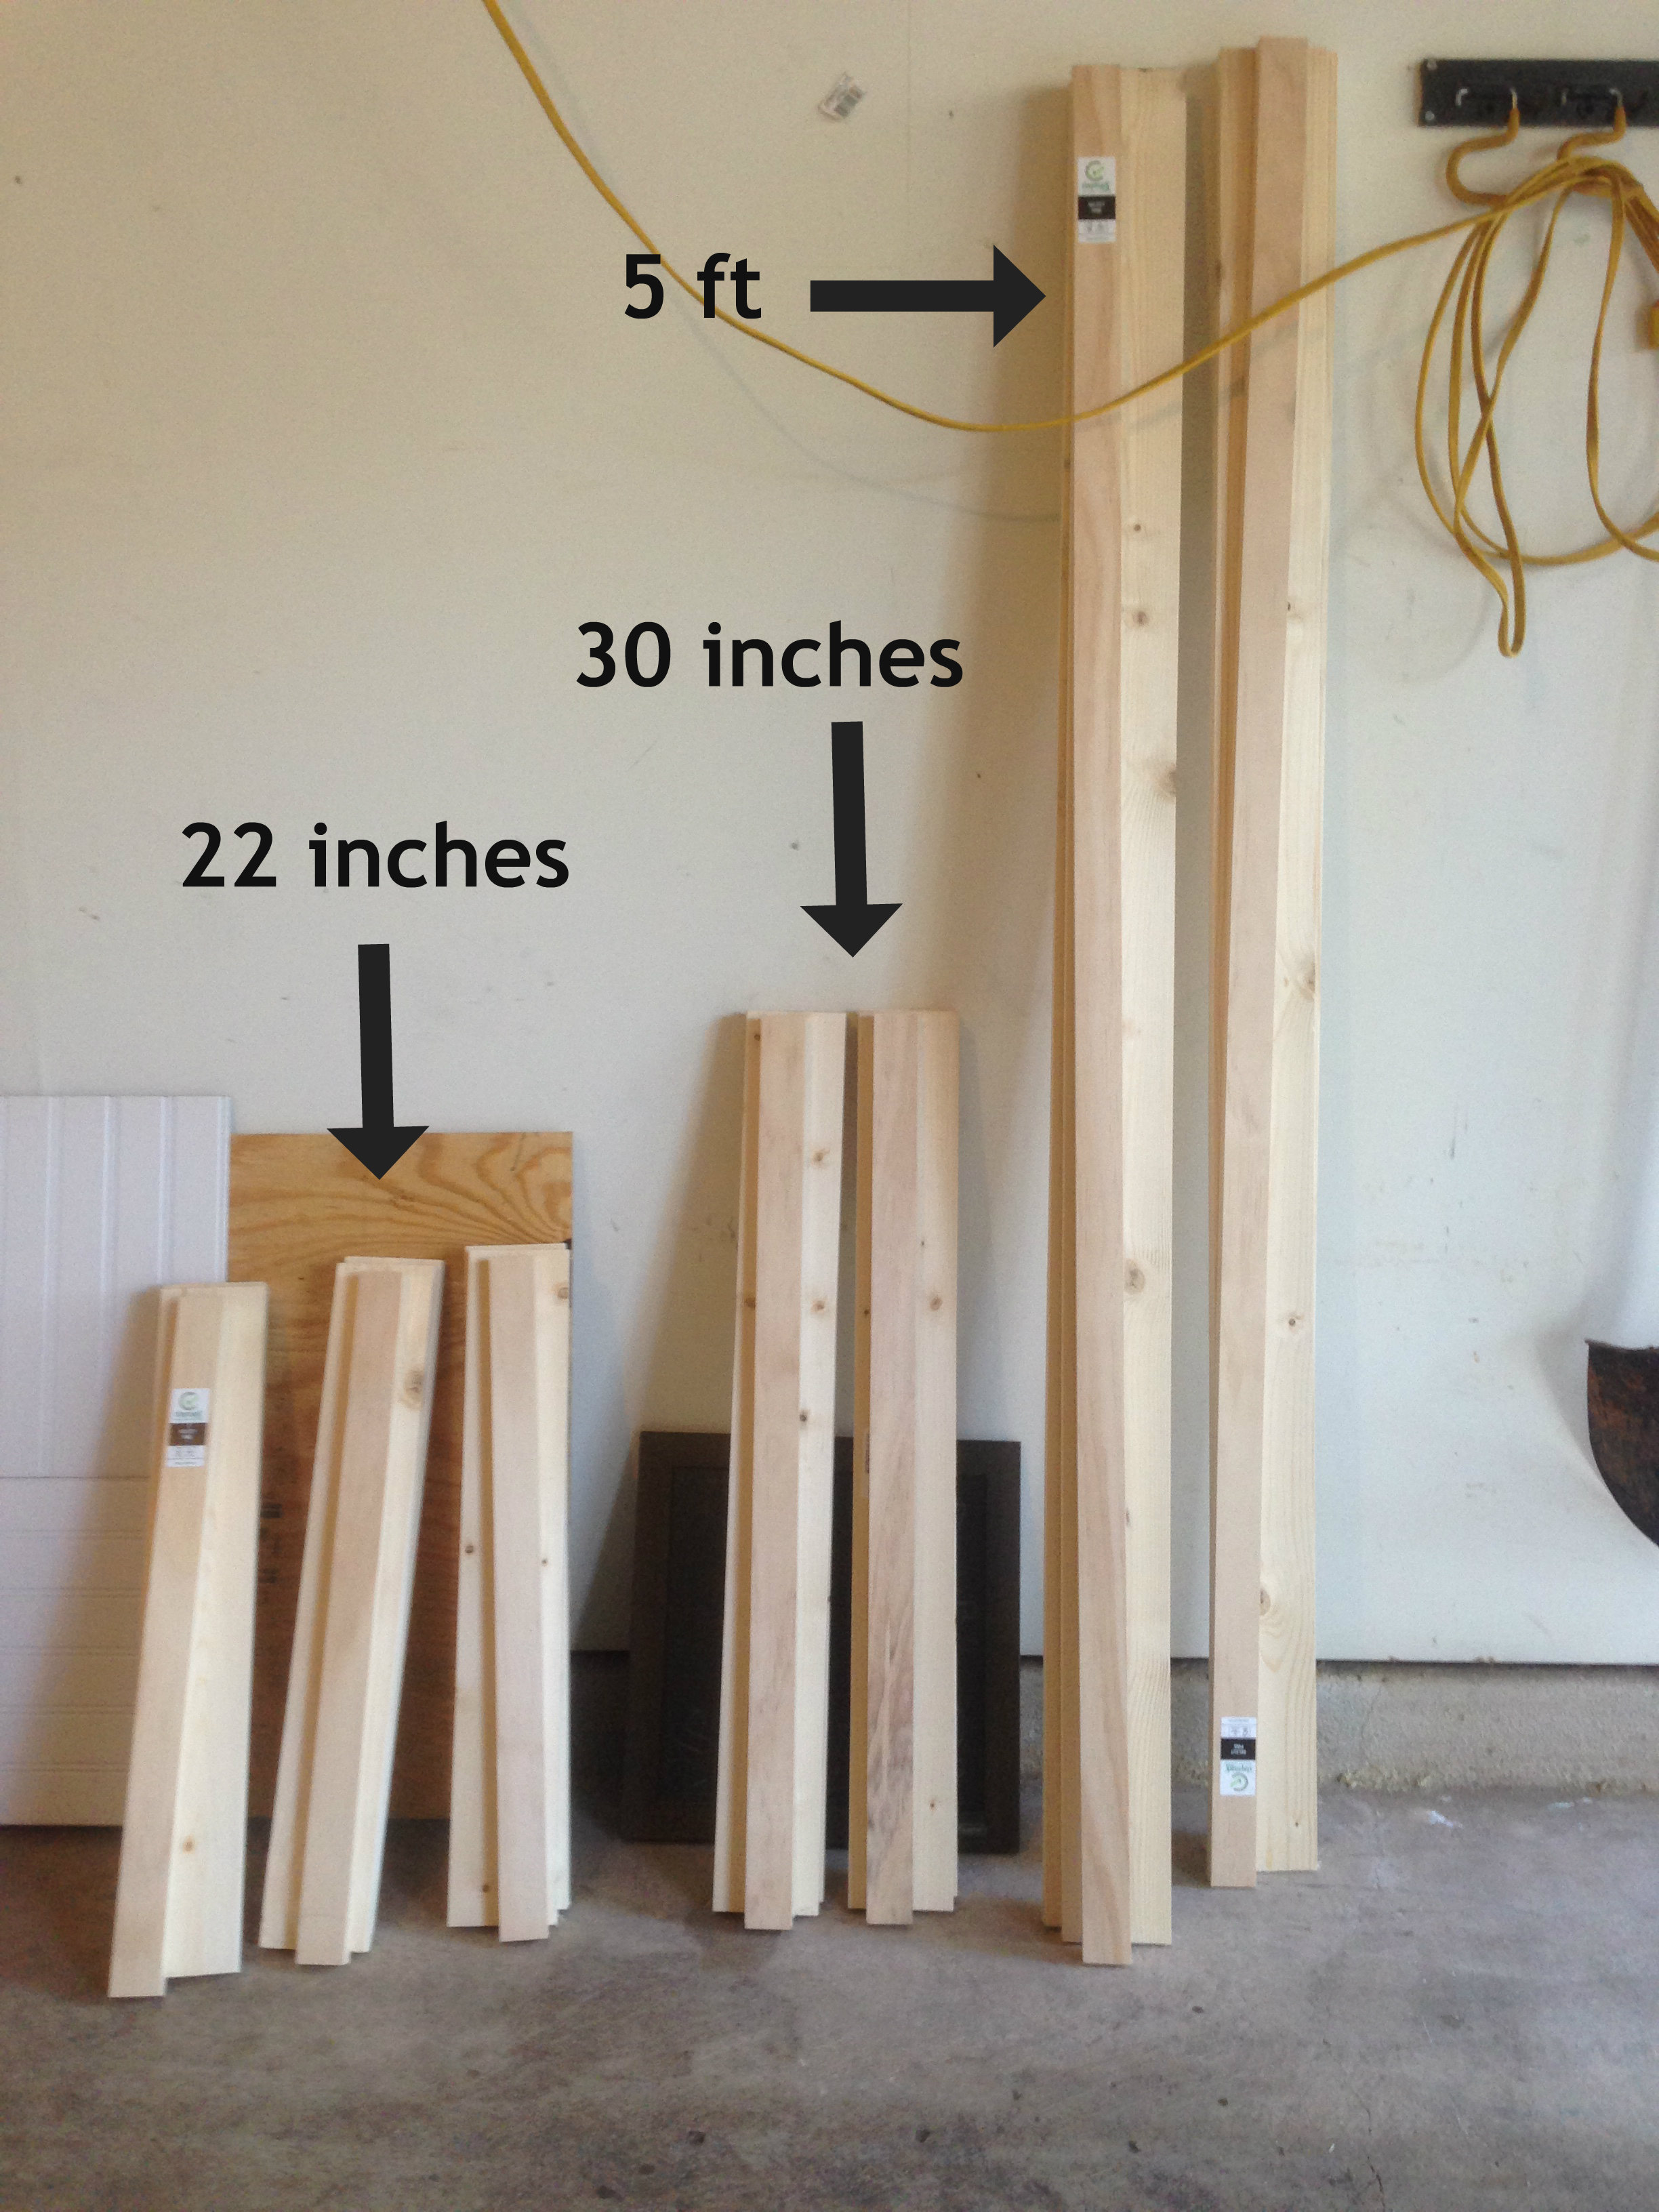
Then I drilled the pocket holes. I recently purchased a better Kreg Pocket Hole Jig. It is awesome! It makes drilling the pocket holes so much easier.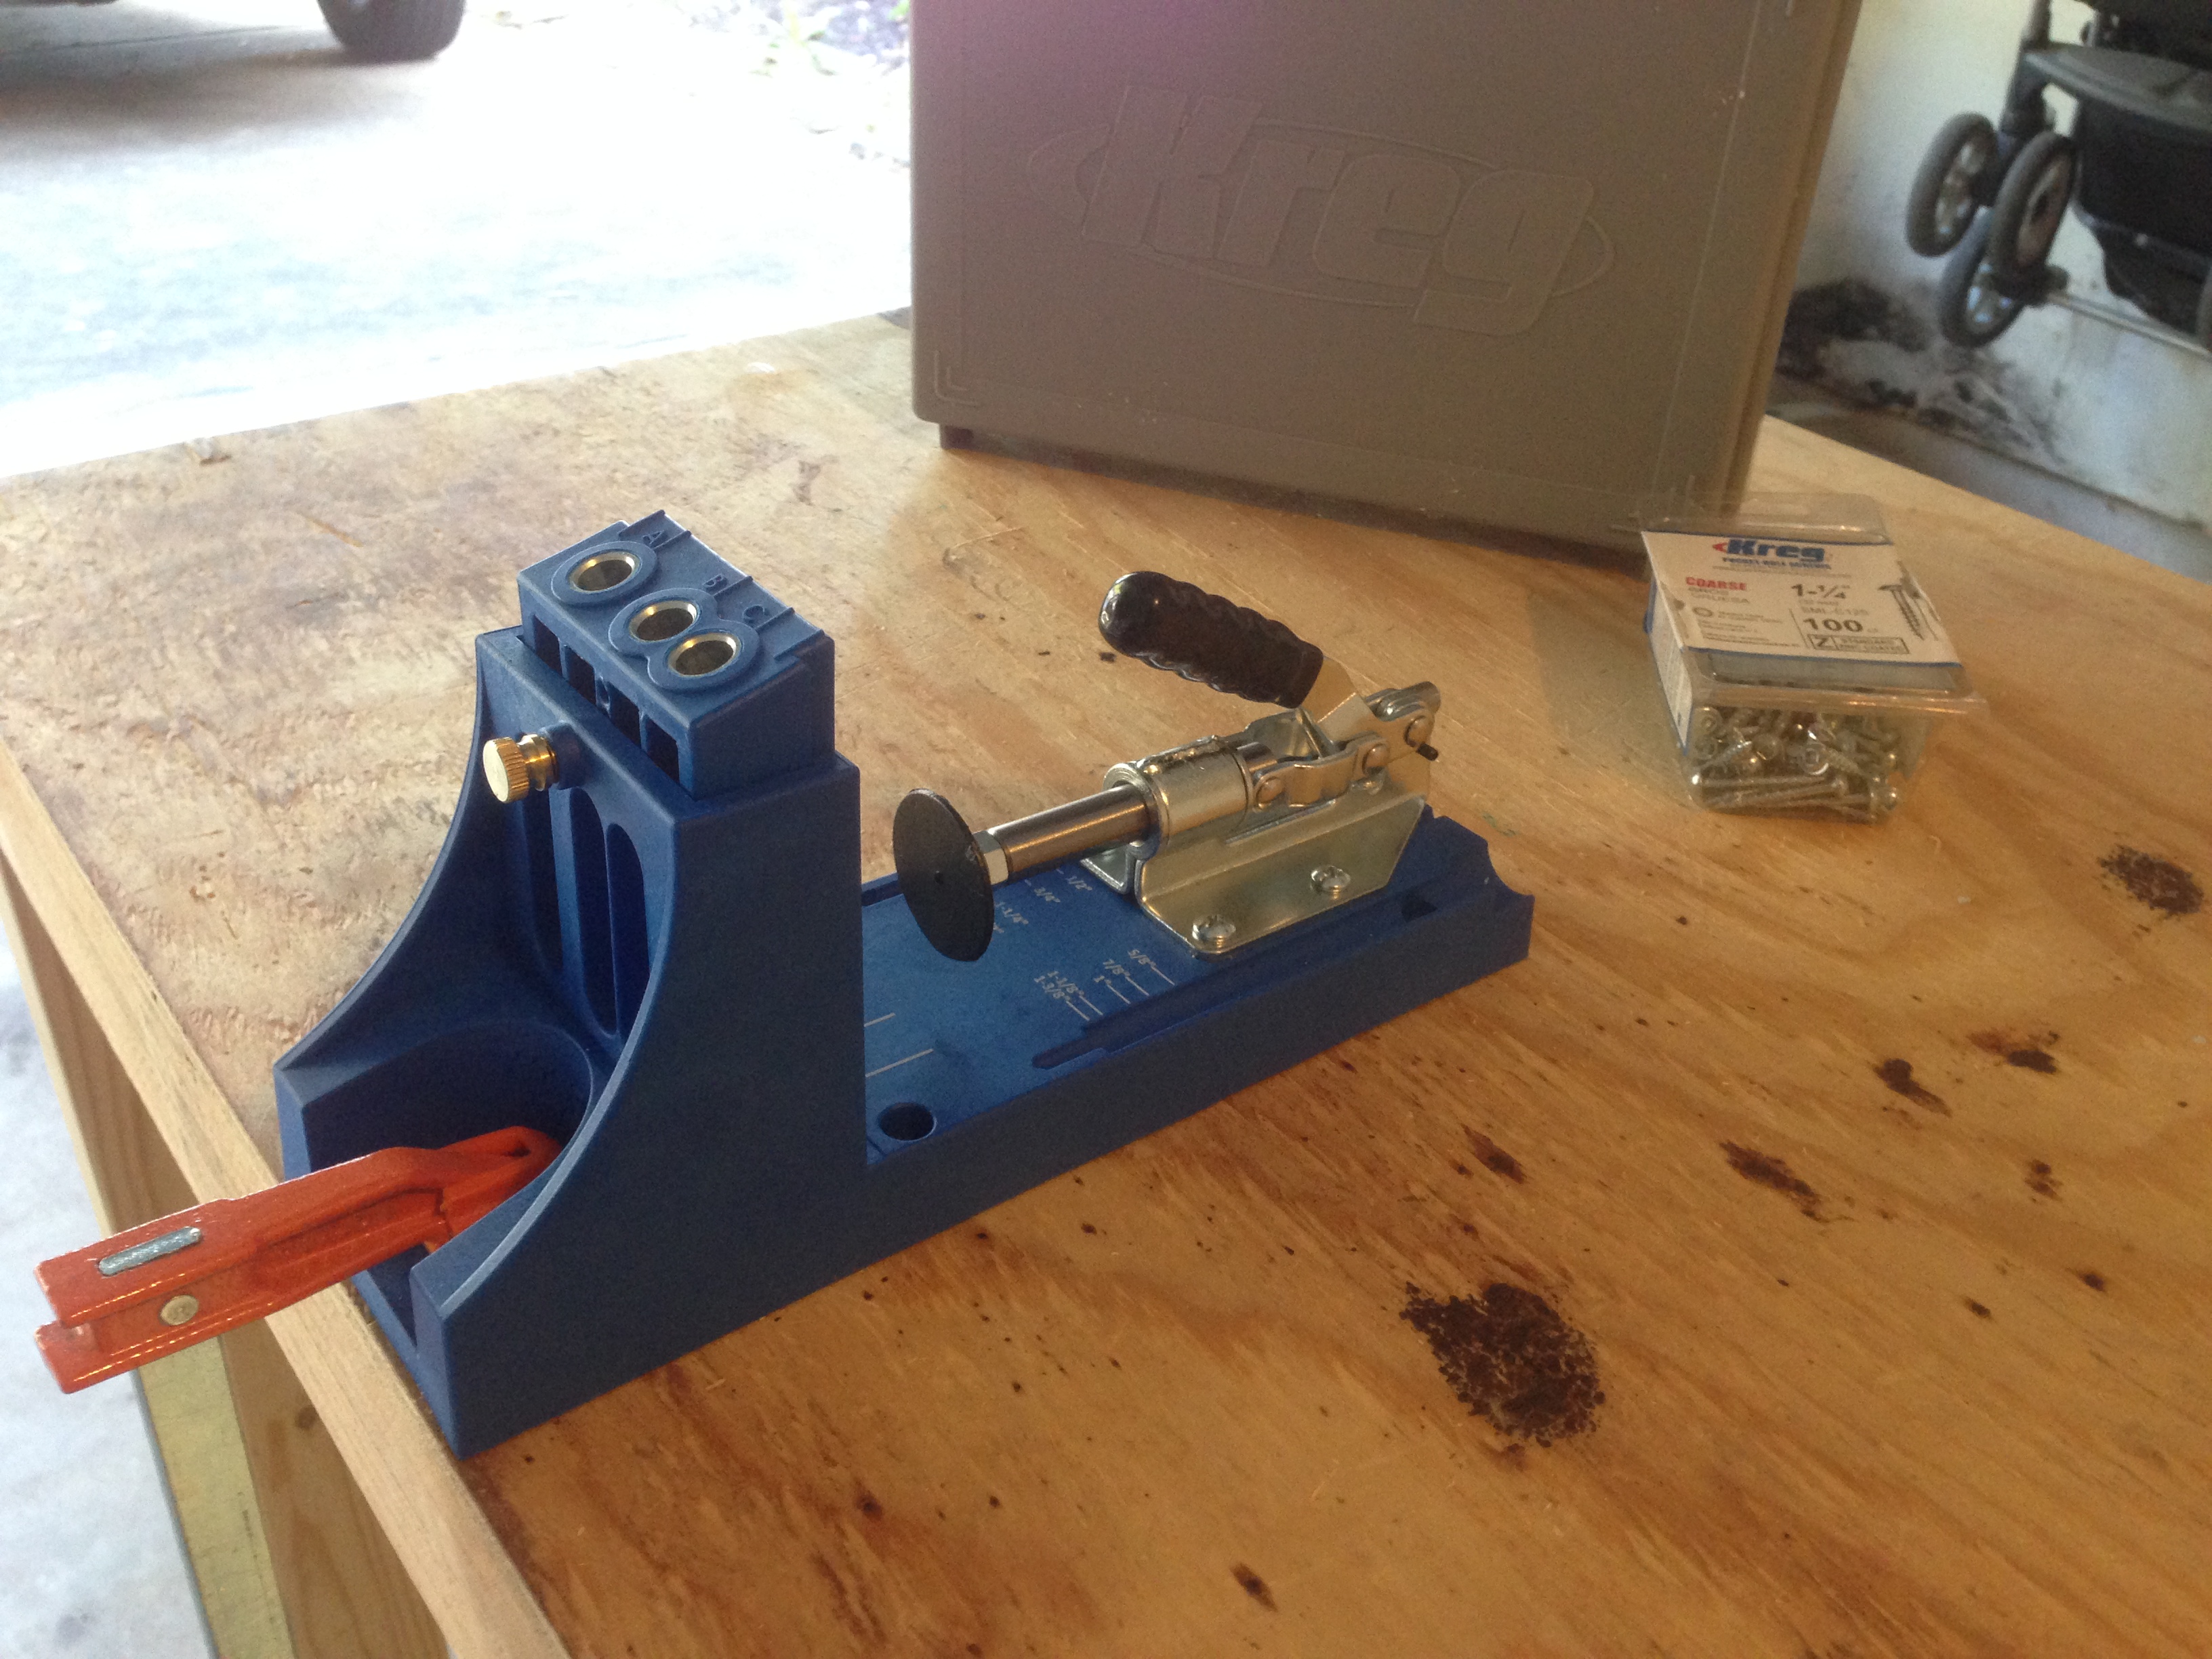 Instead of resetting the jig every time I needed to drill another hole, now I can just slide the piece and keep drilling. It’s a huge time saver.
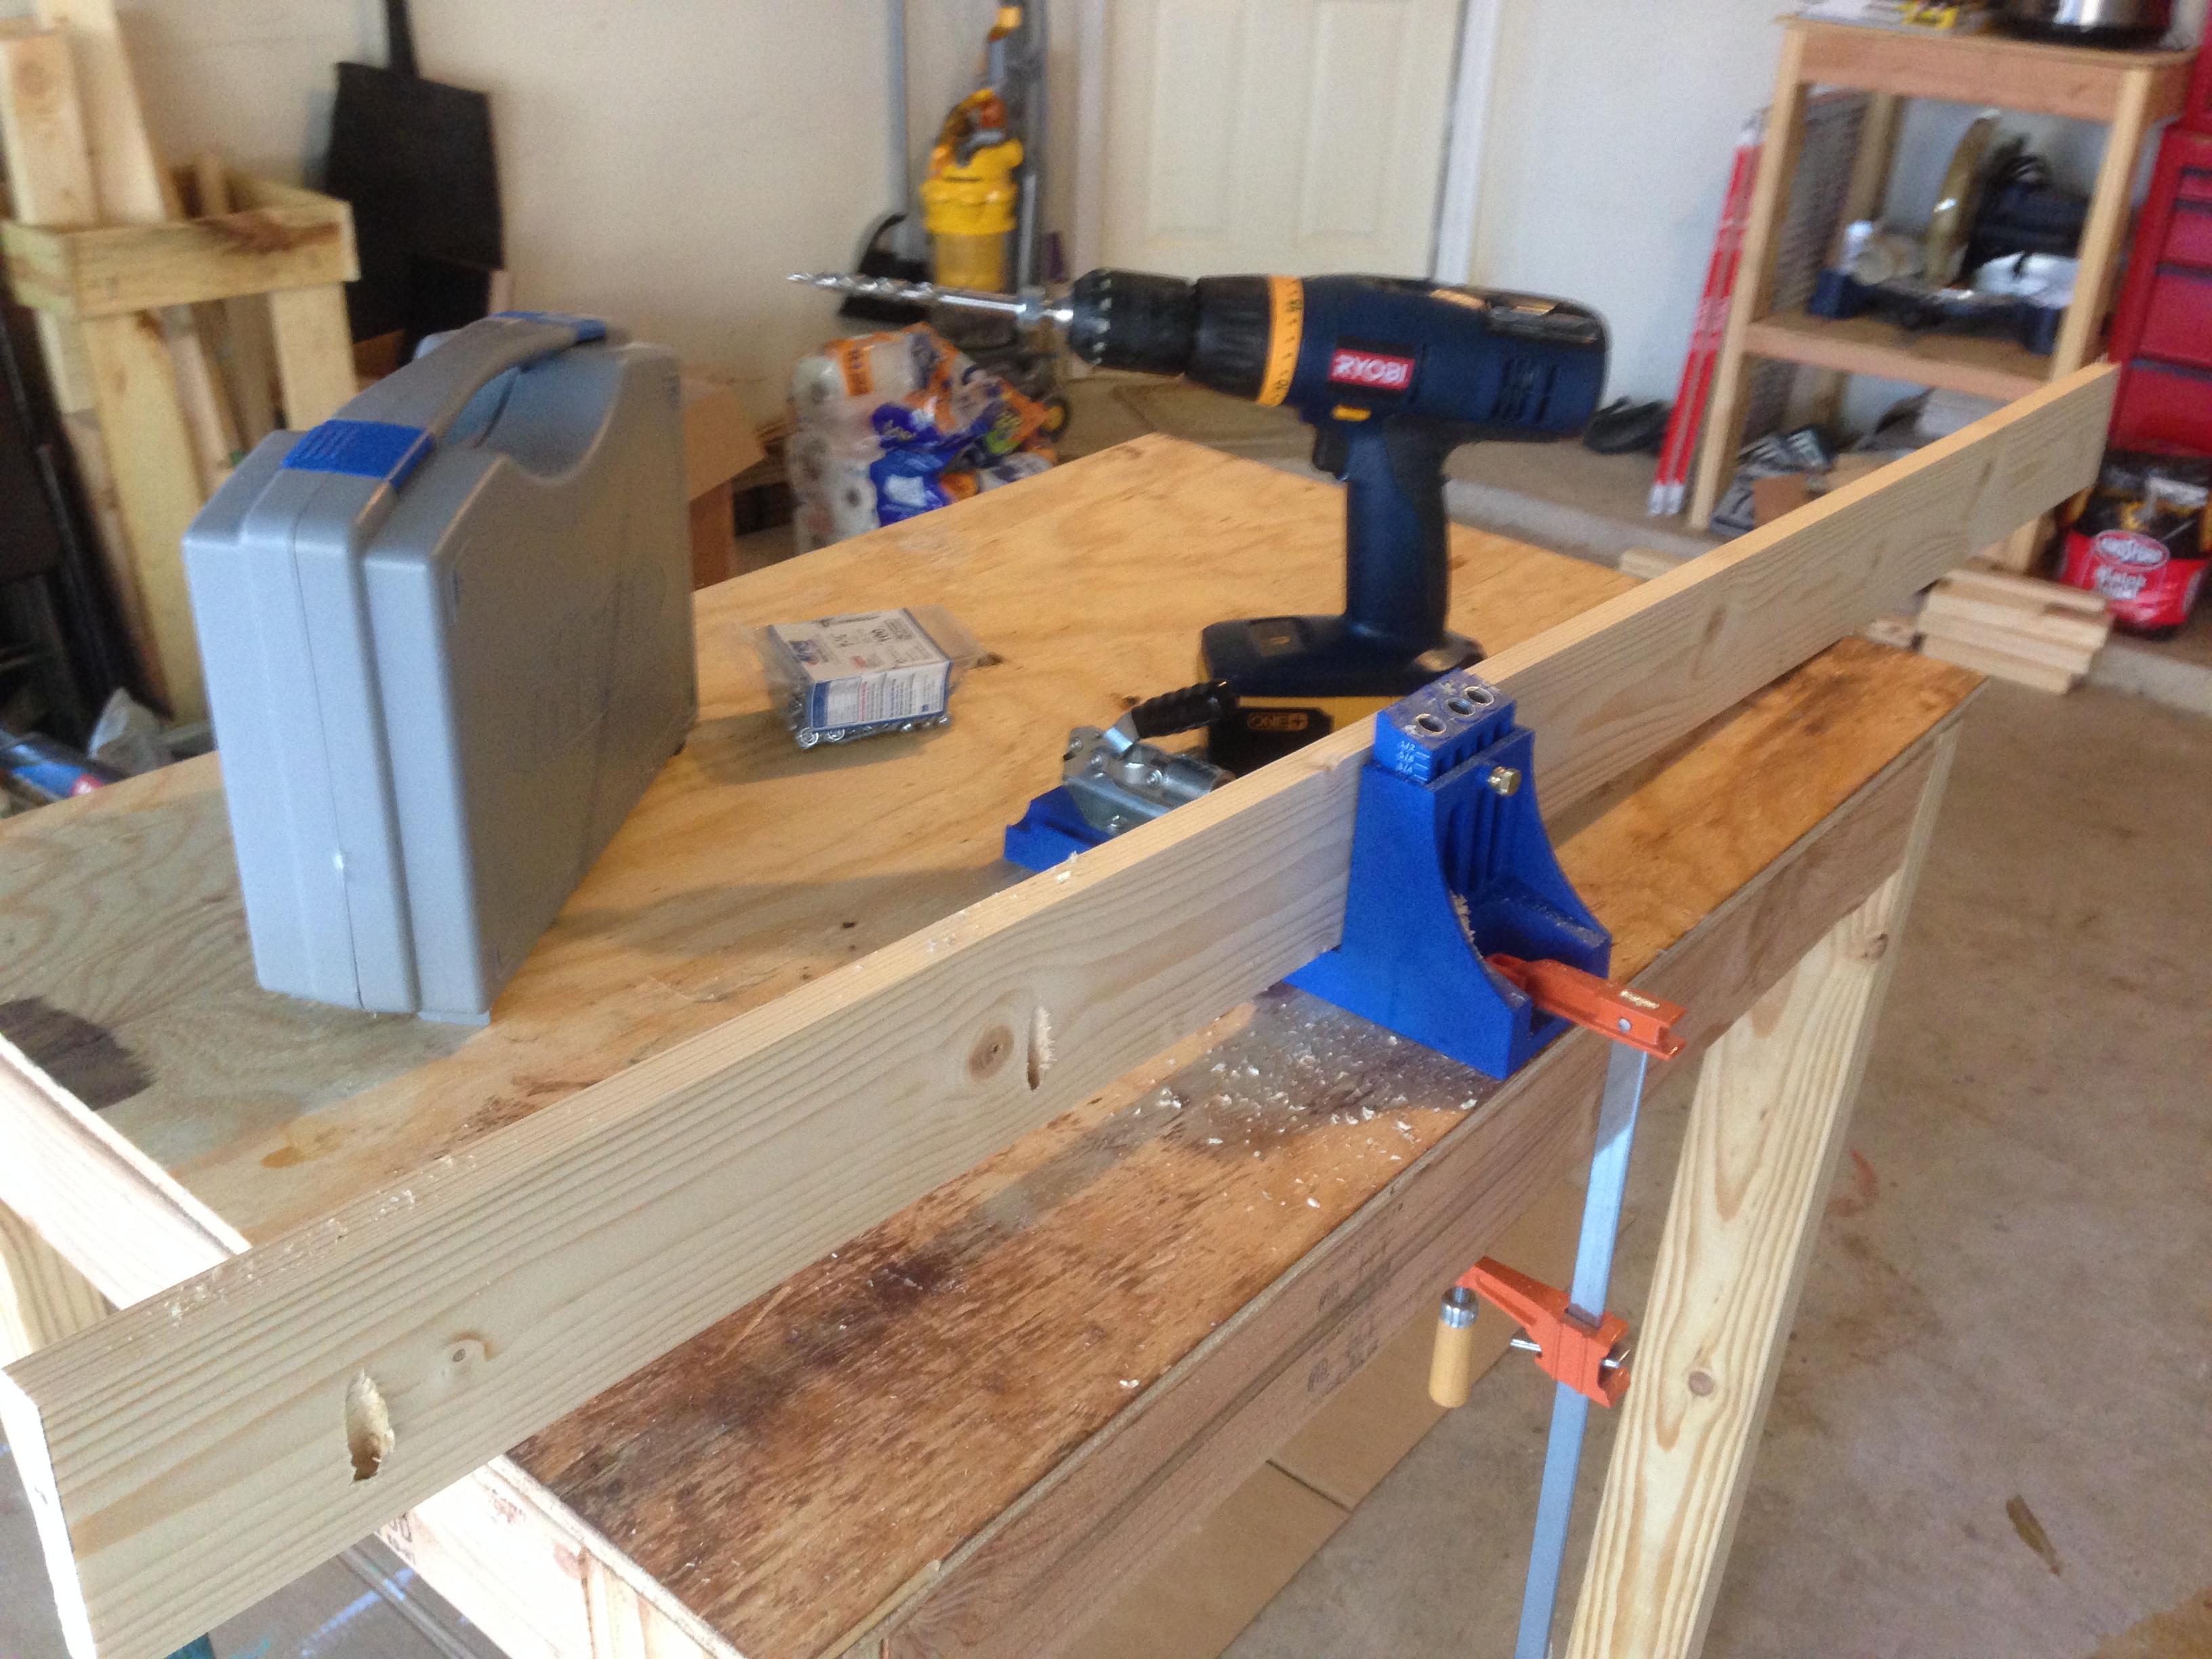 After I finished pre-drilling all of the pocket holes, it was just a matter of assembly. First I joined the 2 – 1×4’s together.
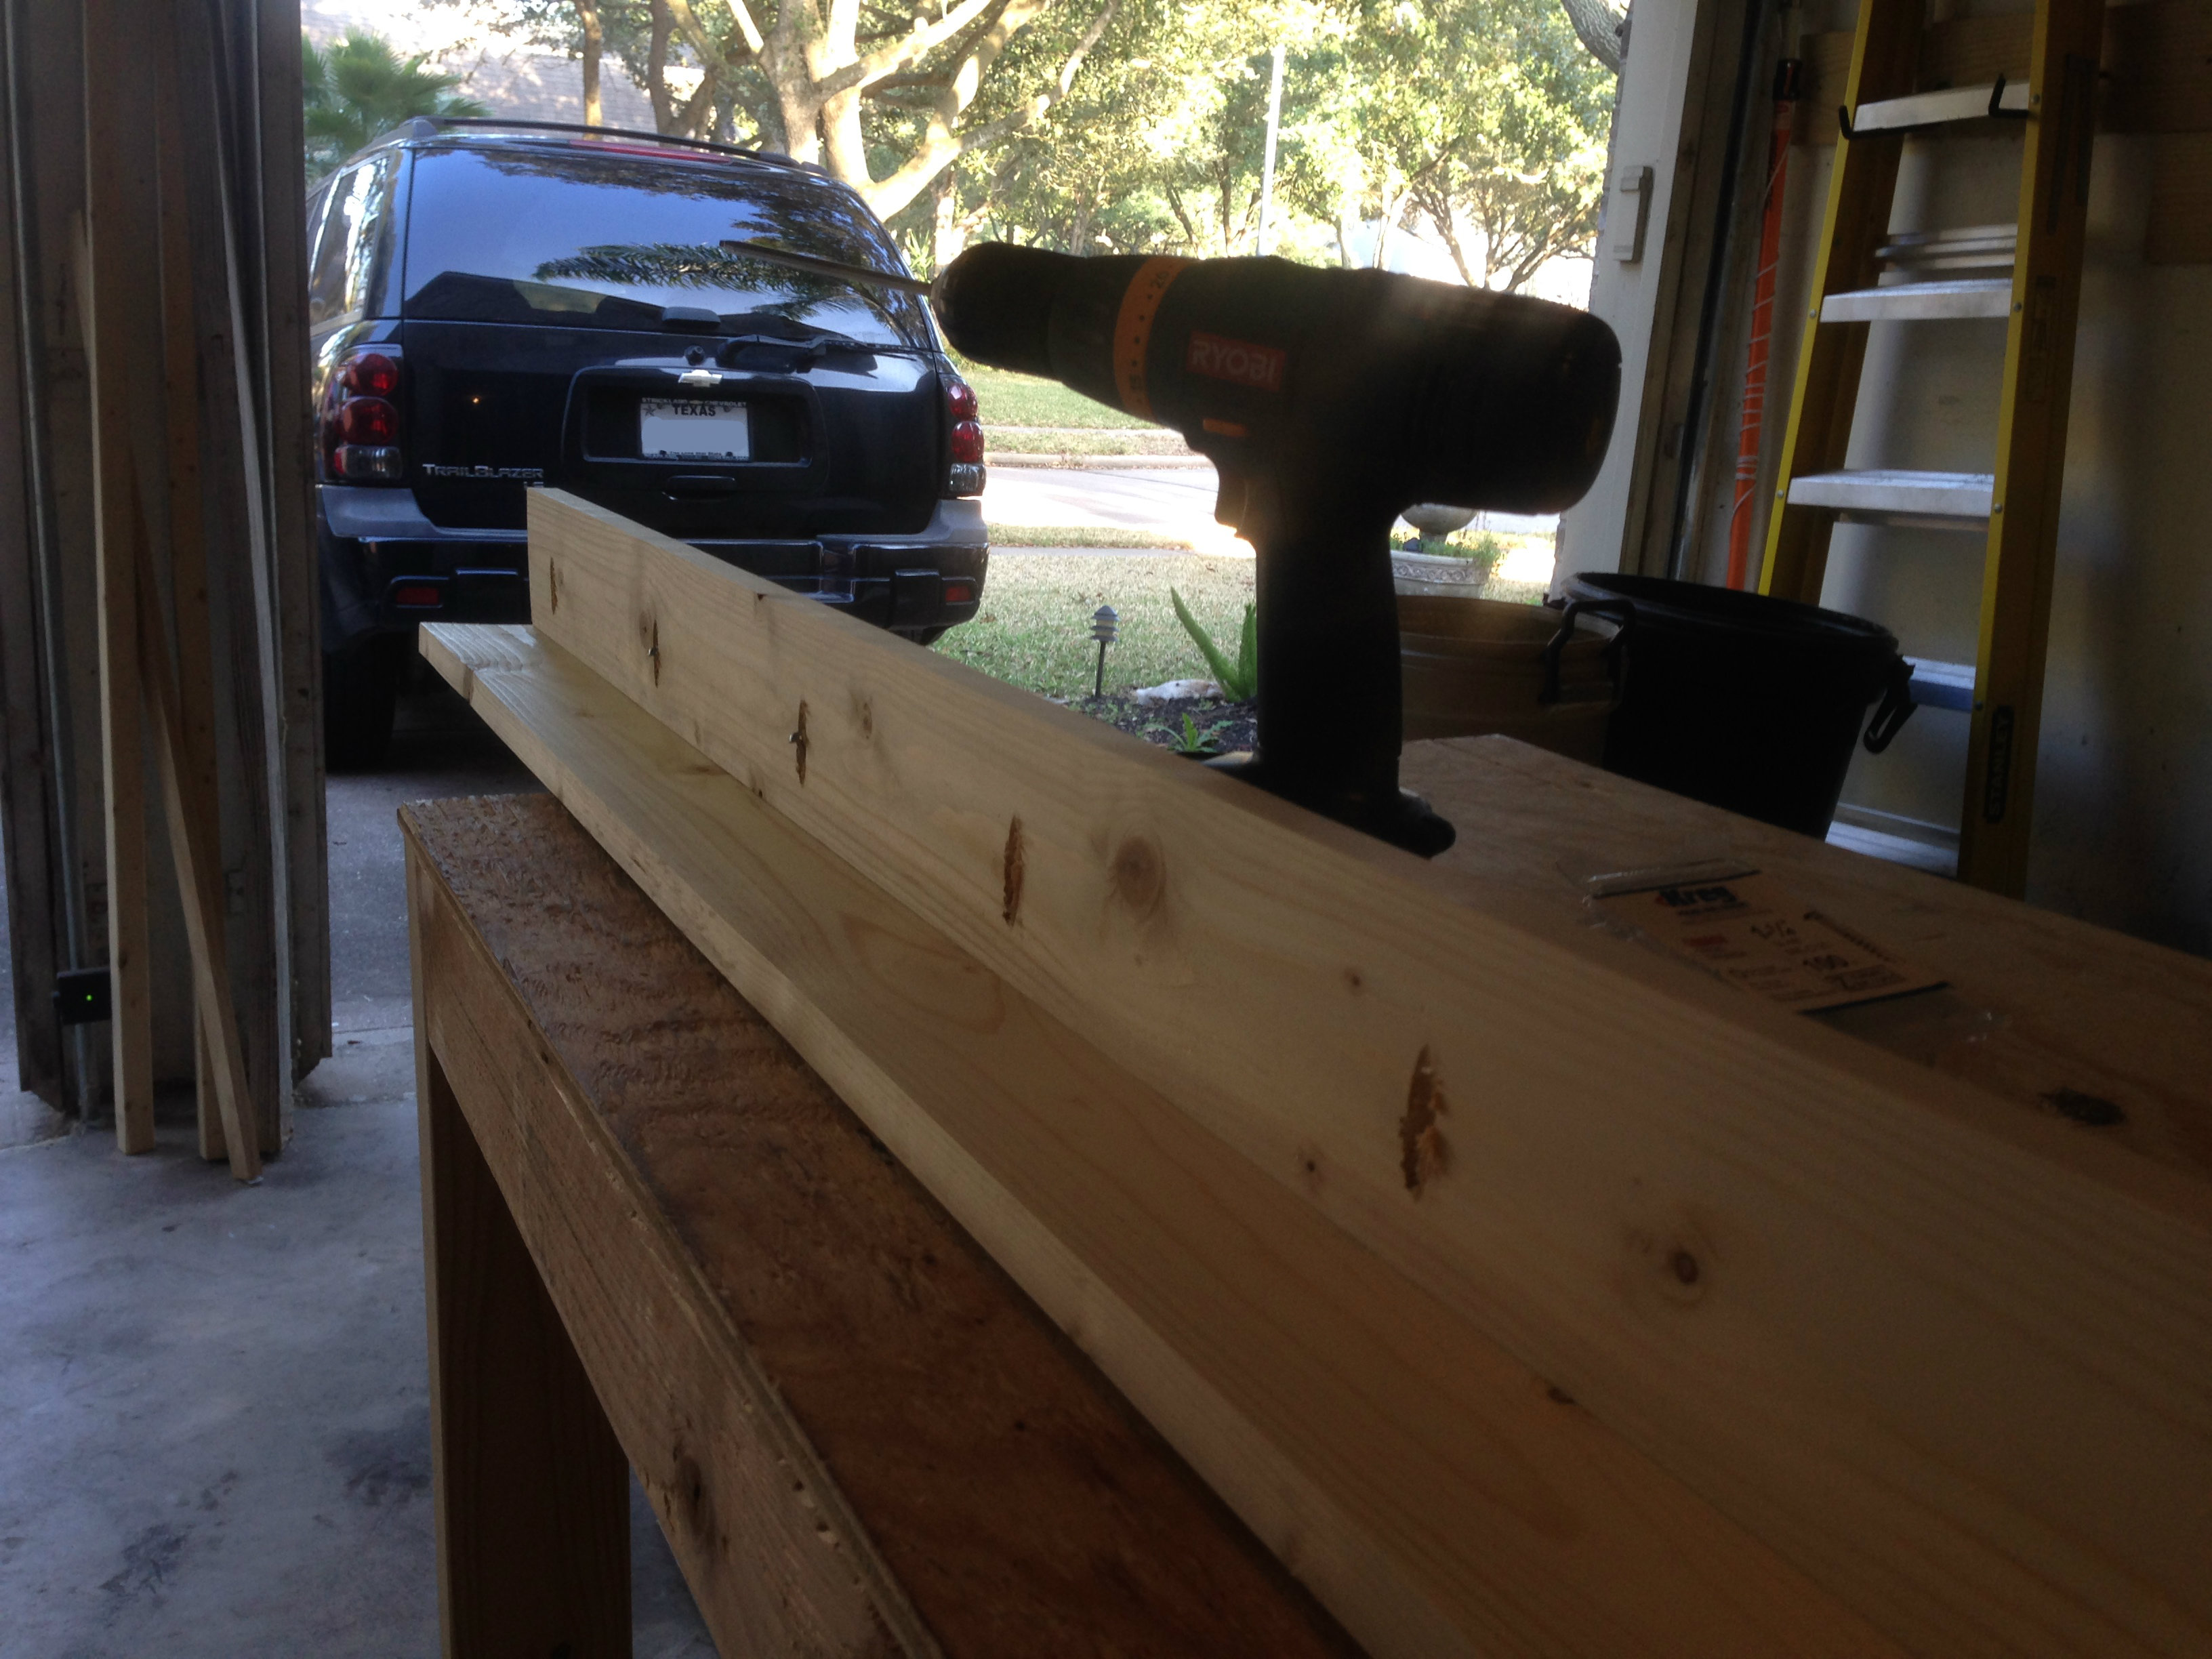 Then I pulled out the air compressor and finish nailer to attach the 1×2.
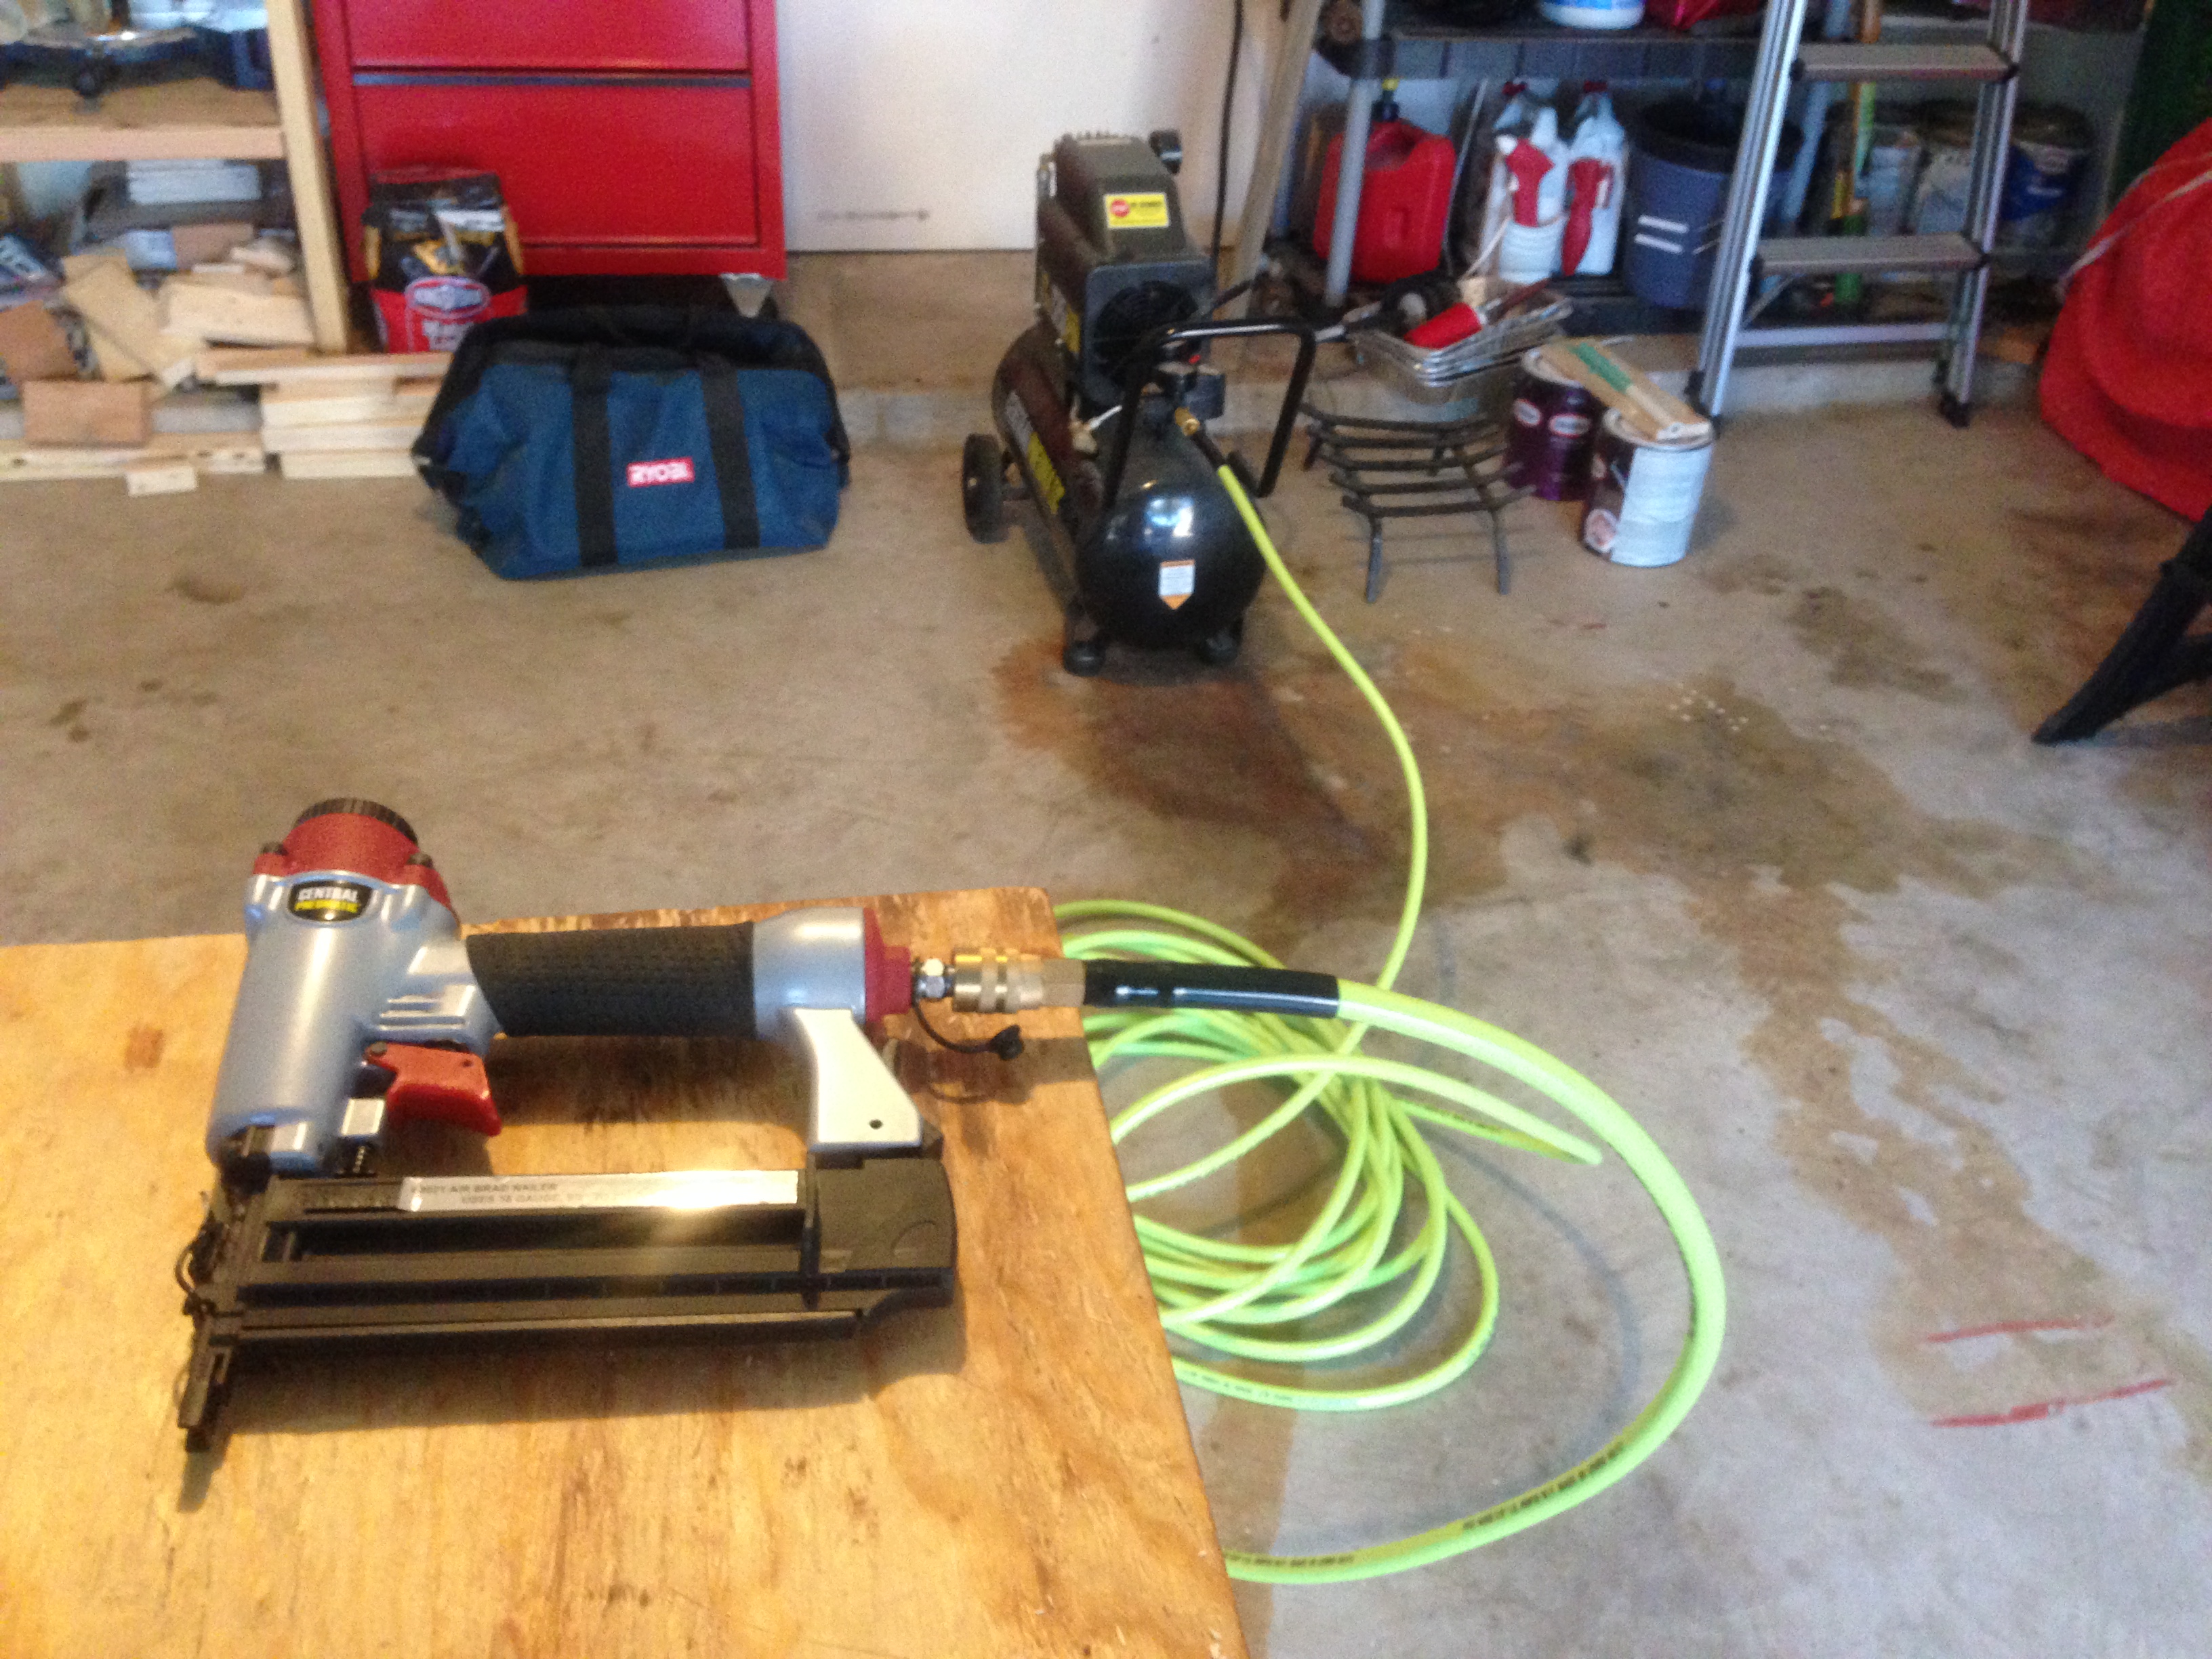 I clamped the piece into place to make it easier for me to actually shoot the nail in.
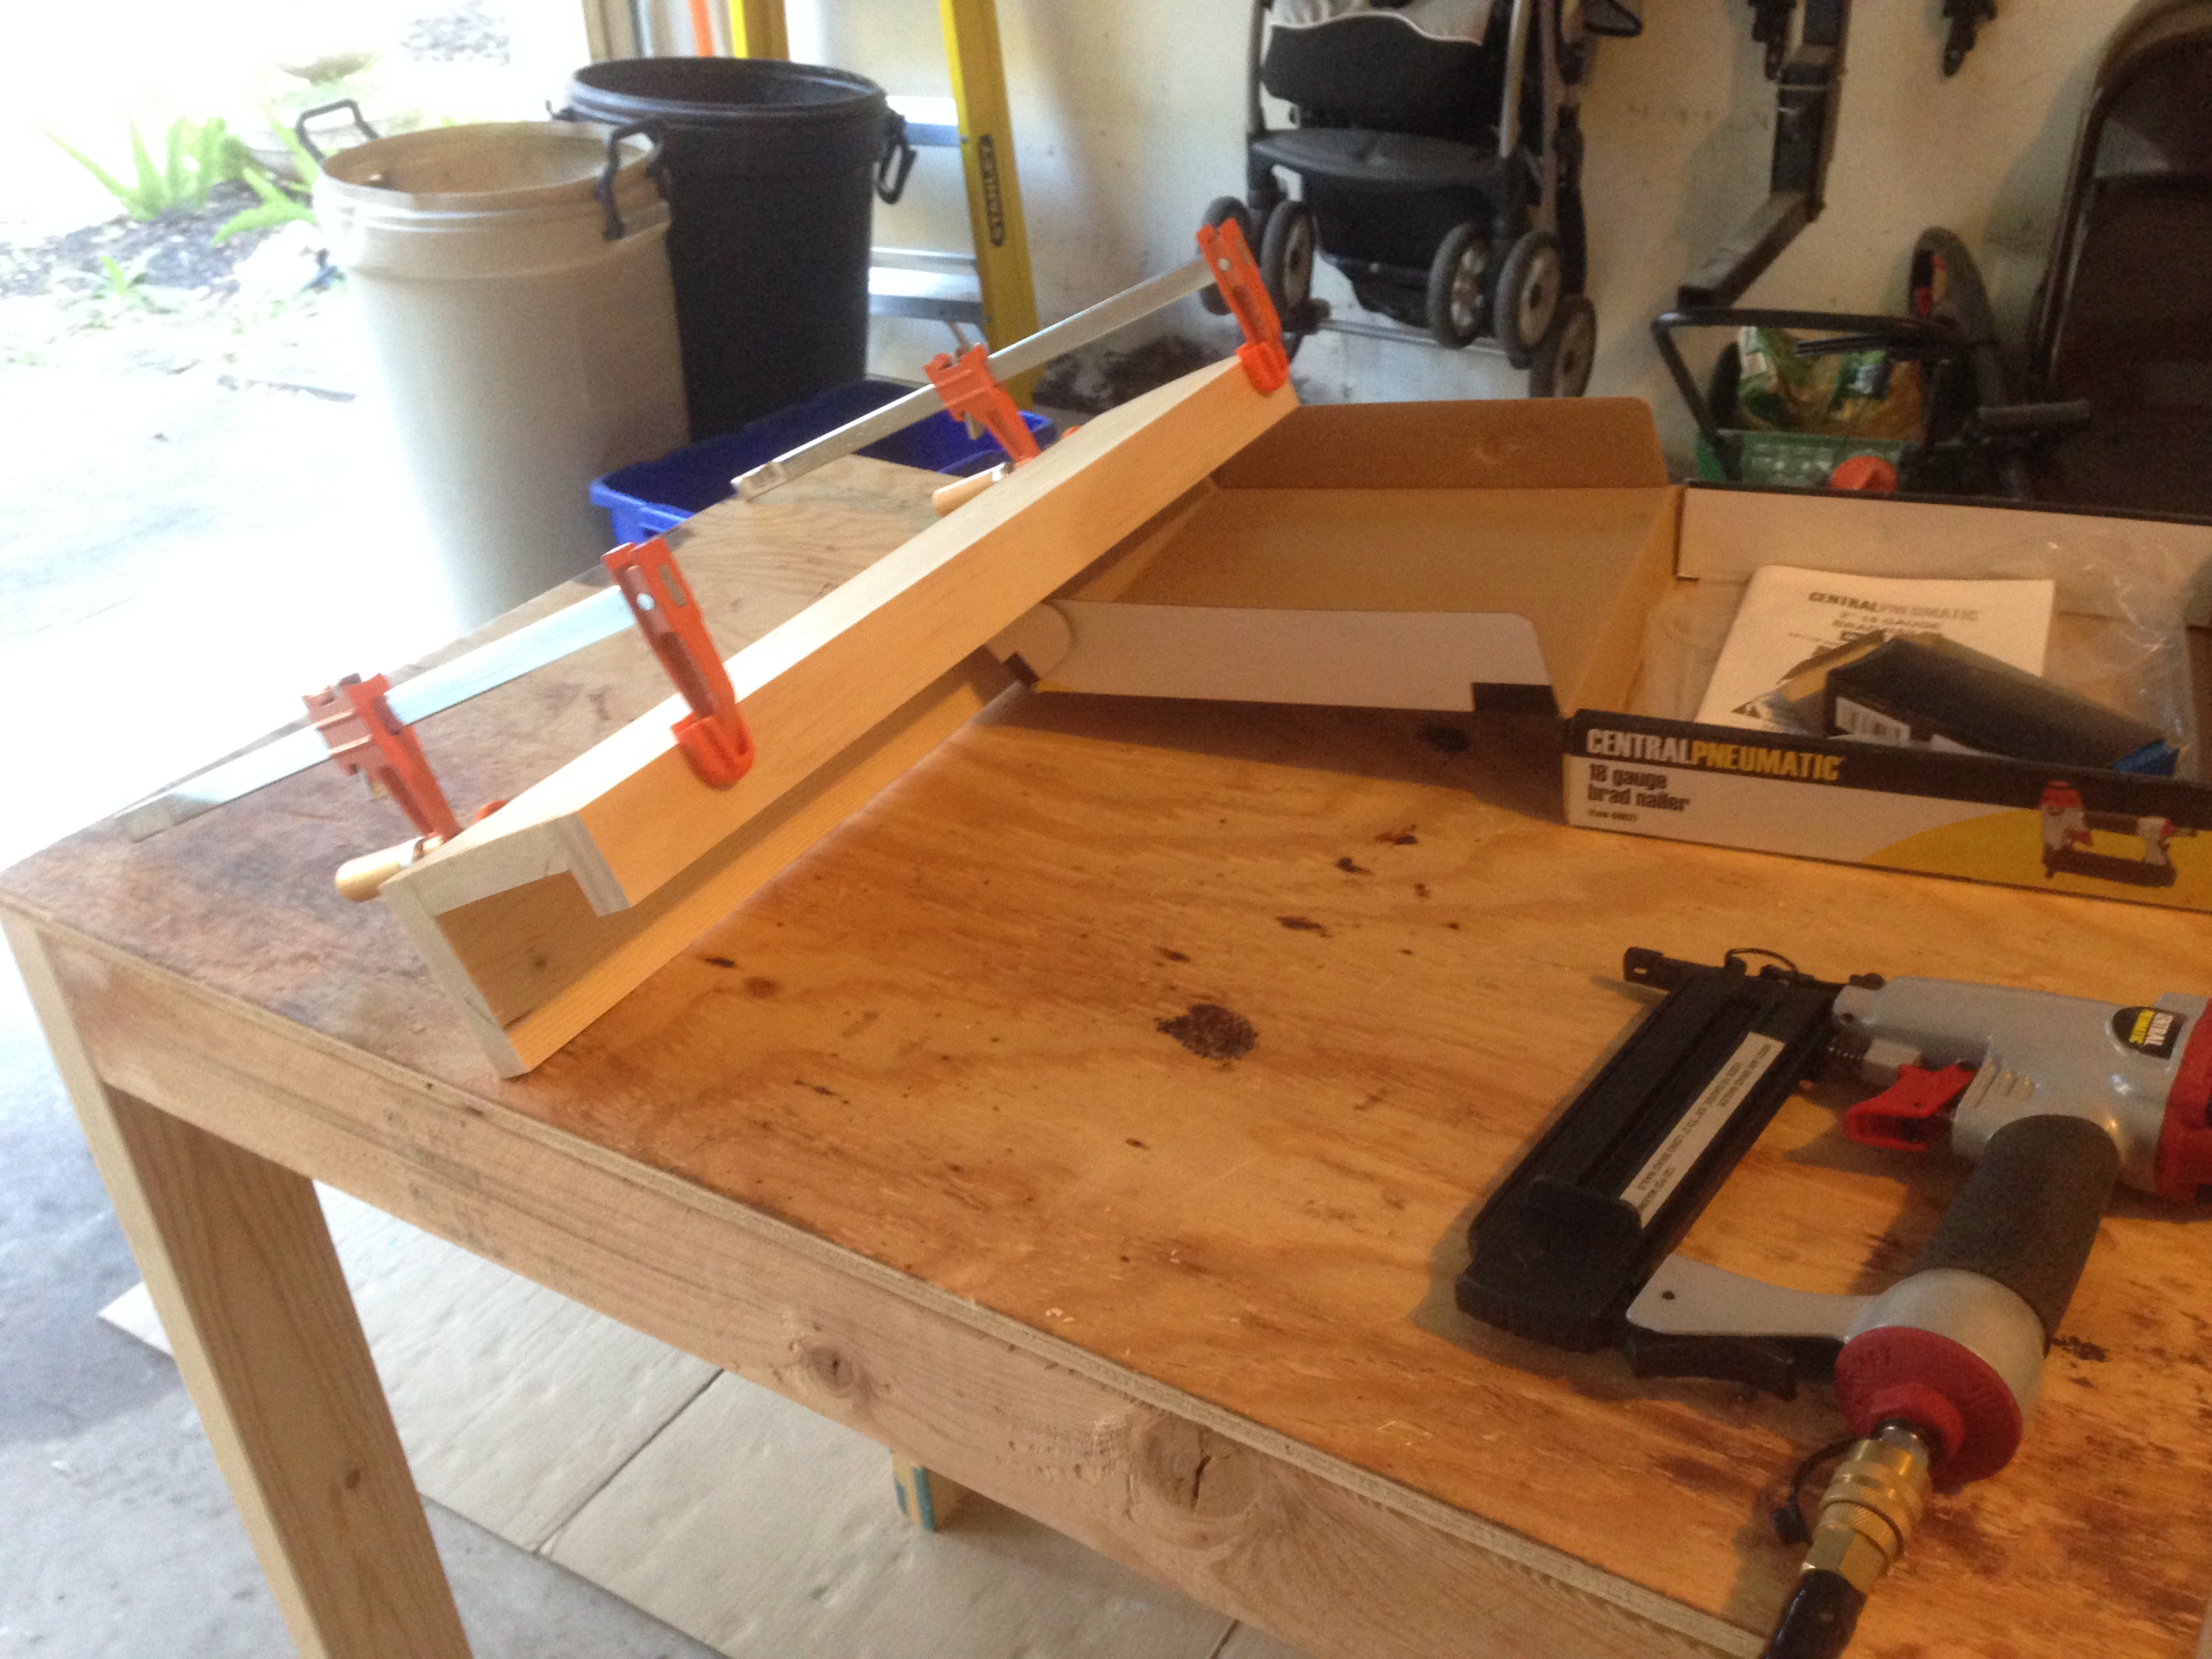 Here’s a shot of one of the fully assembled ledges.
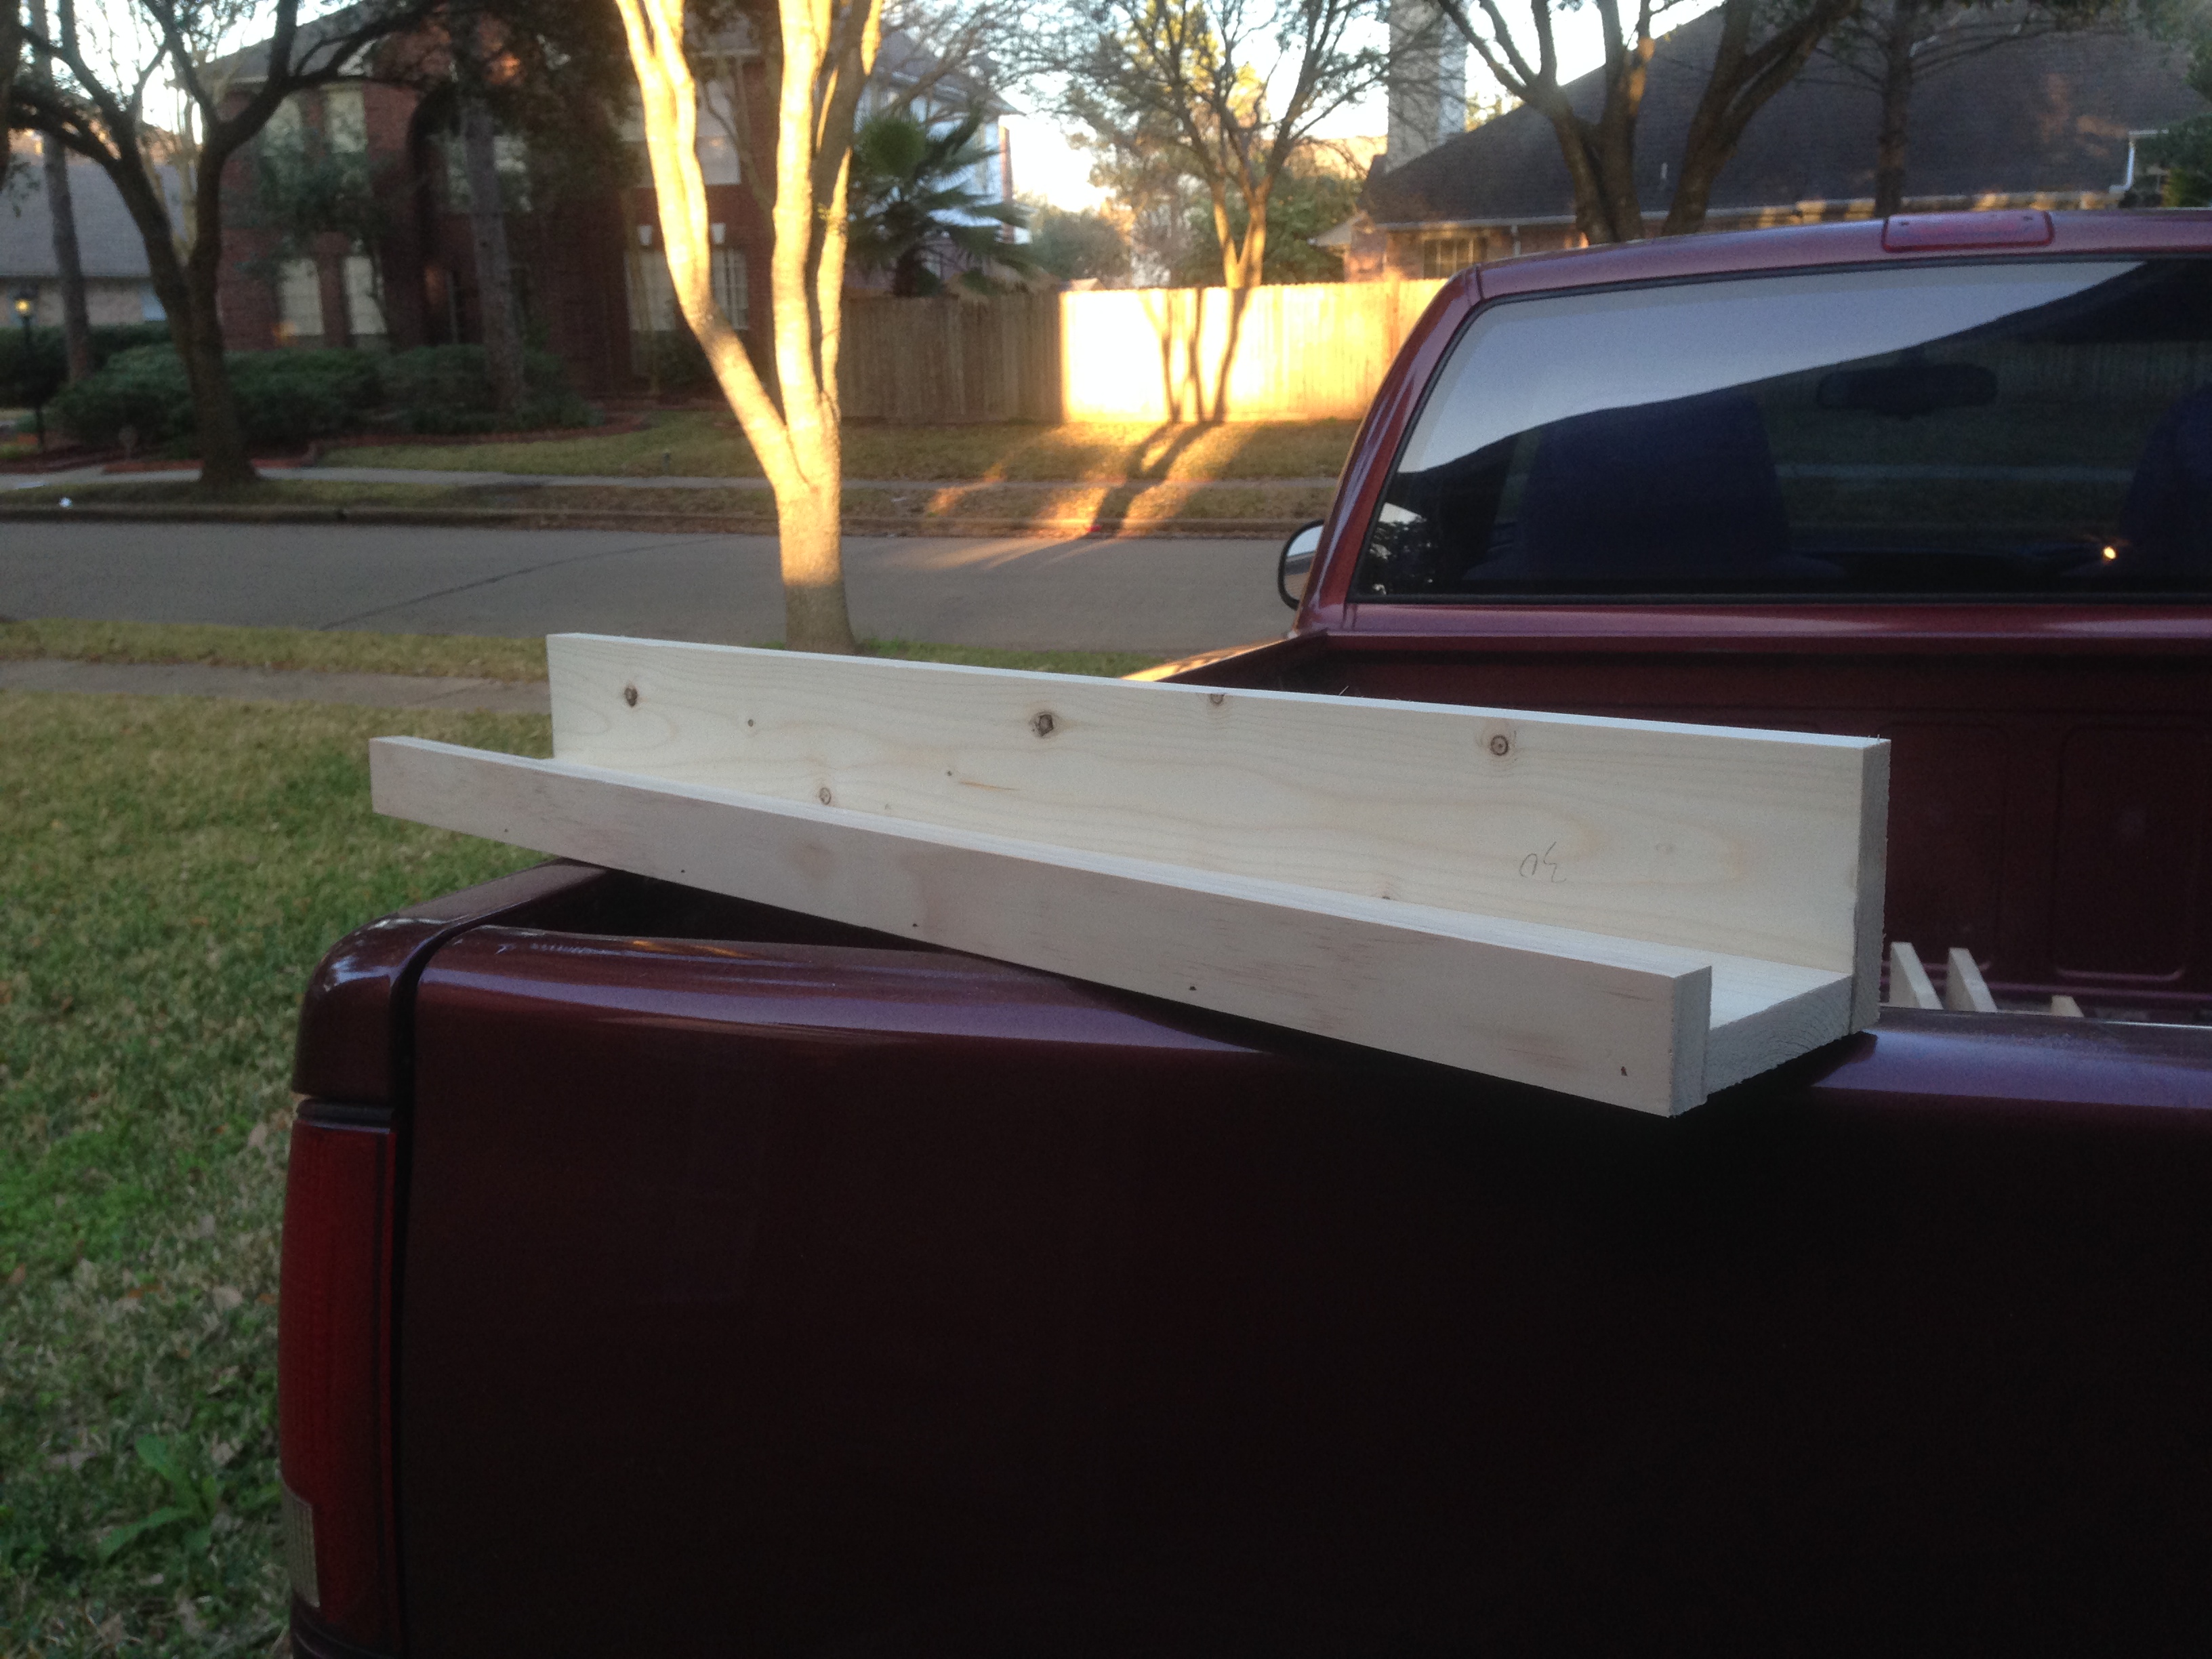 I drove it over to my parent’s house to make sure it looked decent on their wall. It didn’t look too bad, so now I just needed to put some color on it. My parents said a darker wood color would be nice, so I went with that. First I stained ’em
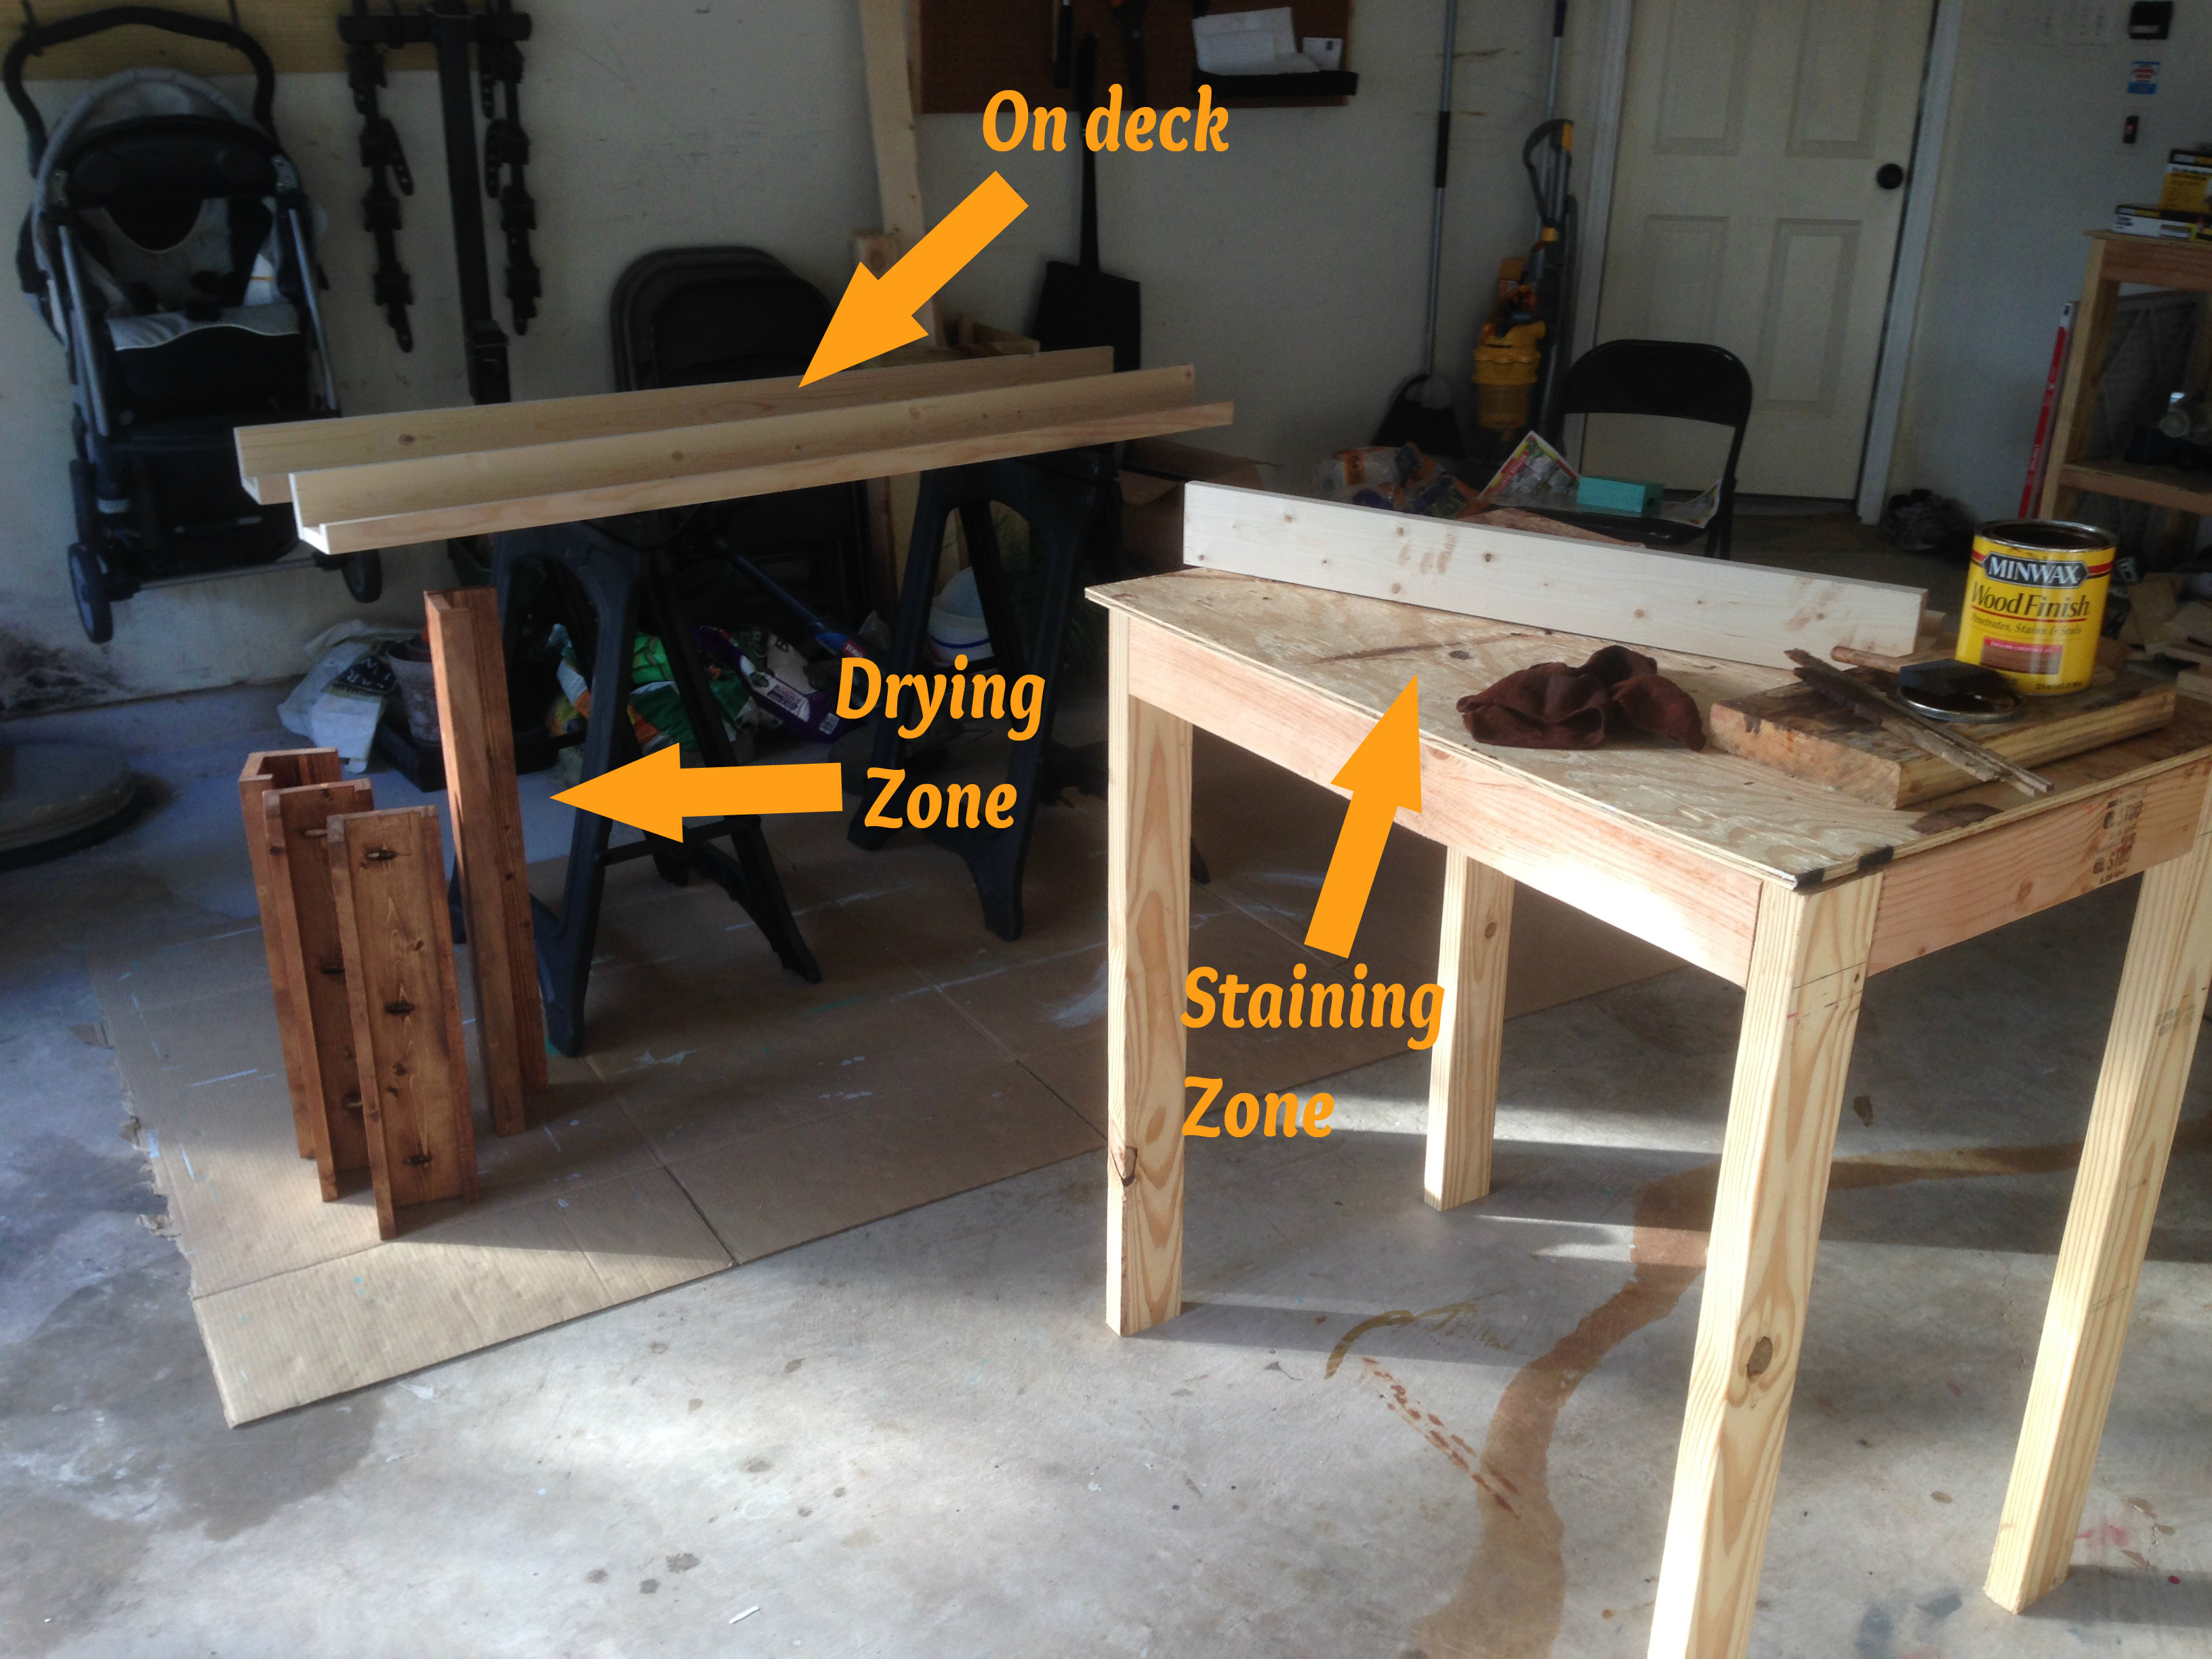 …then I poured out a coat of polyurethane, sanded it to make it smooth and it was ready to roll.
Now I had to mount ’em on the wall. I pre-drilled holes in each of the ledges and used a level to mark off where they needed to go. Ideally I tried to find studs on the walls, but since these ledges weren’t going to be holding any major weight, I used drywall anchors to secure ’em to the wall.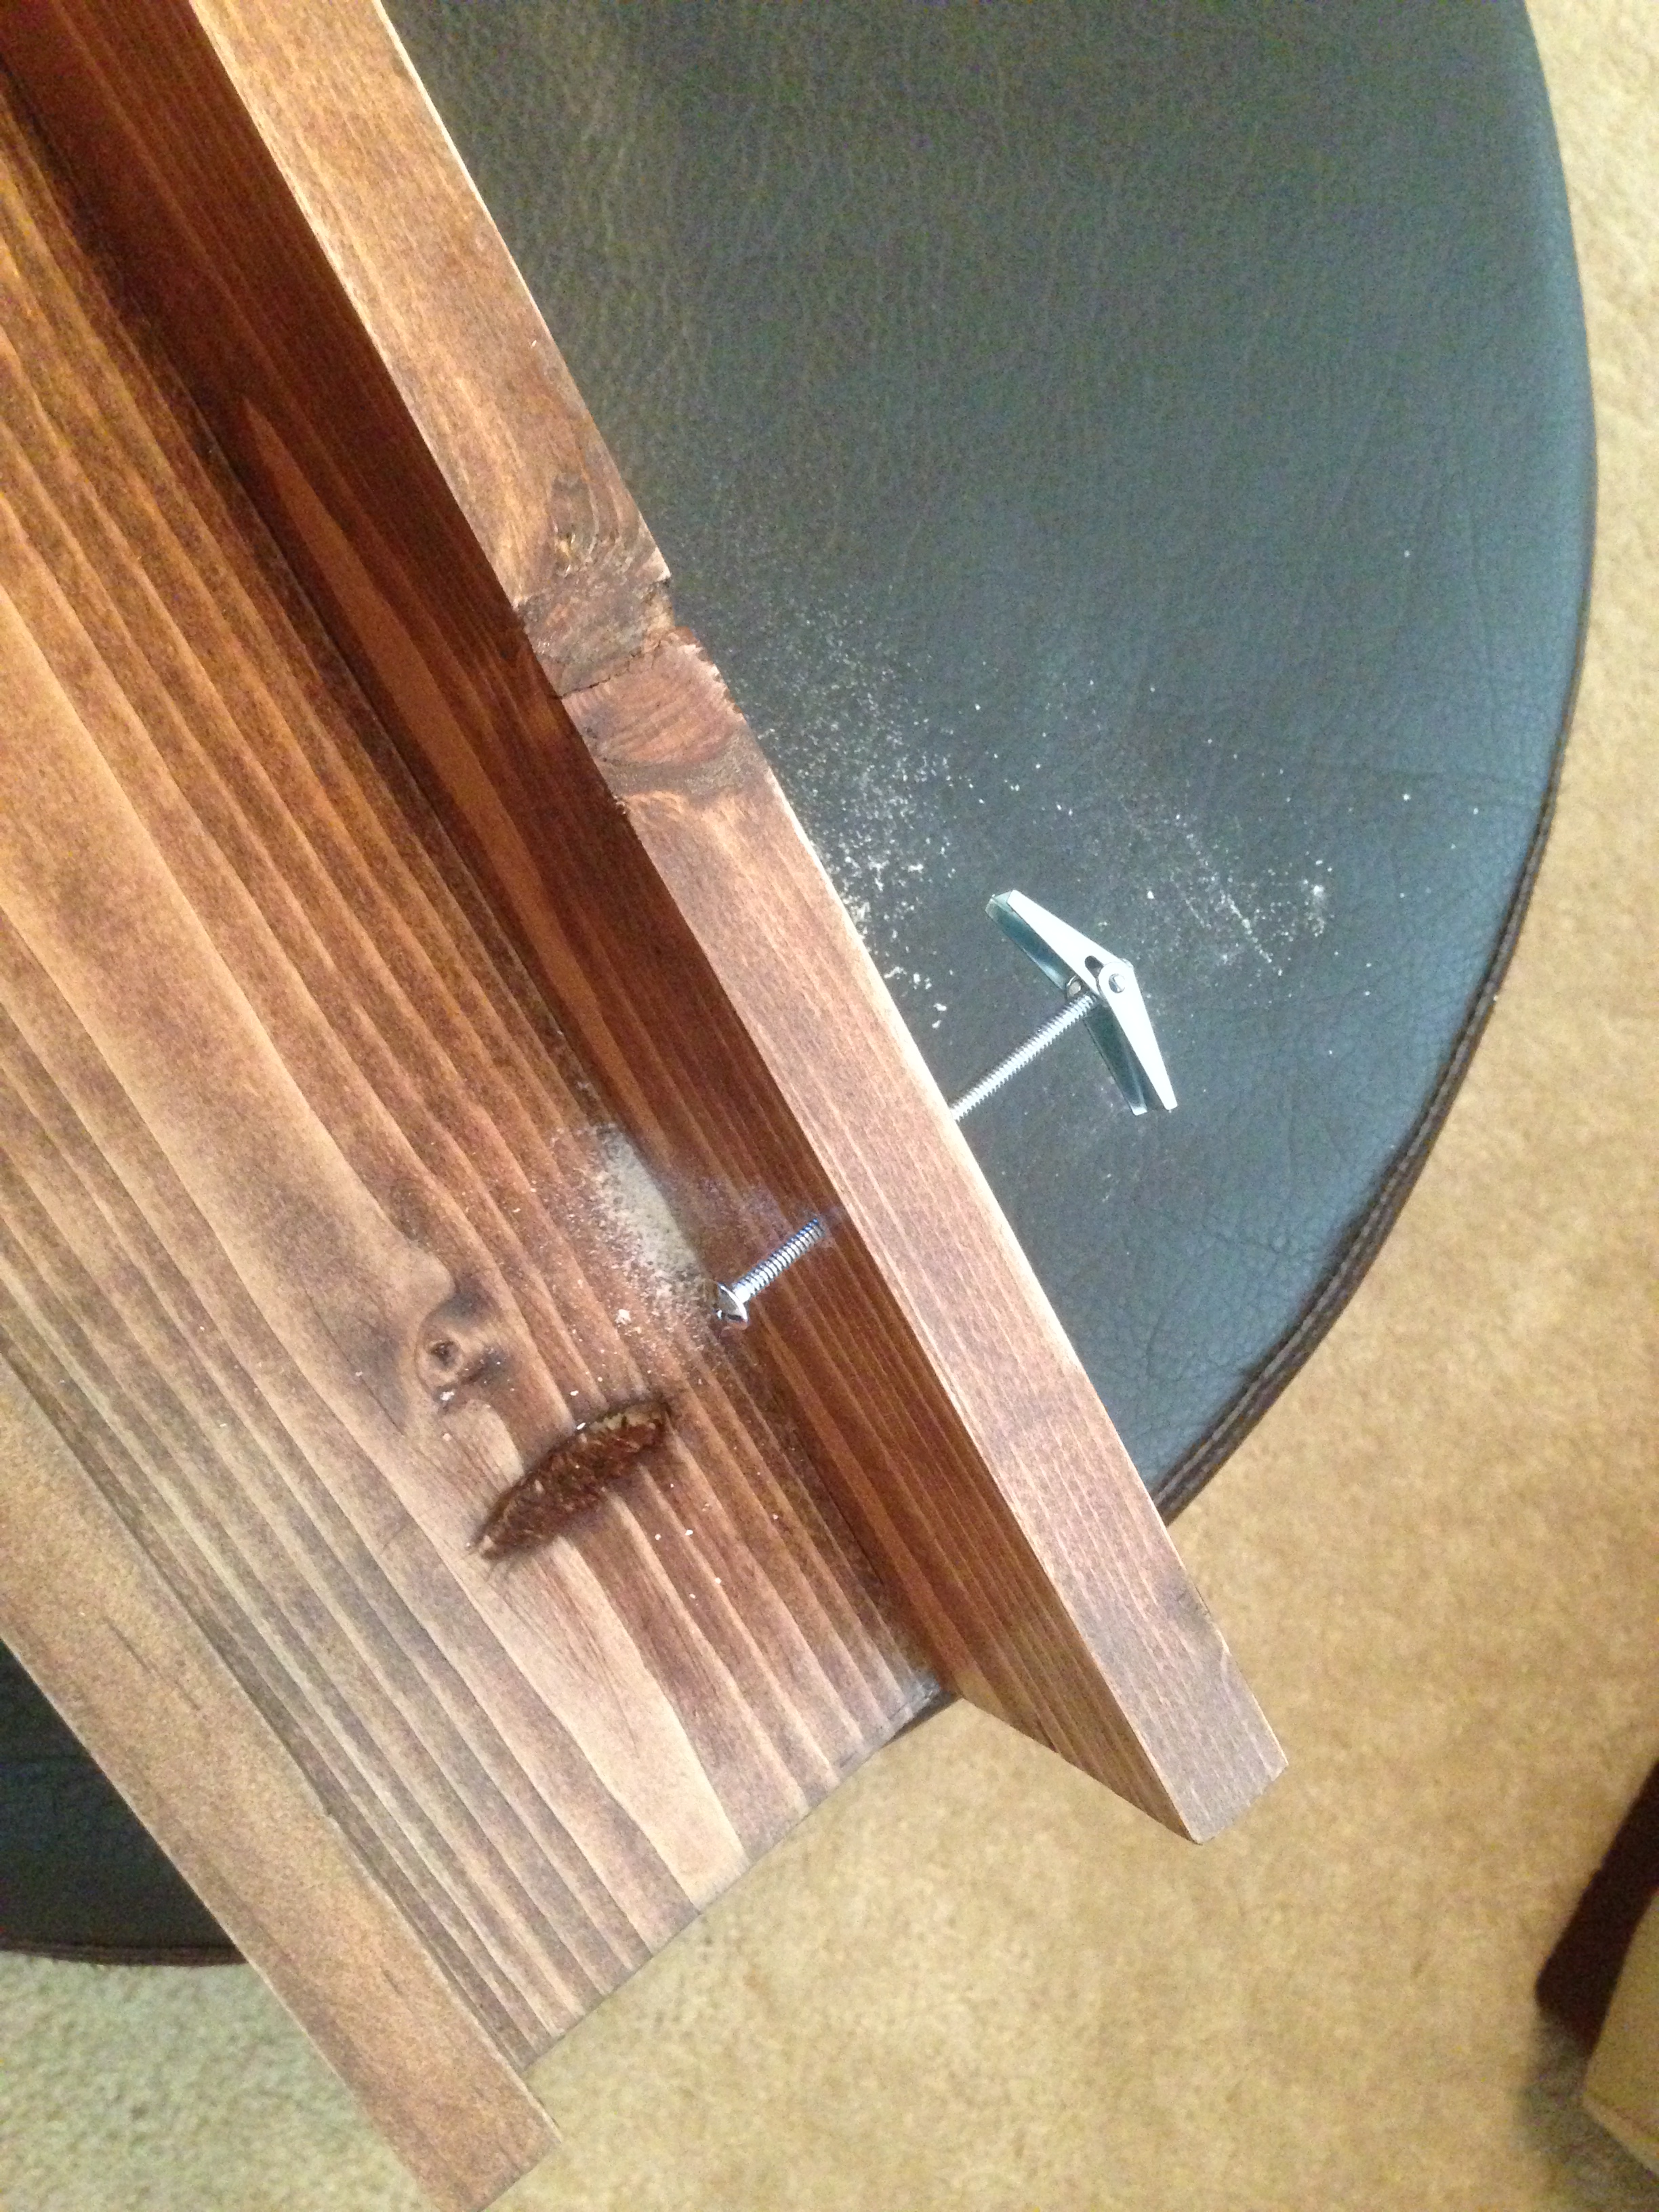 It took a little while to find our rhythm as to how to mount ’em properly, but once we figured it out, it was pretty easy. Here’s a shot of the final product:
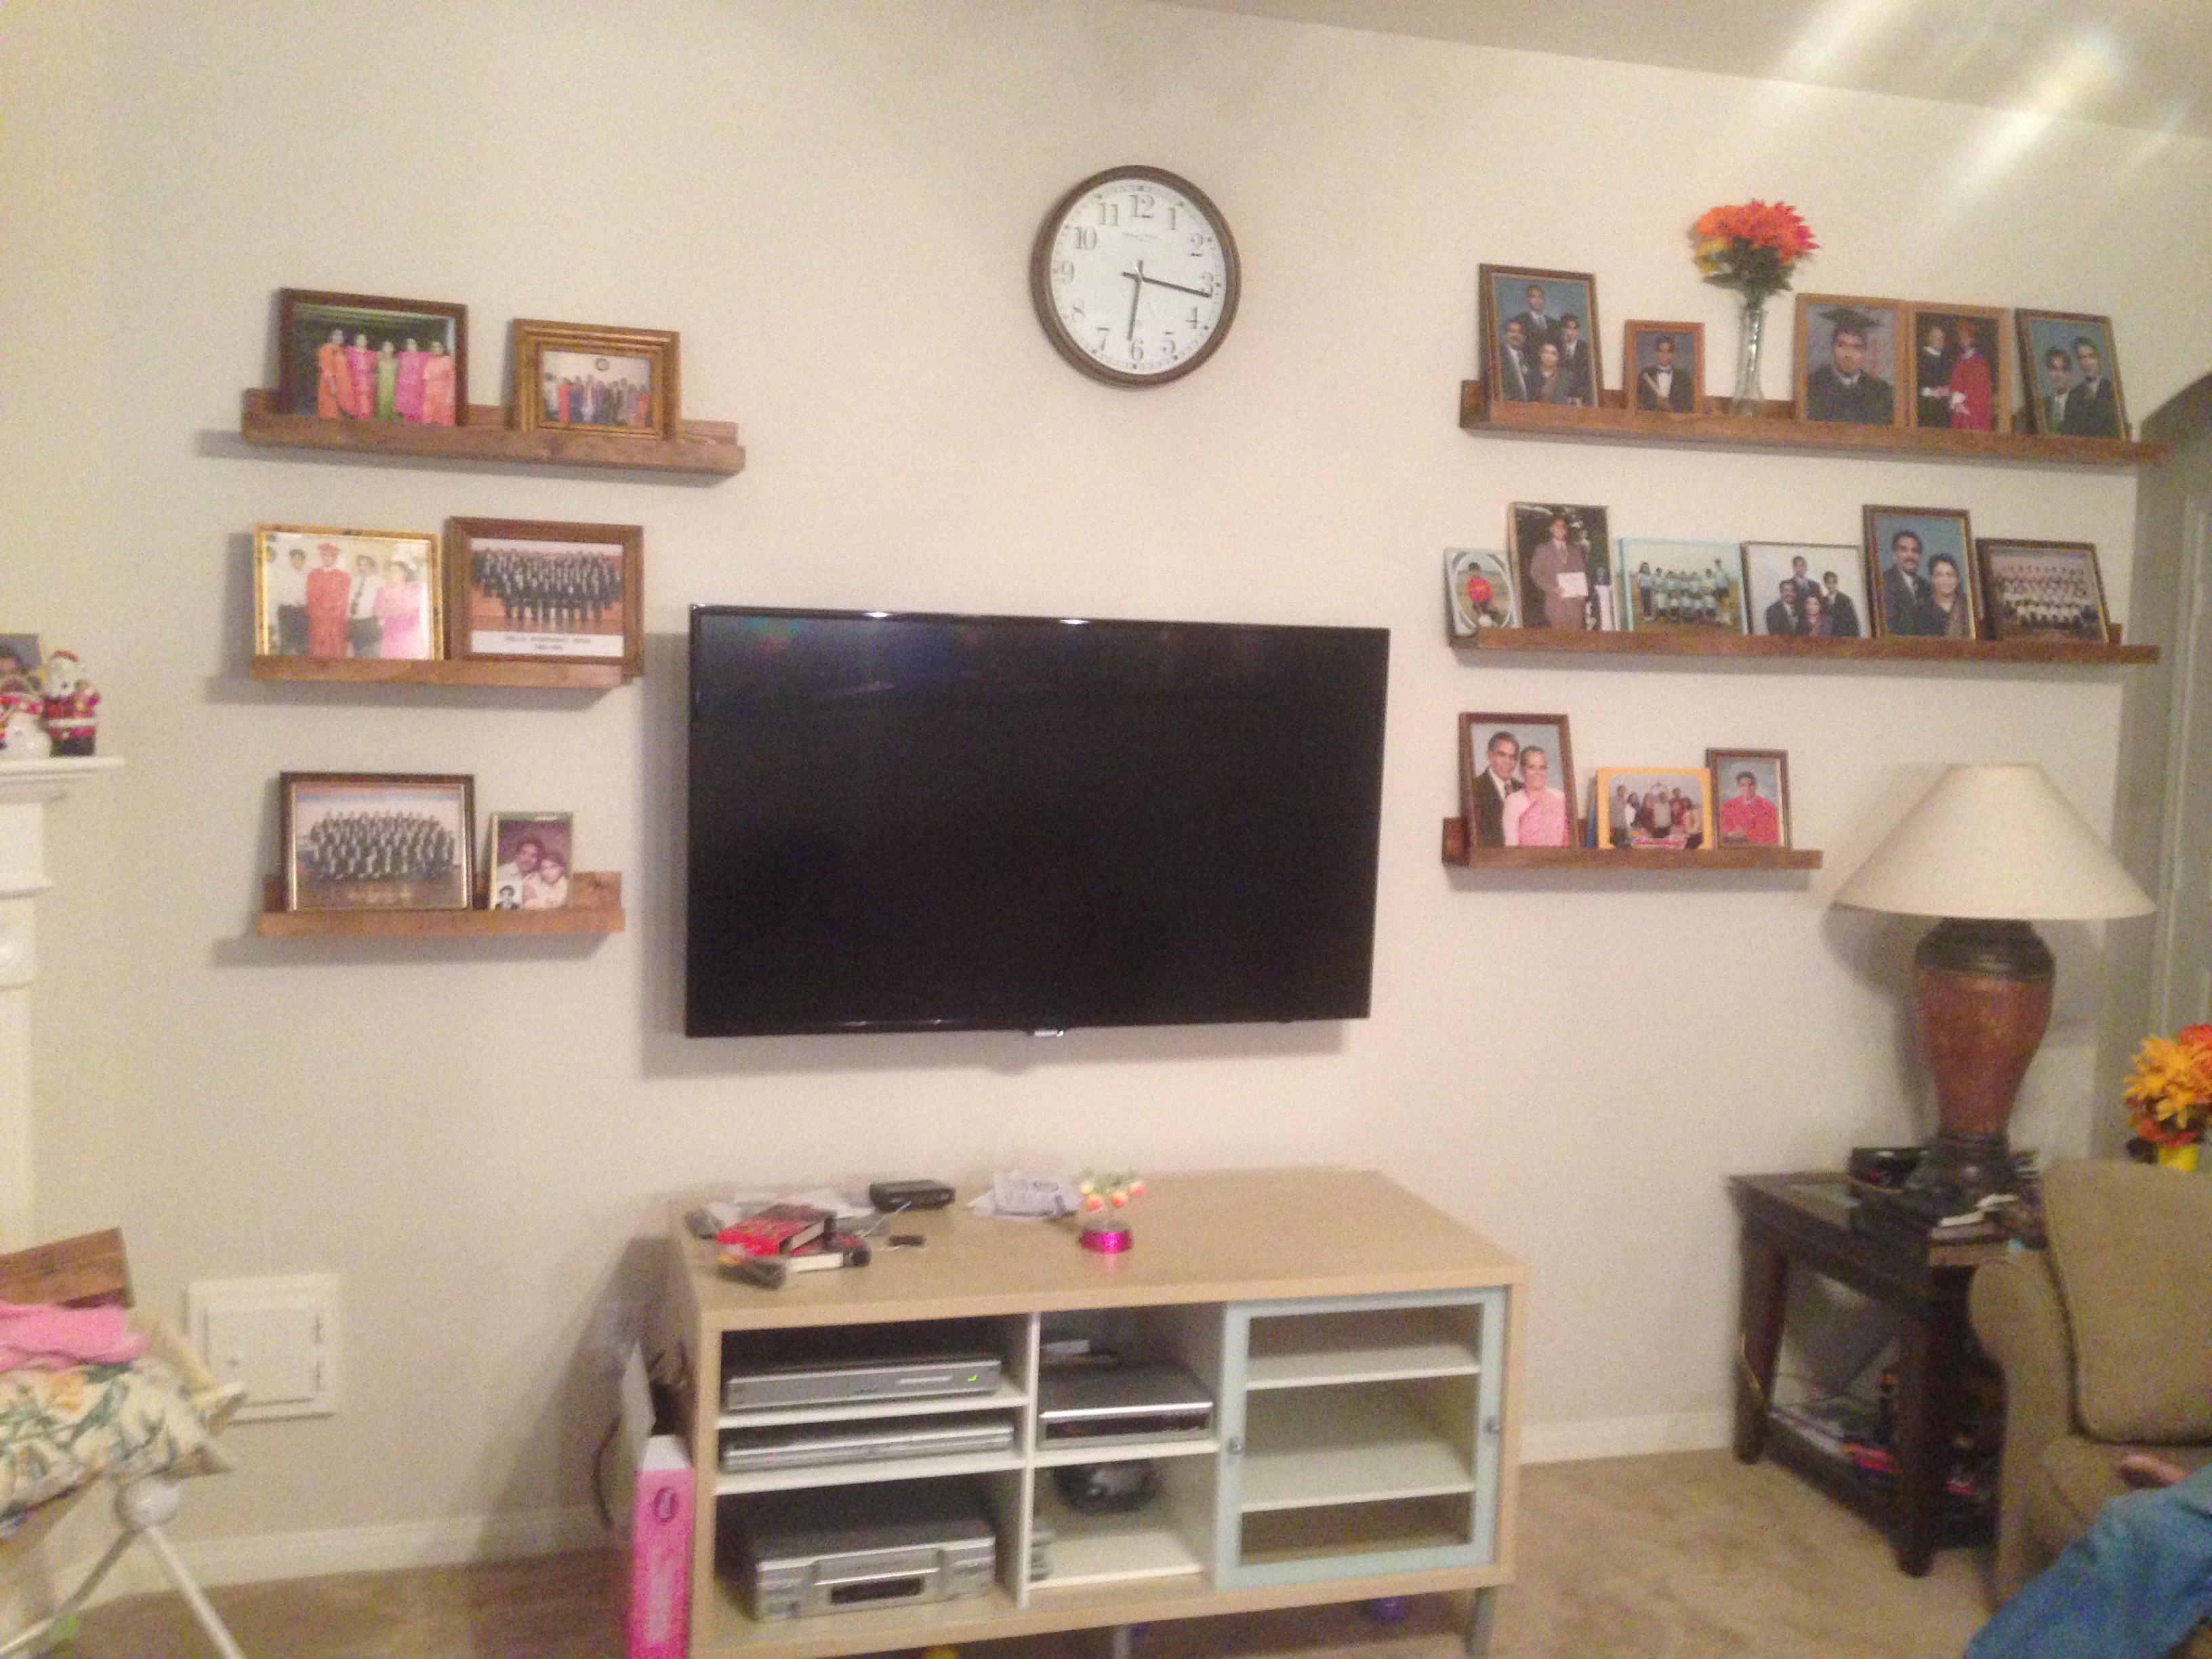
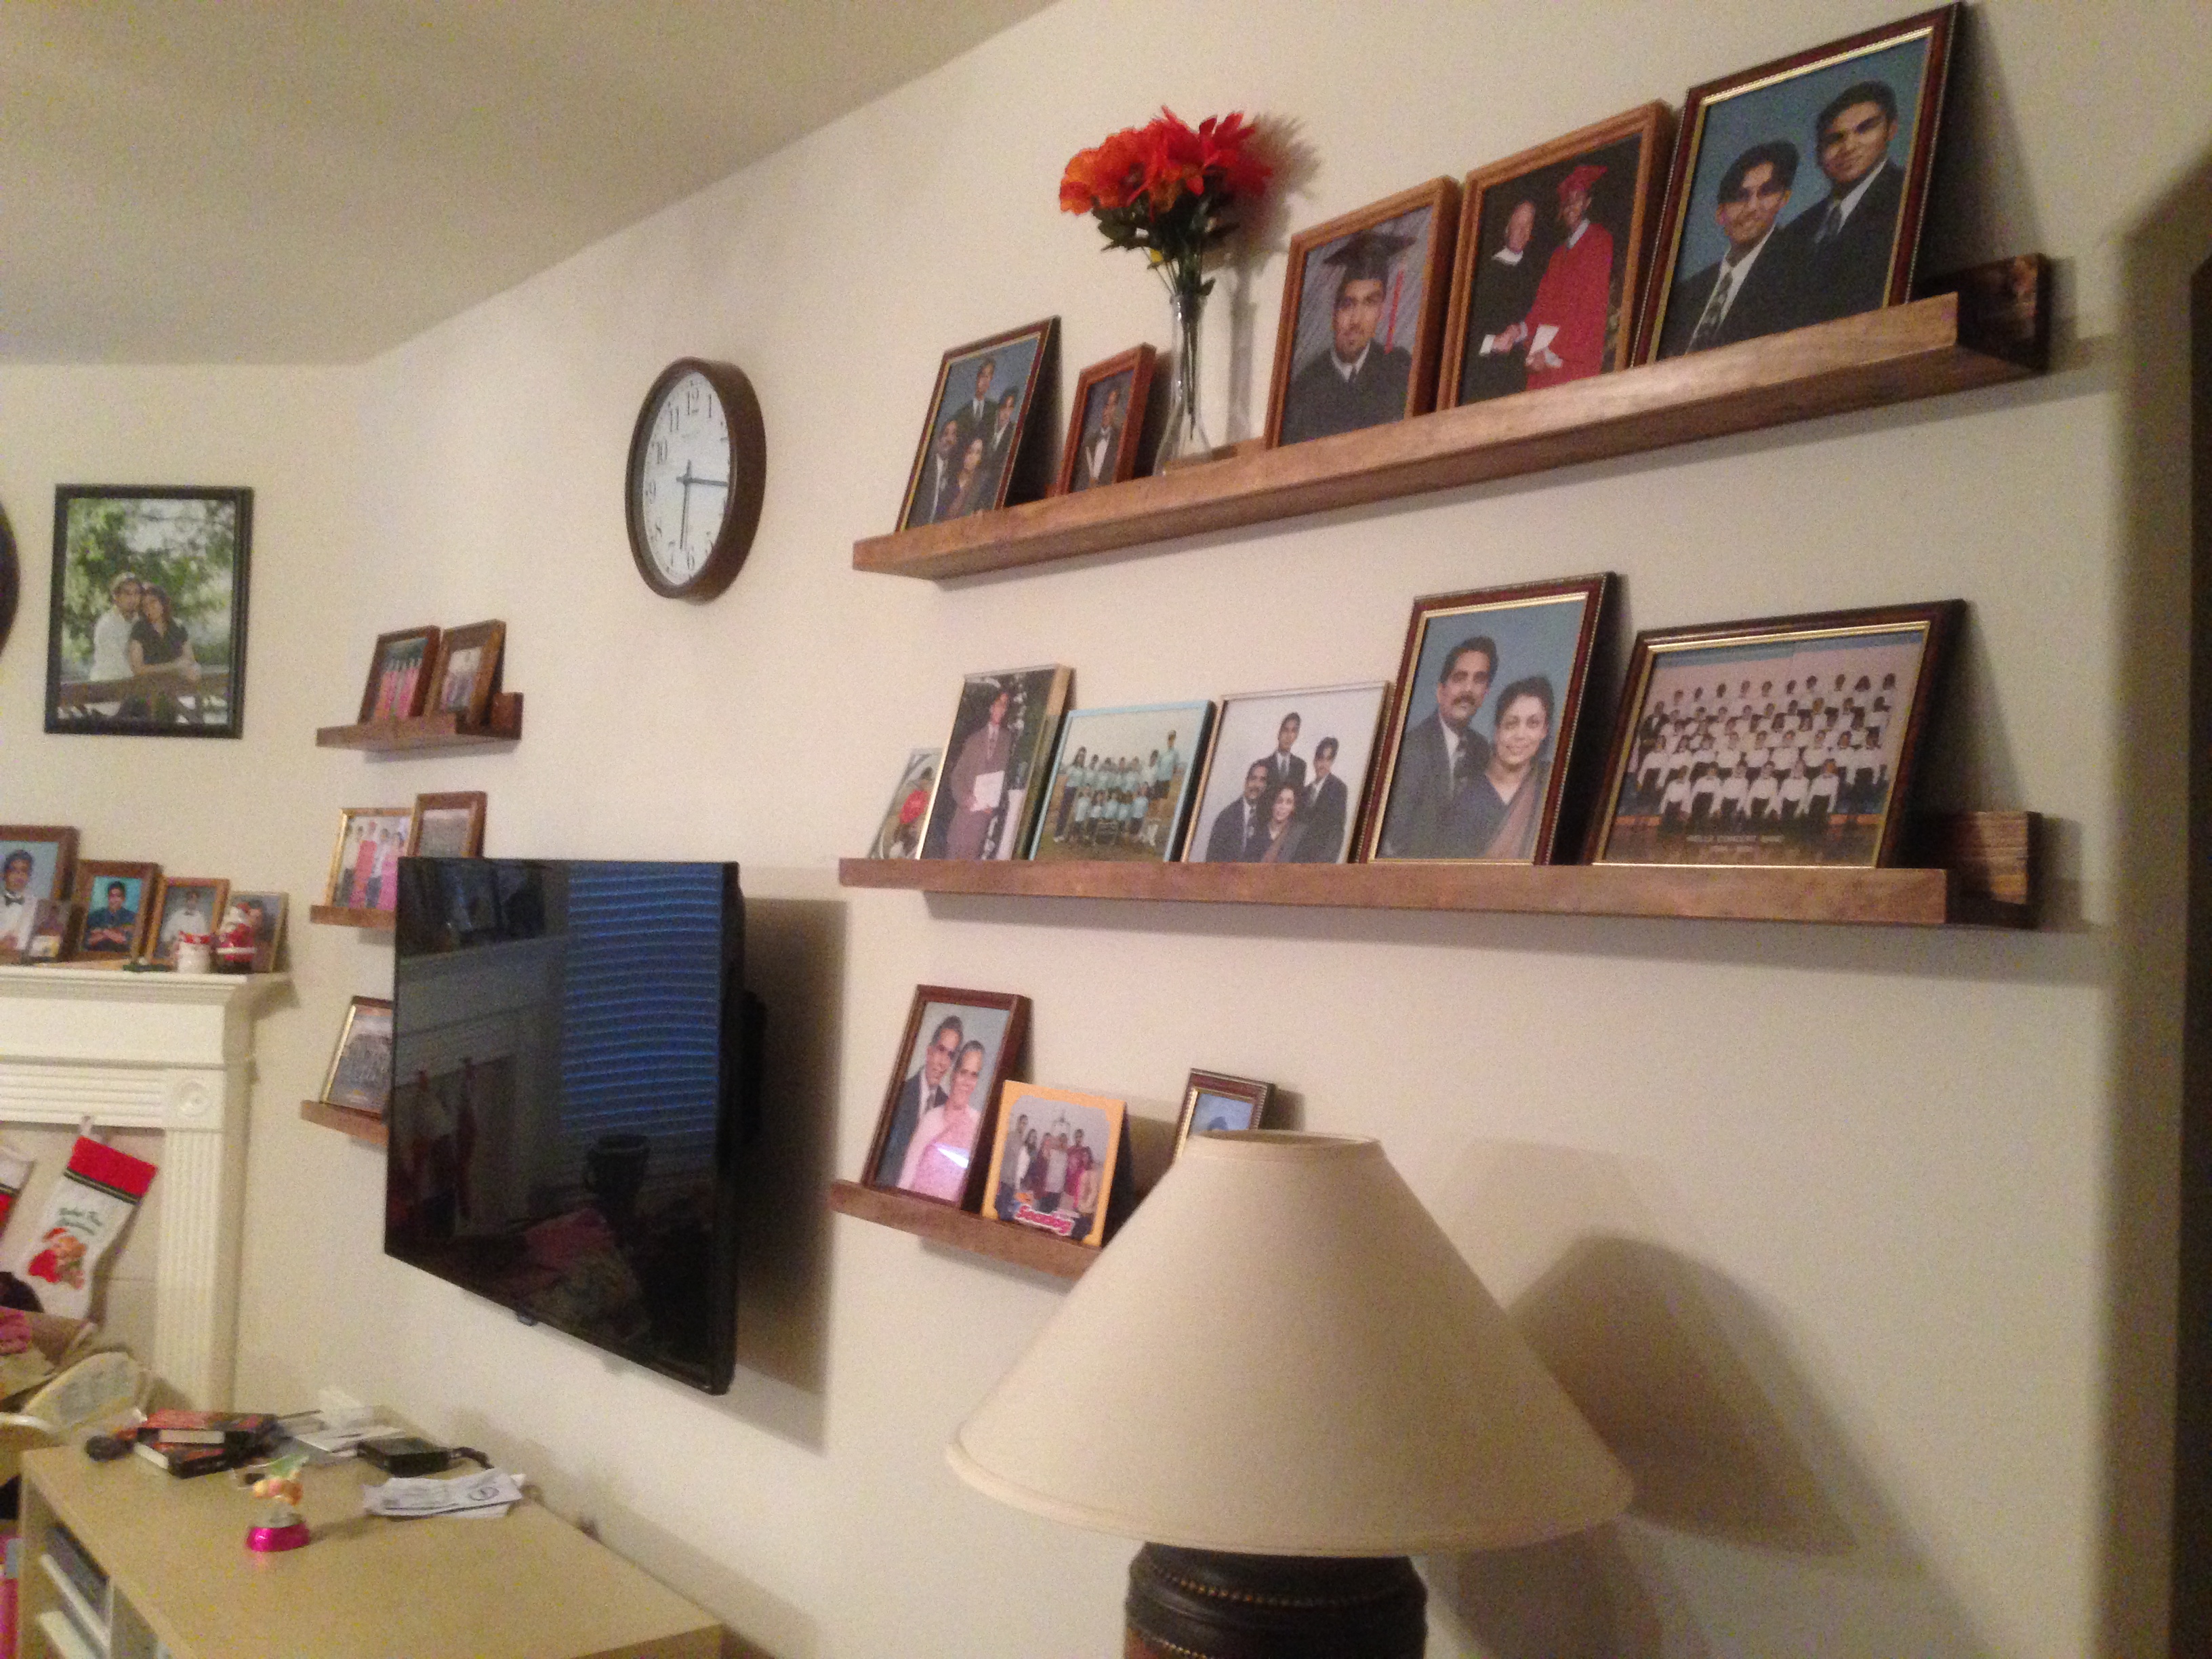 It seems like a whole lotta pictures and we could probably trim that down a bit, but It’s Mom & Dad’s house, so we’ll let them do as they please!

I miss Tim.
LikeLike