In our breakfast room, I’ve installed a TV. It was mainly for me to be able to watch stuff while I eat without messing up the living room with my crumbs or accidental spills. It’s also to have the comfort of a table while I eat and watch whatever might be on. Sheena wasn’t too keen on the idea of a TV there, but I catch her using it from time to time. Under that TV is an empty space with sloppy hanging wires.

I’ve been talking about building a side bar table under that TV for a while, so I figured its now or never. I recently purchased a Mini Kreg Pocket Hole Jig for these type of projects.  Its a little tool that allows me to create very solid wood joints without the use of wood glue or joint biscuits (which make any project twice as long to complete).
The goal for making this table is to have a little extra counter space. I also had the idea of plugging in one of our older computers and using the TV as a large monitor to pull up cooking recipes, or just watching stuff on YouTube while I wait for the microwave to beep, so a table would be a good spot for a laptop to rest.
The concept is pretty simple…
First, measure and cut the wood:

Then drill the pocket holes:

Then sand each piece:

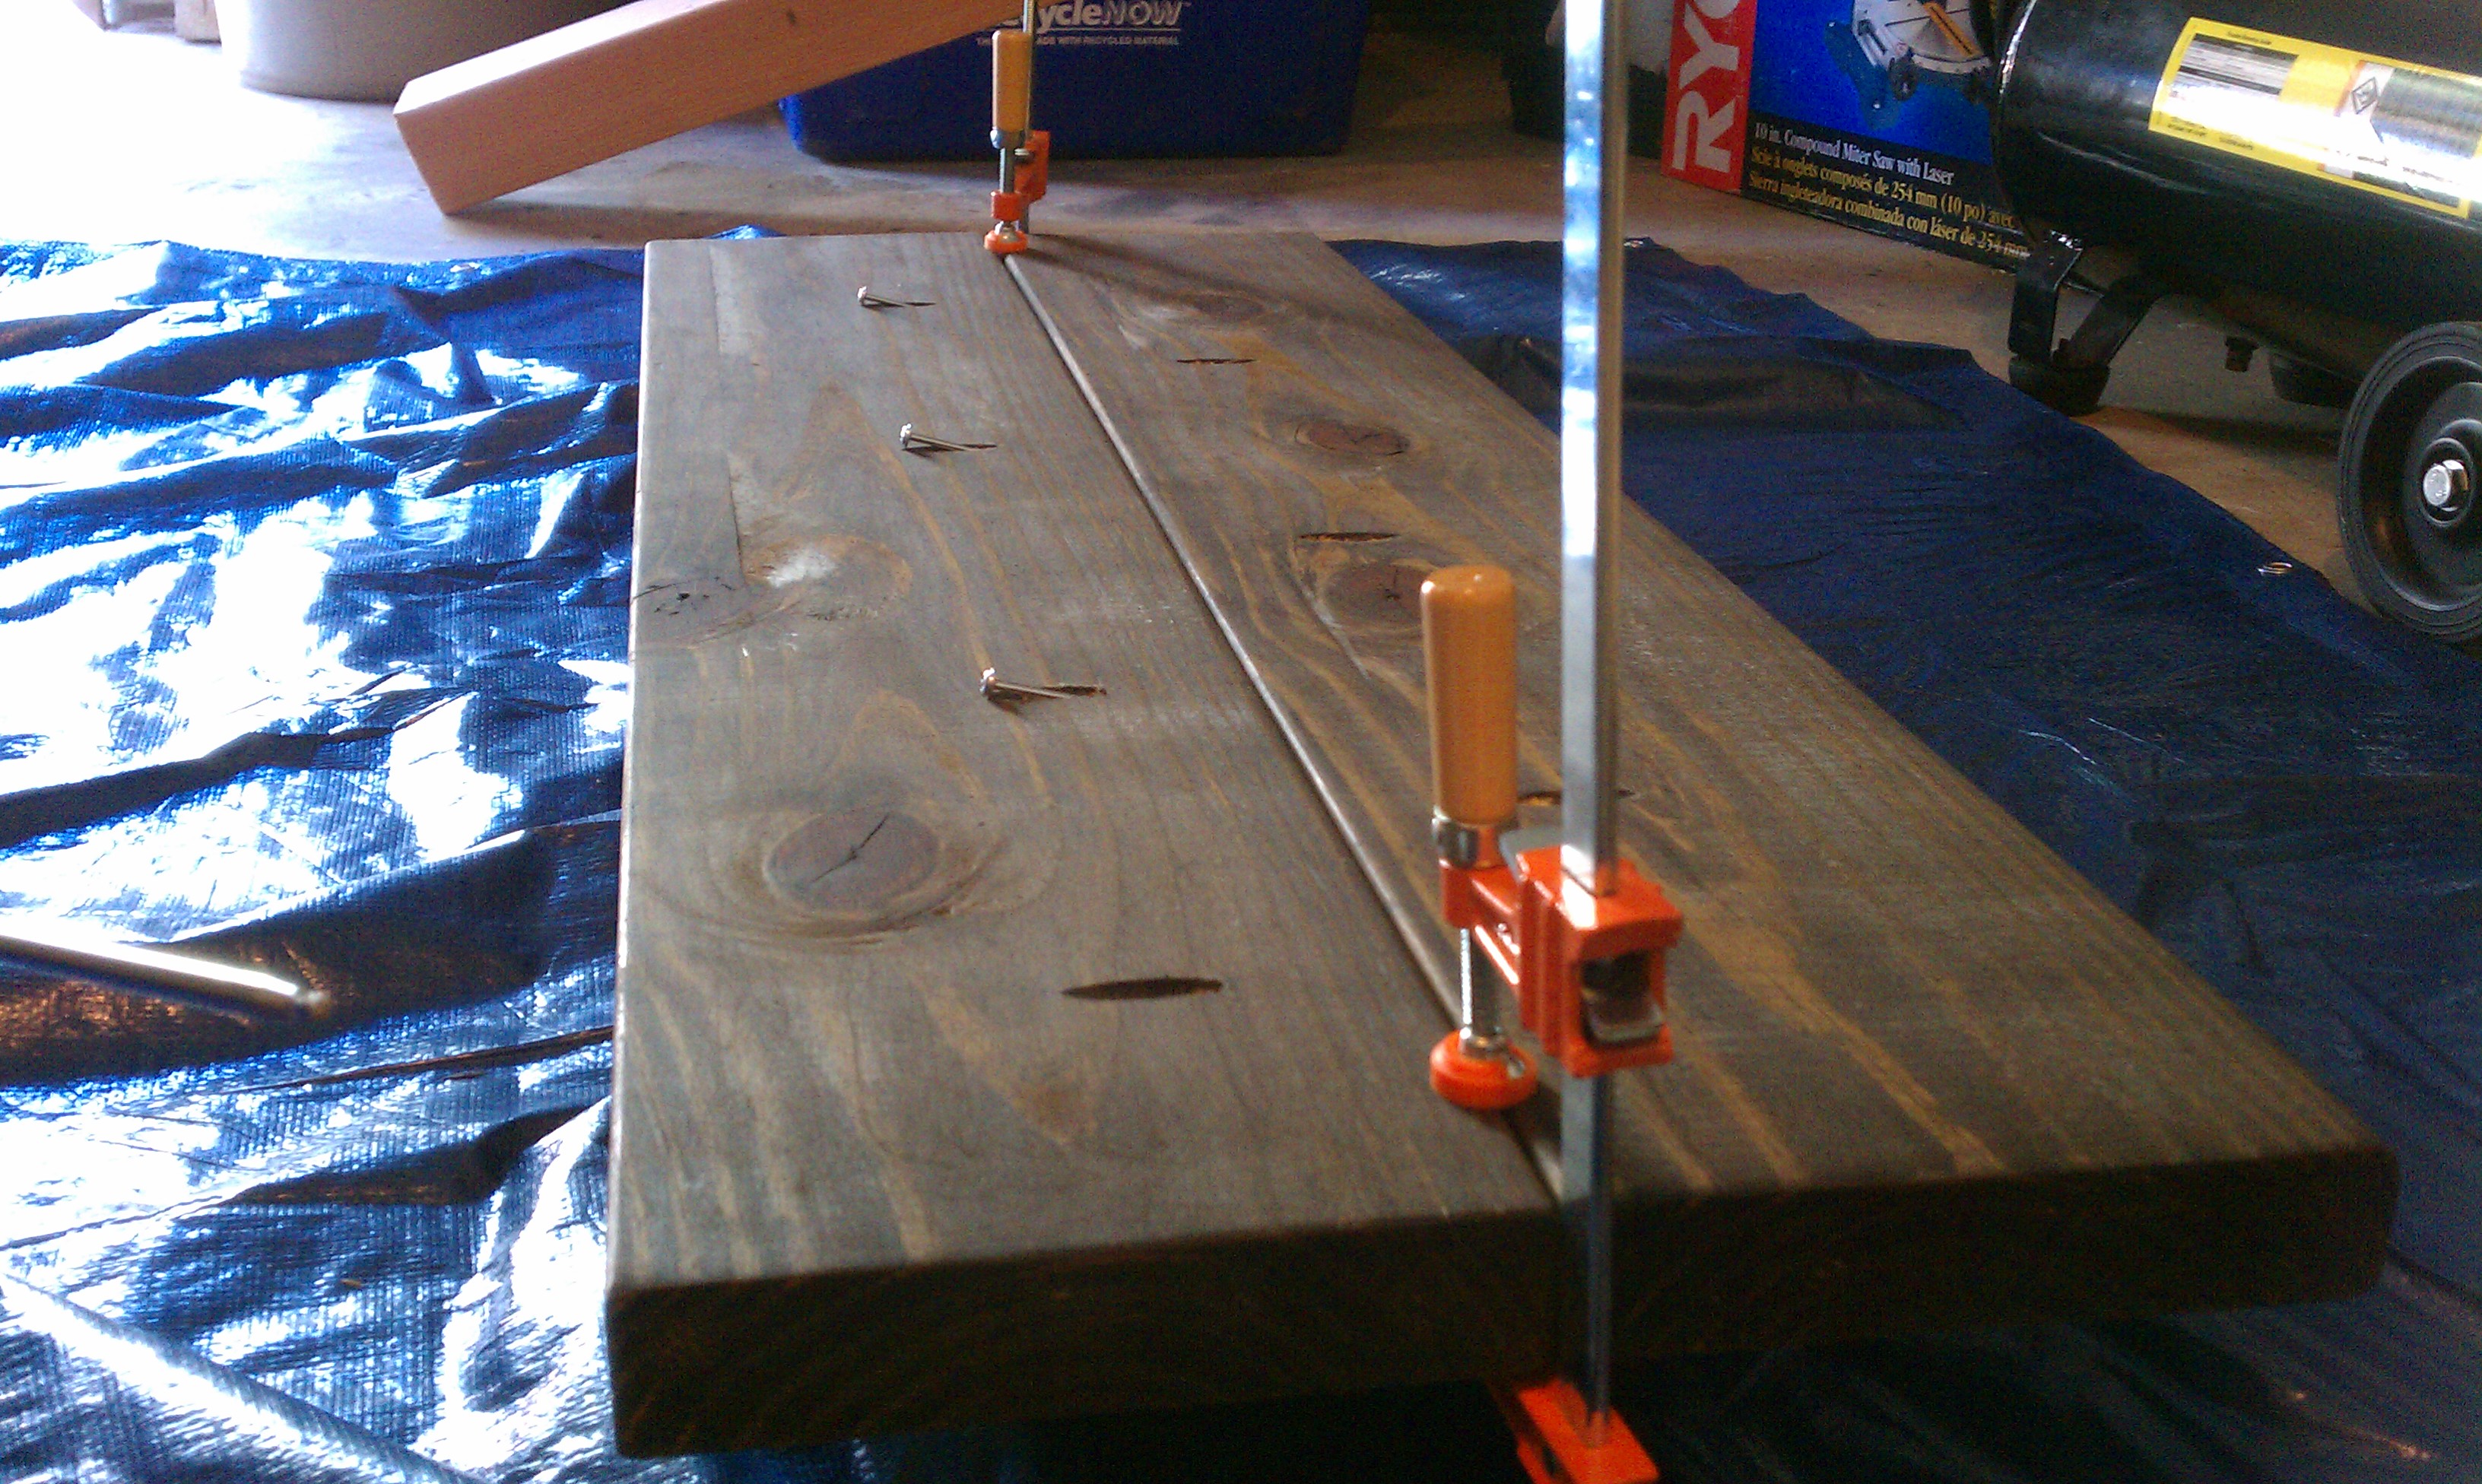
Then stain it:

Then join the tabletop together (using the pre-drilled pocket holes):
Then I slapped on some polyurethane on the table top. I sanded with a very fine grit in between each coat of poly. Makes for a very smooth finish. I did about 3 coats of poly.
When mounting the side bar table, I first attached a backer board against the wall that is mounted directly to the studs behind the sheet rock. The studs weren’t 16 inches on center for some reason, so I used some anchor screws for additional support.  The backer board was also stained to match the table top. The backer board give me a larger solid surface to mount the brackets so that I can space them out evenly. It also protects the wall. Since sheet rock is softer than wood, the brackets will make indents onto the wall if a little pressure is put on the table top. A large wood backer board will prevent that from happening. Once the backer board is up, the brackets are mounted and leveled. It’s important to make sure that everything is level at each step. It won’t be too fun to have things sliding off your table because of a whack slop!
The last step is to simply place the table top on the bracket and screw the whole thing in place.


I’m not too happy with how big the backer board turned out to be, but overall, not too bad of a project. It took longer than expected only because I was waiting on special ordered screws to be used for the pocket holes. Outside of that, pretty easy!
