I’m trying to get more woodworking projects under my belt, so I’m building a square patio table for our friends Earl, Asha and Maya.
After mapping out the project and buying the wood, I started with cutting all the wood to size. Then I drilled my pocket holes to join everything together.

I’m doing a “picture frame” styled table, so I dry fitted everything just to see if it would work. After seeing that it generally fit, I started putting it all together.
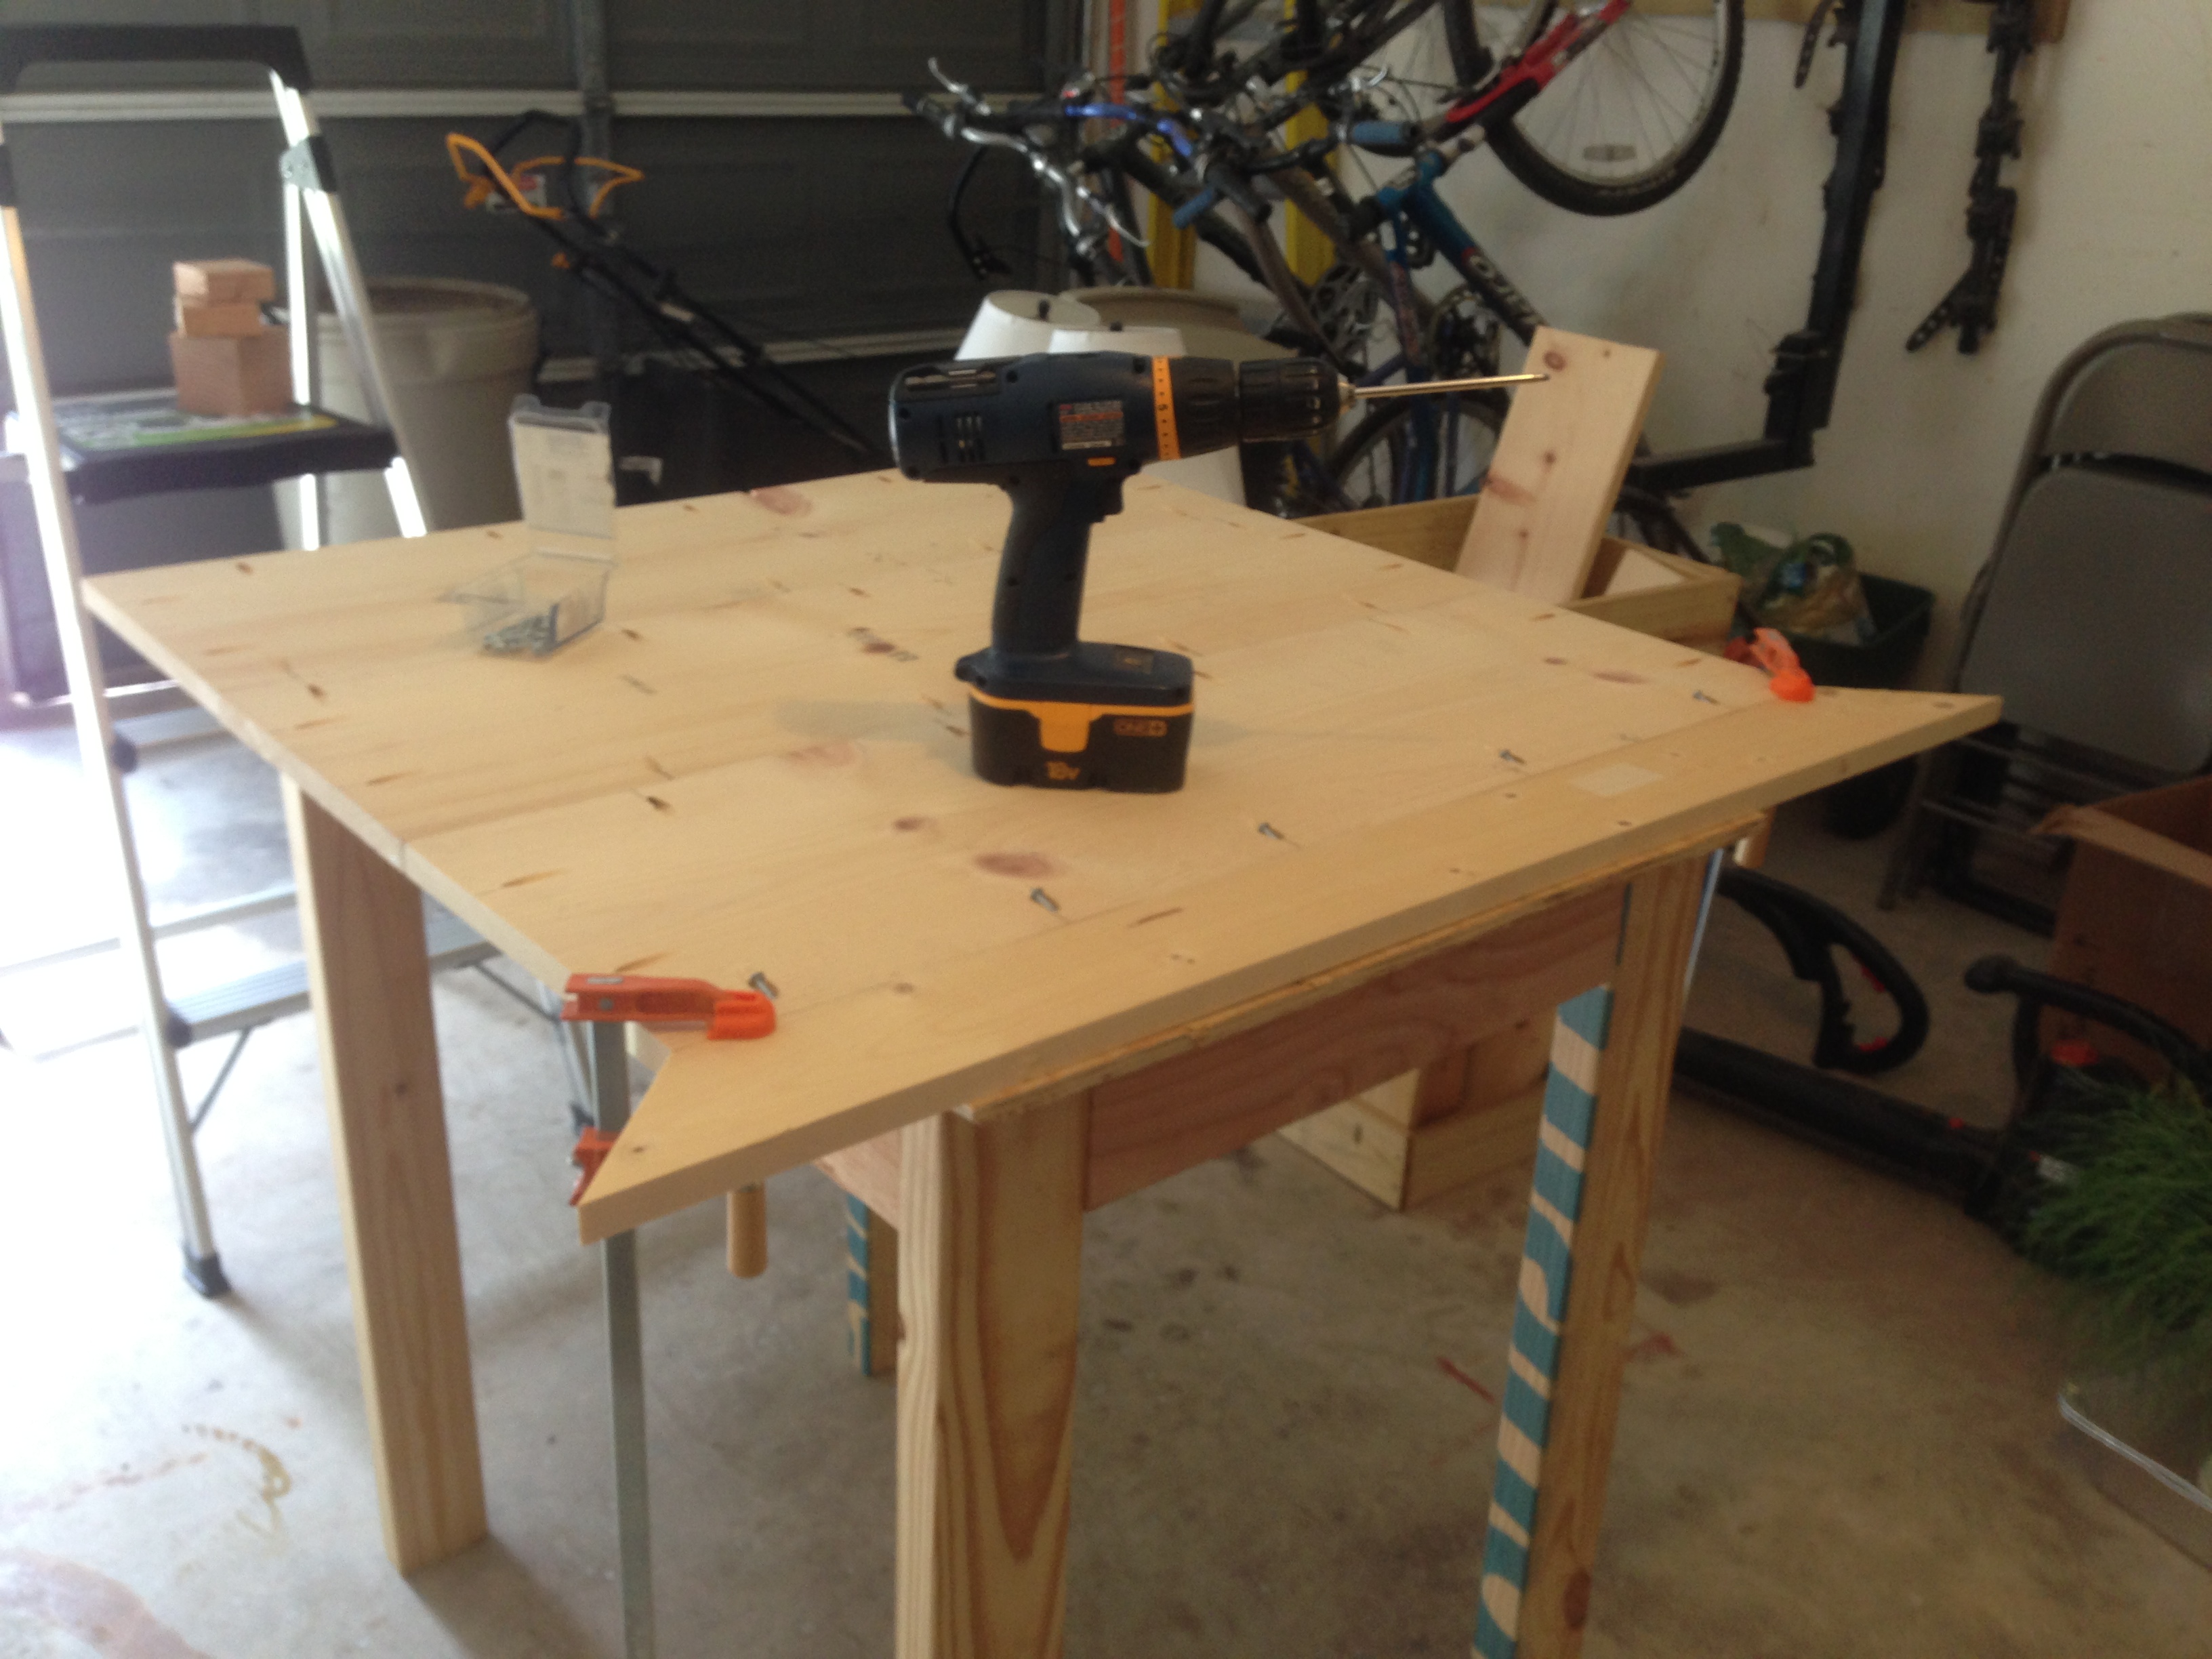
And here’s the assembled table top:

After some sanding and staining, it’s starting to look like a tabletop.
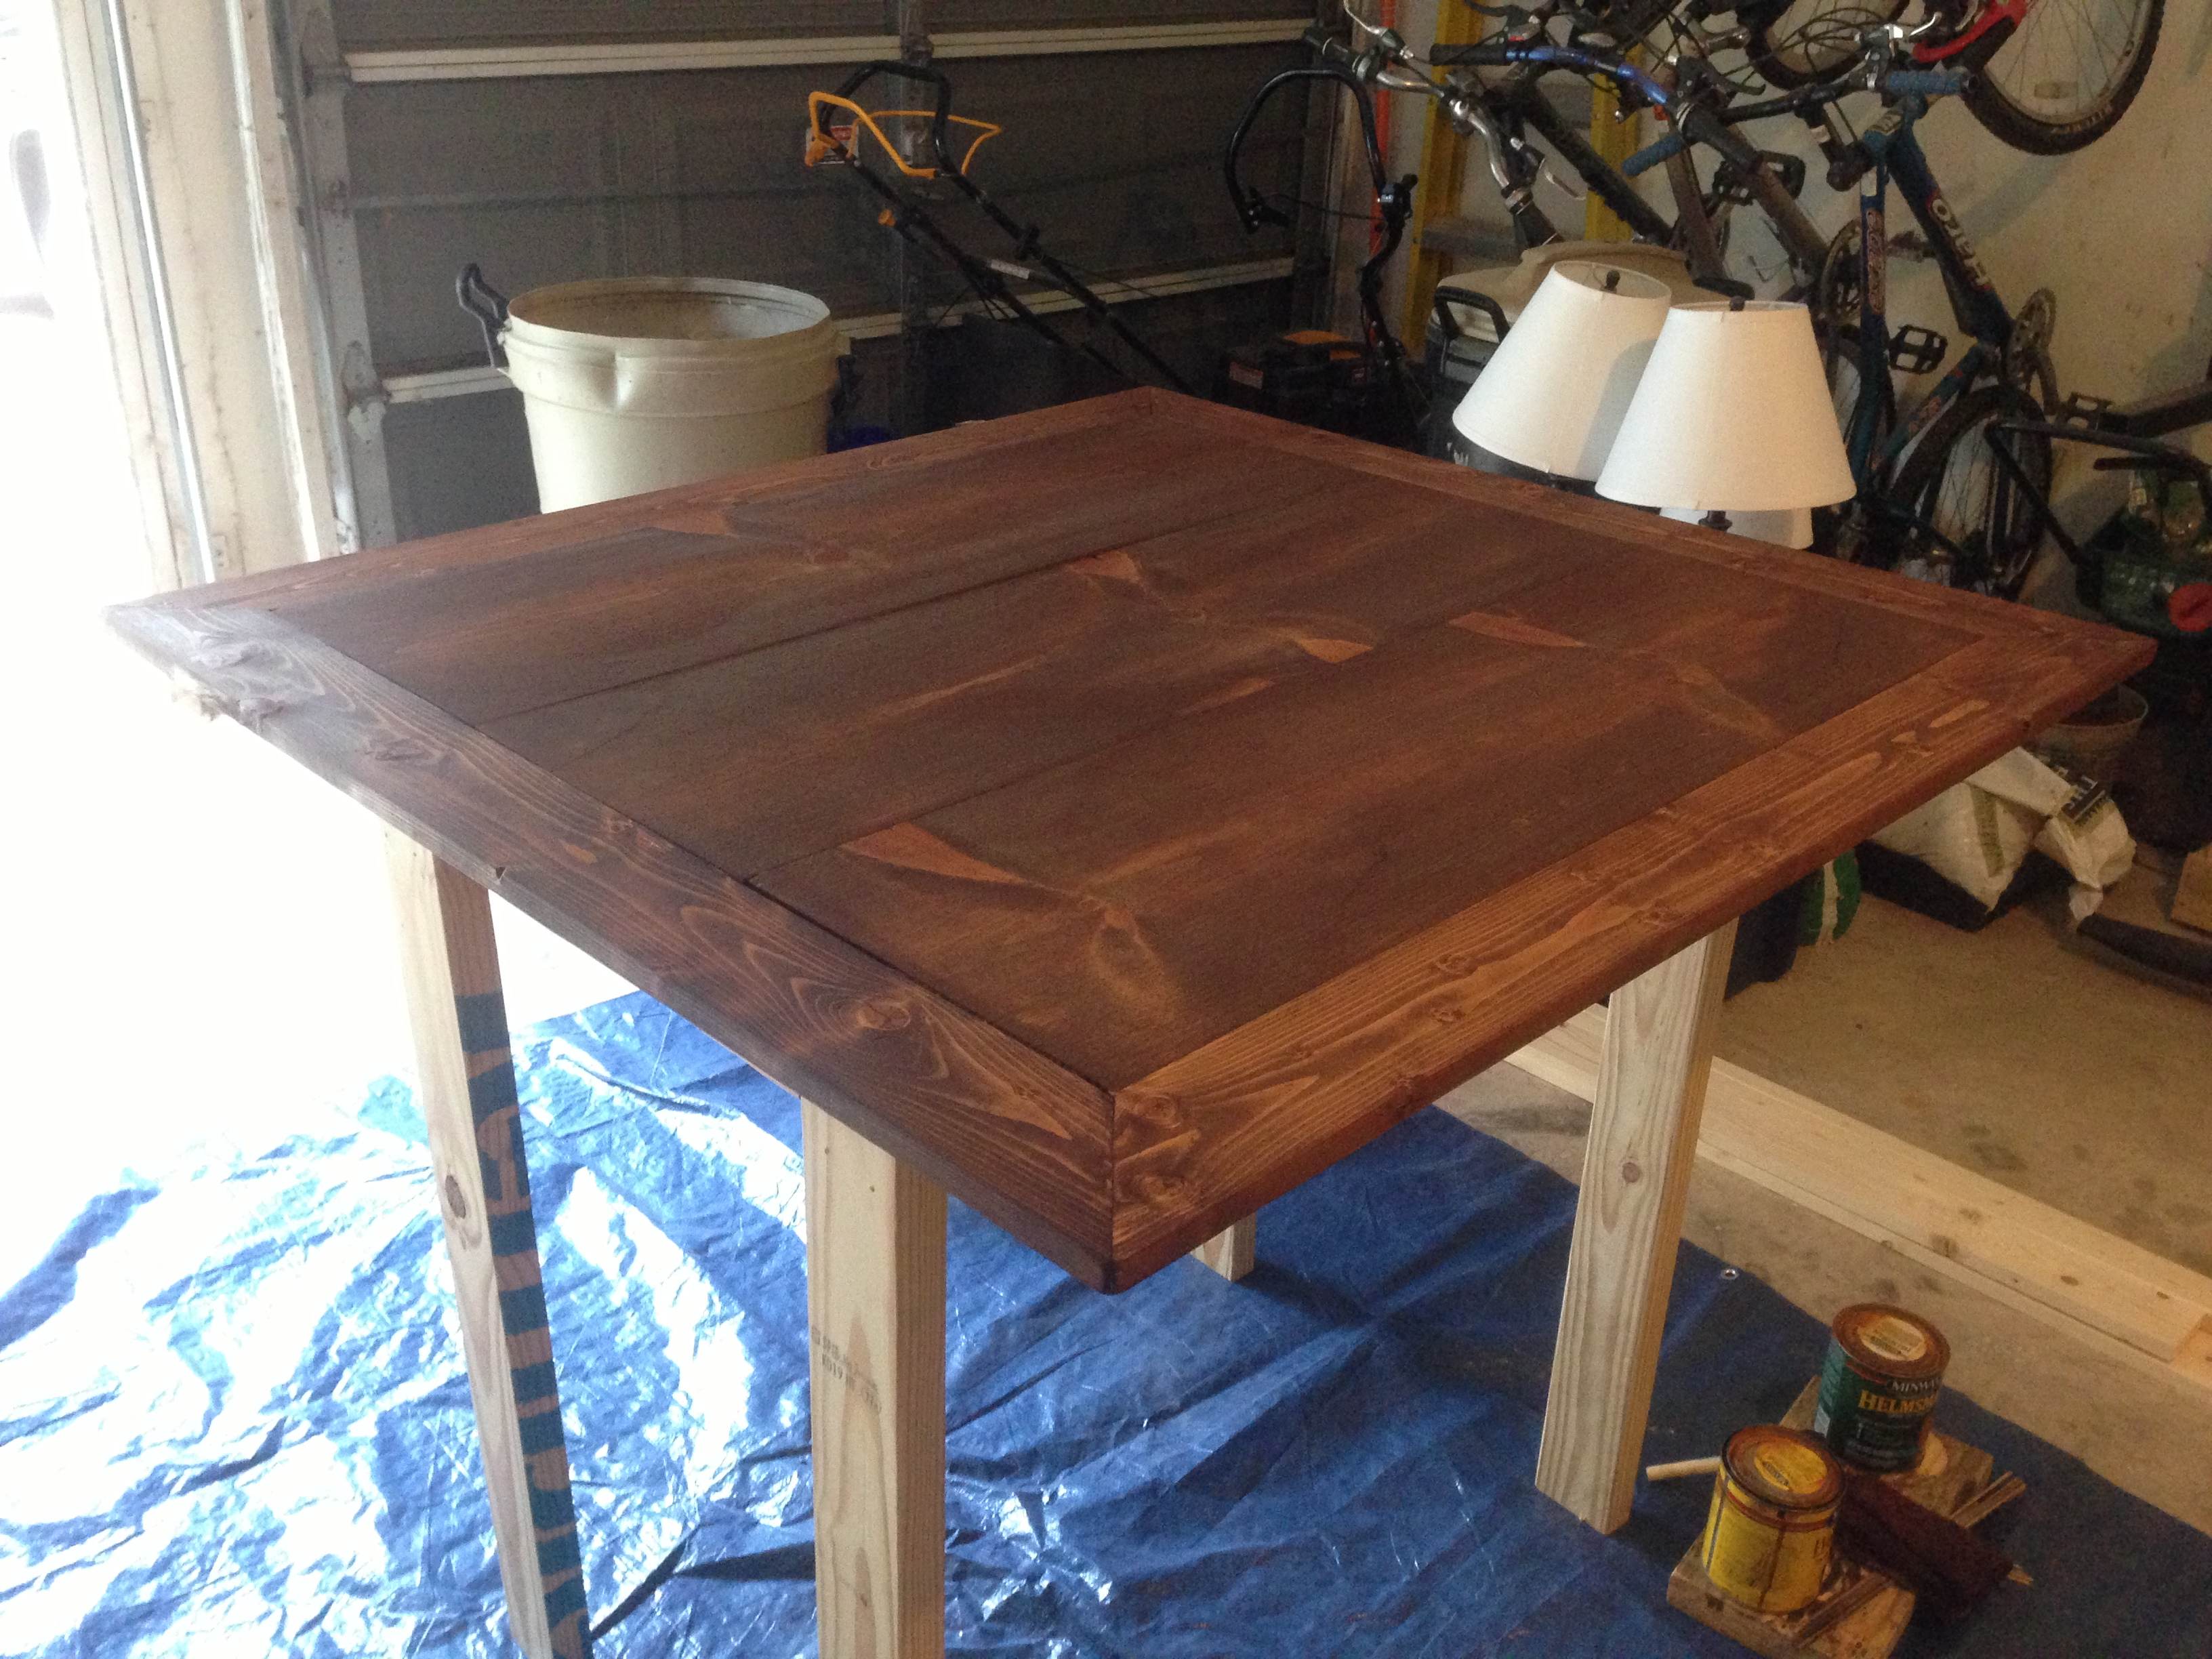
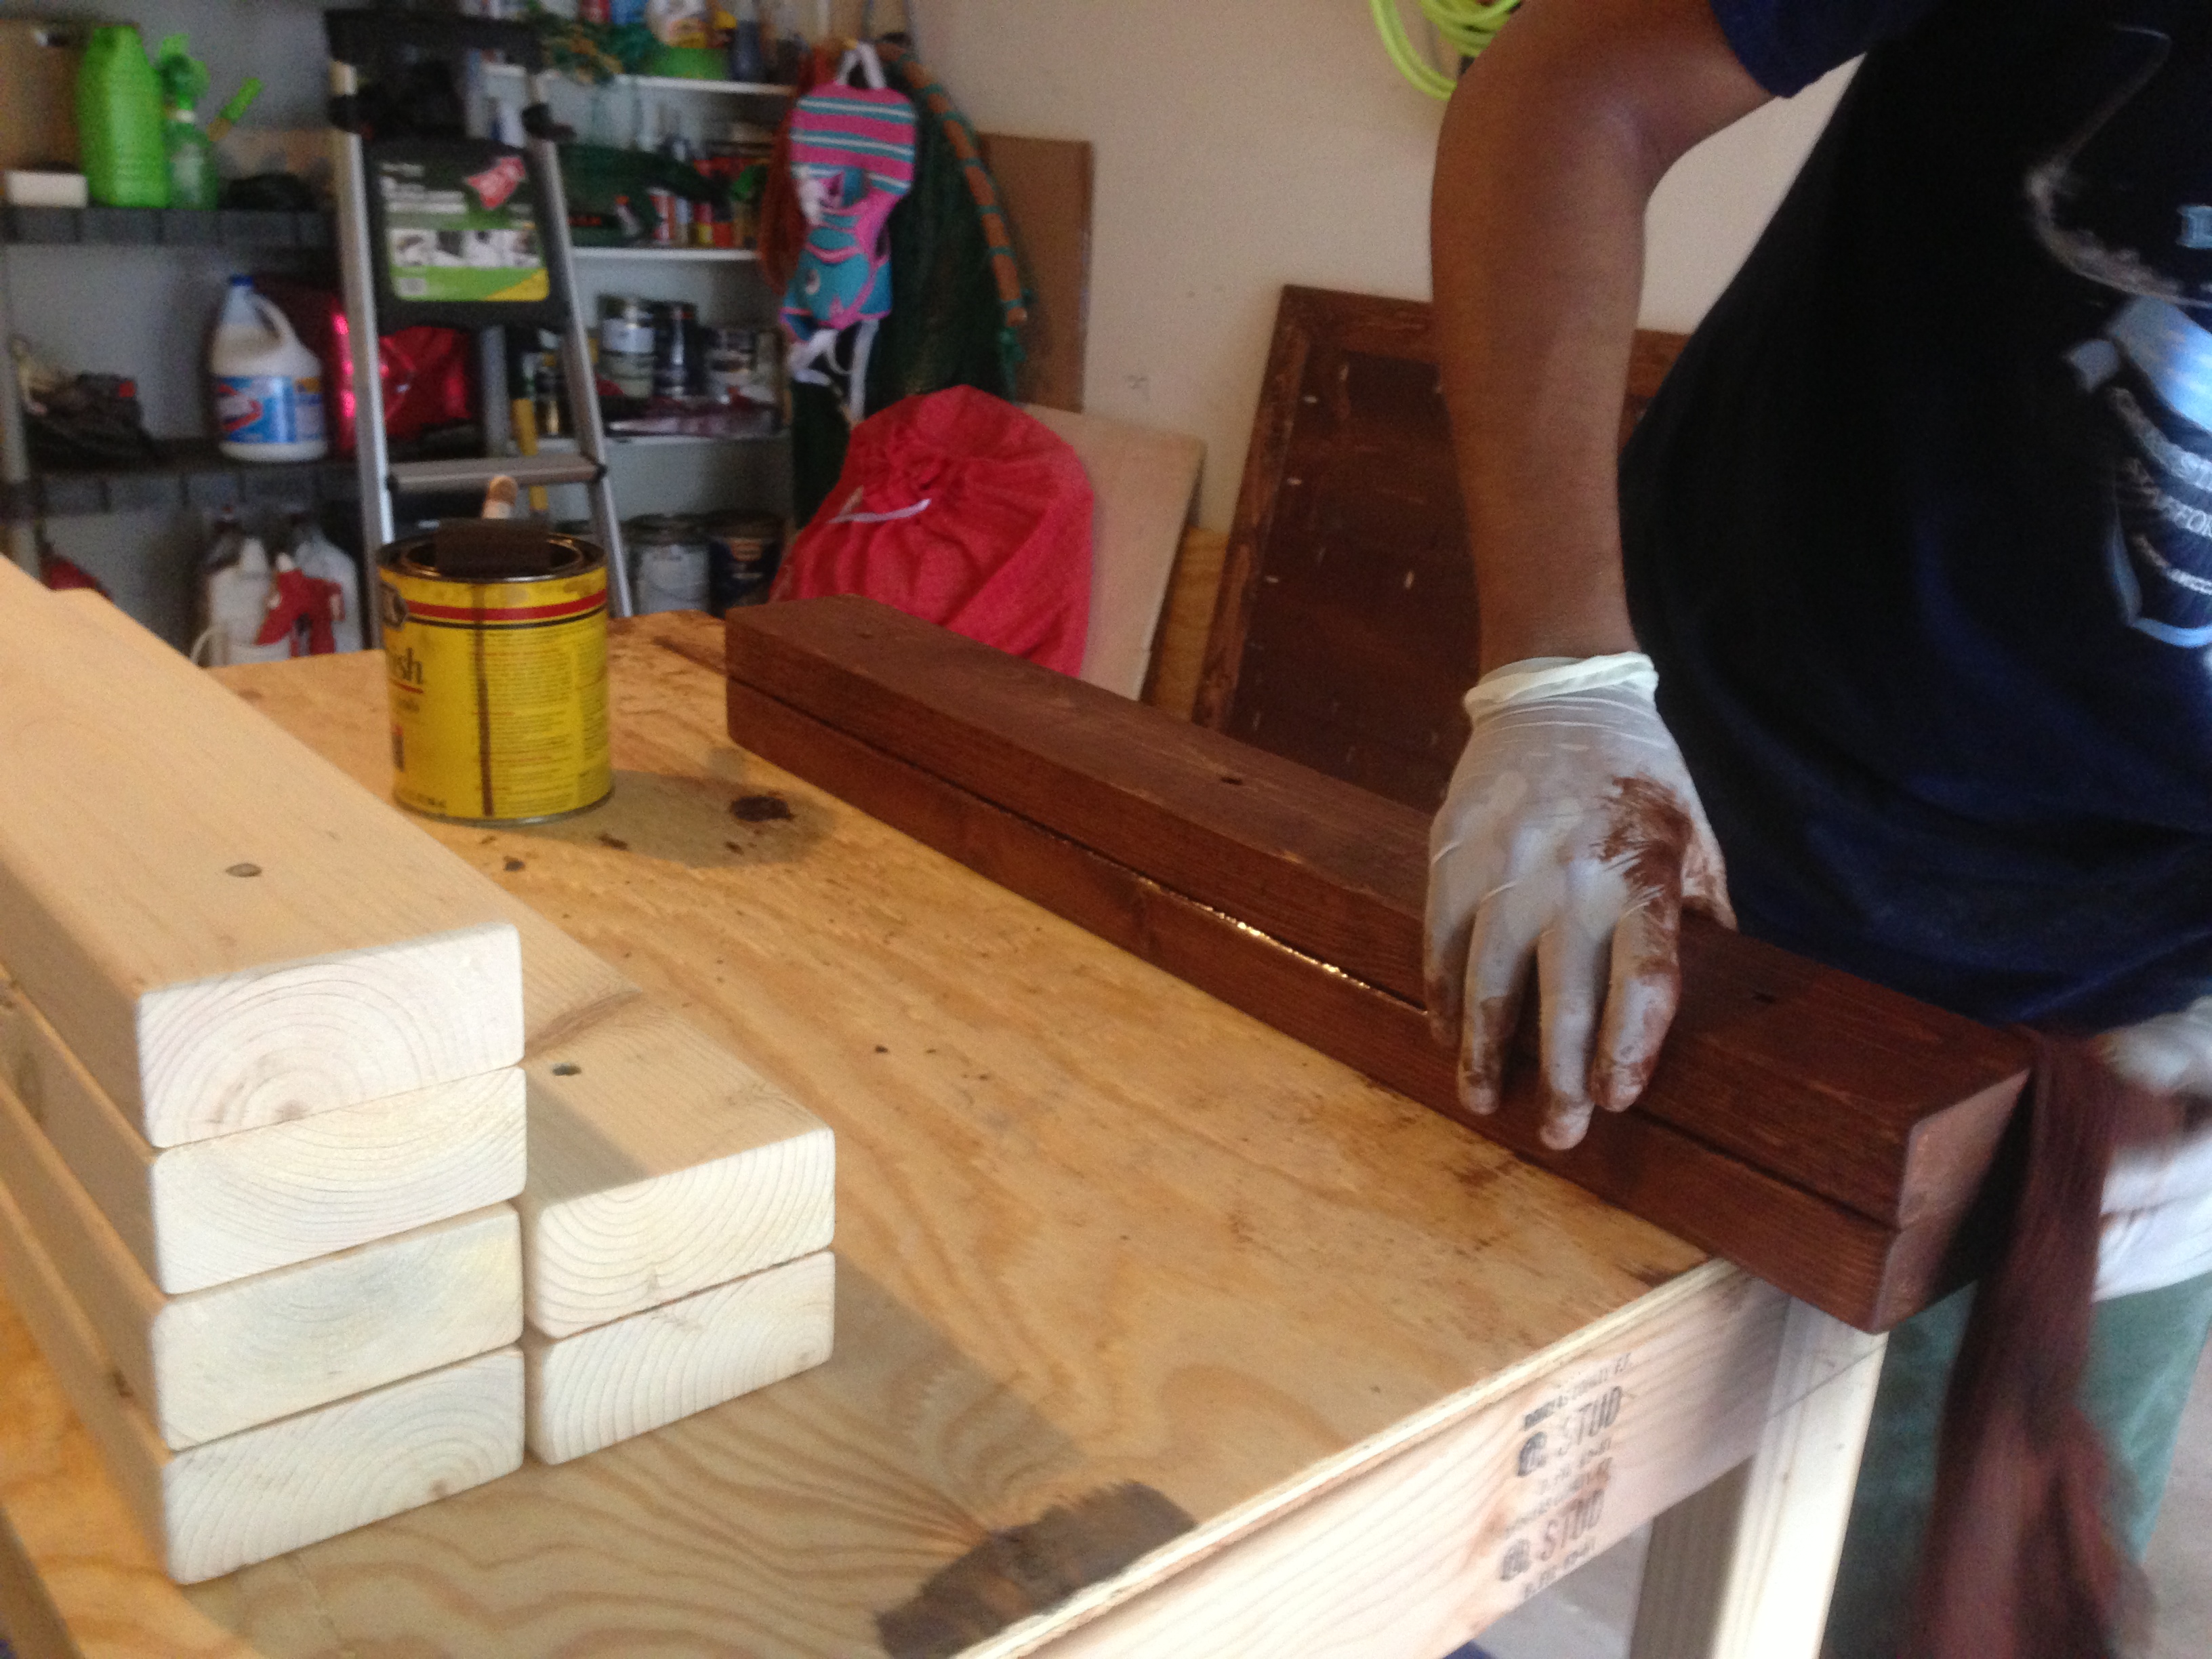
I decided to stain parts of the table separately to be sure to have good coverage. After I knocked out the table top, I assembled the legs by joining 2×4’s together, then I sanded them all down pretty well and stained ’em.

Then it was simply a matter of putting it all together (Layla supervised).
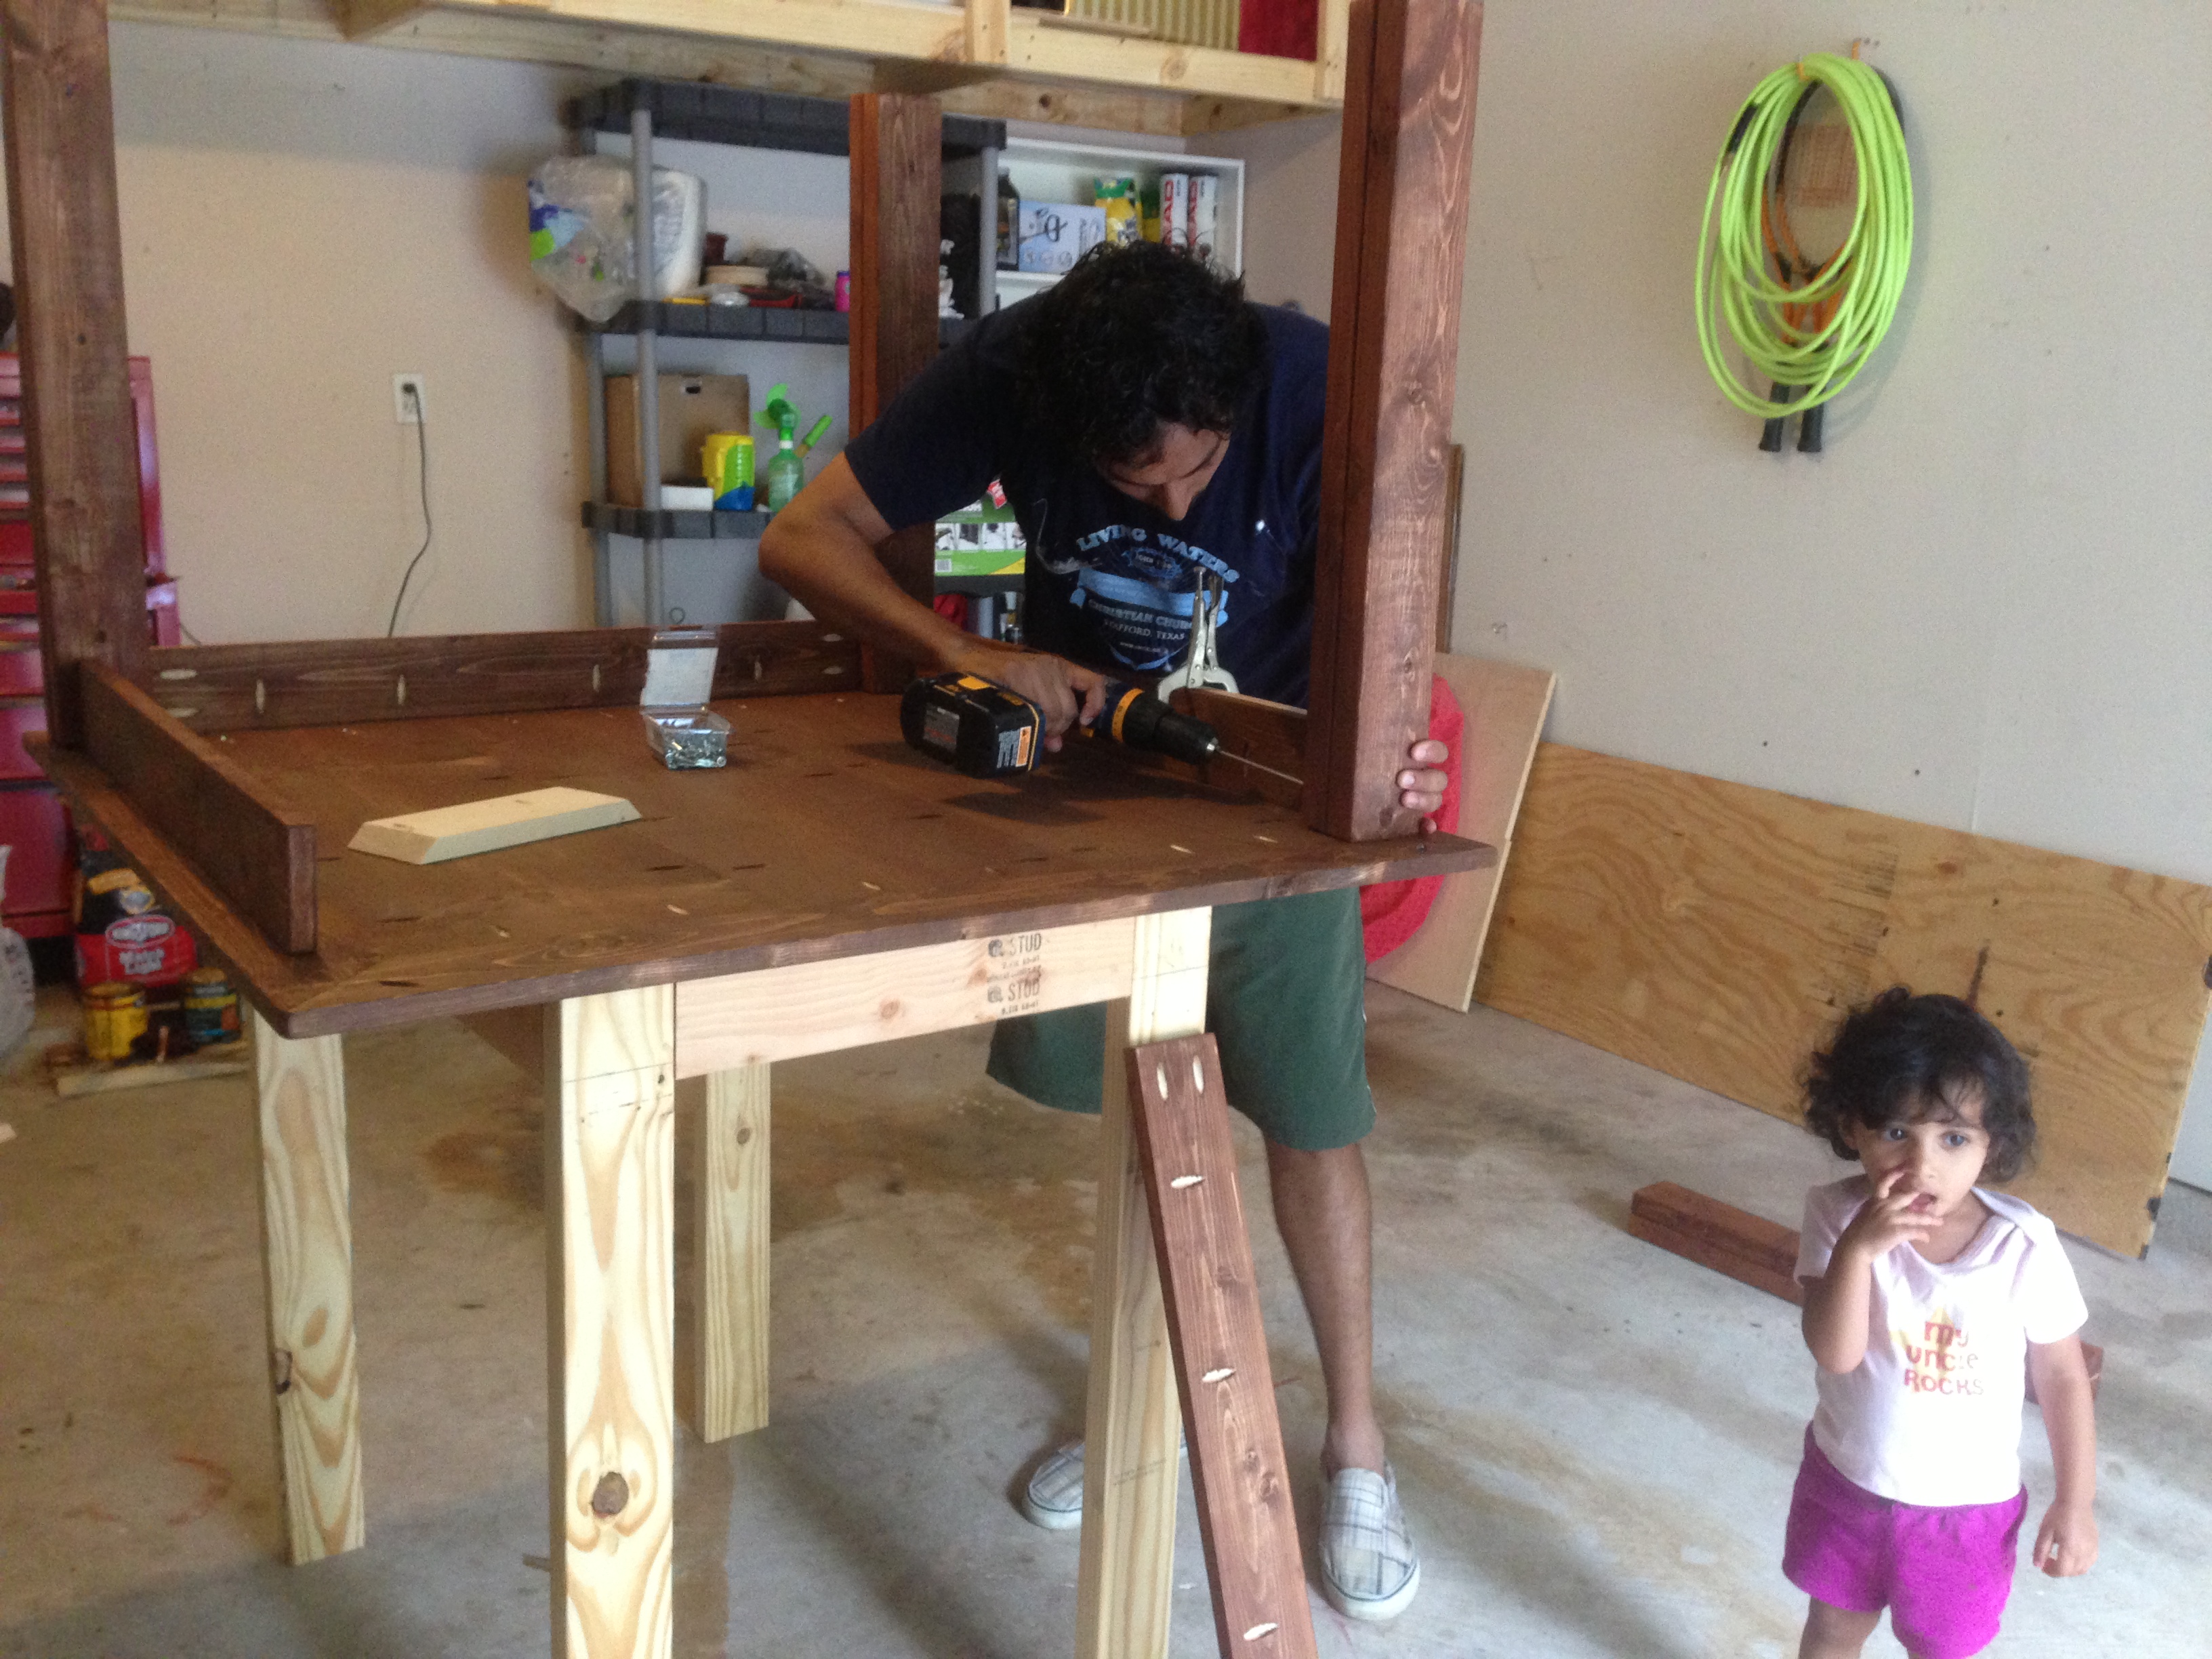
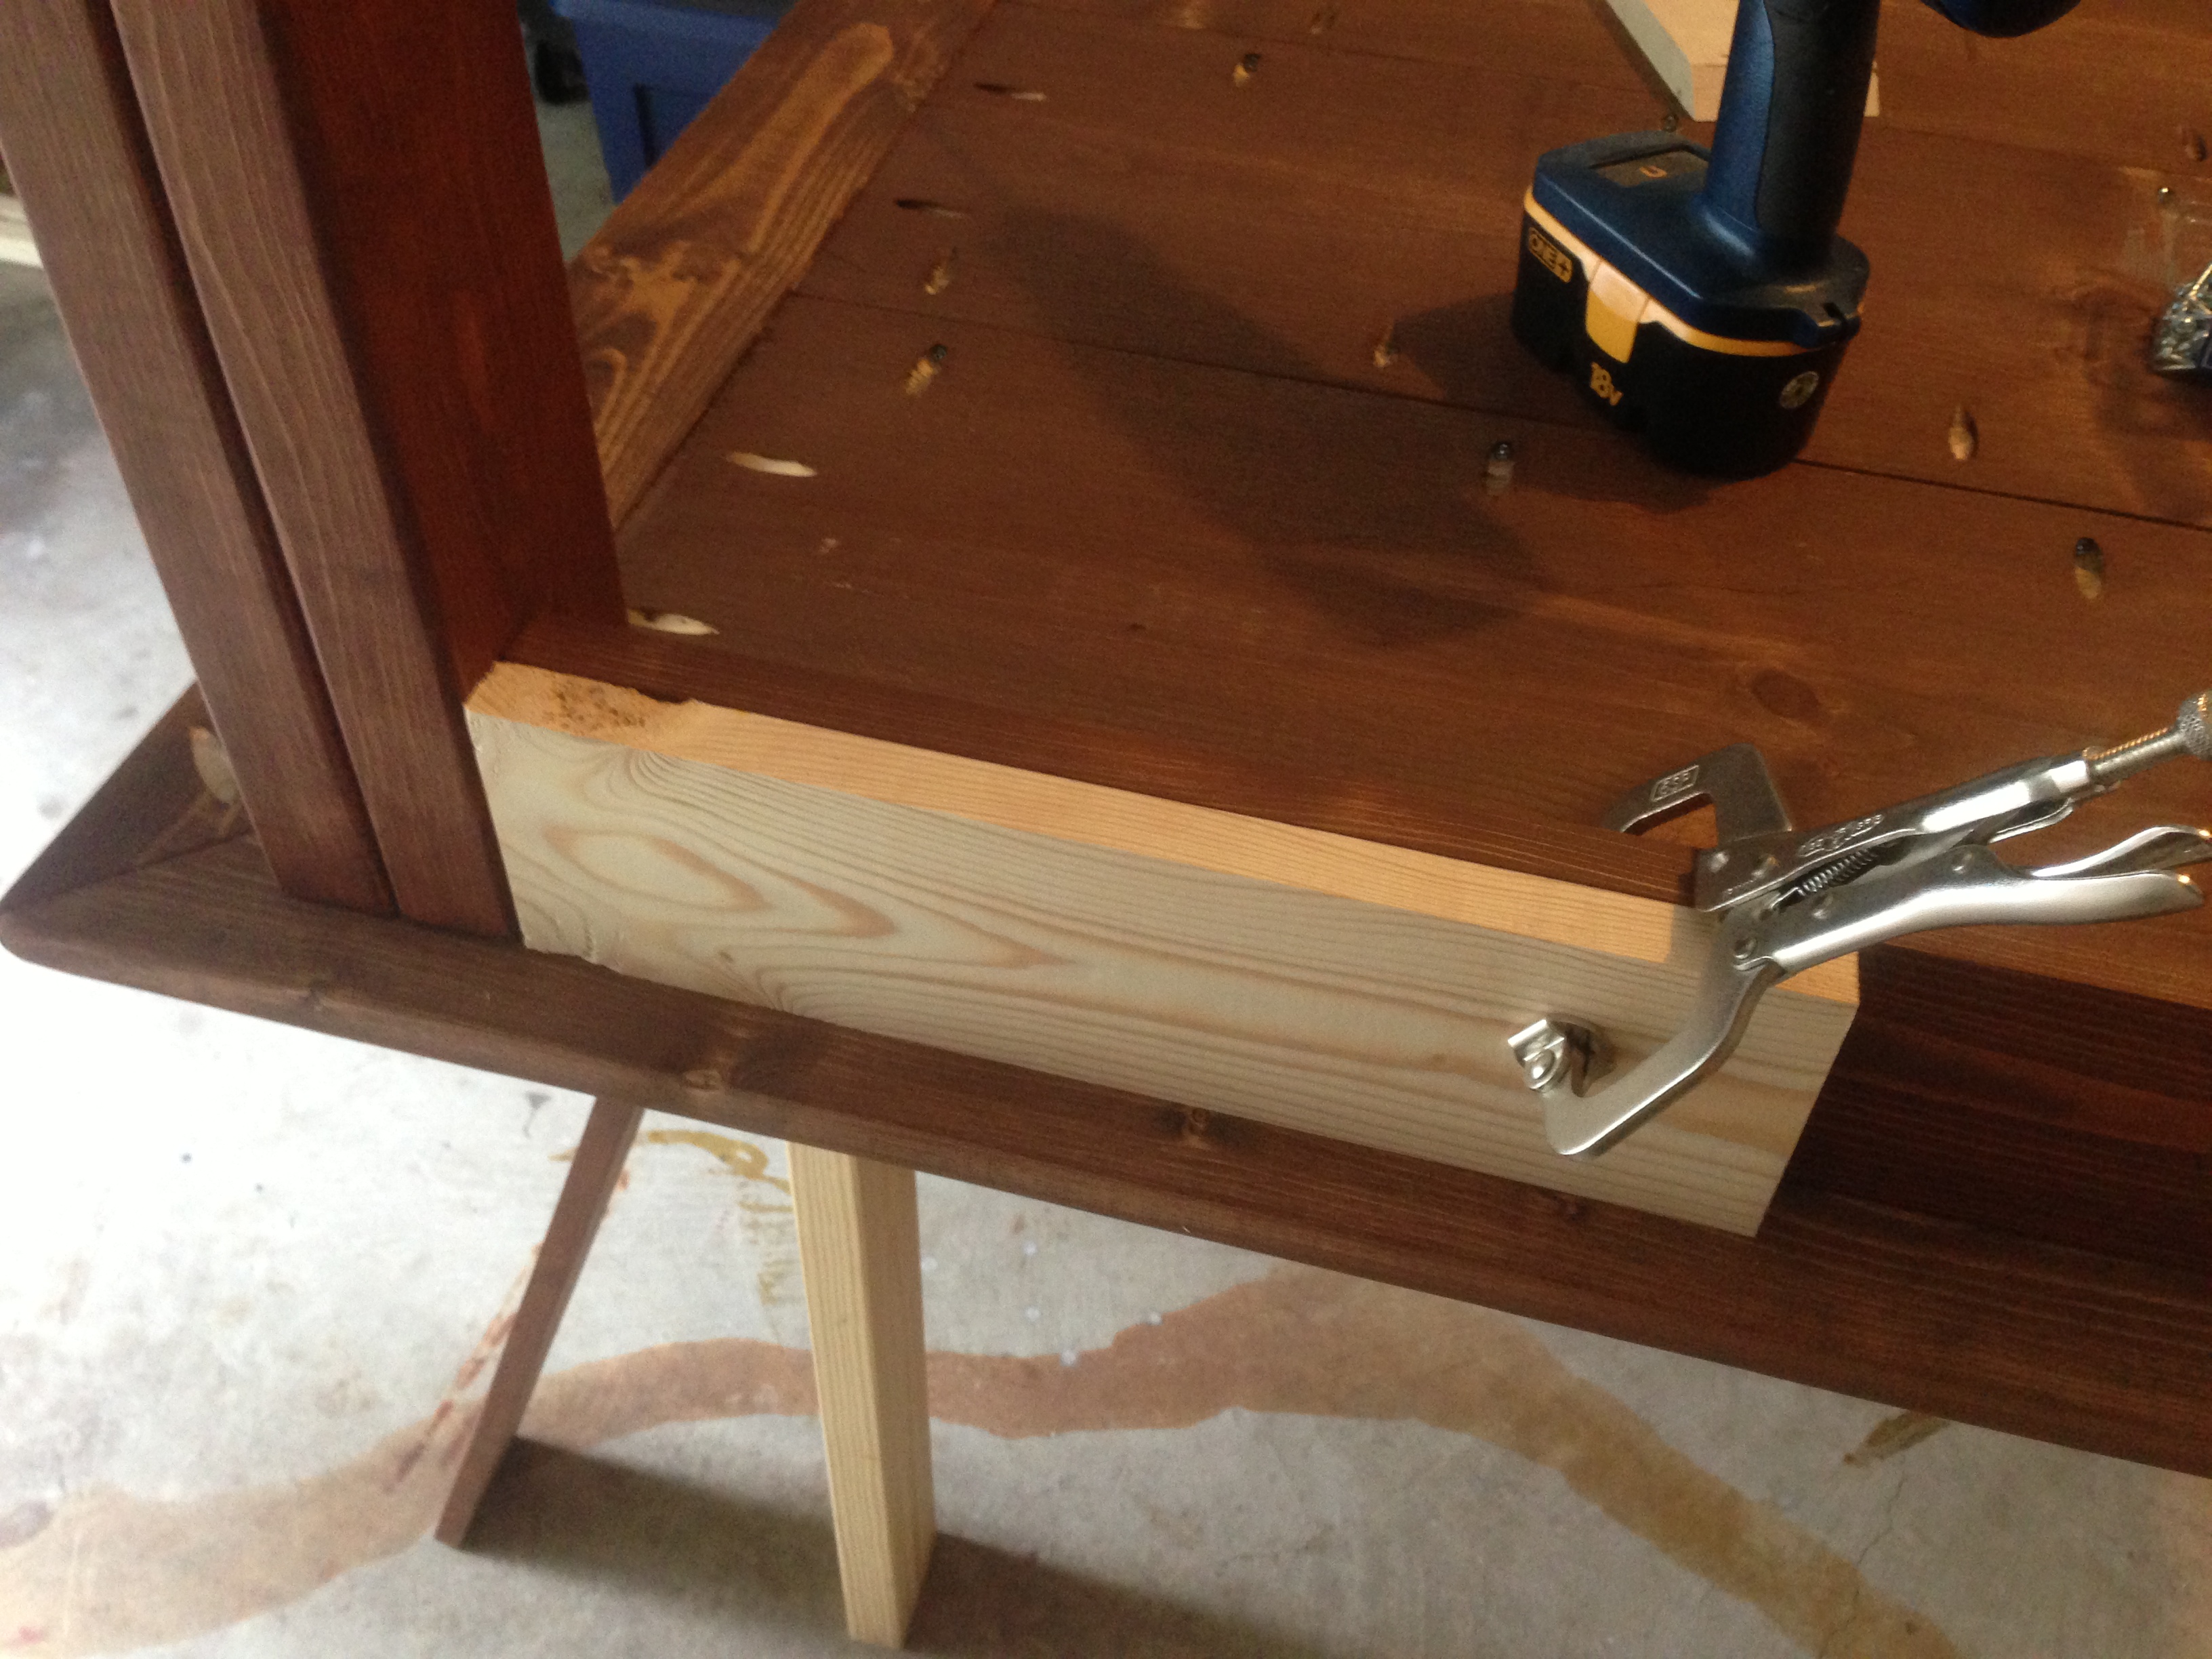
I used a scrap piece of wood to space everything out evenly. I basically clamped it to the skirt/frame and lined it up flush with the leg.
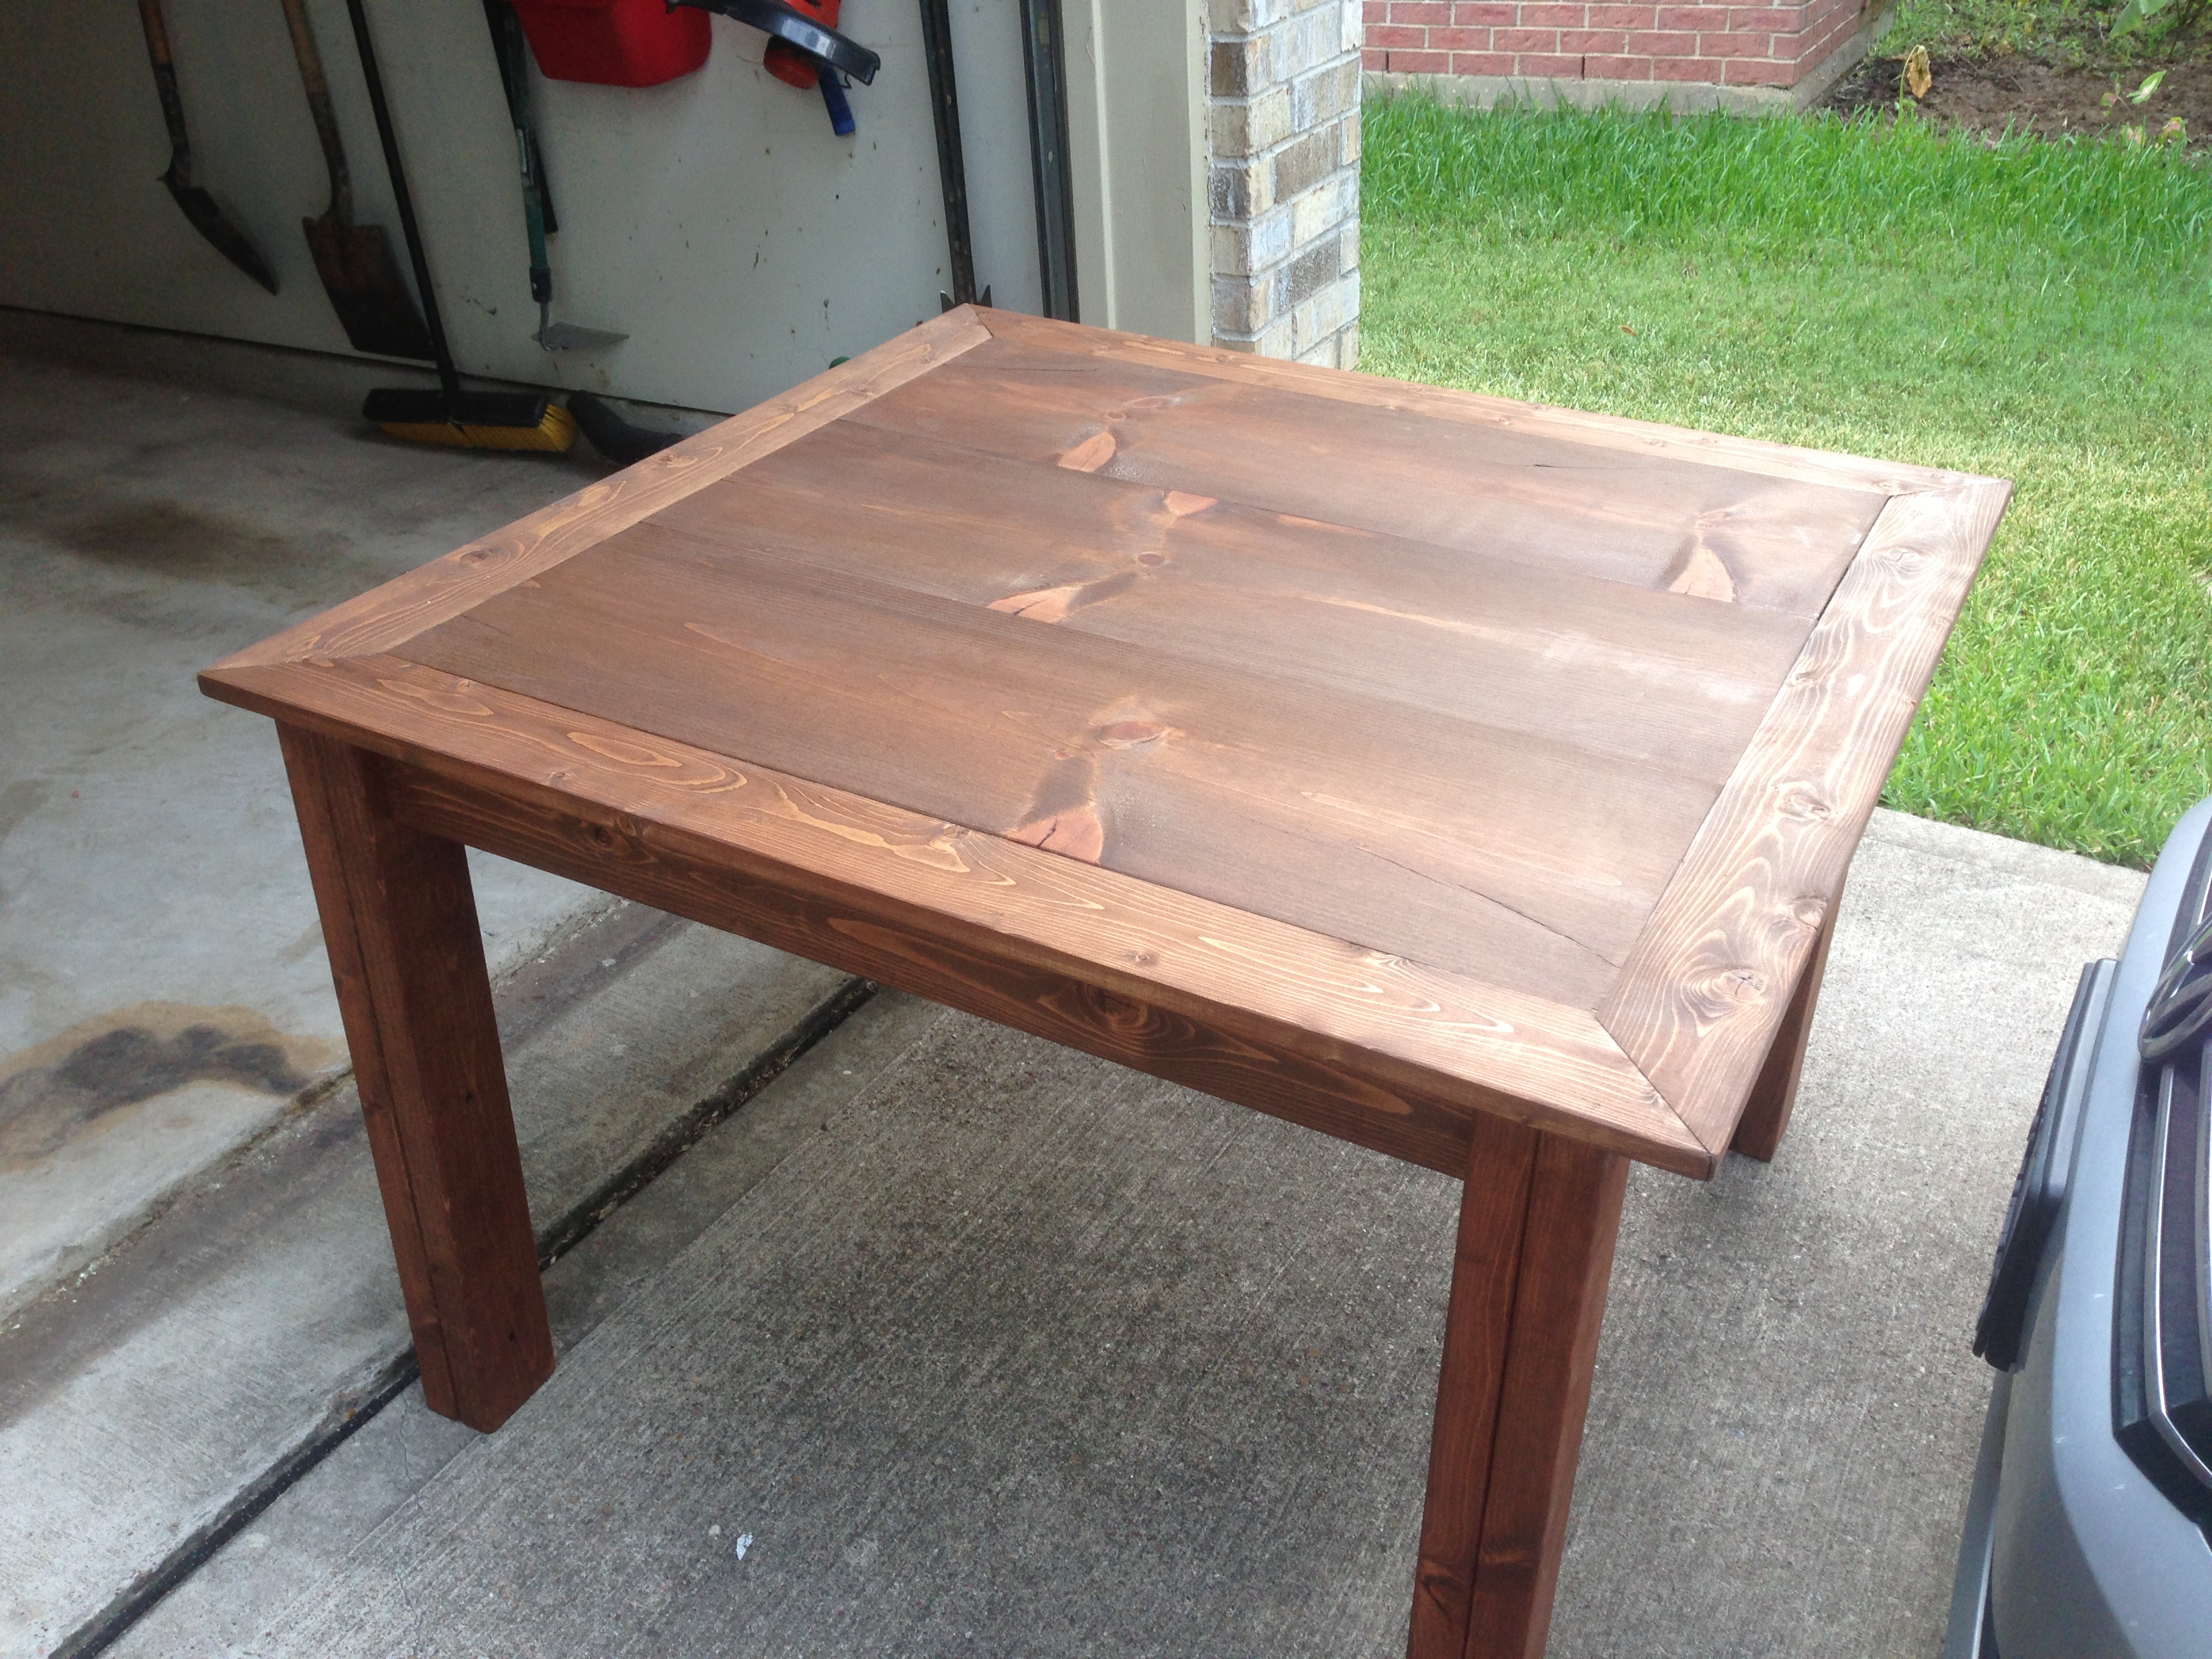
Here’s a shot of the fully assembled table.
But I’m not done yet. Once it was all pieced together, I needed to seal the entire table with polyurethane. I started with the bottom, to get it out of the way. I like to spend more time on the top of the table, since that’s the part people are using. I just flipped it upside down and put it under a bright light so I can see what’s being covered.

After a few coats of polyurethane with sanding in between, it was ready to be delivered. But first, Maya did a quick inspection.
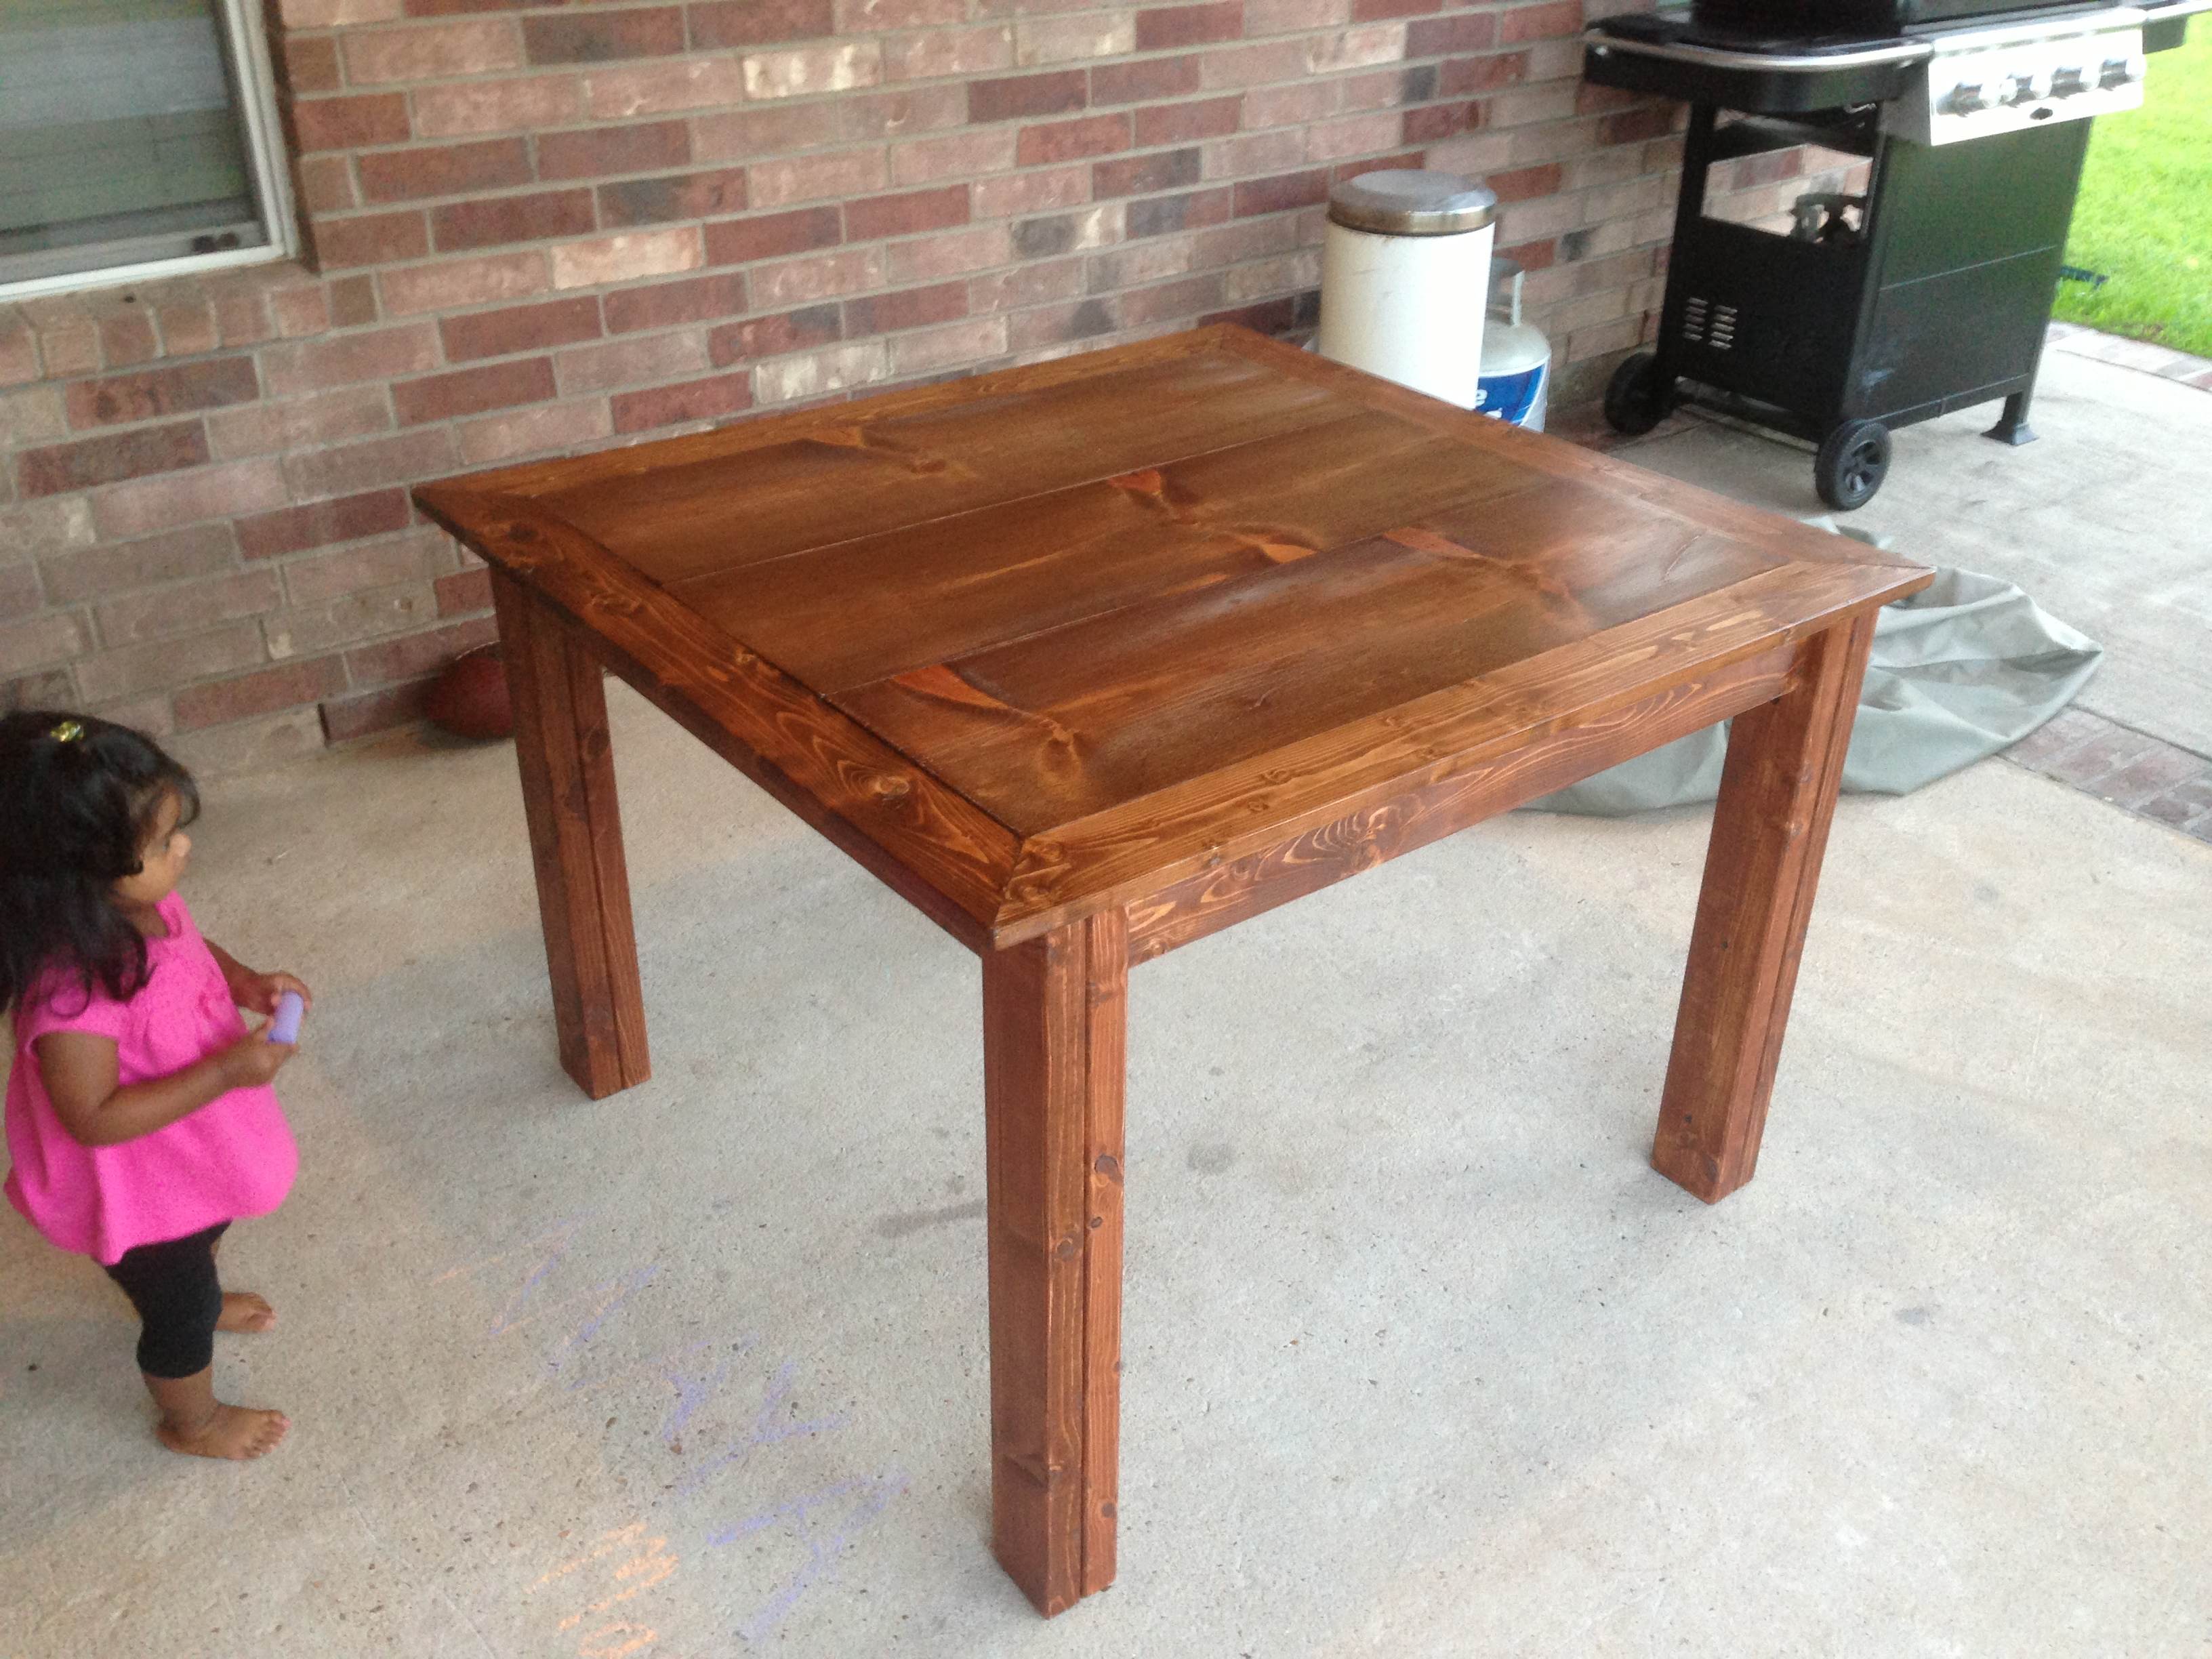
She gave the seal of approval and they seem to be happy, which was a load off! I was pretty nervous about if they would like it or not…
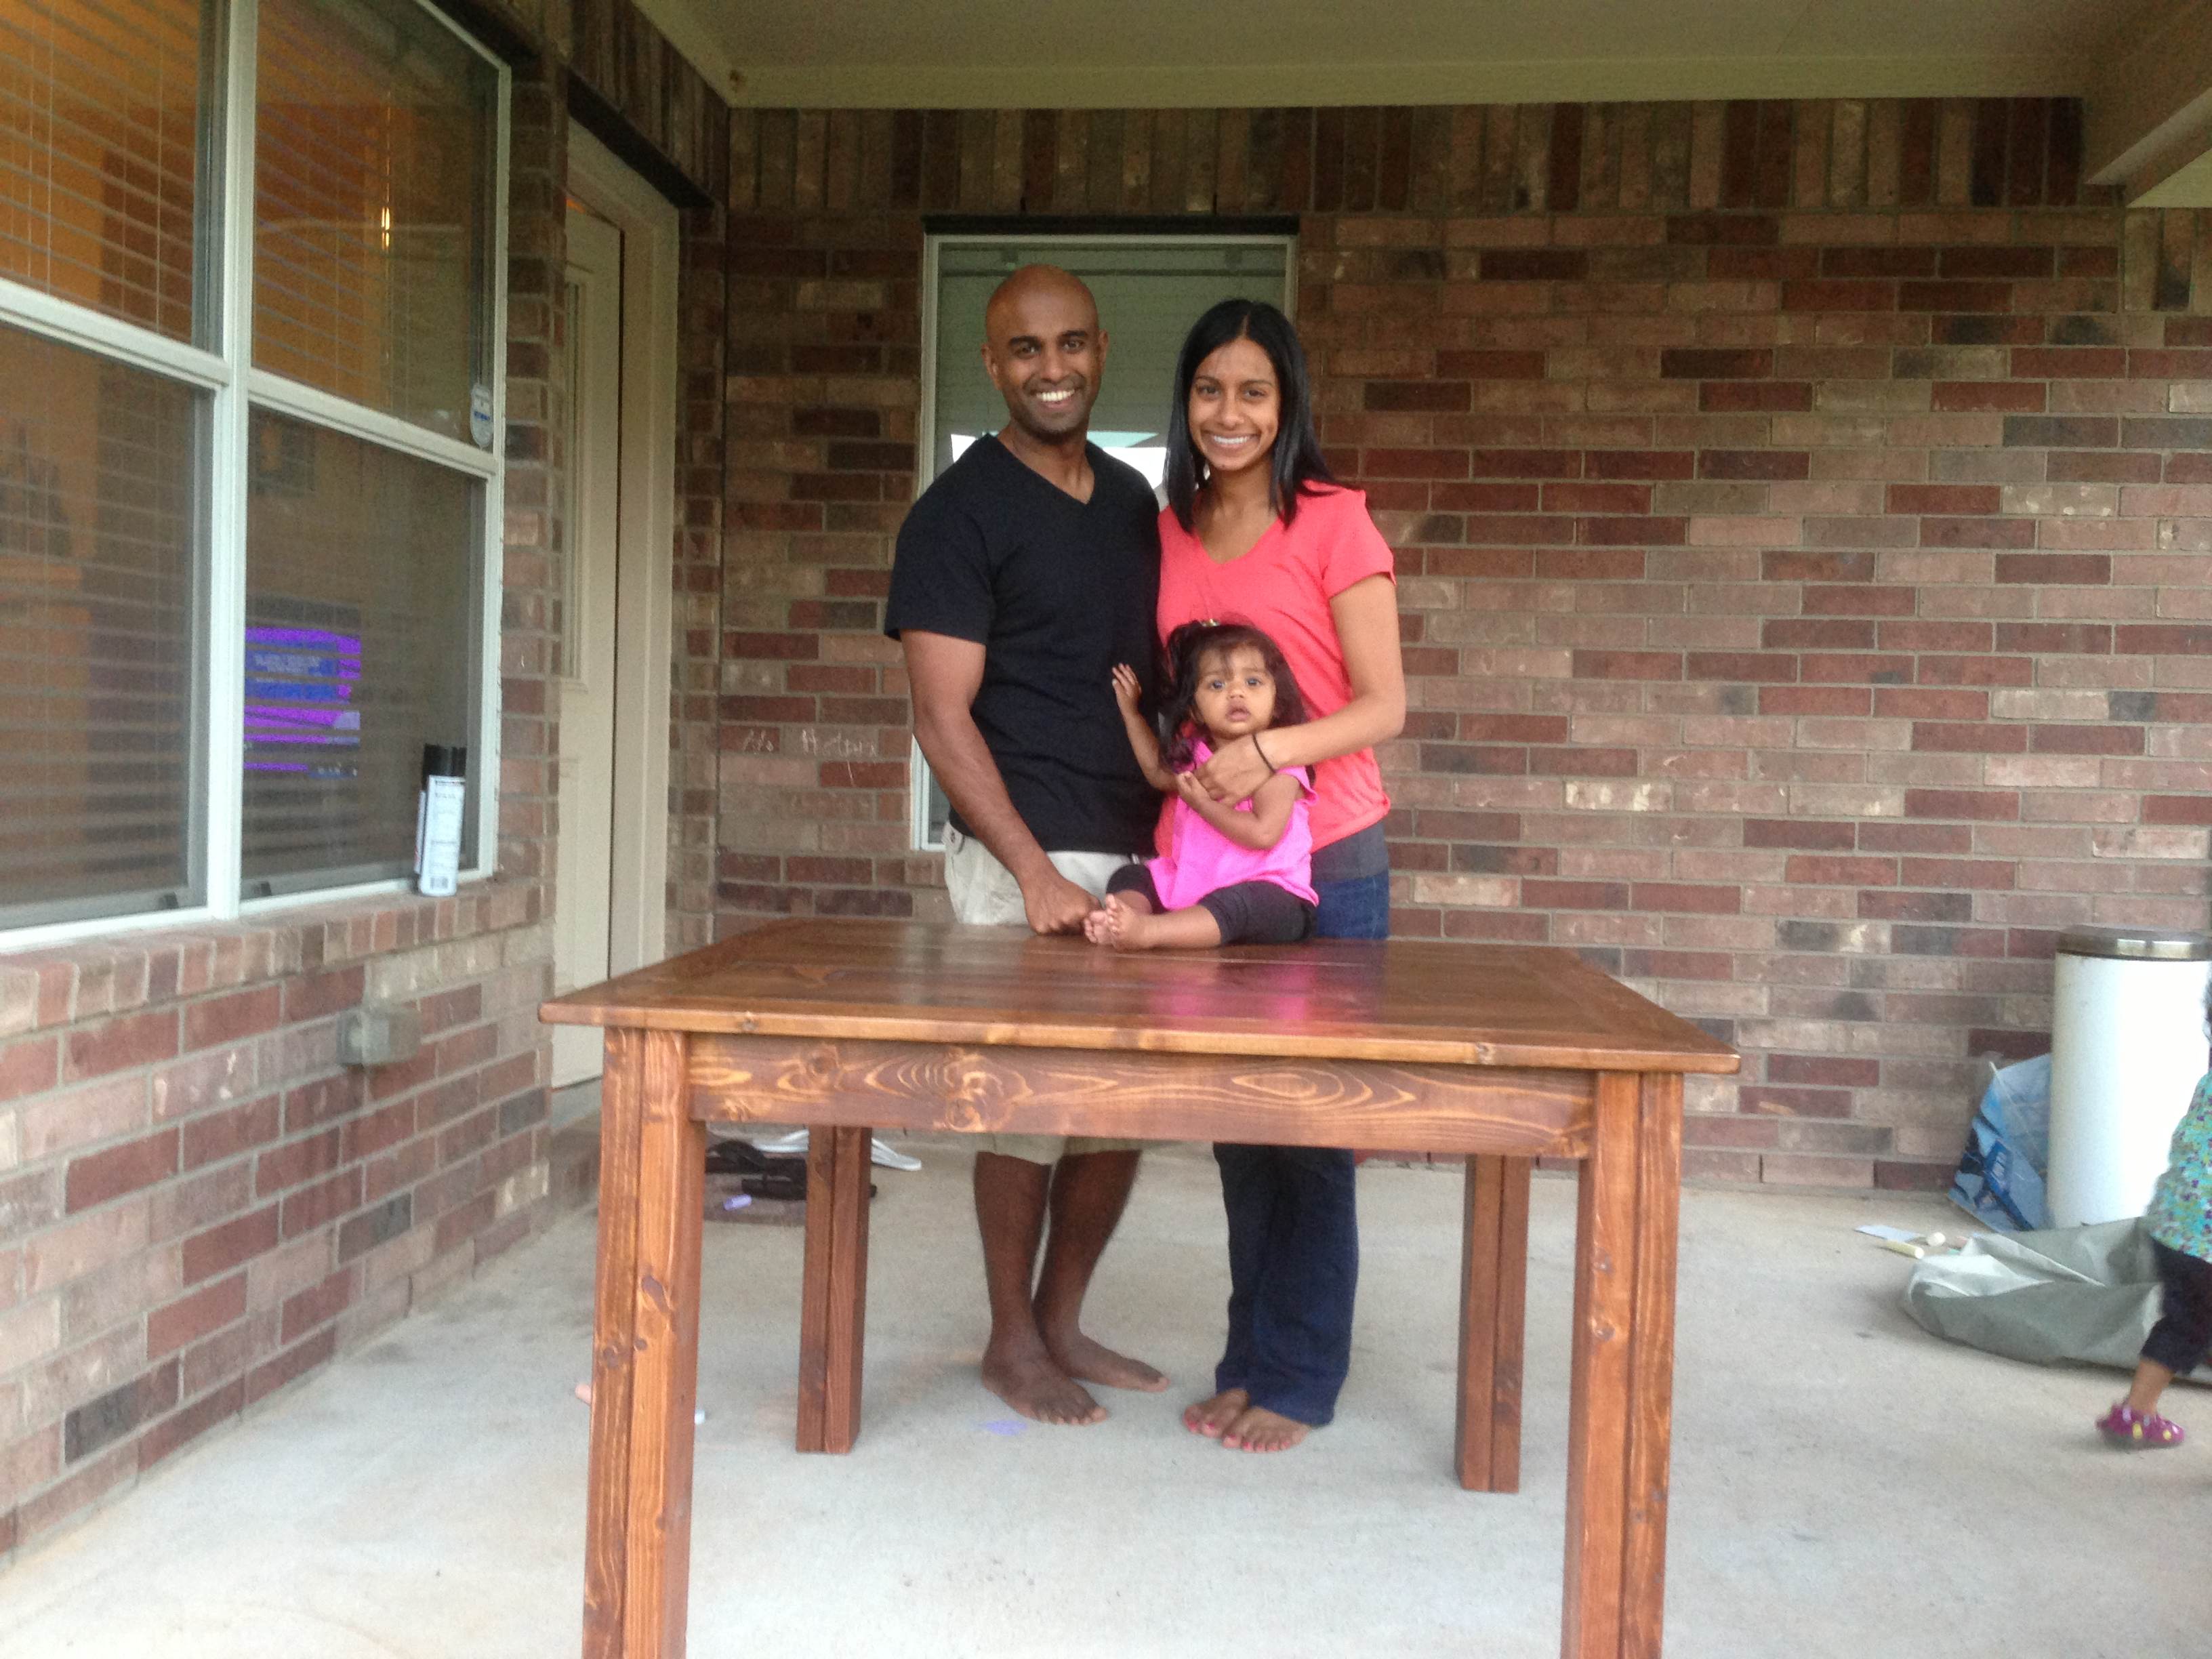

We love it!! 🙂
LikeLike
Wow. You are getting better and better at this stuff!!
LikeLike