A coworker of mine asked if I could build her a bookcase. I’m trying to get better at woodworking and to do that, I have to do more projects, so I agreed. Plus it seemed doable. We briefly discussed what she wanted so I drew up some plans.
Day 1 of the build:
As soon as I go to Home Depot the plans usually change slightly, but it’s always good to have a rough idea on paper. I figured I’d do it in phases so I don’t overwhelm myself. I made the trip to Home Depot and got some wood to get things started.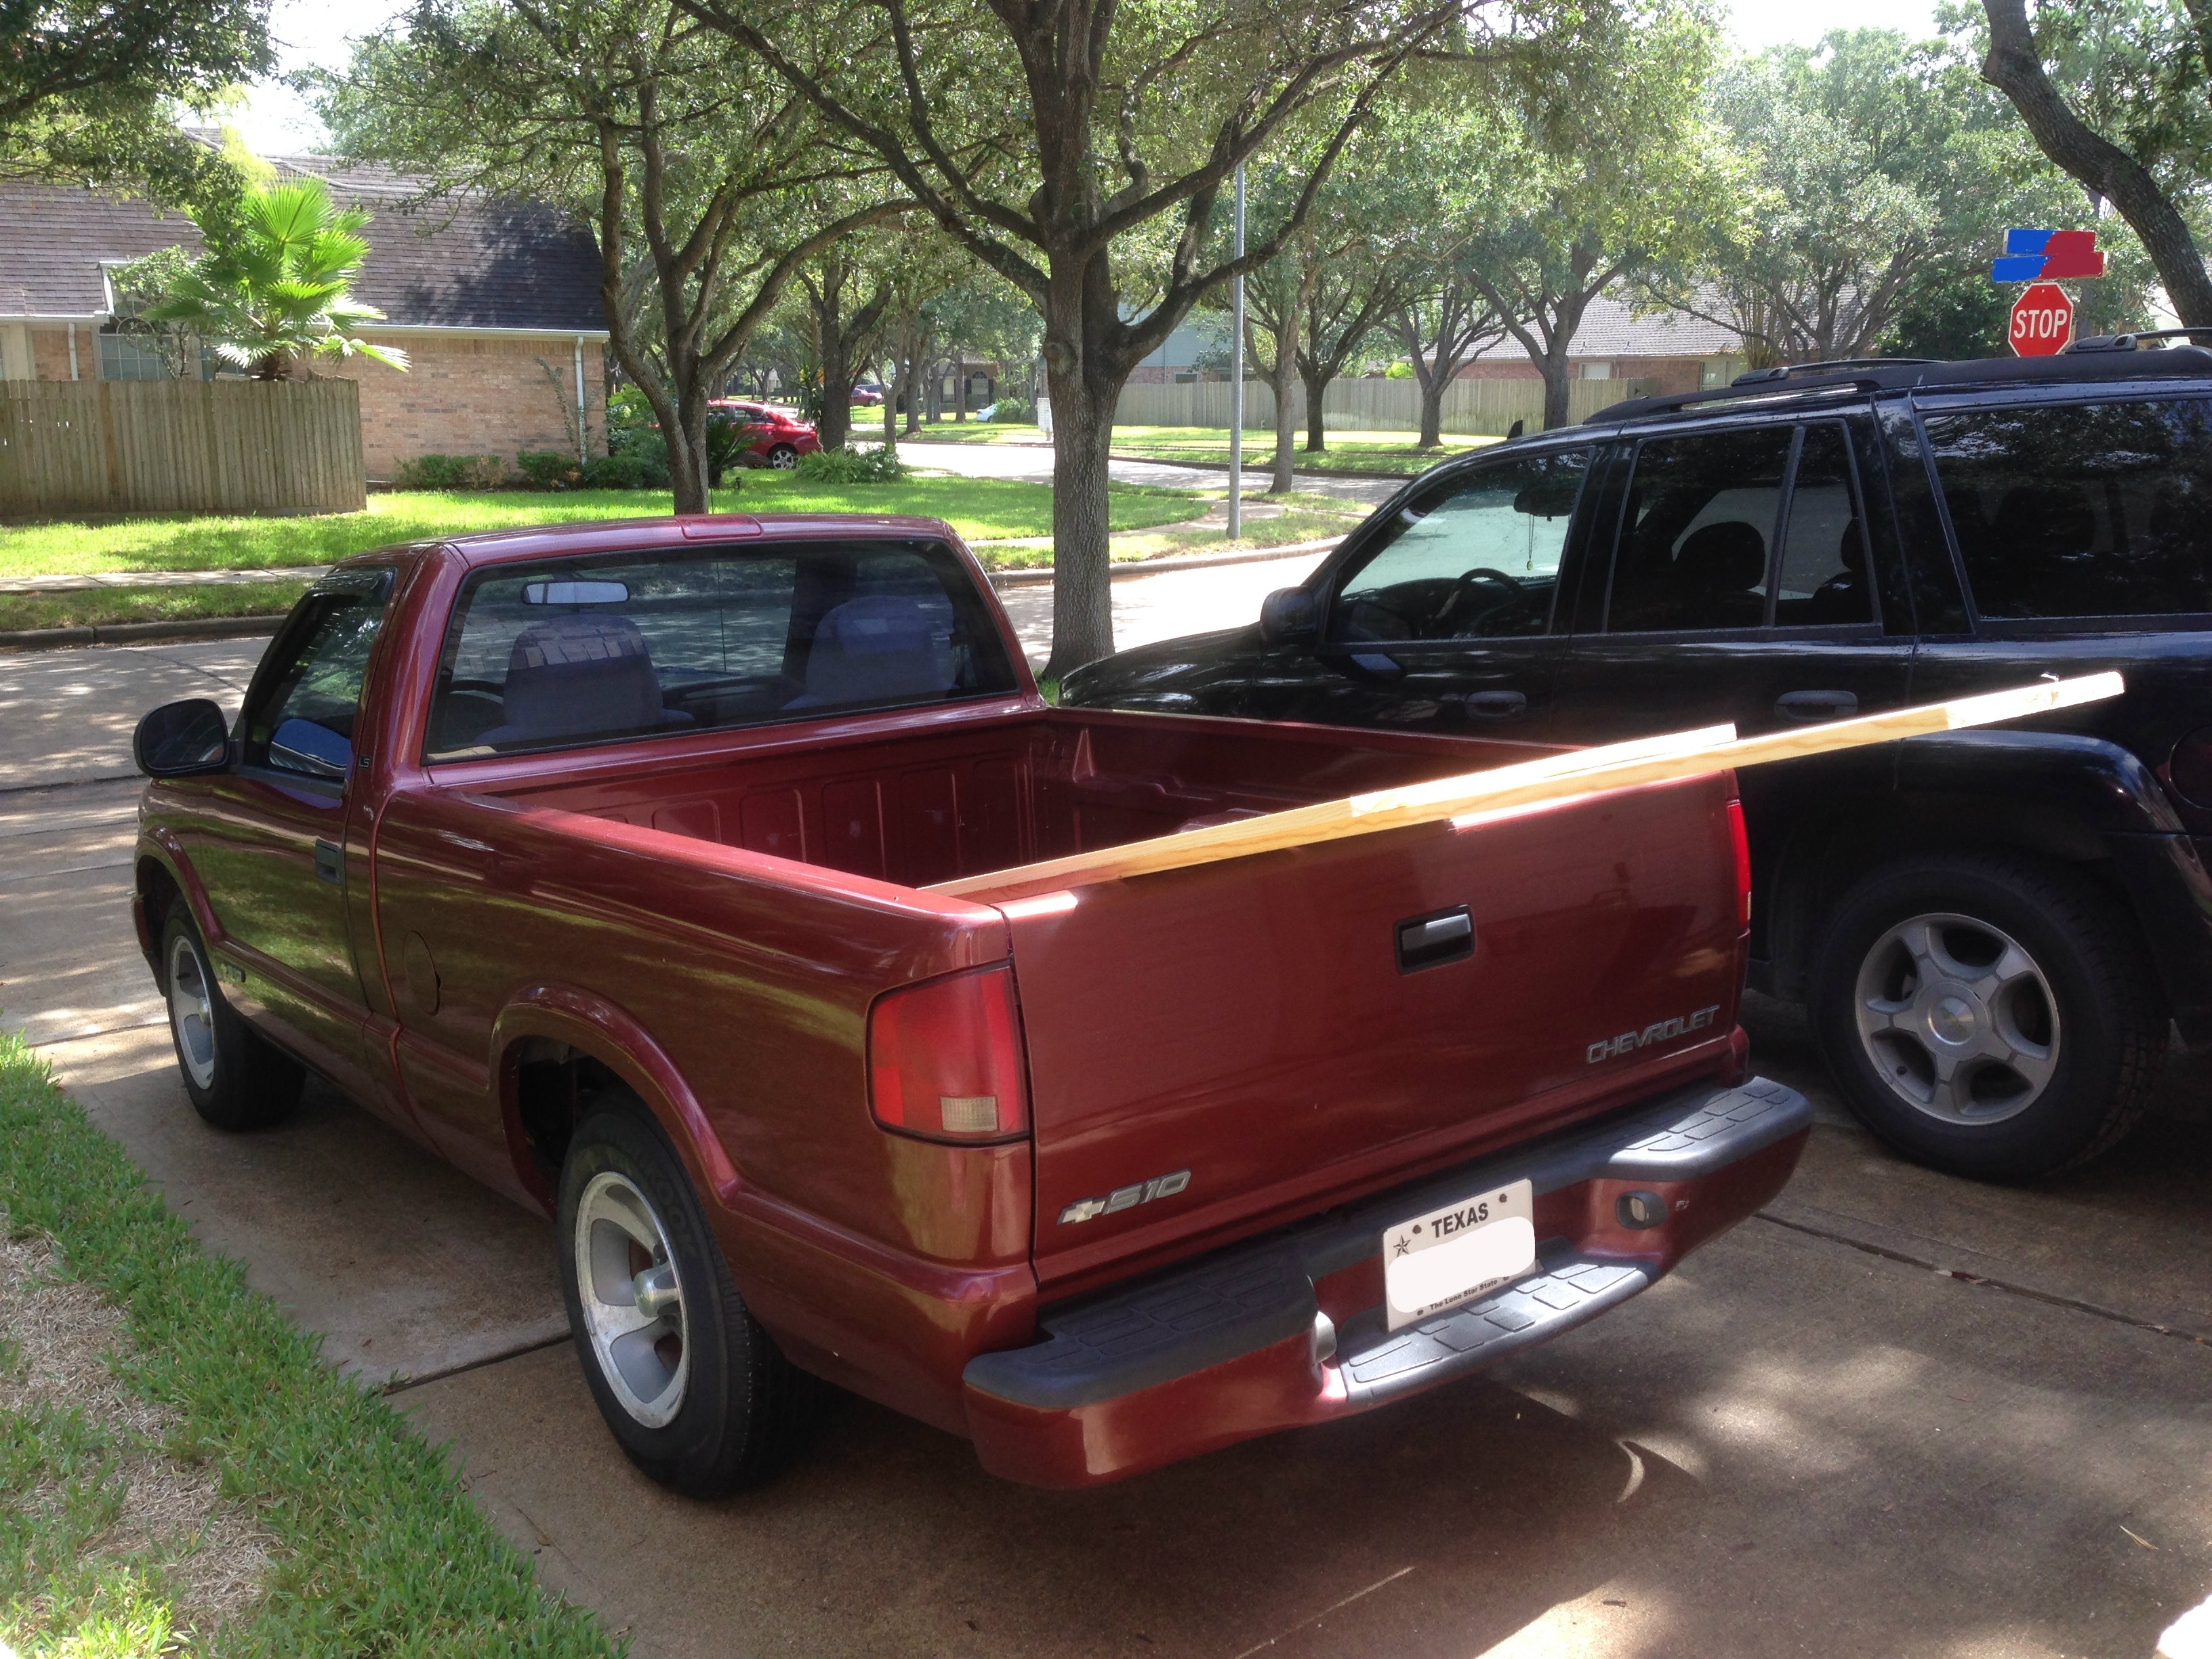 By the way, it’s much easier and quicker to haul wood in a truck then my SUV. No need to worry about messing up my interior… Just toss it in and drive!
First off, I needed to cut everything down to size. I usually use my miter saw to make straight lines, but I’m using boards that are 12″ wide so they wouldn’t cut all the way through with the miter, so I decided to rig a reference board (aka guide board aka fence) and just use my circular saw.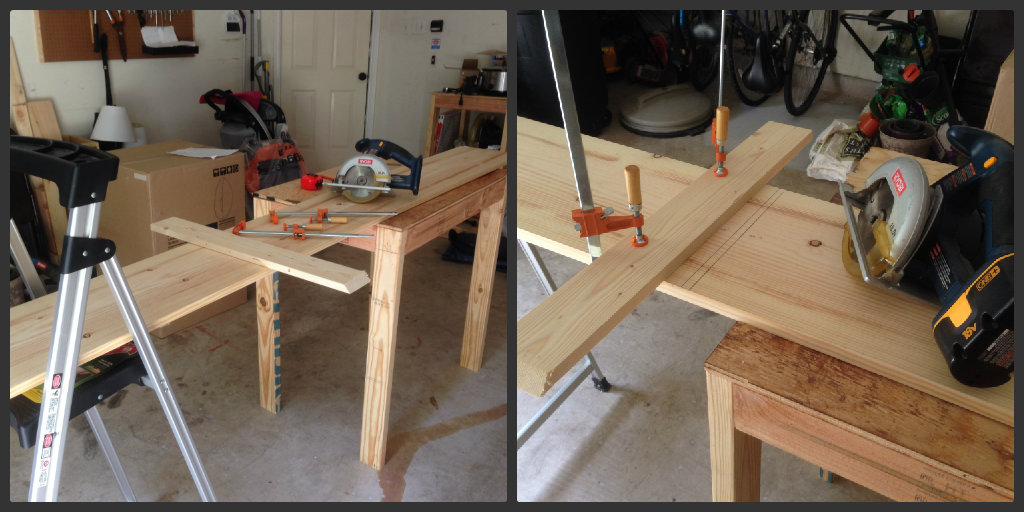 Doing this method got things really close, but it still wasn’t as straight as I needed it to be. So I reverted back to the good ole miter saw.
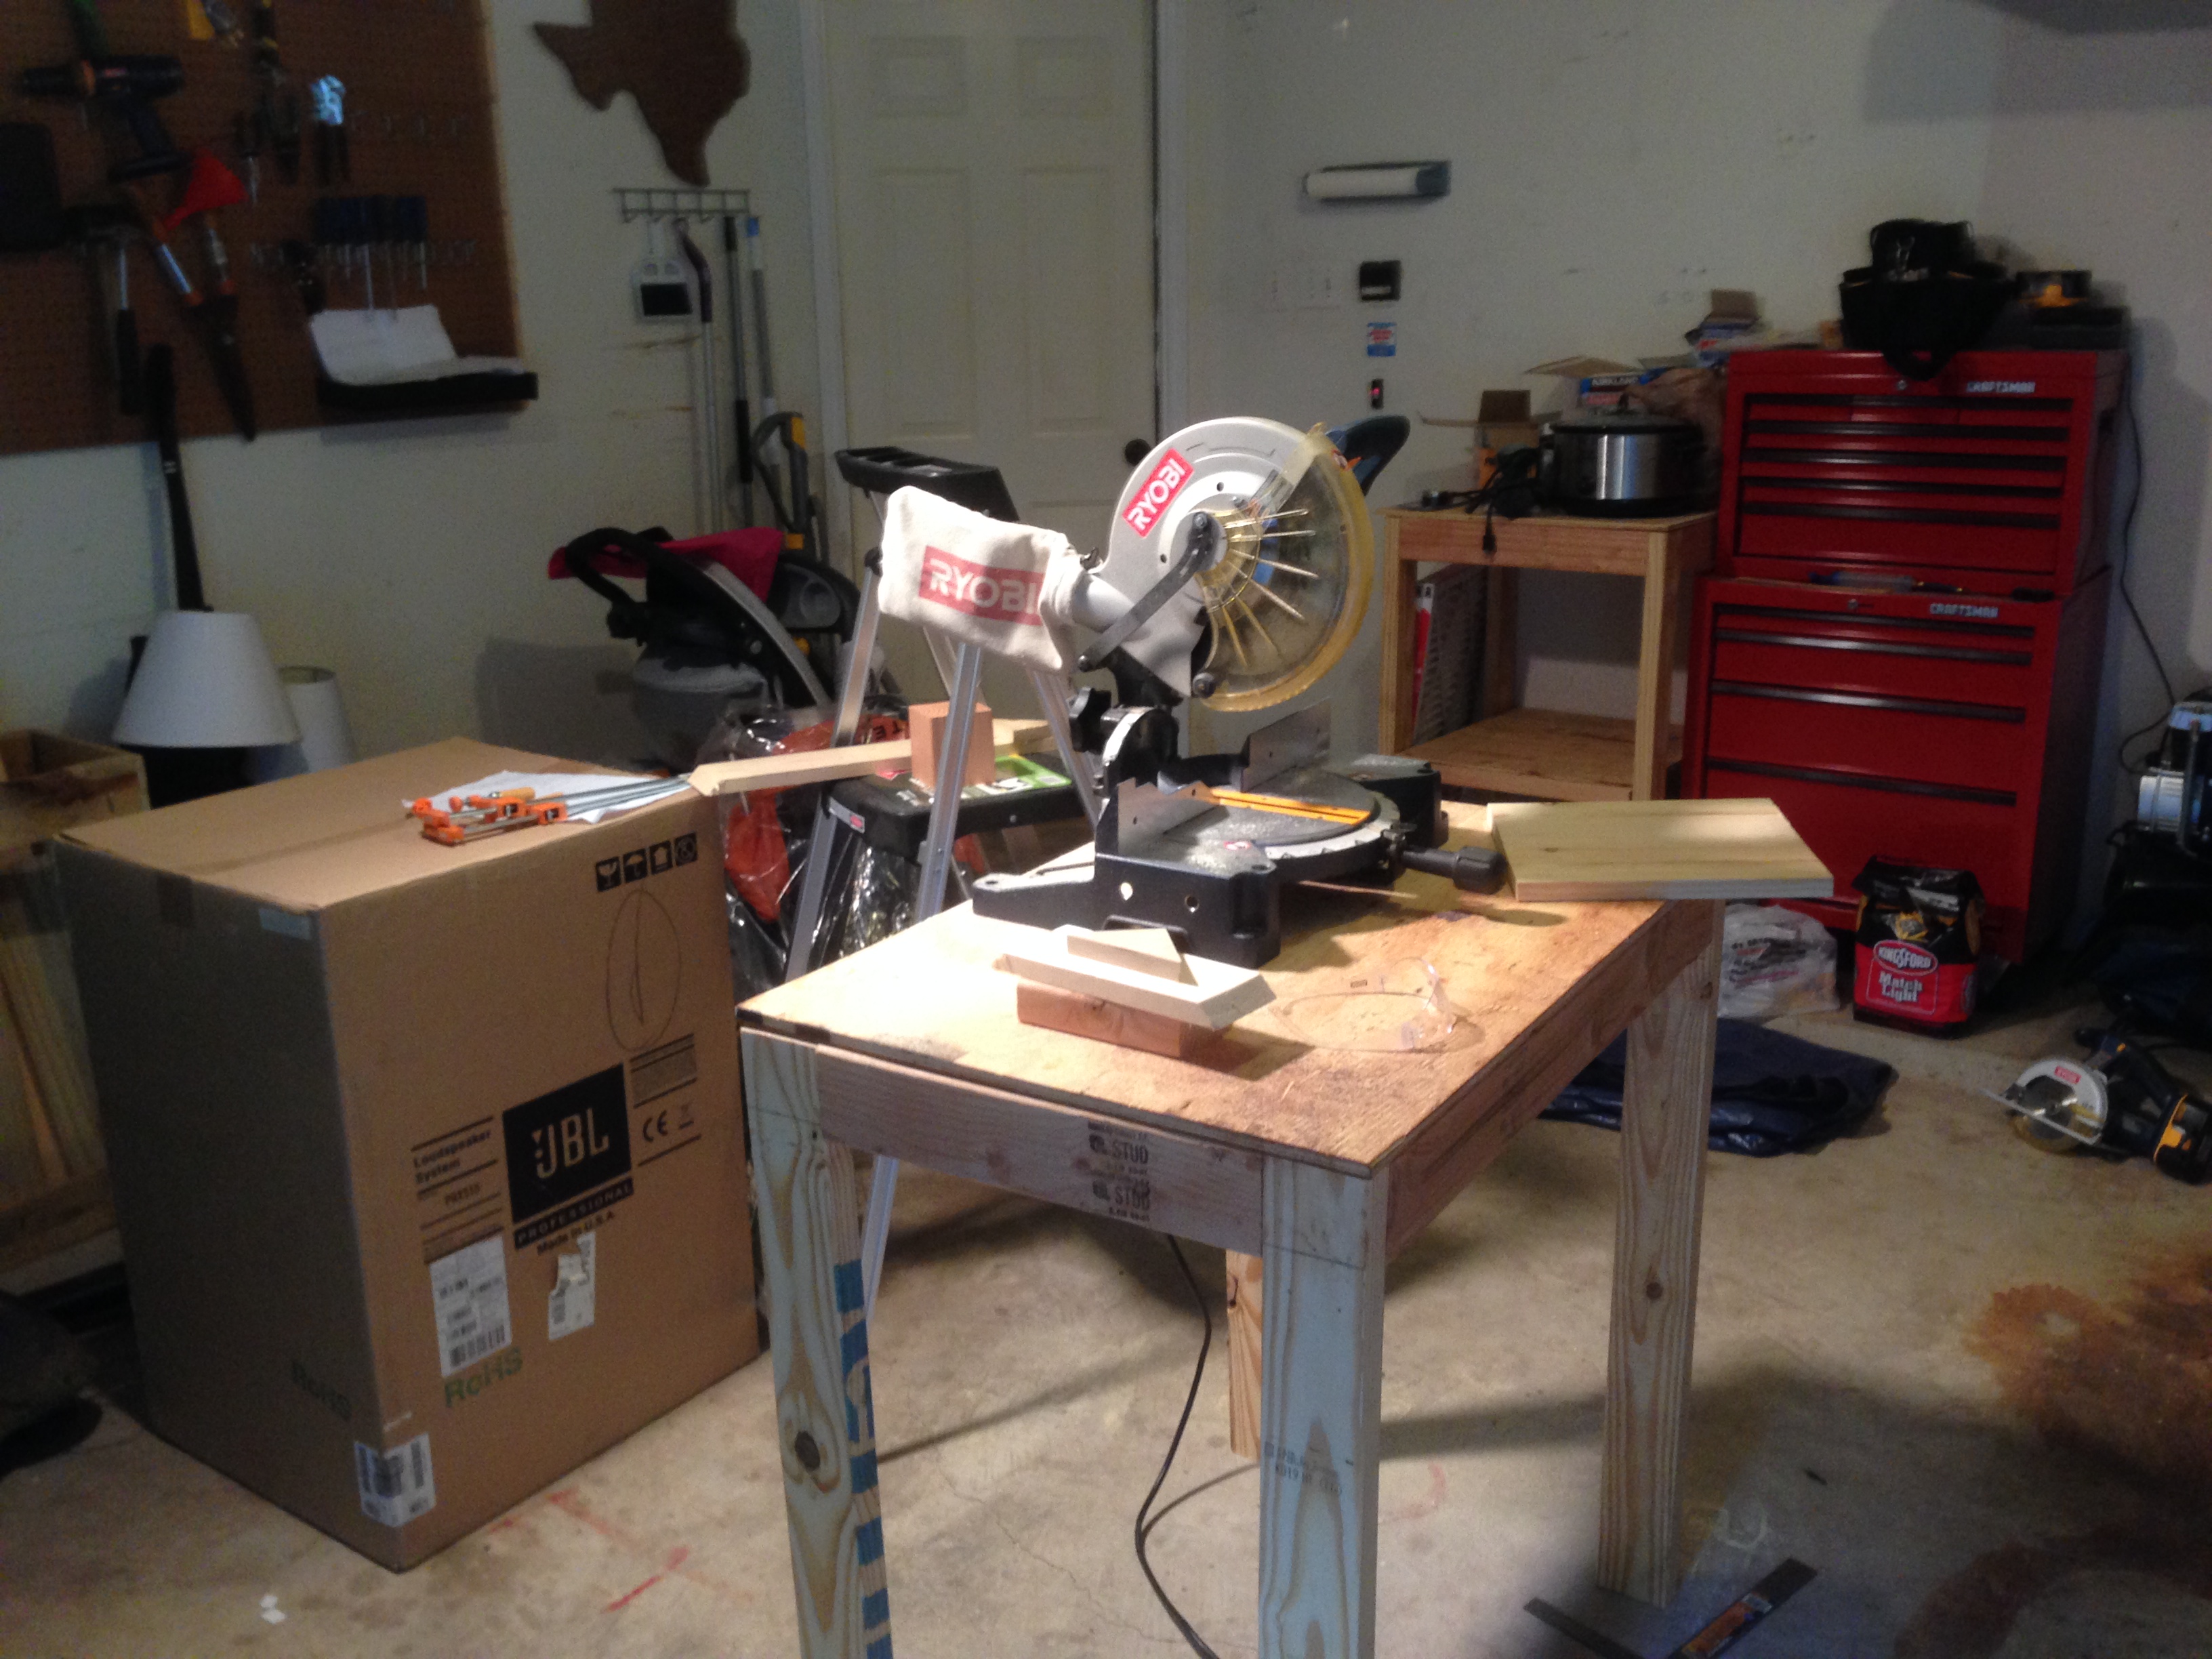 I simply cut the wood as much as I could, then flipped it to cut the rest. Not the ideal way of doing things, but it produced a straighter edge then I could with my circular saw.
After everything was cut to size, I drilled the pocket holes to assemble everything together.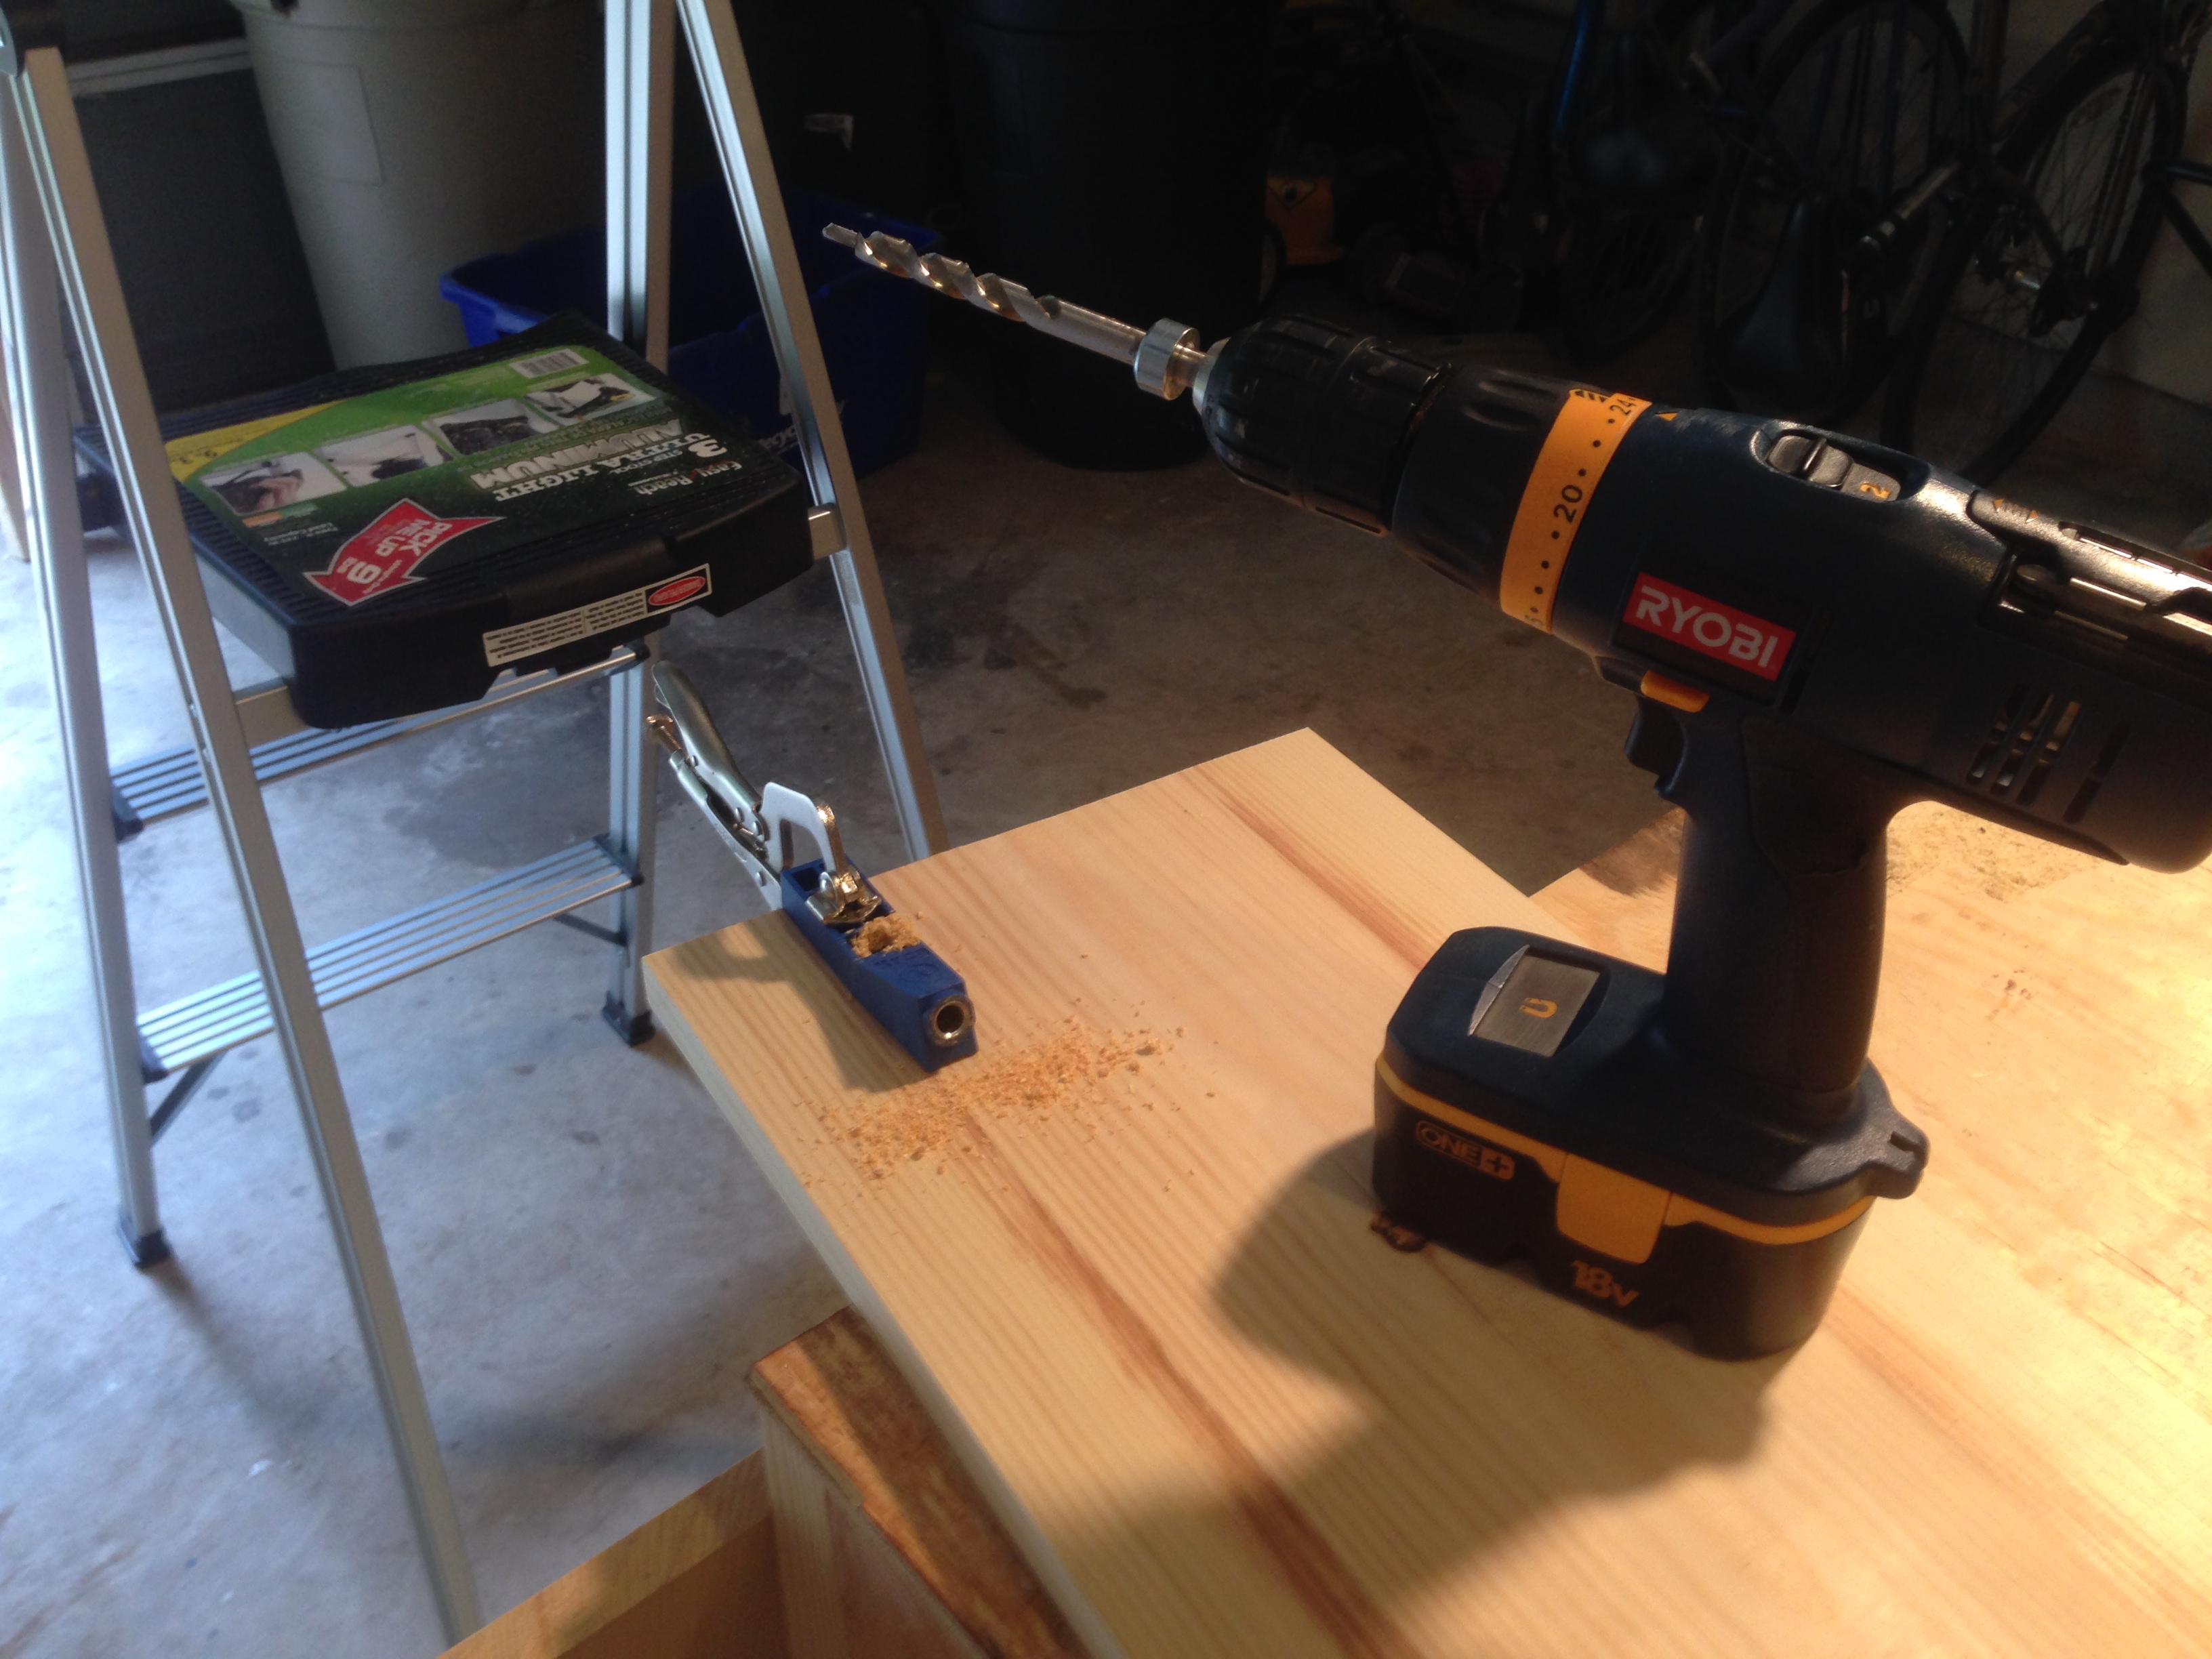 Then there was a whole lot of sanding. It’s easy, but very boring and time consuming to do.
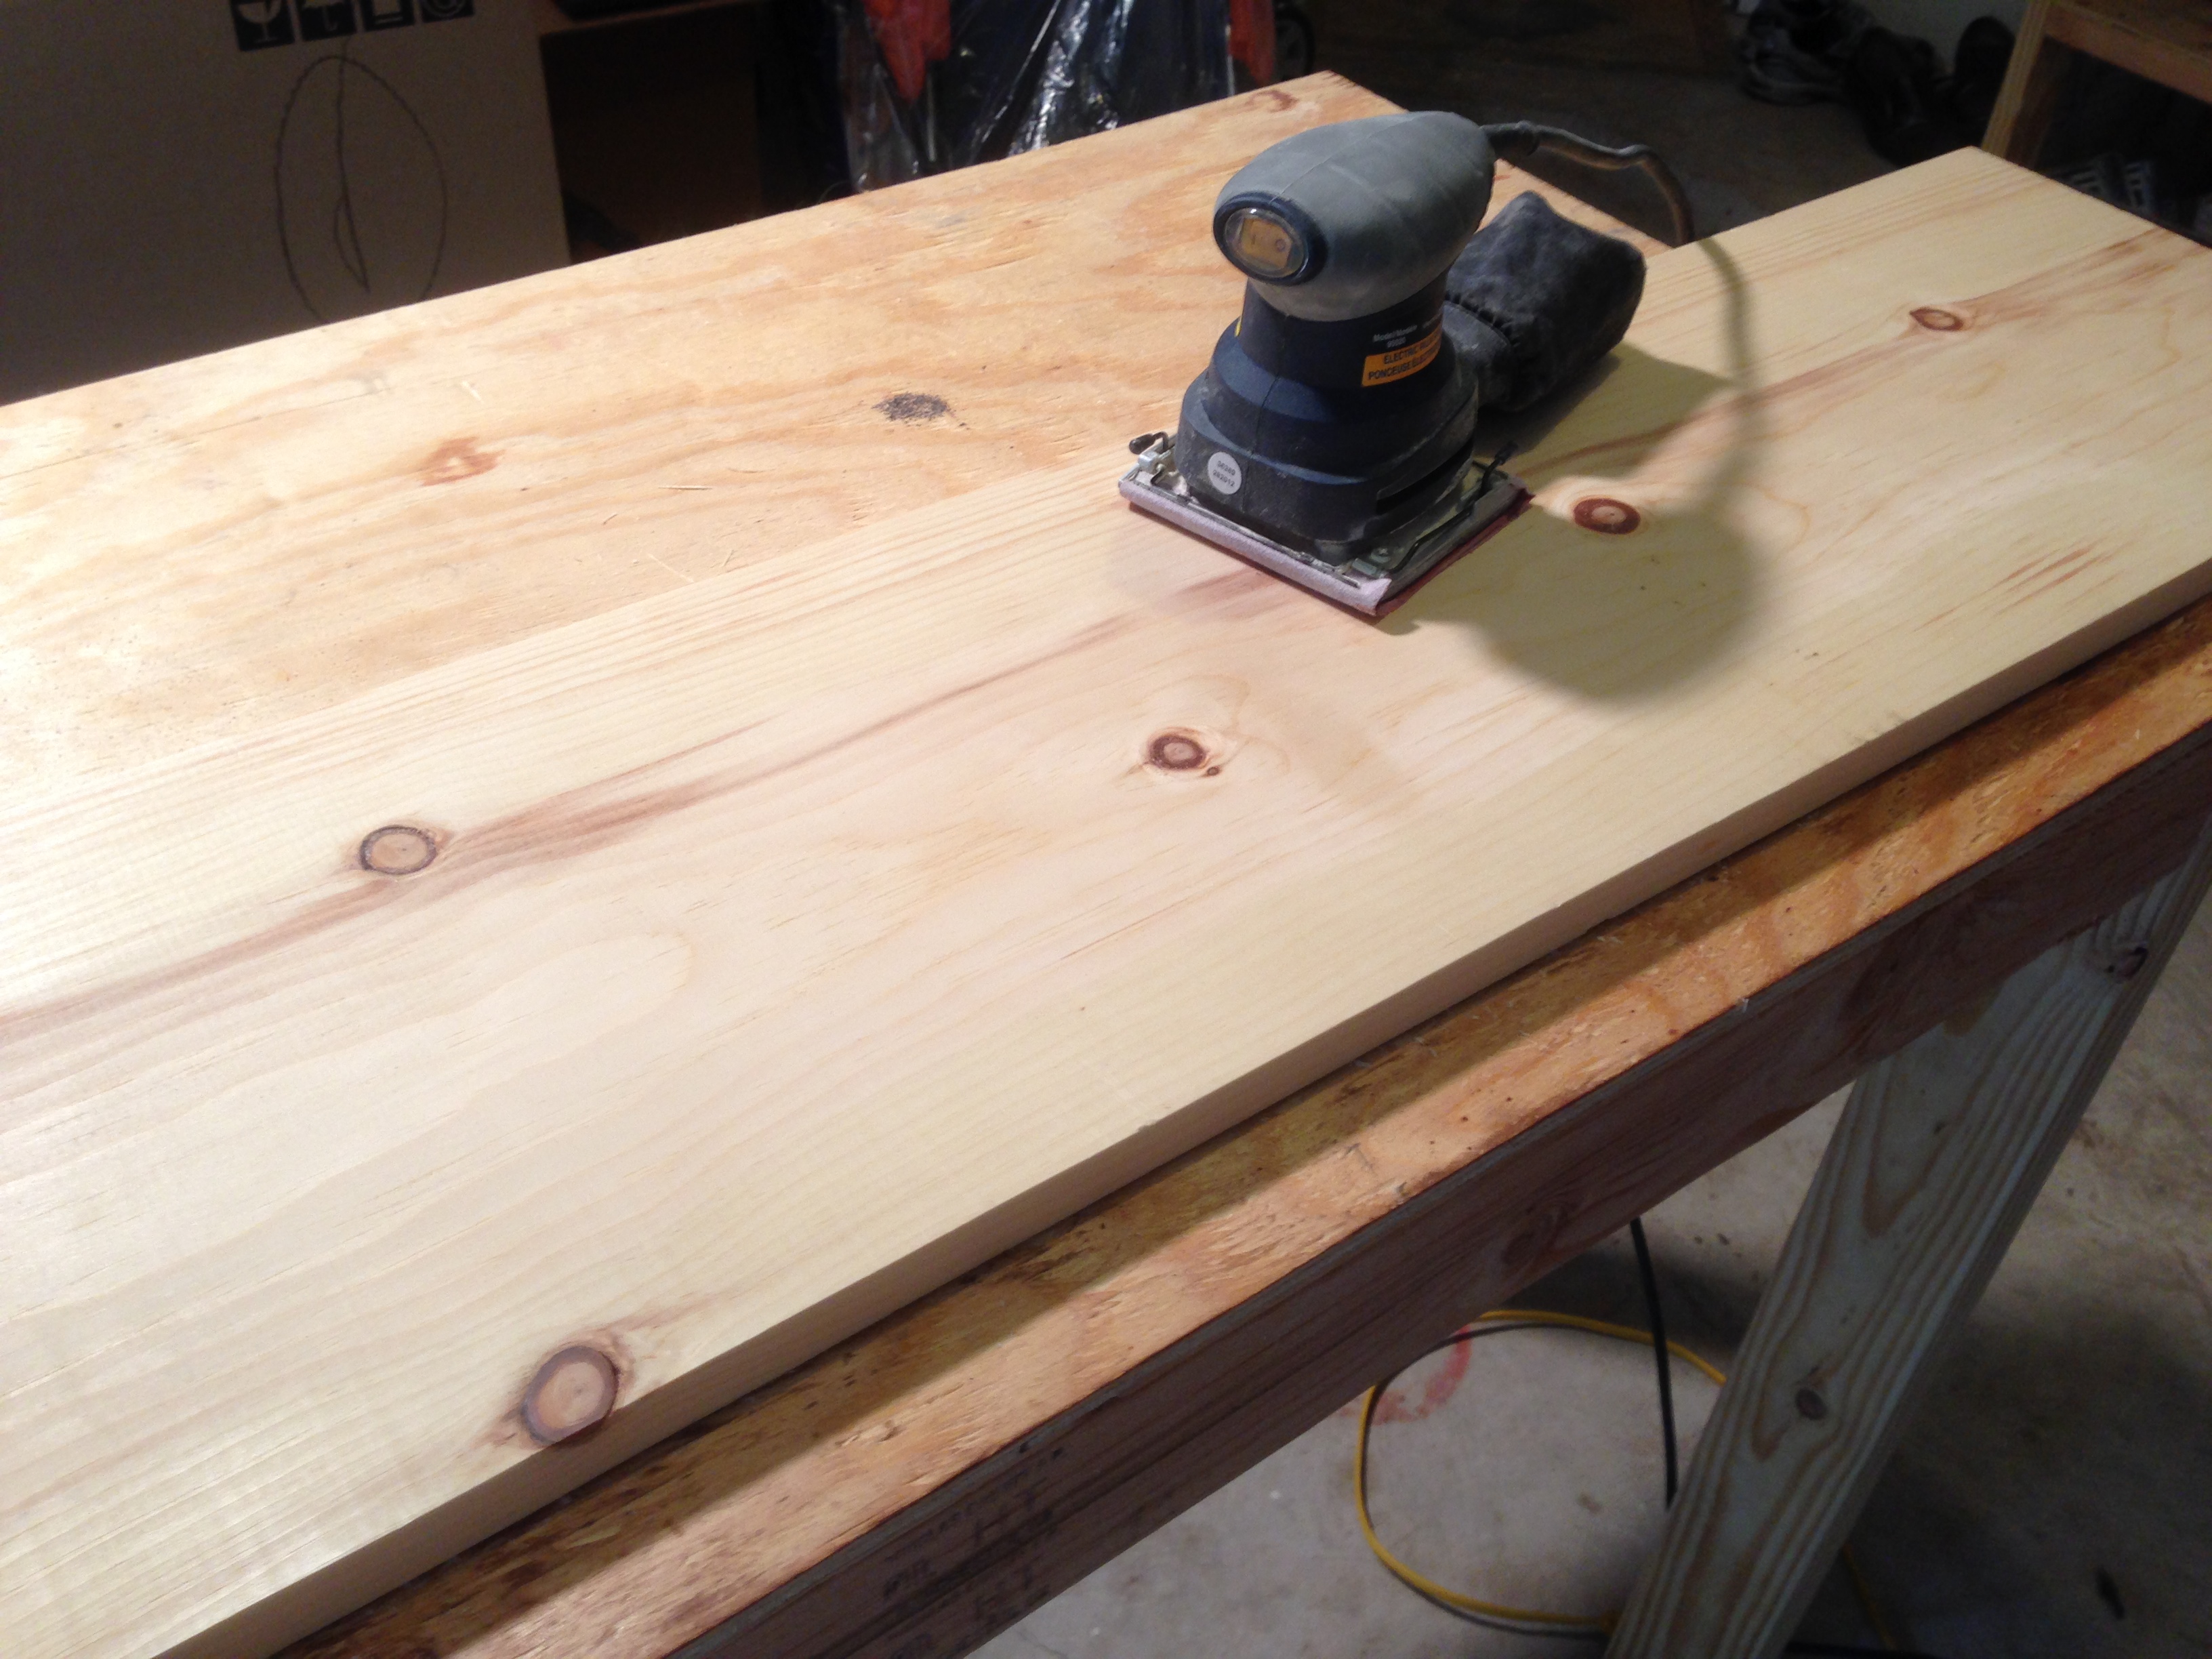 Now the fun part… assembly. I finally get to see what this thing will look like. I used scrap wood (about 12″ tall) as spacers for each shelf.
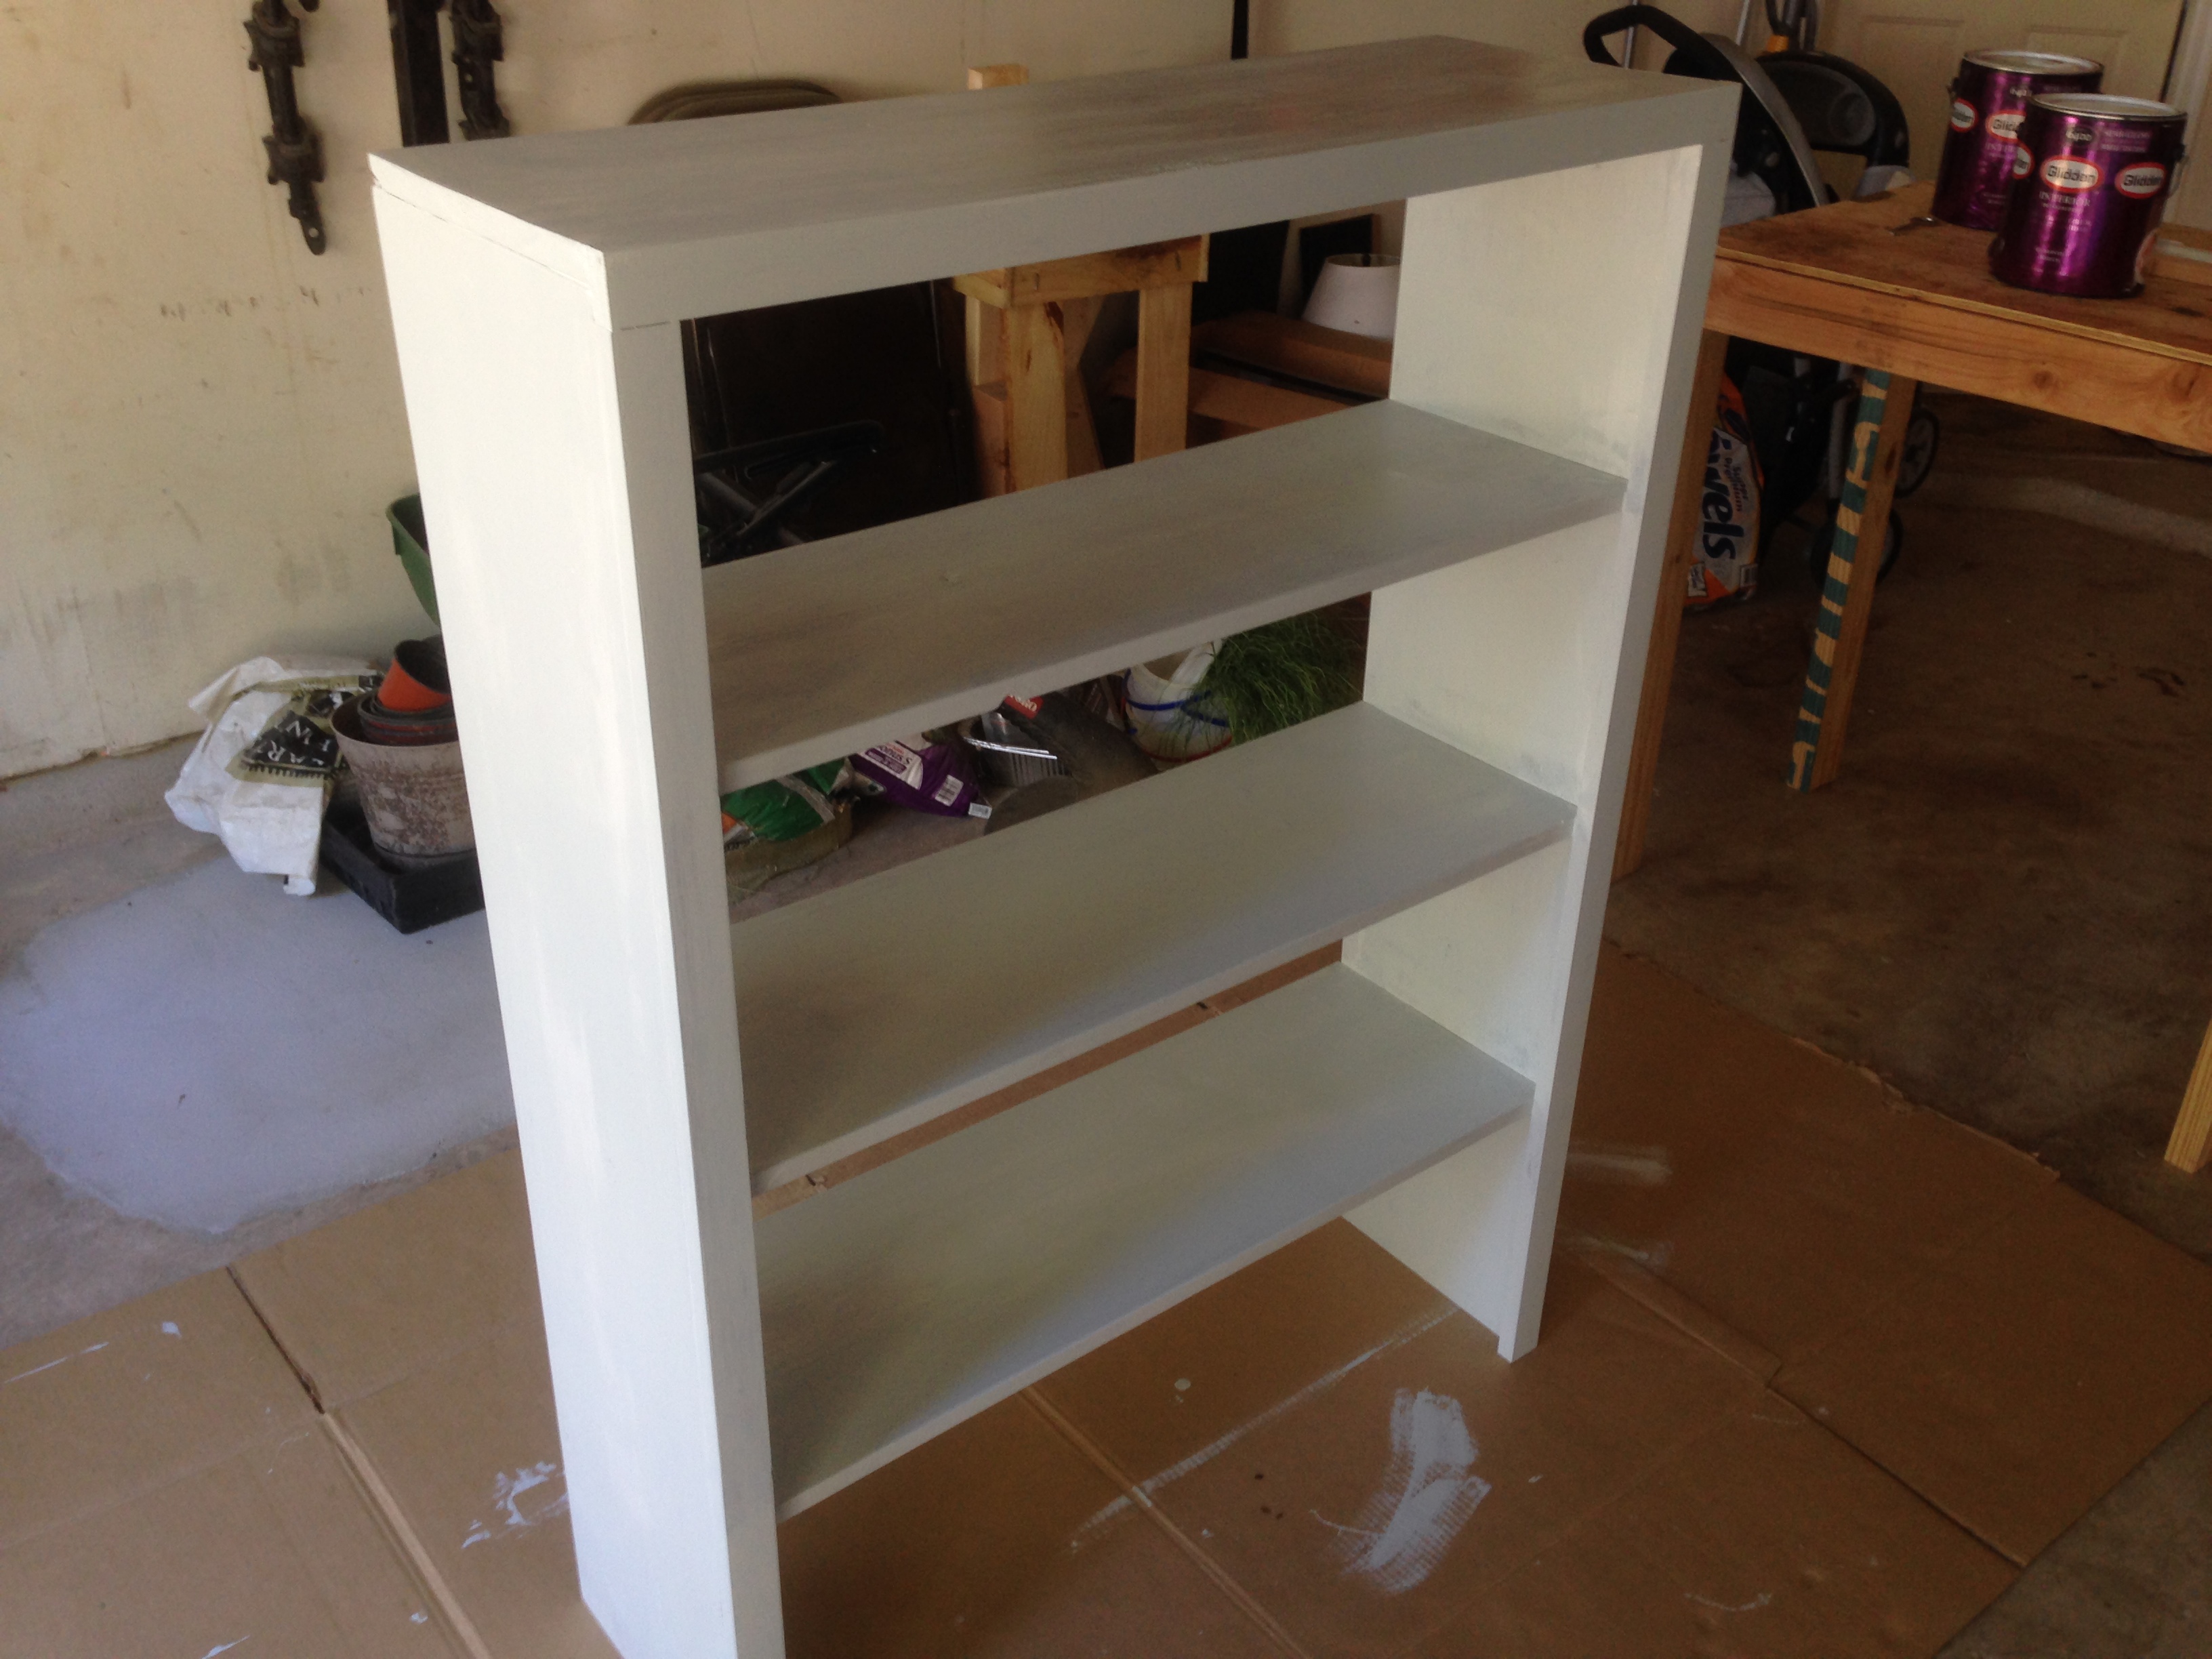
 After I screwed the shelves in, I flipped it over and here’s what it looks like so far.
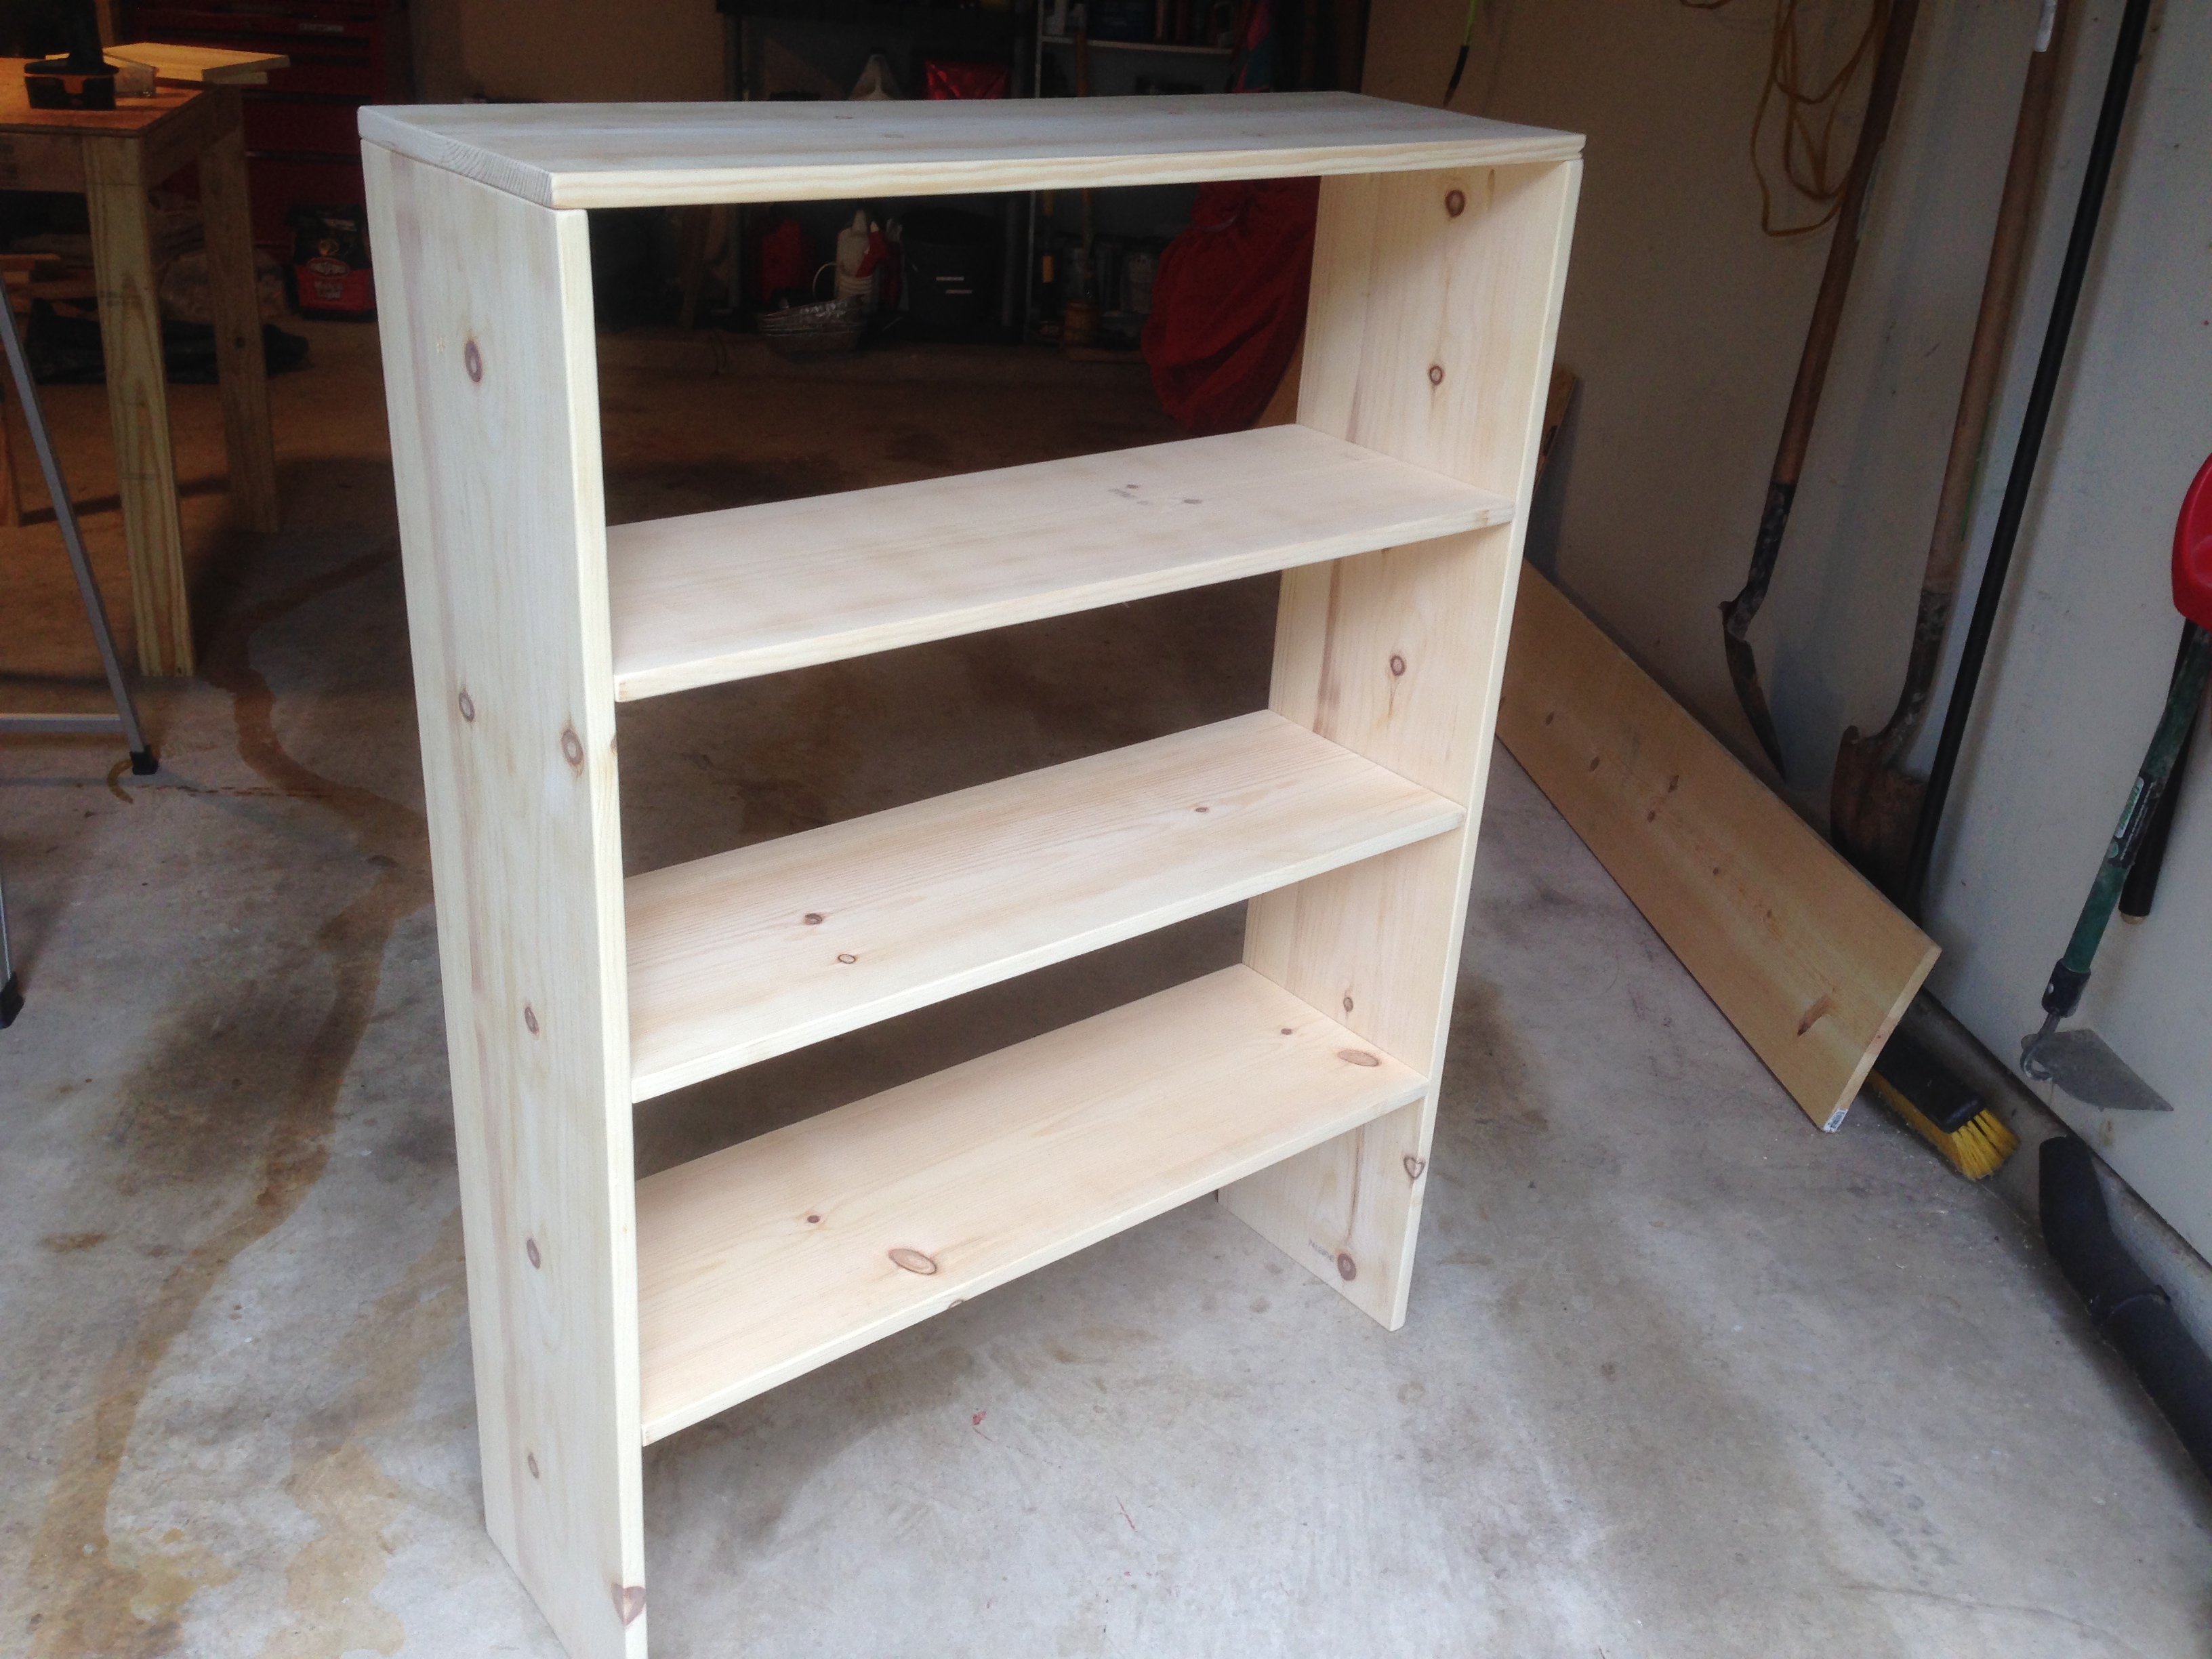 Now I’ve got the shelf portion of the bookcase done. It looks a lot like a shelf you could buy from Ikea… not the look I’m going for… but I’m not done yet!
Day 2 of the build:
I moved on to the bottom portion which is going to be a cabinet that the shelf sits on top of. I started by cutting the necessary wood down to size, drilling the pocket holes, sanding it down and putting it all together. I didn’t want to bore you with pics of each step but here’s the finished product of the cabinet top: You’ll notice I used a 12″ board framed out by 2×2’s and put together with pocket hole screws. Here’s what the top looks like:
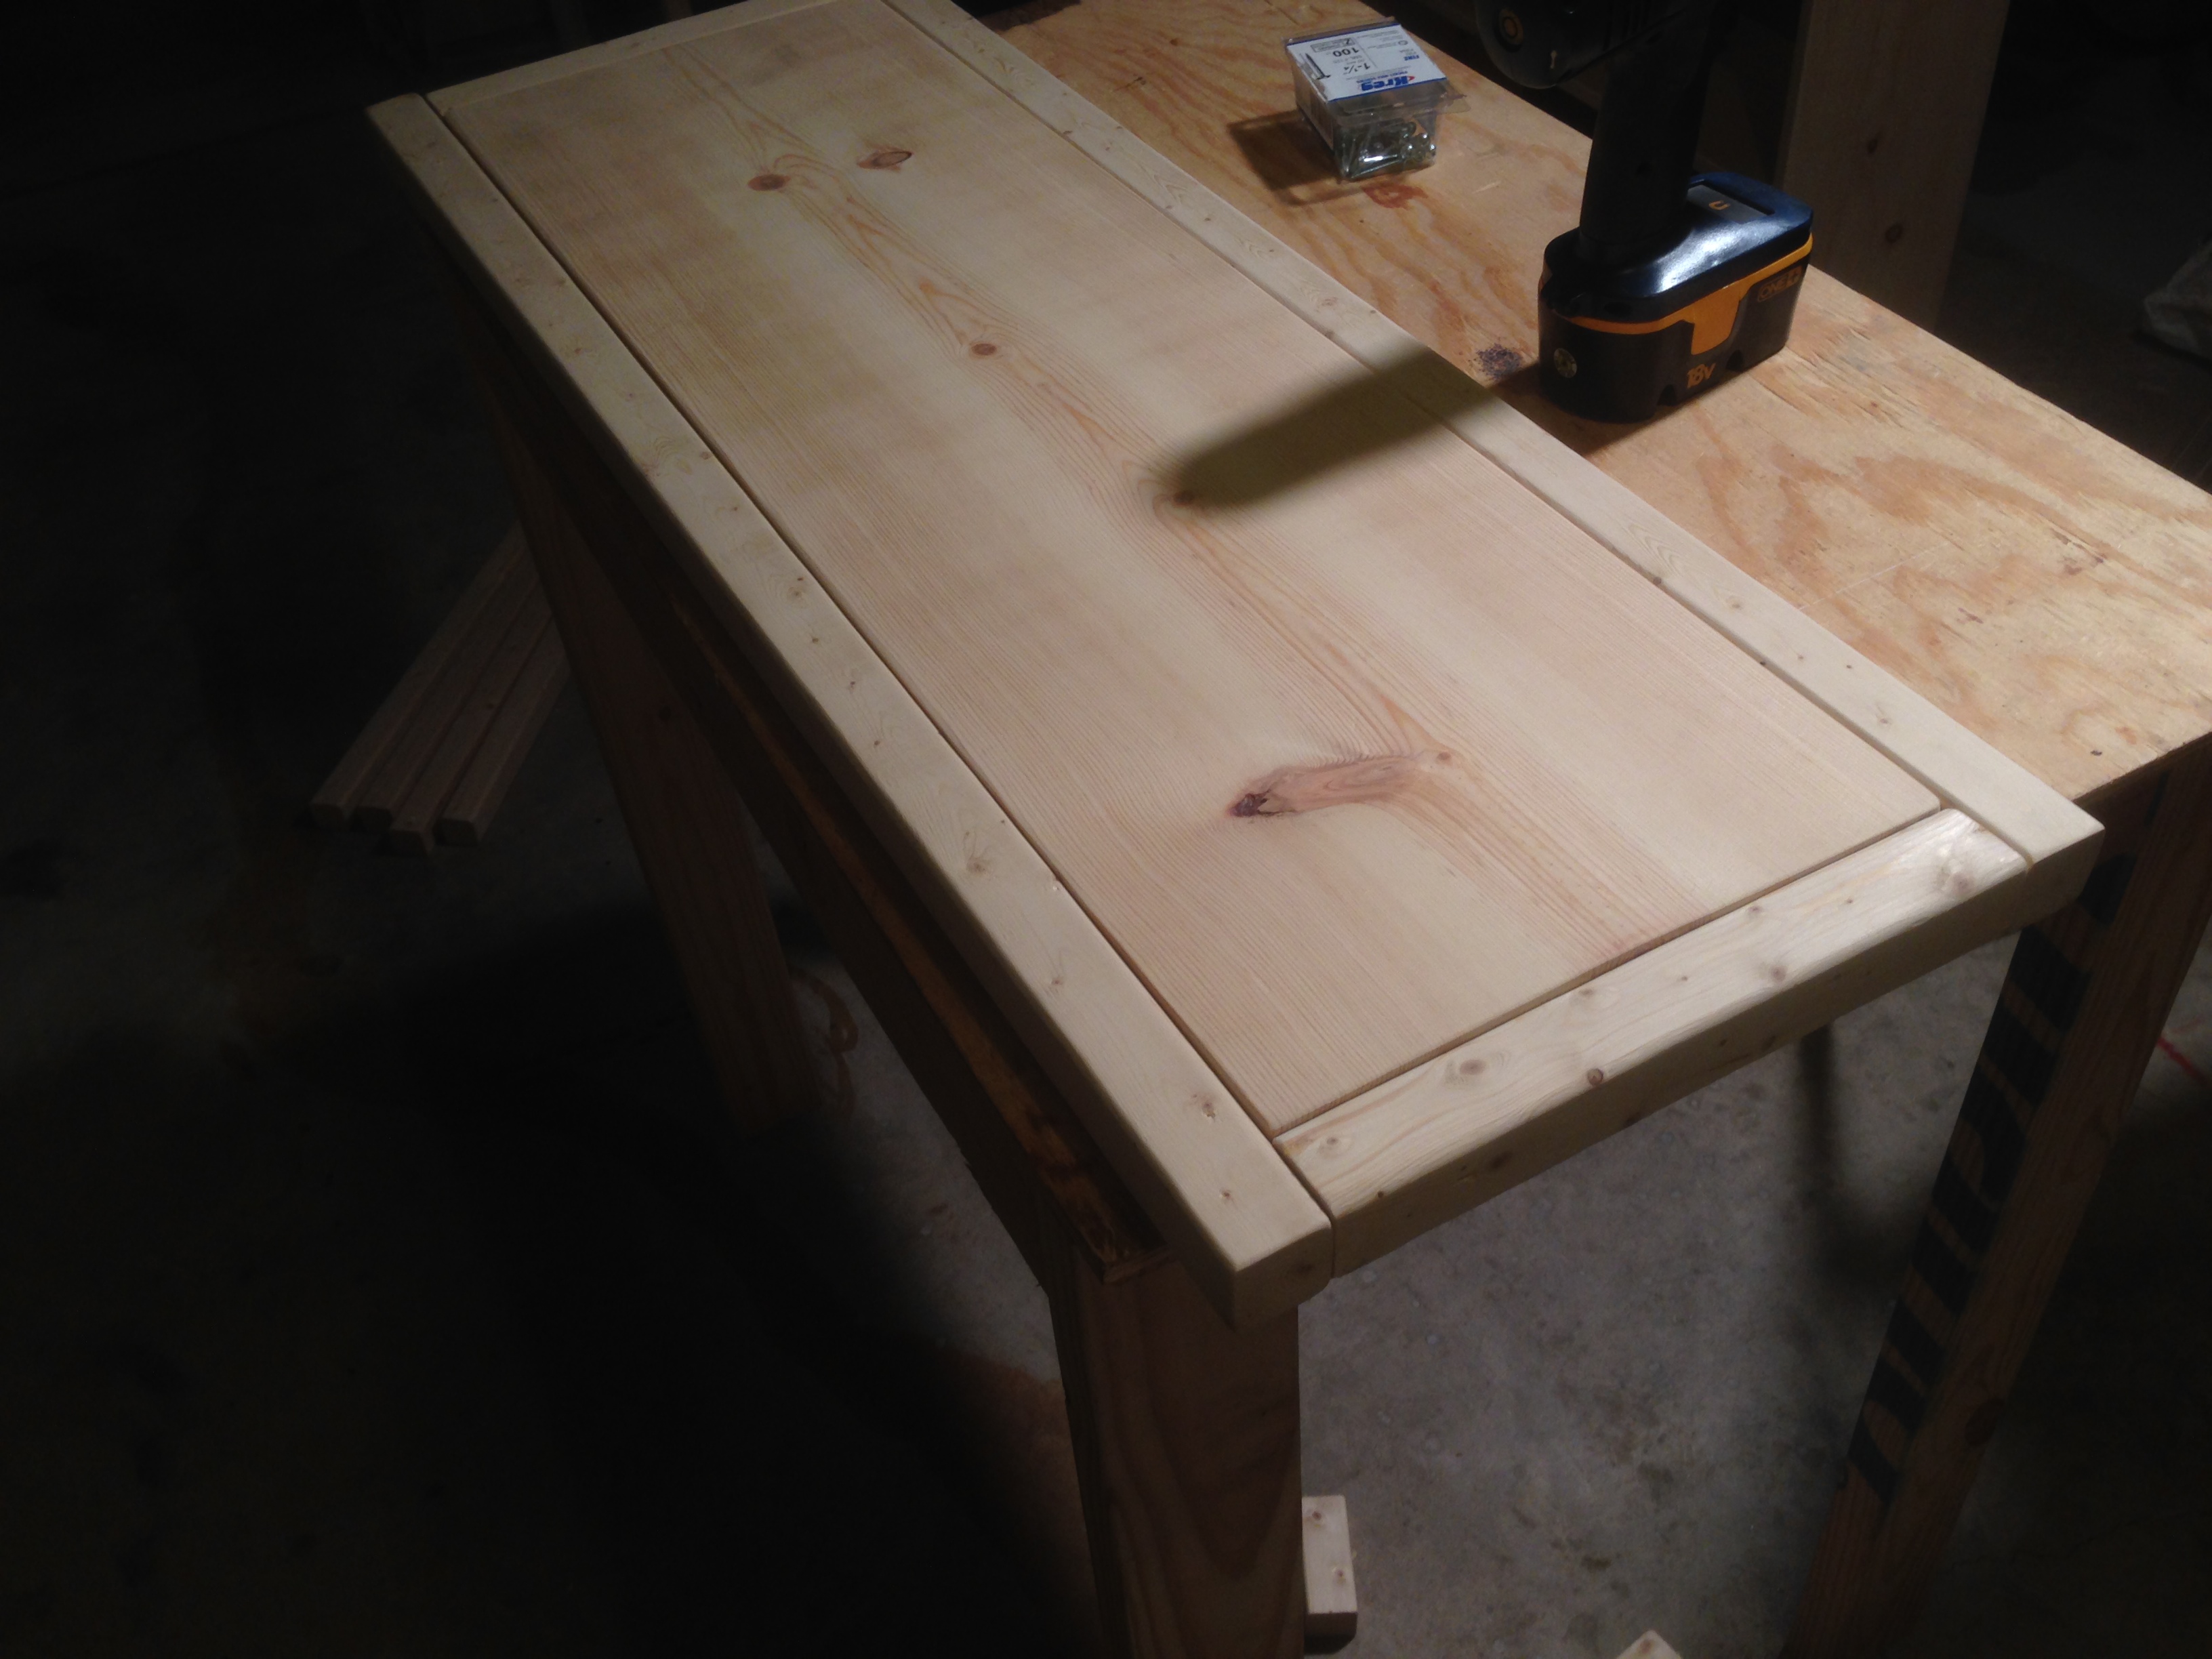 The shelf will be sitting on top of it like this:
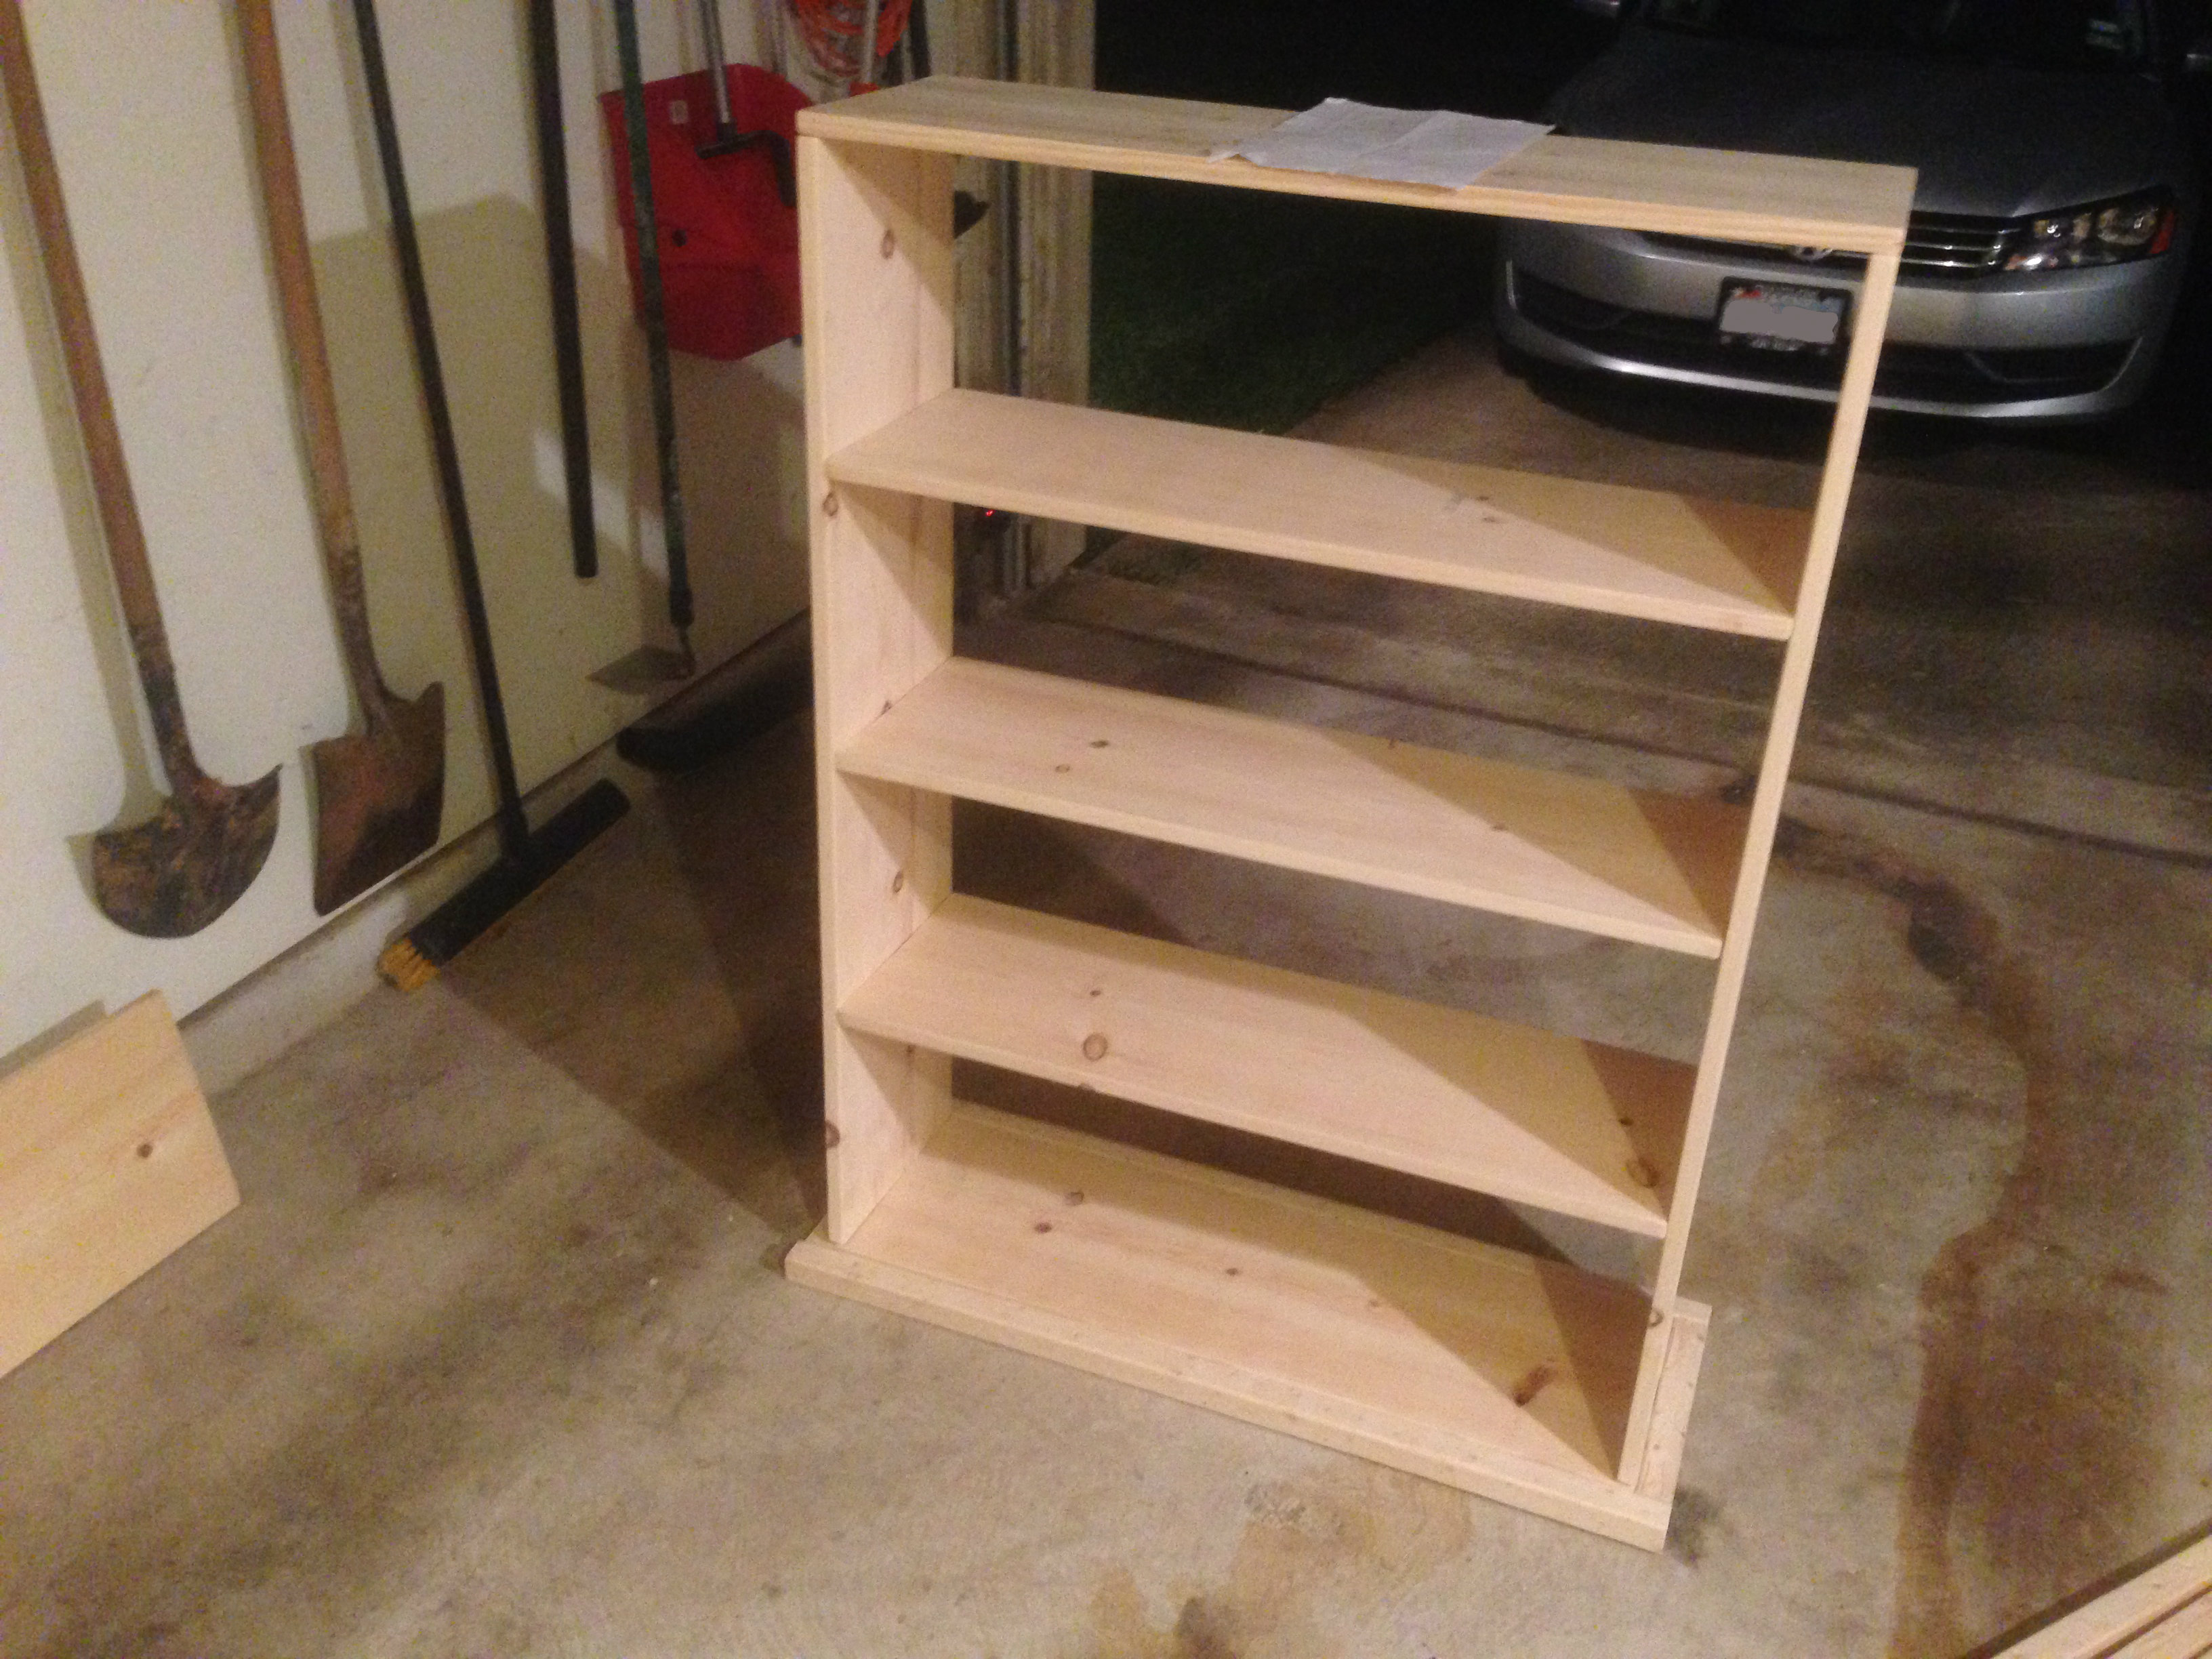
Day 3 of the build:
Now to move on to the rest of the cabinet. I did more of the same, using 2×2’s and 12″ boards to build out the cabinet. Just to keep things in order, I marked where I needed to drill pocket holes. After you cut a bunch of wood, things start to get confusing, so it’s good to have some method of keeping things in order.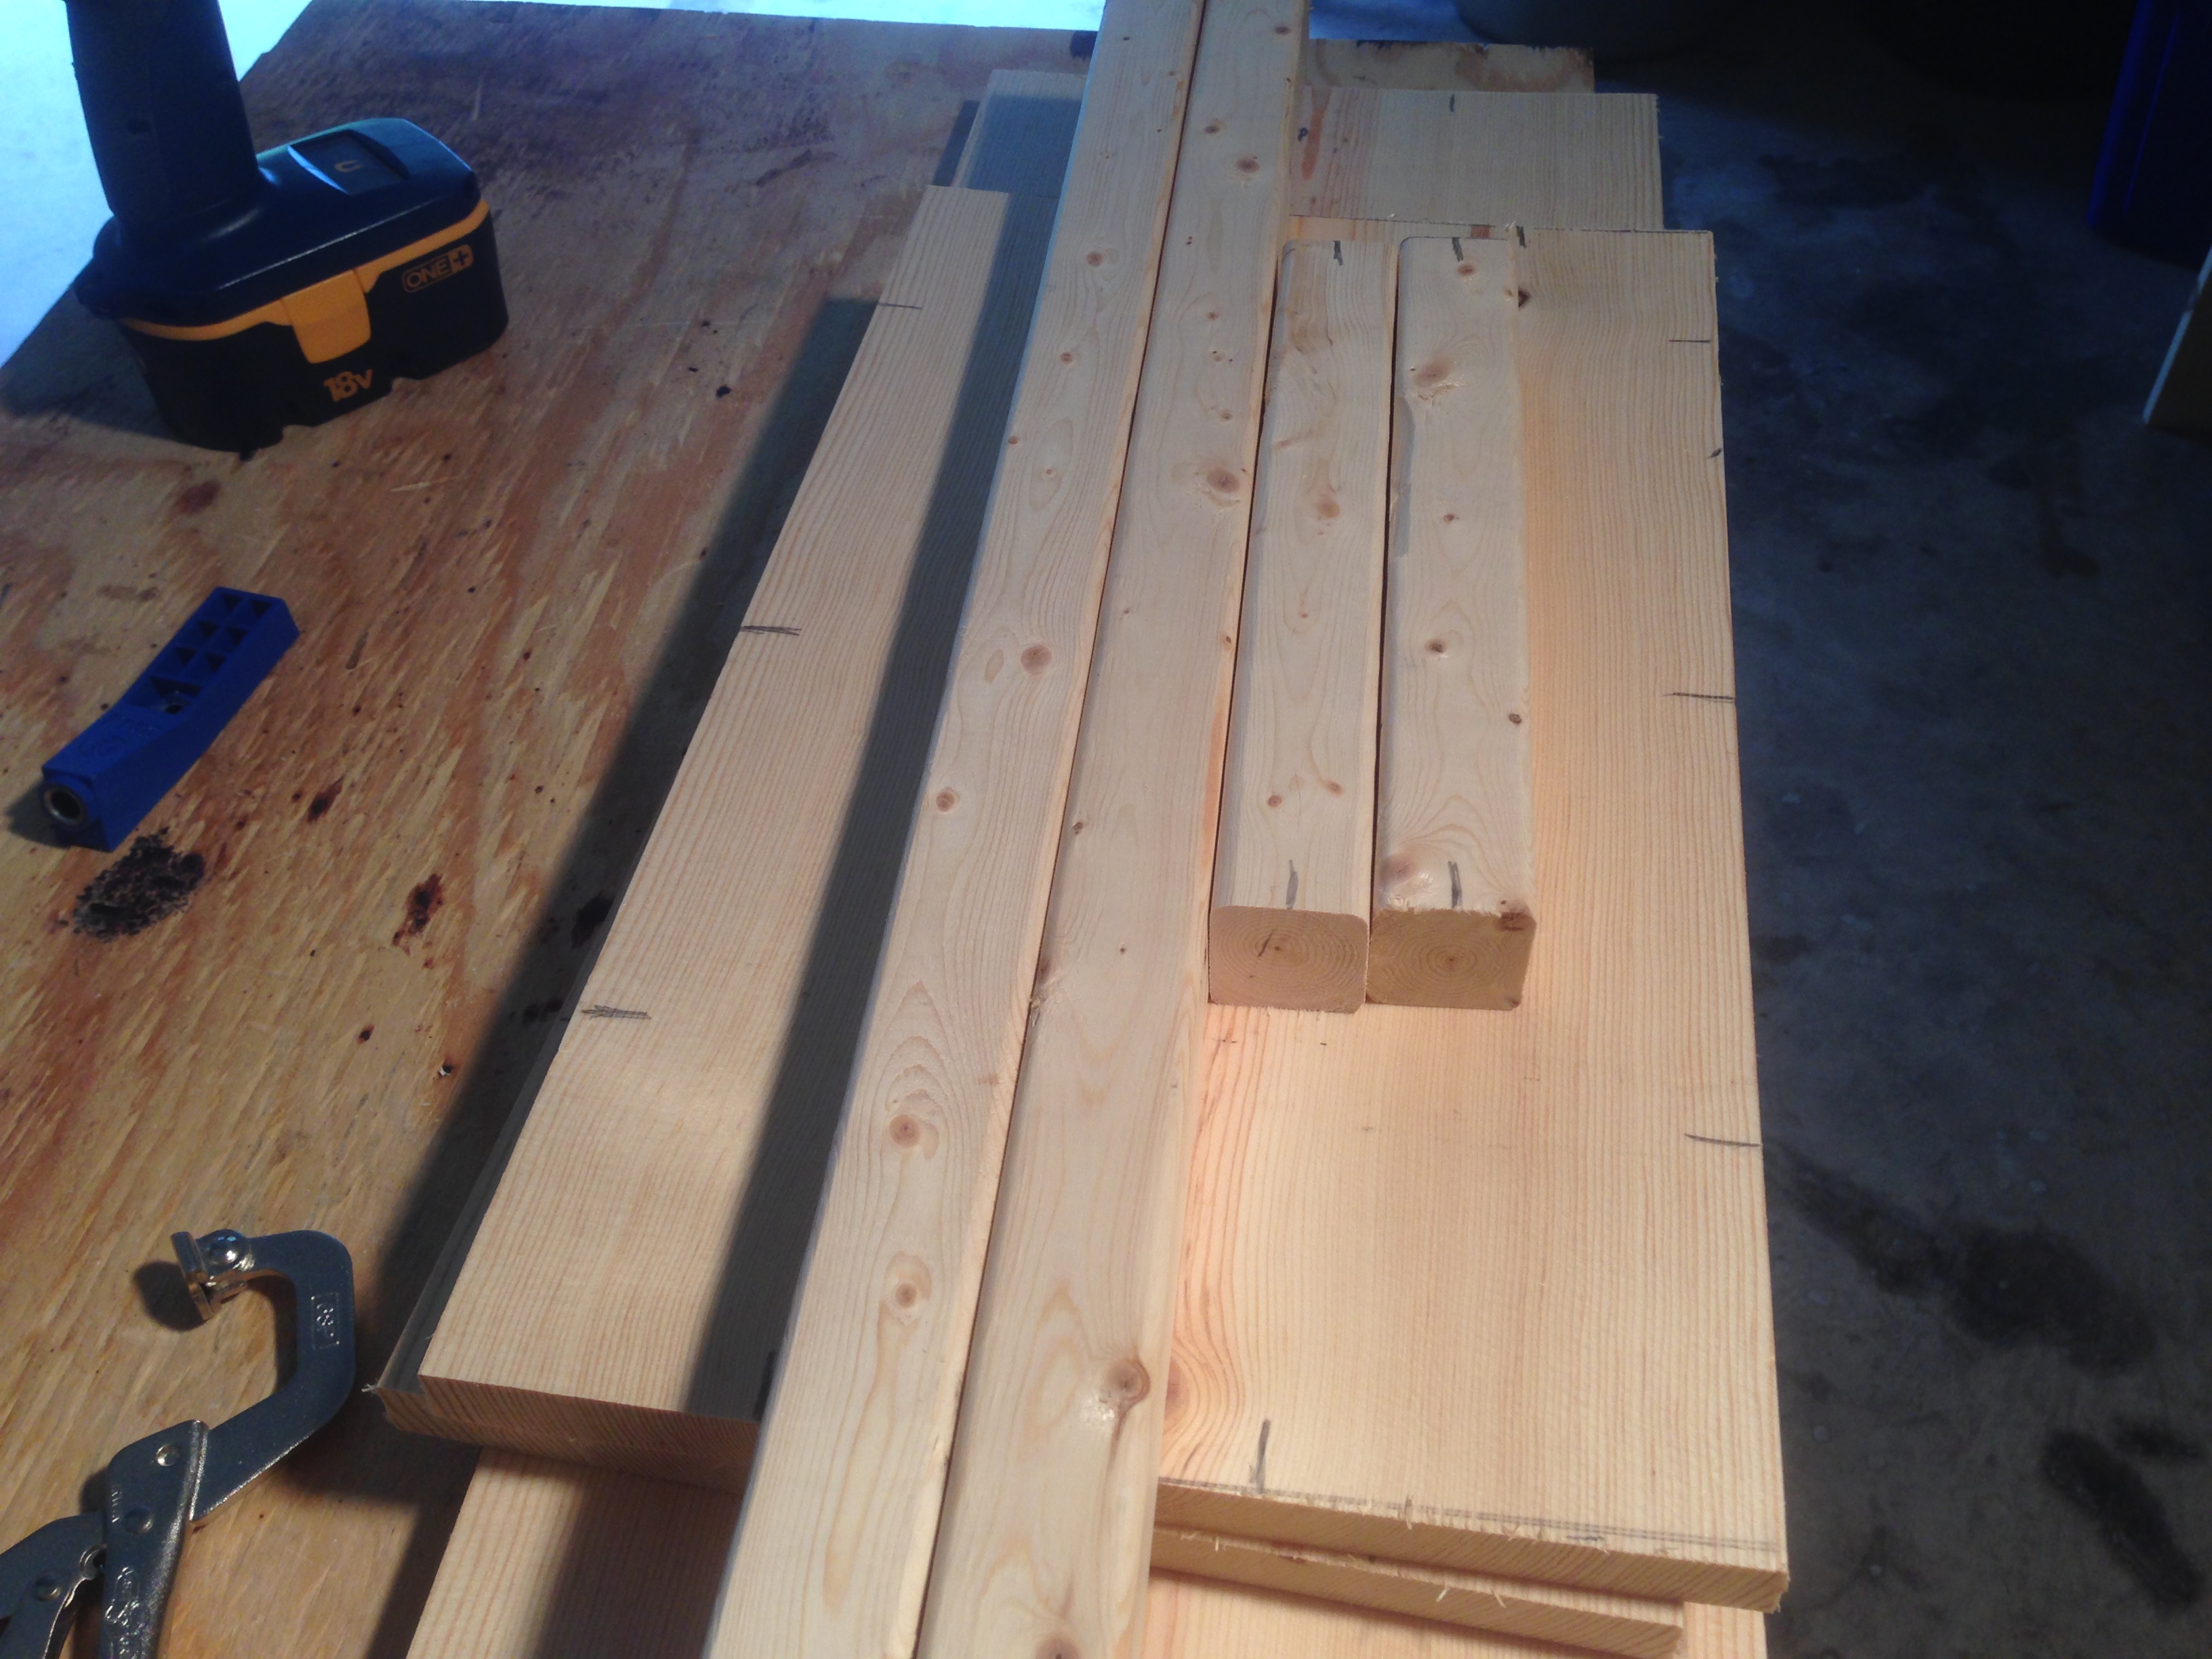 It’s basically a box, so not too difficult, just time consuming due to all the cutting, drilling and sanding. Assembly is really pretty quick (and fun!).
  Here’s a rough mock up of what the shelf will look like on top of the cabinet box. Sheena was kind enough to model next to it before picking up Layla!
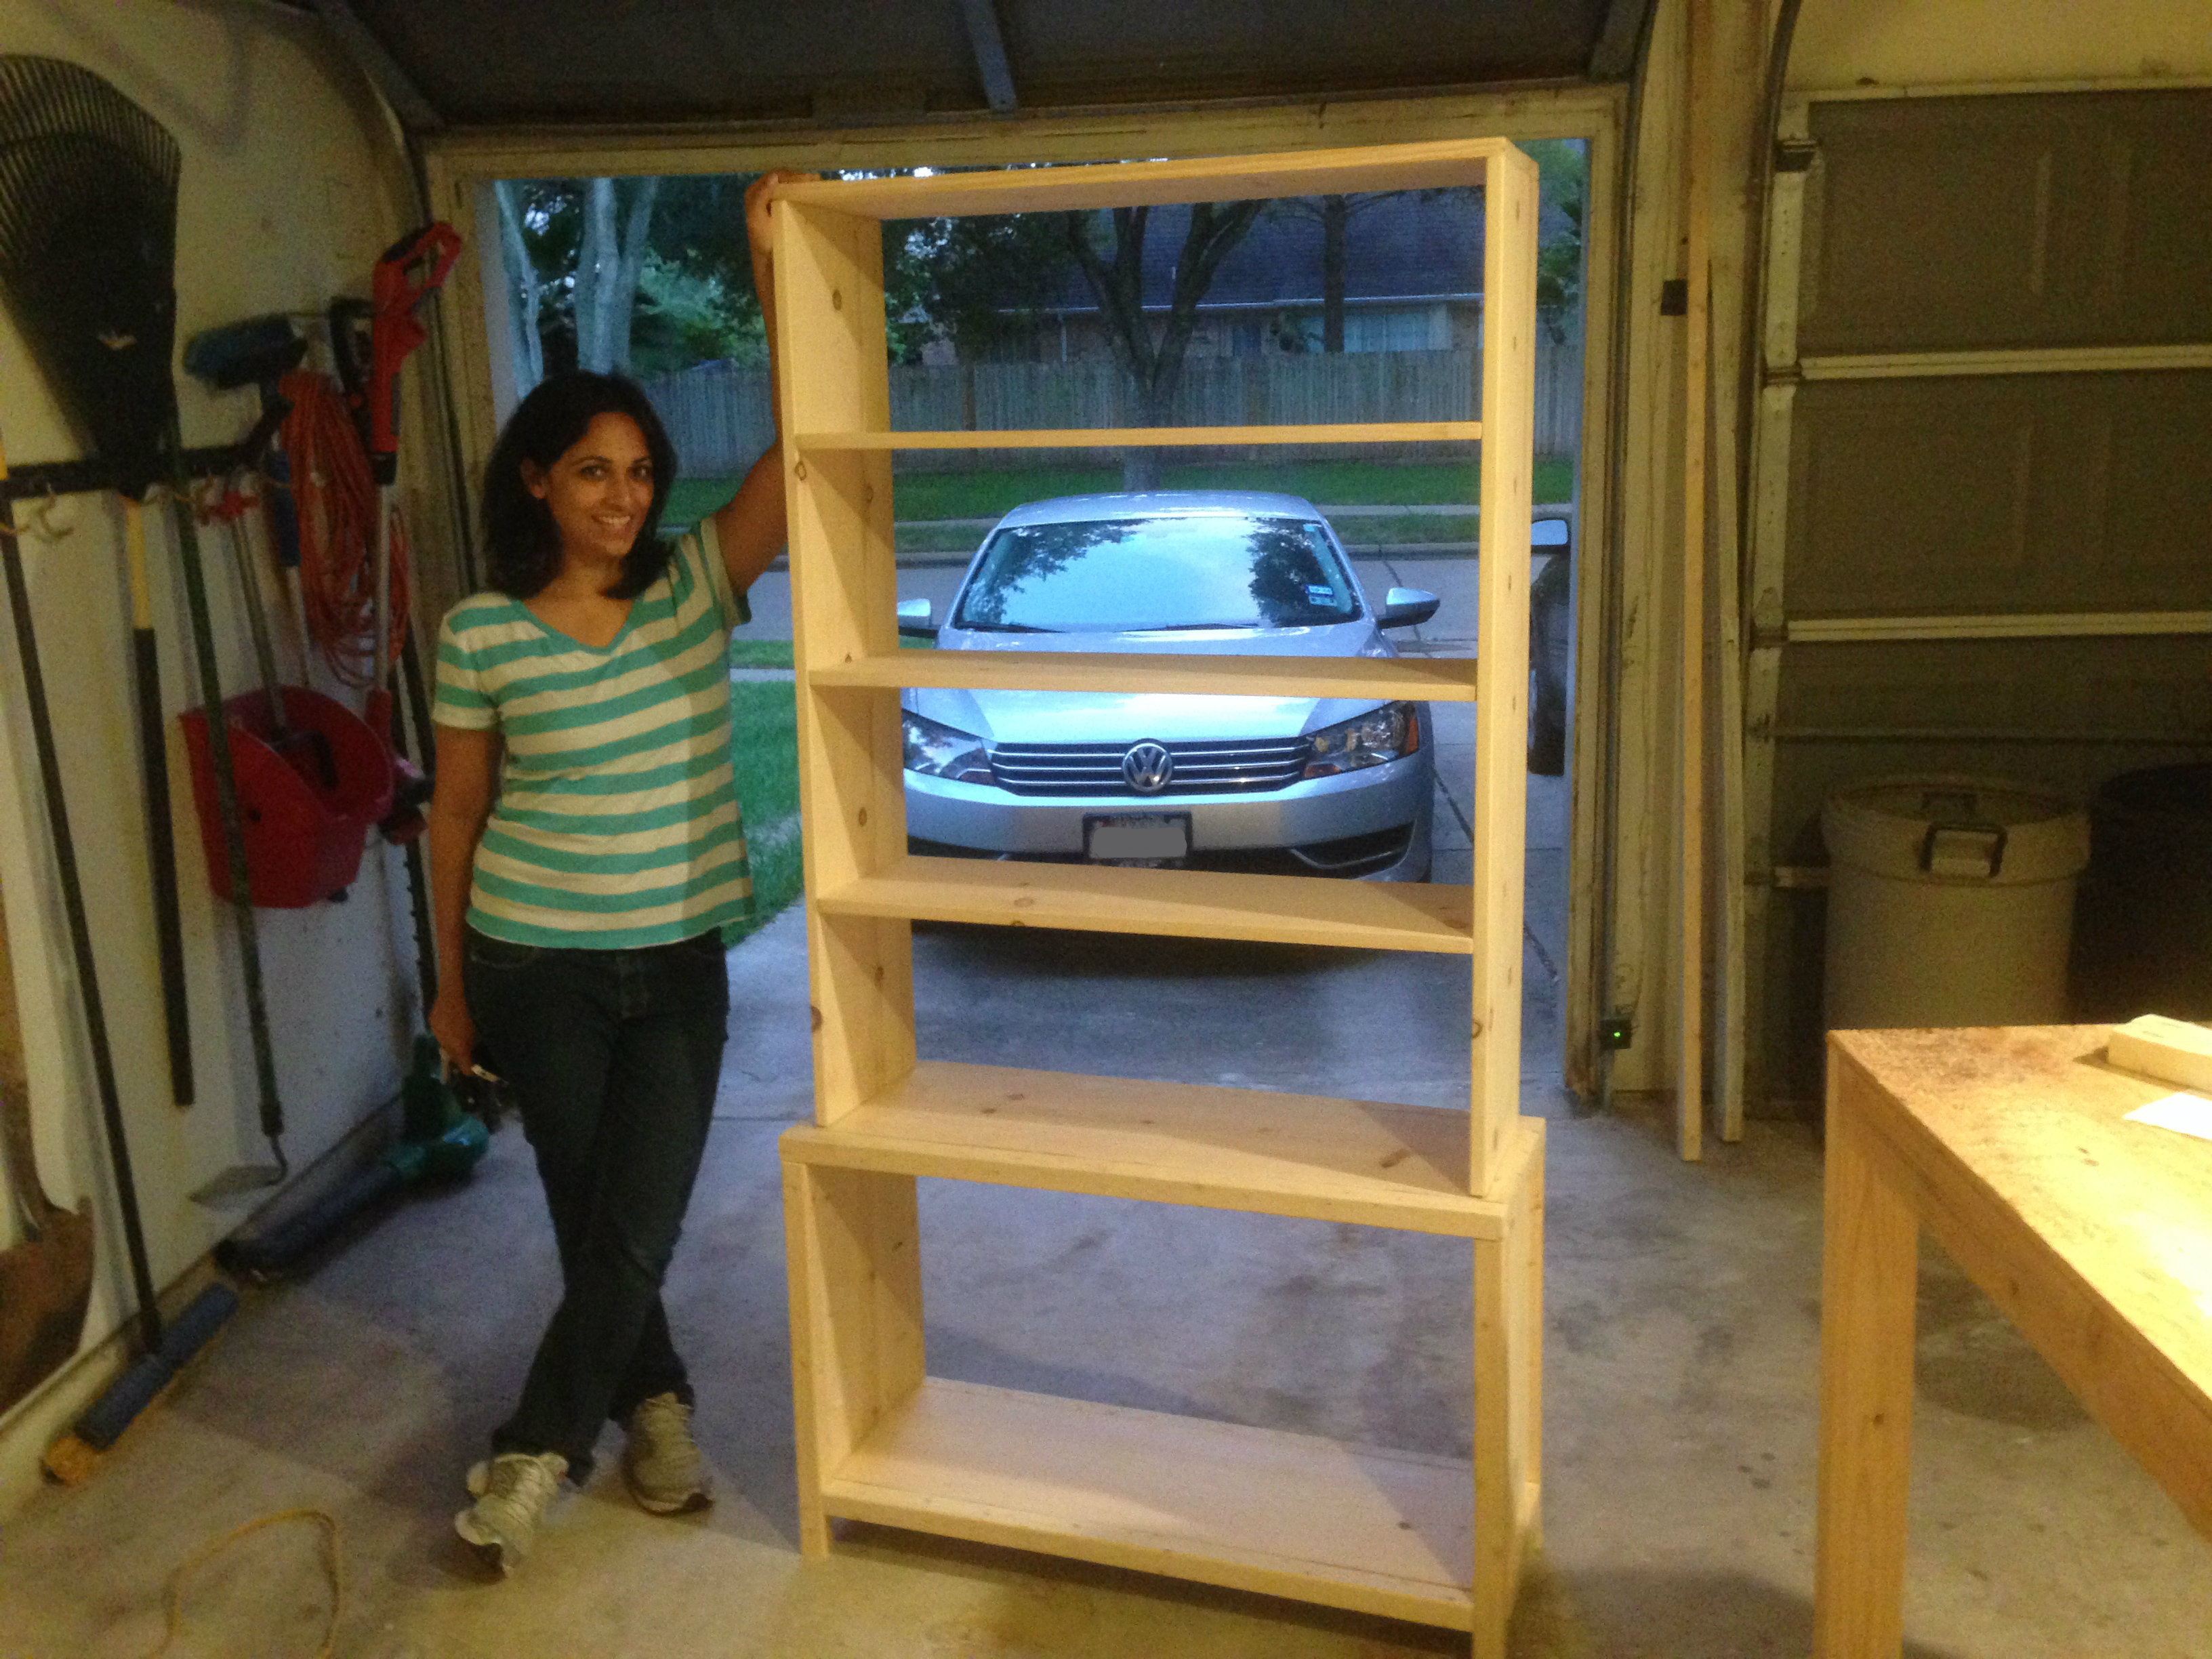
Day 4 of the build:
Now I had to build the doors for the cabinet. I used 1×3’s for the frames of the doors. After cutting them down to size, I drilled the necessary pocket holes to join ’em all together.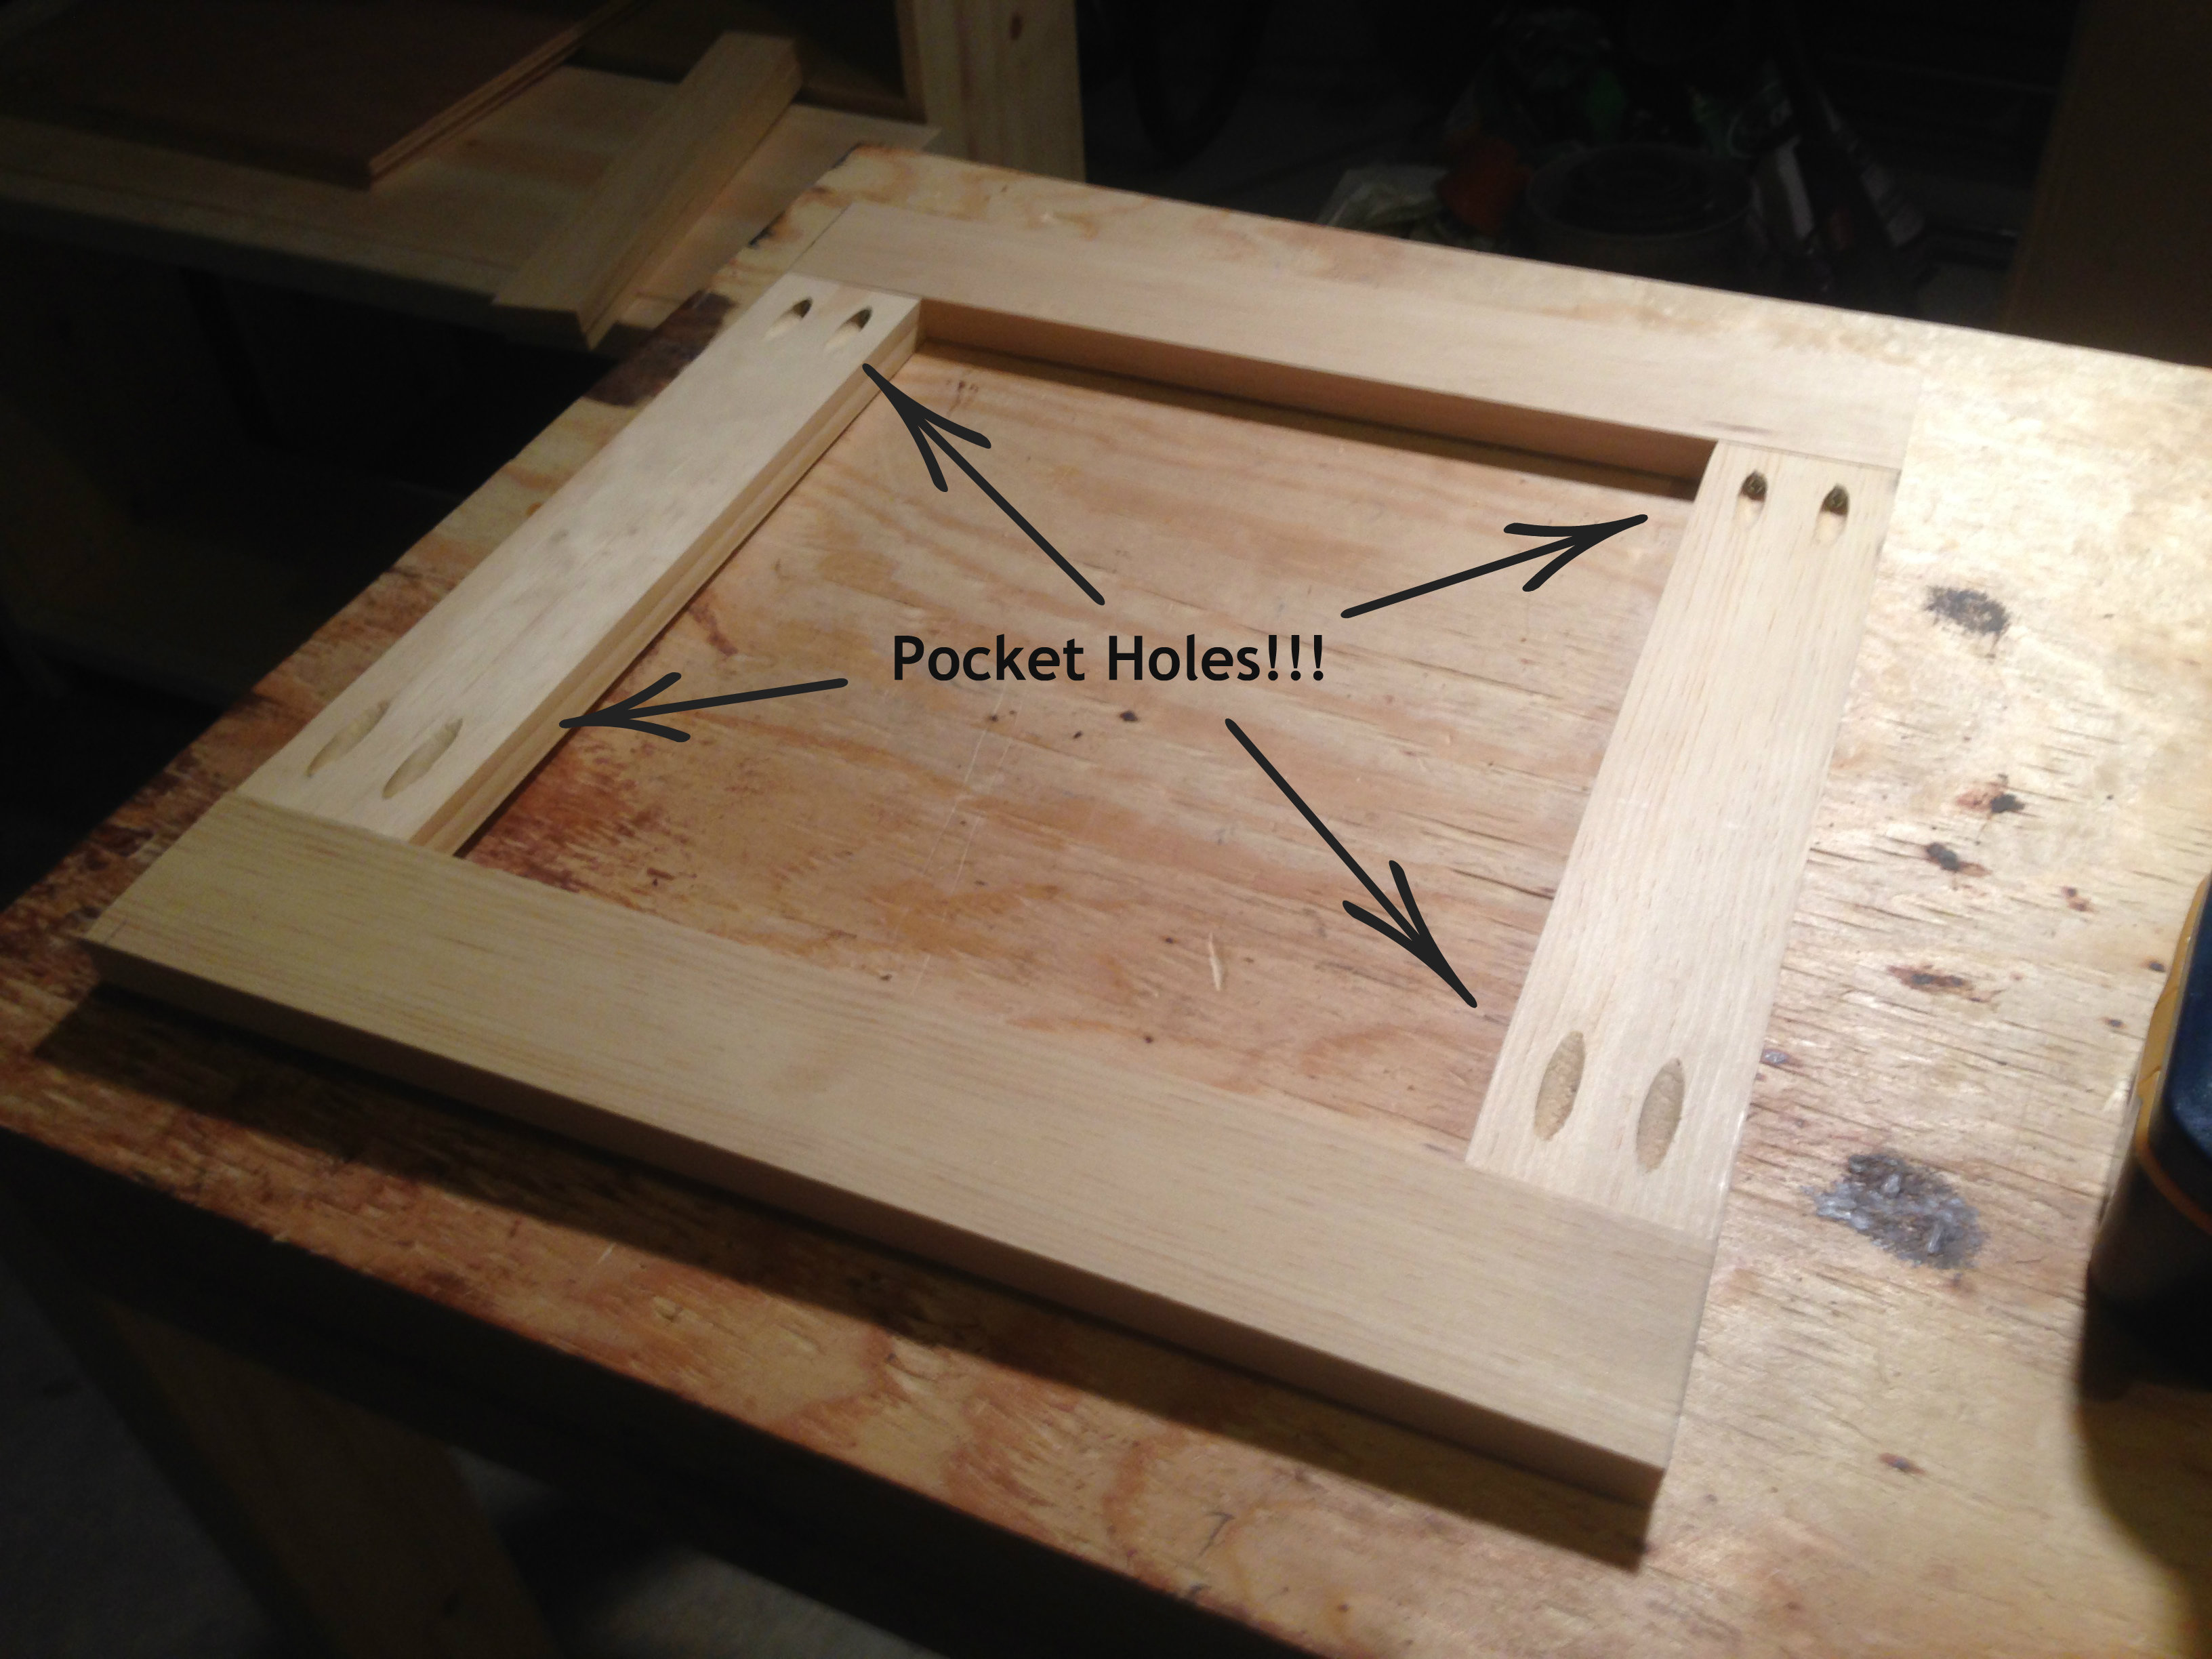 I used a sheet of birch plywood to make the actual door. I had Lowes trim it down to size because I’m horrible when cutting long sheets of plywood. Unfortunately, my measurements were off and I had to cut it down some more at home with my circular saw. Luckily it worked out and any imperfections will be covered by the door frame.
 I know the colors look off, but it’ll all be painted, so it shouldn’t matter.
Day 5 of the build:
I sanded down the doors and using my finish nailer to fully assembled the cabinet doors. 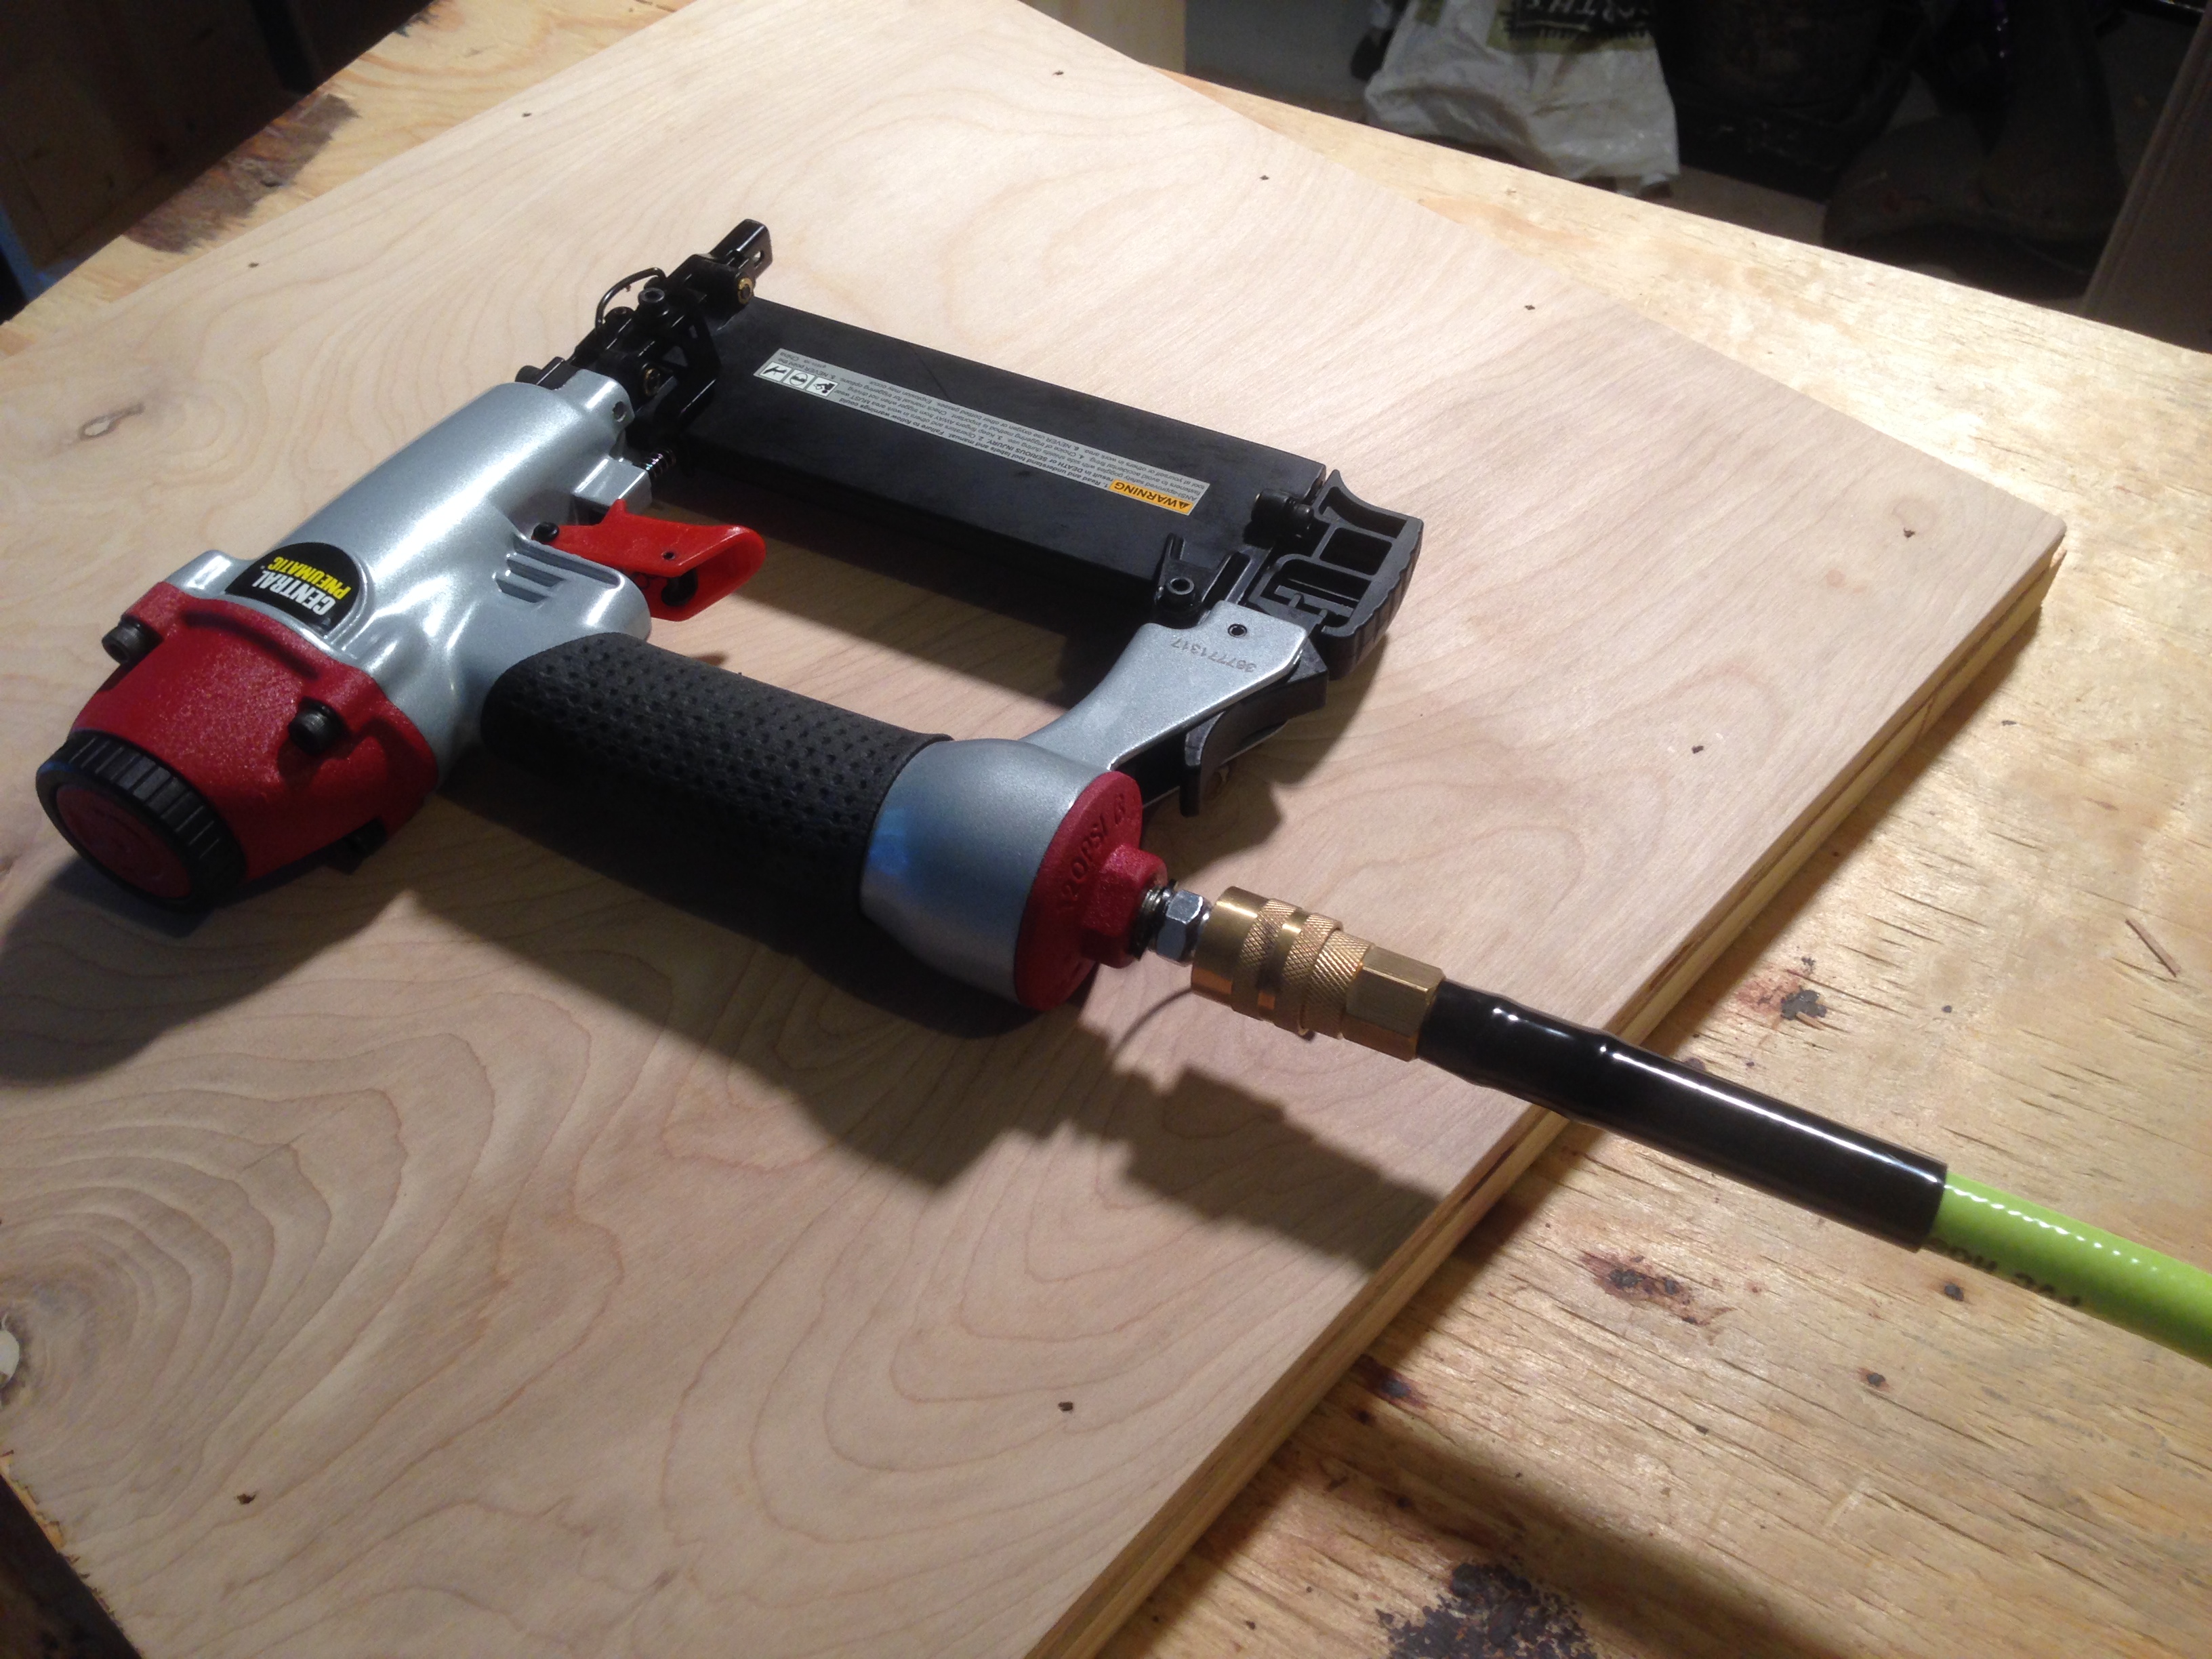 By the way, the finish nailer is pretty awesome. It’s my first time using it since I bought it and it makes tacking things together a lot easier. It was only $10 on sale at Harbor Freight, so I think it was a pretty solid purchase. I also cut up some trim and used the finish nailer to attach it to the shelf.
 I’ll have to go back and fill in the tiny holes with wood filler, but that’s a small price to pay and an easy task. Here’s a before and after shot:
 I know it’s hard to tell through this pic, but the trim actually makes a pretty big difference in my opinion. Gives it a more finished look. The trim is simply a 1×2 board cut down to size to frame out the shelf portion of the bookcase.
As of Day 5, here’s the progress: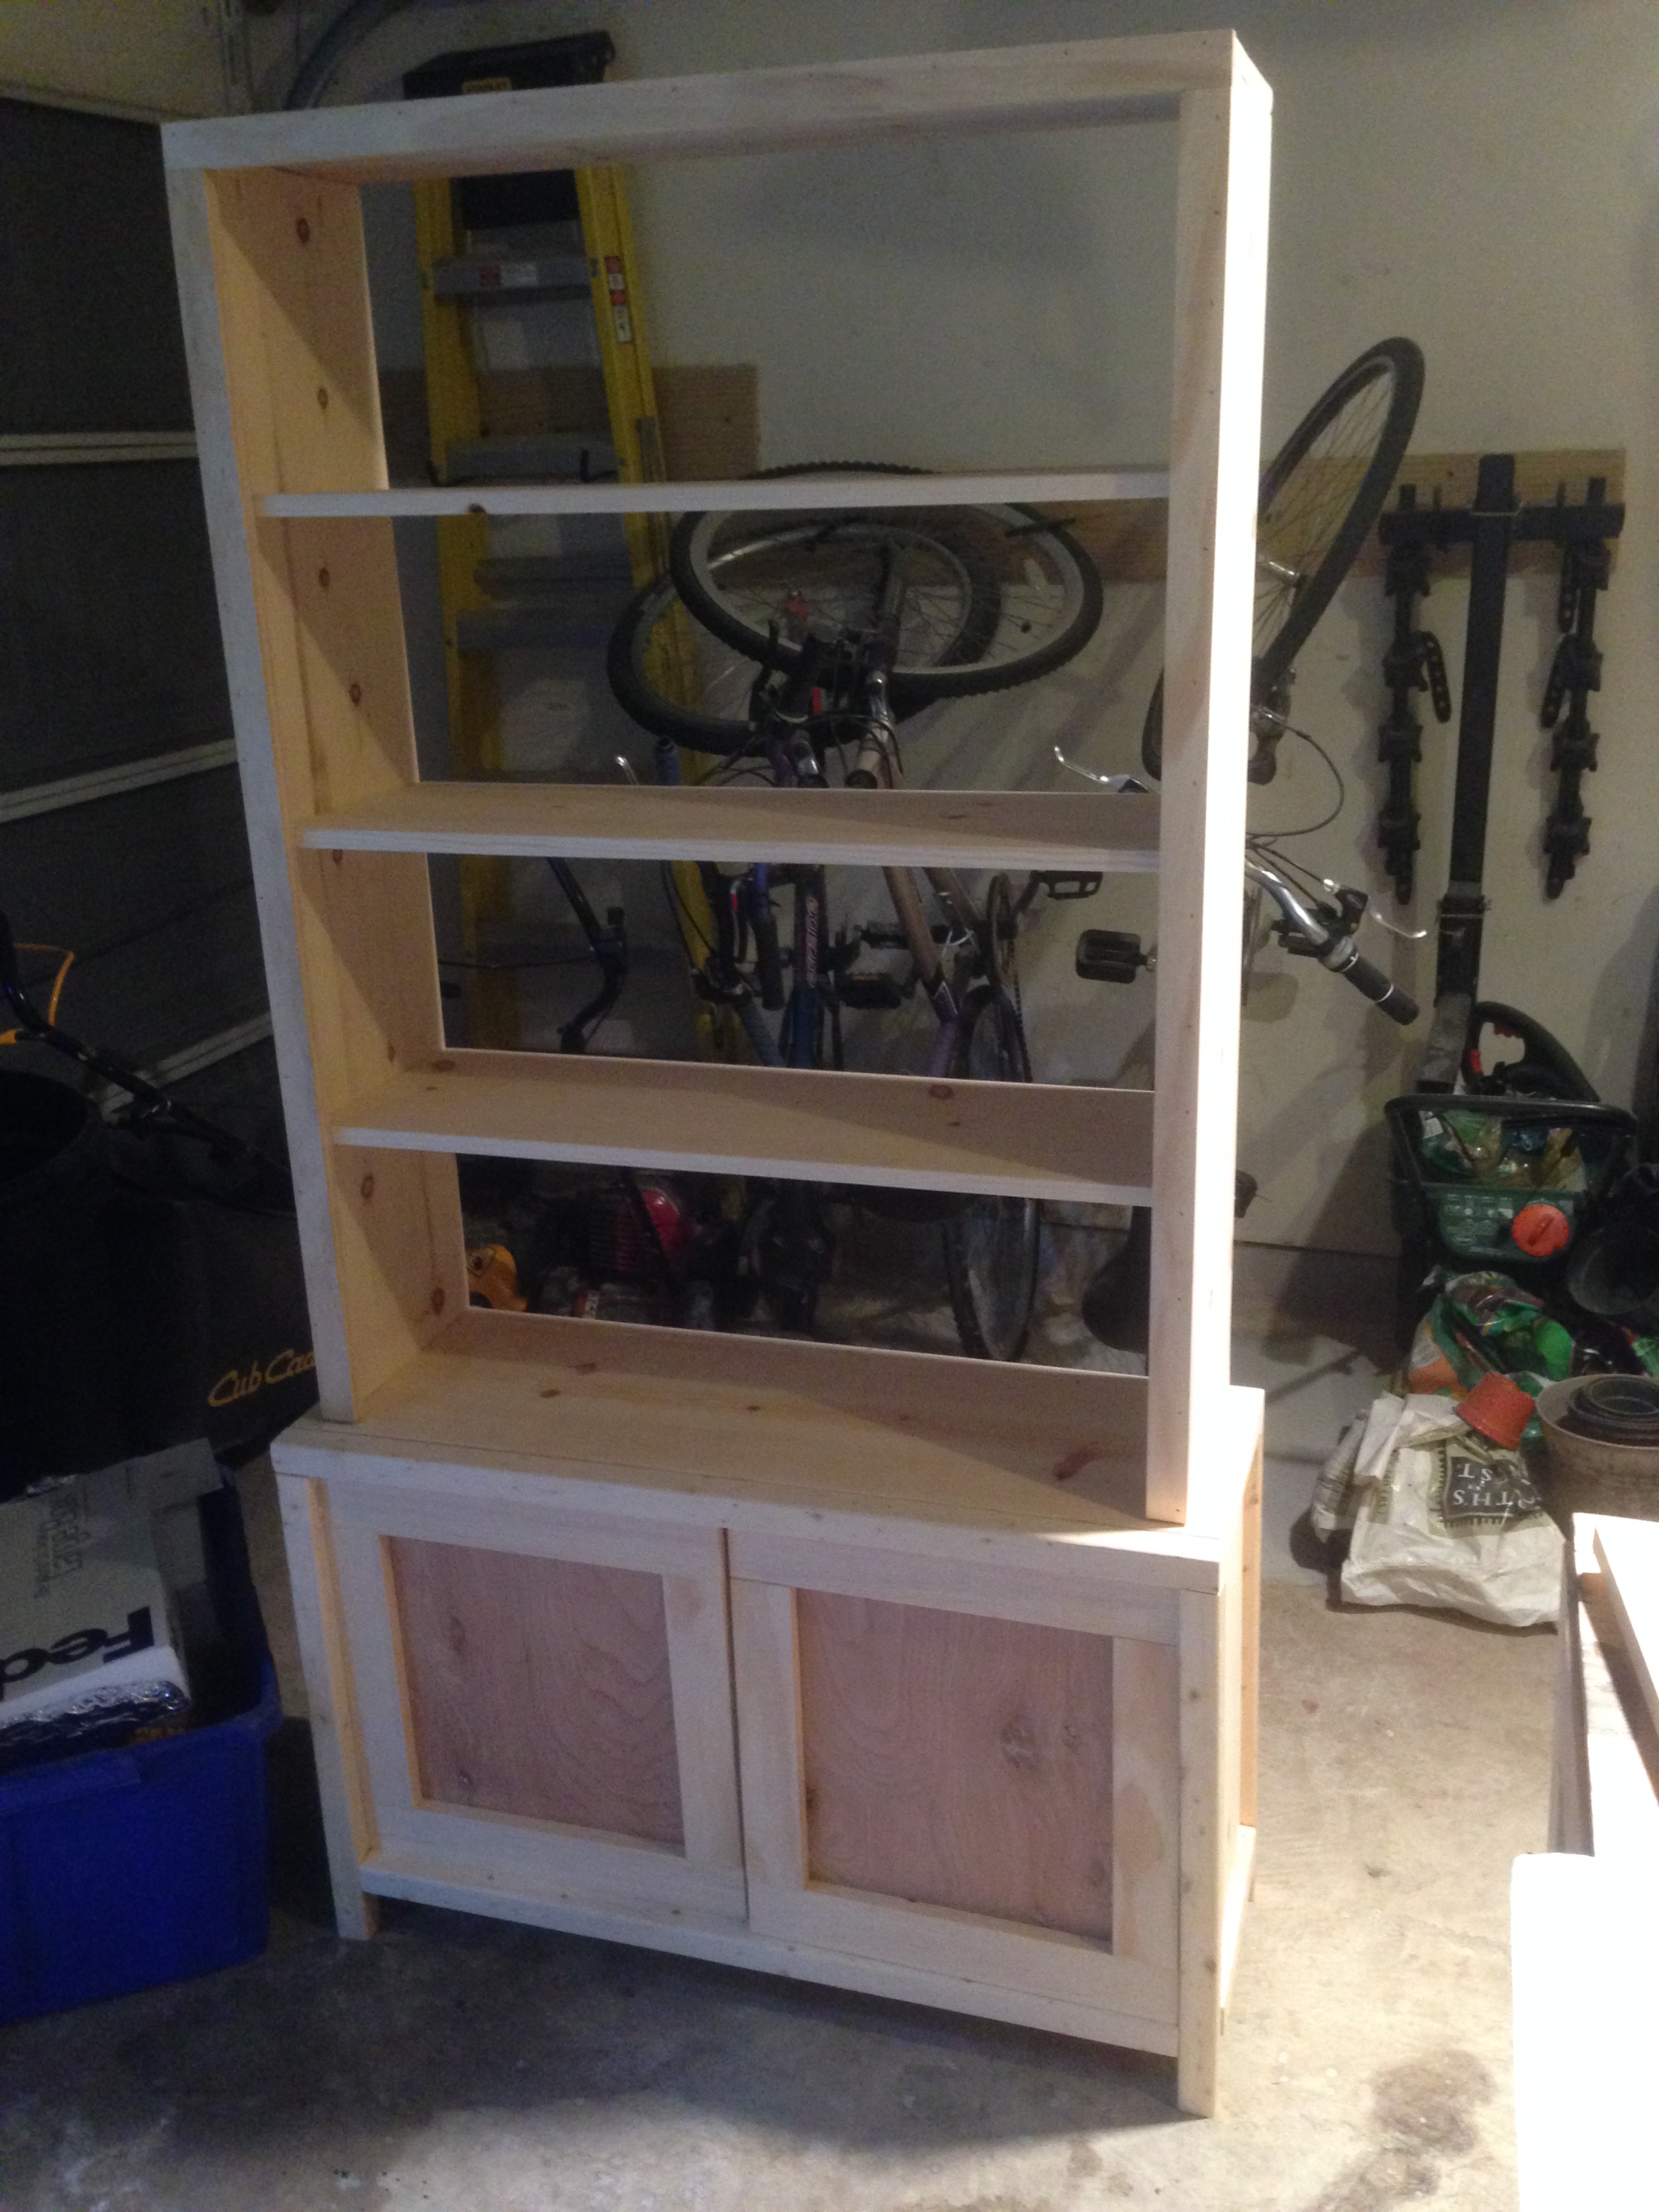
Day 6 of the build:
I used wood filler to fill in any holes from the finish nailer and sanded everything down. Here’s a before and after of what it looks like. 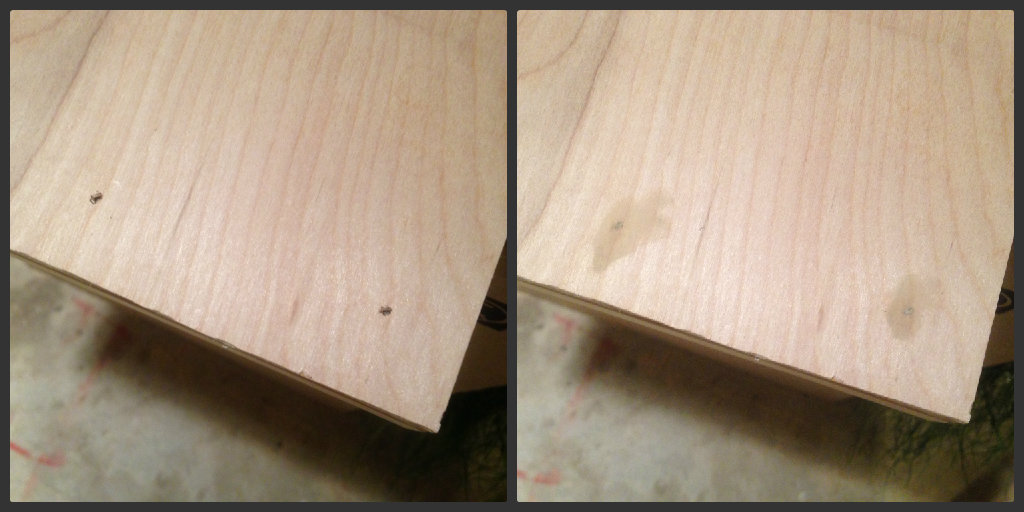 It doesn’t look like much, but after I sand it down, it’ll make for a smoother finish when I paint.
Speaking of paint, I got lucky in that department. Home Depot has a rack of “oops” paints that people return if the color doesn’t match what they wanted. Brand new, a gallon of paint is about $27. I got a gallon of the discounted paint for $7!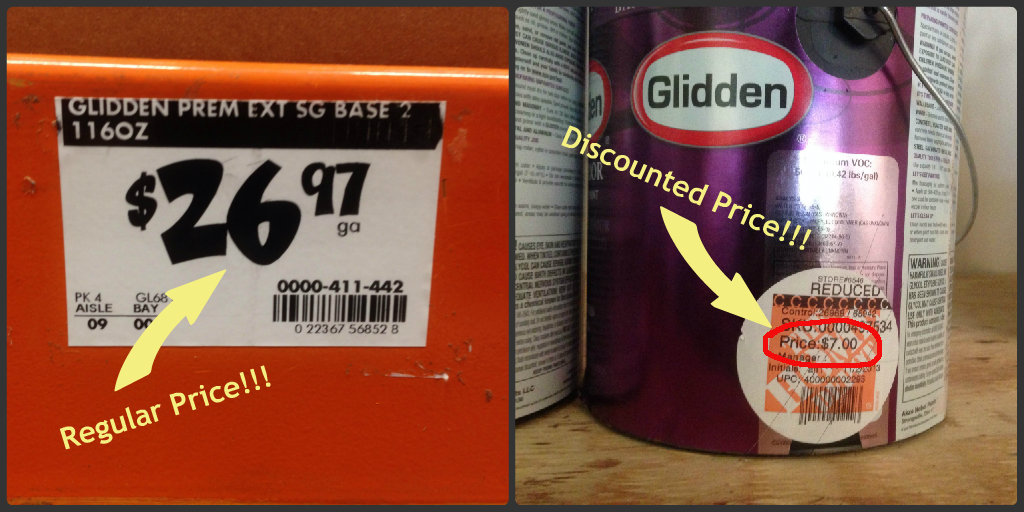 The biggest part was they had the colors I needed! Crazy, right! Now I’m ready for paint. I recently purchased a paint sprayer, but I opted not to use it because it would be too messy due to over-spray. I guess when I have a larger paint job worth covering my entire garage, then I’ll bring it out. But for this job, I went back to the basics…. a good ole paint brush.
Day 7 of the build:
My co-worker wants a shabby chic, turquoise look to the bookcase. I’m no pro, so I let her know that it’ll be trial & error for the paint. I decided that I would put 3 different colors down and then sand it to achieve the shabby chic/vintage look.
First color was a dark stain: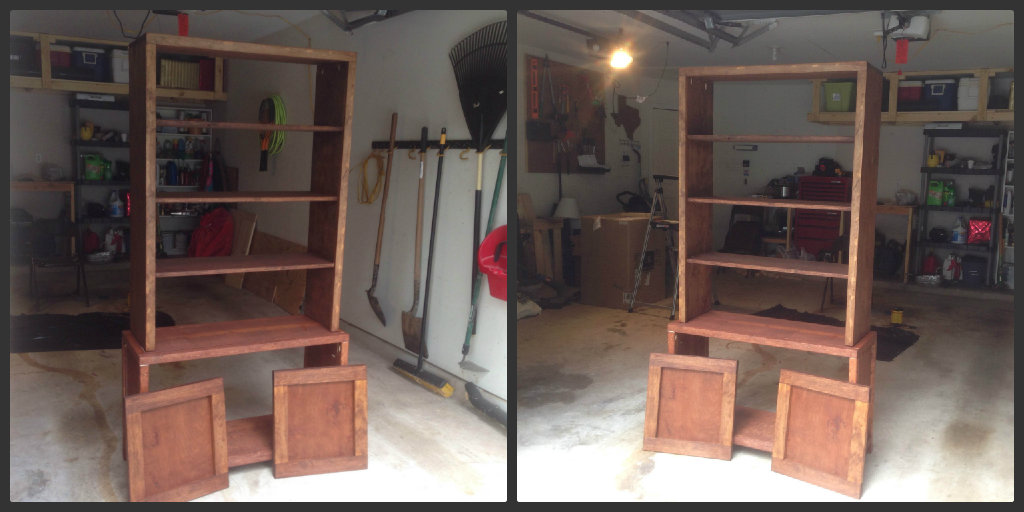
Day 8 of the build:
Second color was a white with a slight bluish tint. I didn’t try to do an awesome job with the white paint because it was going to get painted over again: 
 Here’s a view of what my garage looked like while painting:
Day 9 of the build:
Then finally I painted it the “shabby chic” turquoise: 
Day 10 of the build:
After all the paint dried, I started doing some sanding in random places to achieve that vintage look. The goal was to have a turquoise bookcase that showed age with the white, stain and raw wood peeking out at random places.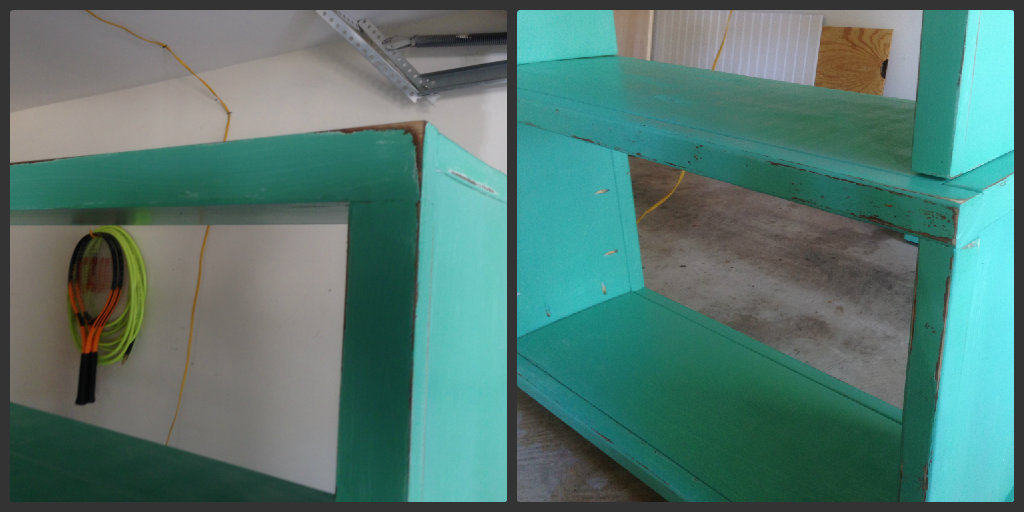
After a good sanding, I got some backing cut down to size and attached it to the bookcase with me handy finish nailer. 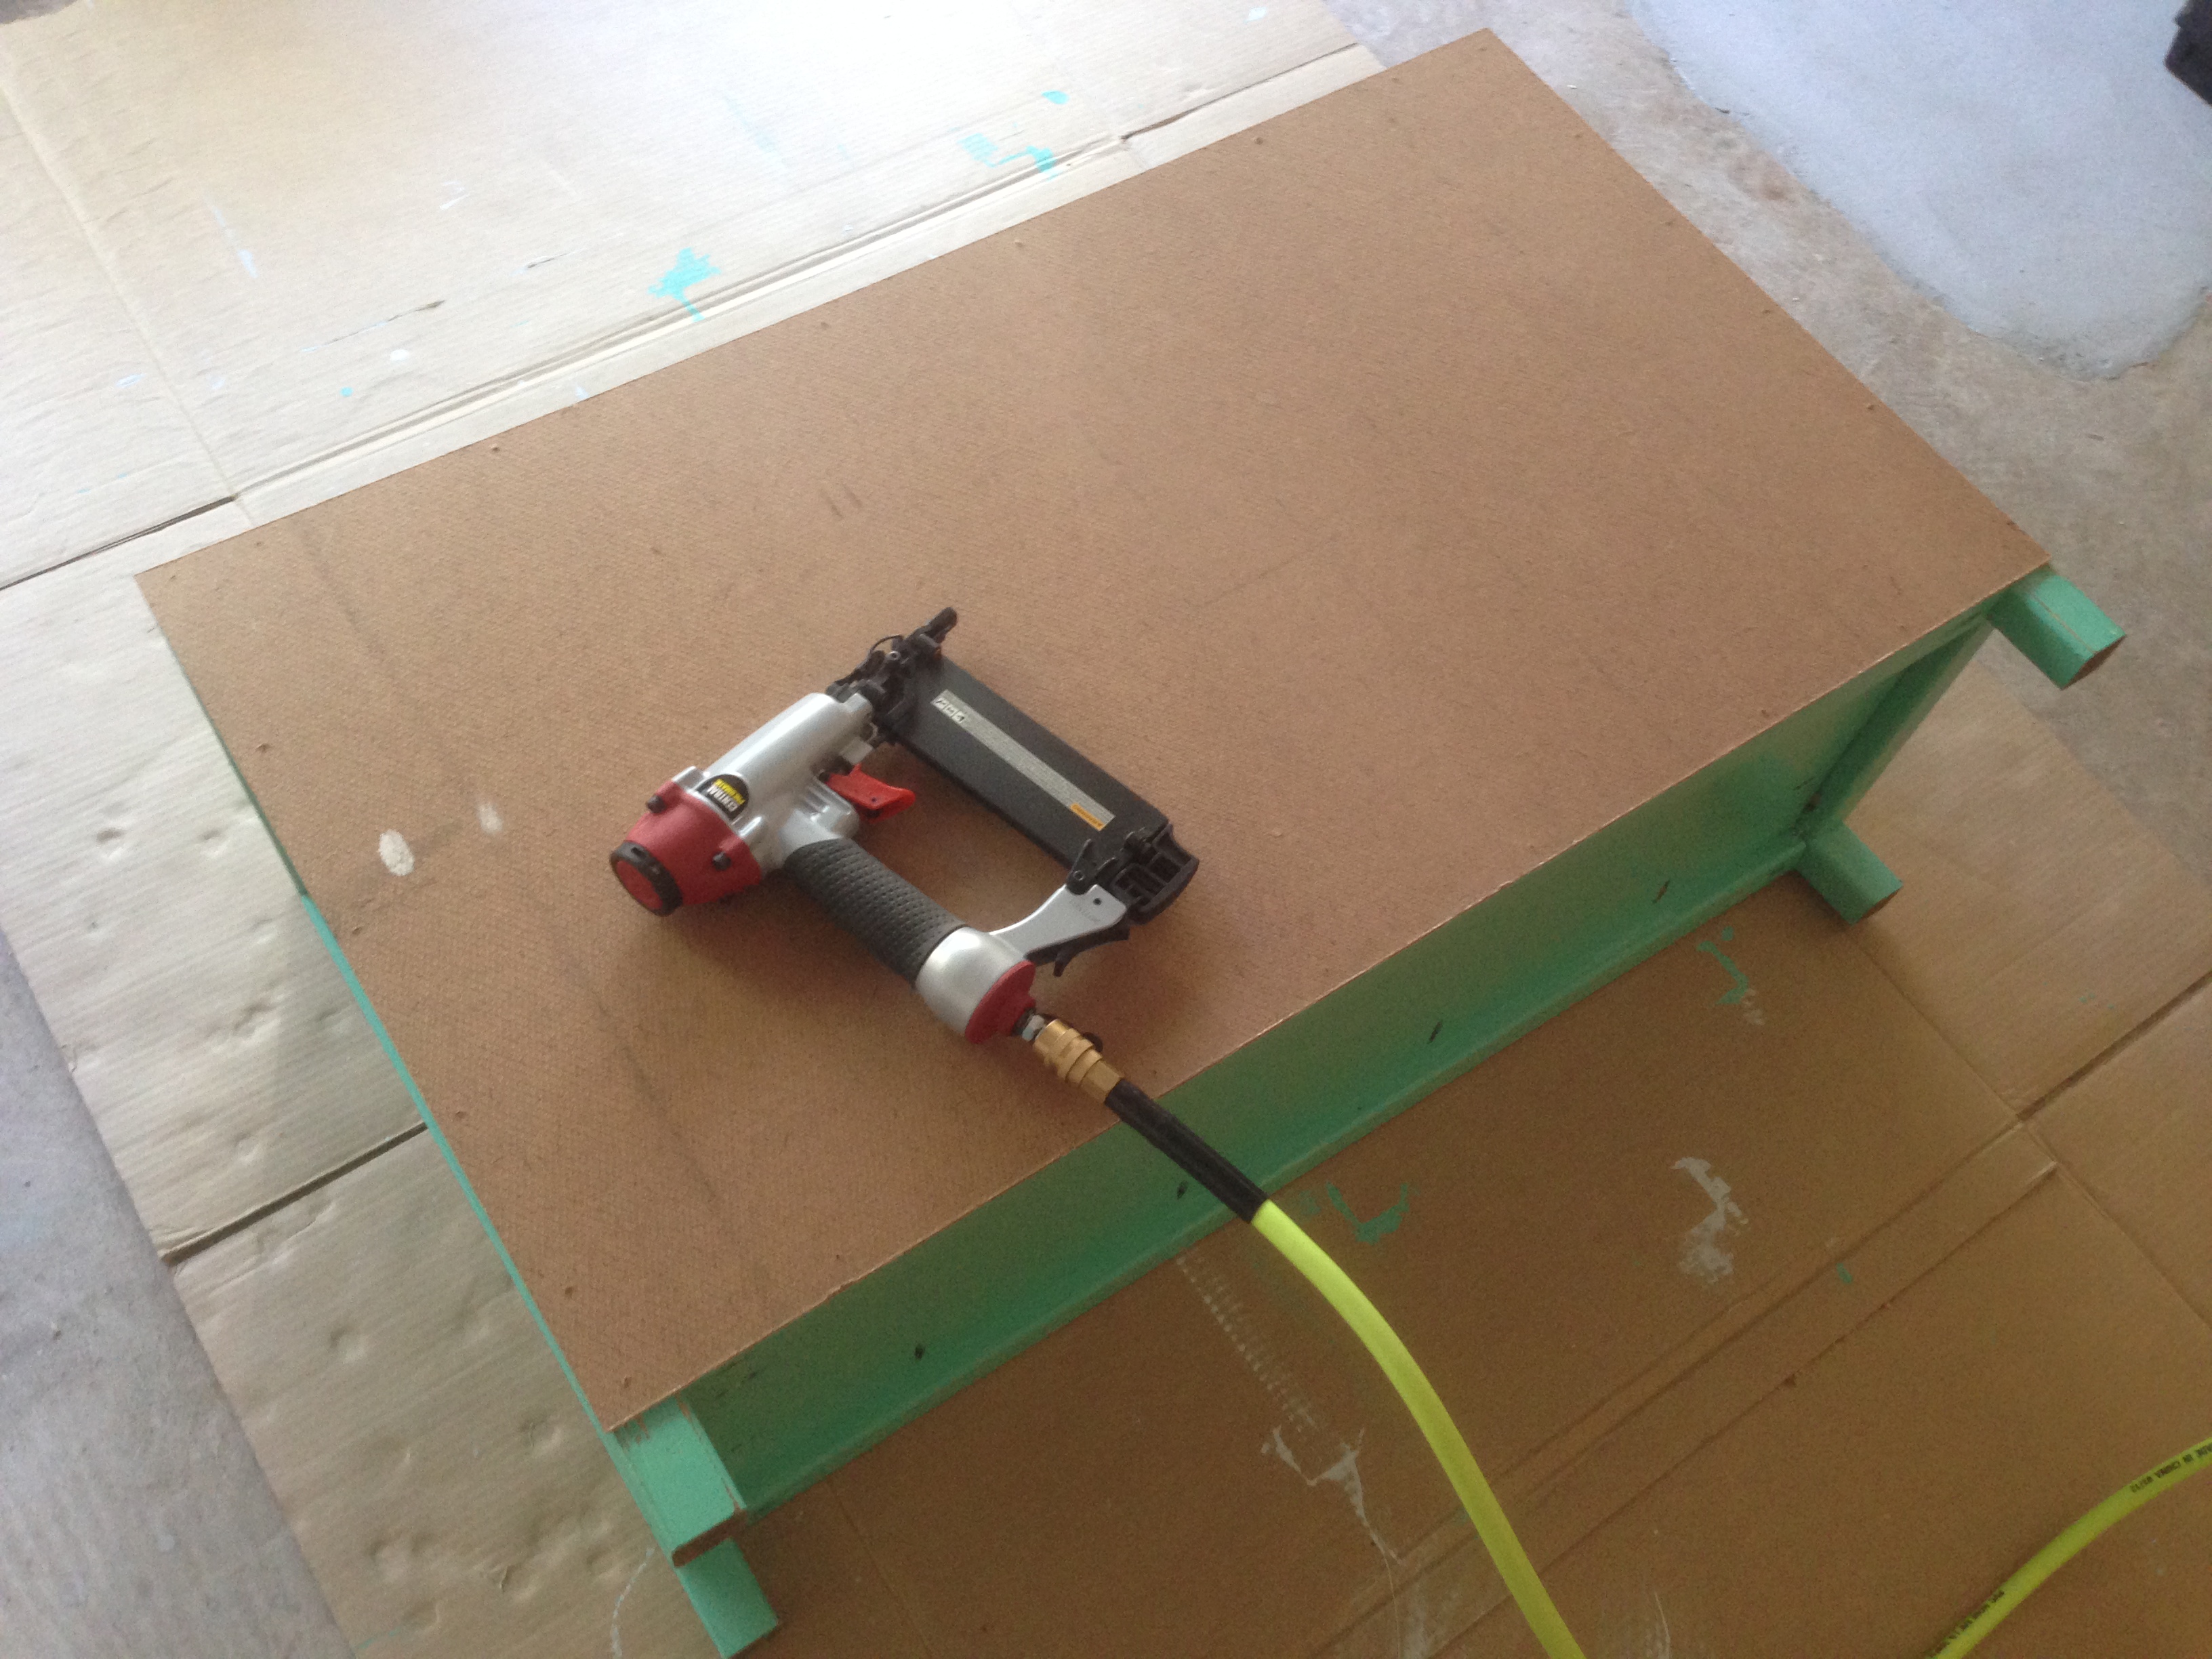
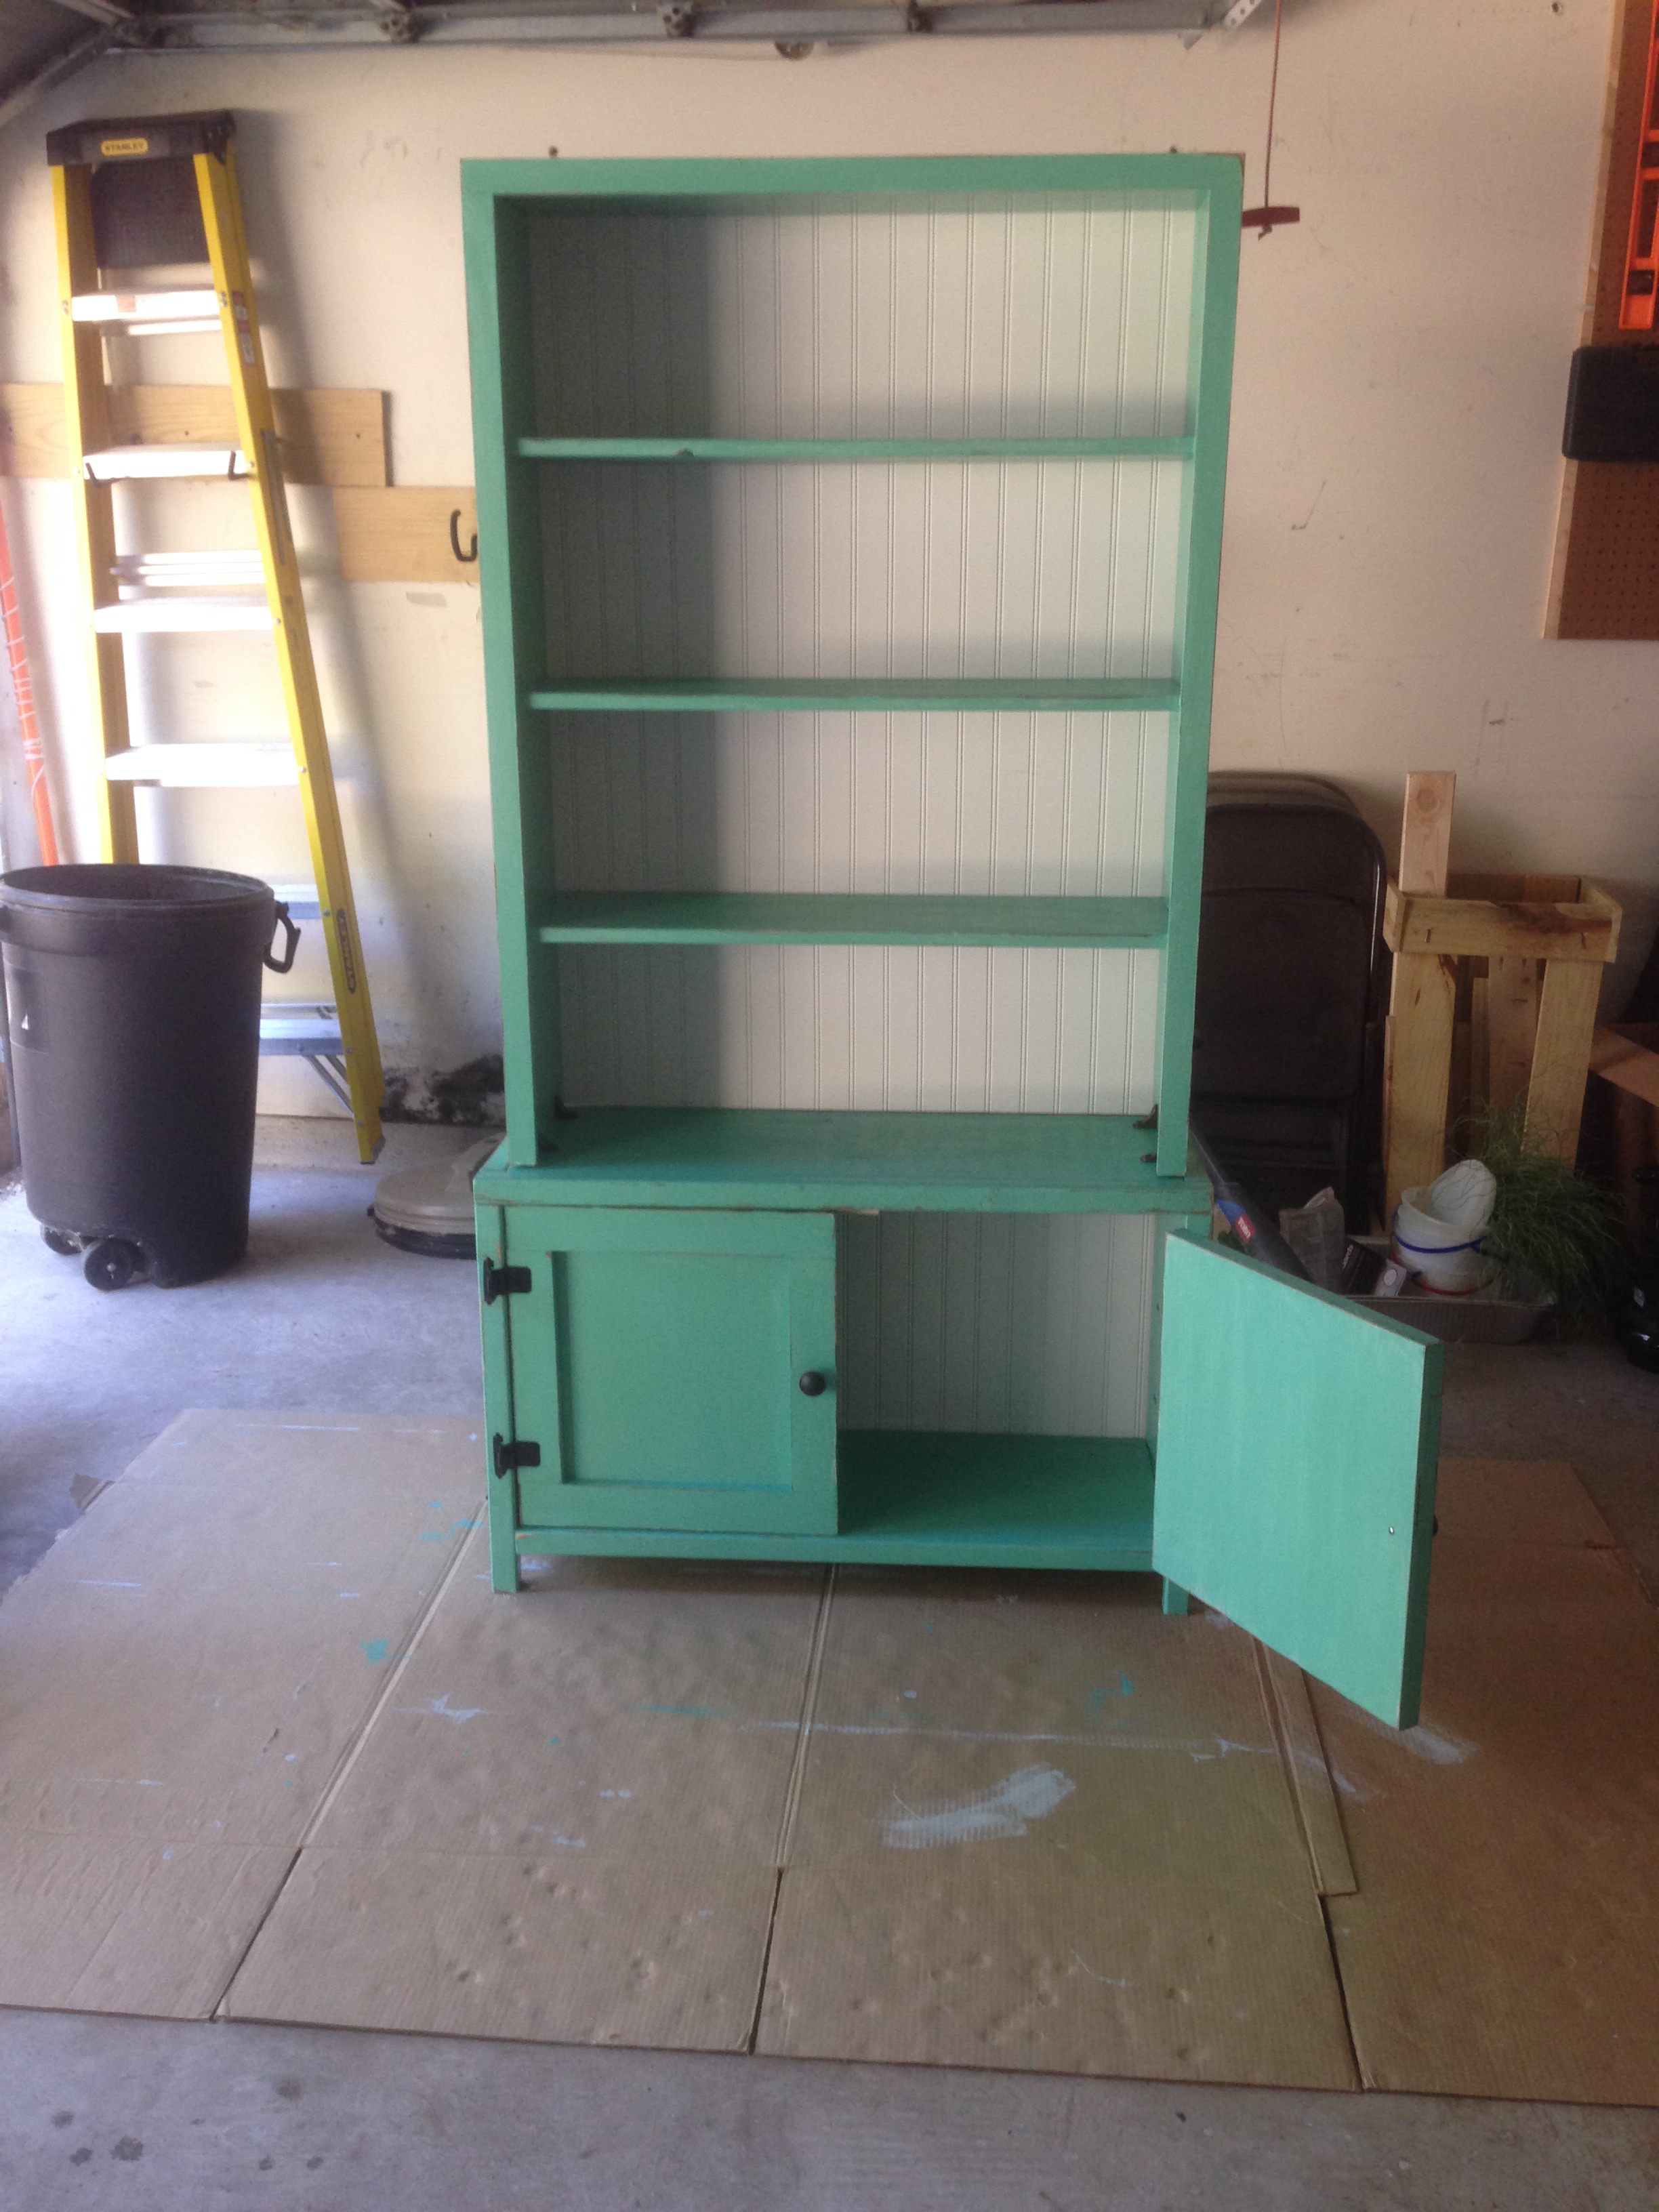
I needed to install hinges for the doors of the cabinet, door knobs for the cabinet doors and hooks on both sides of the bookcase along with a few mounting brackets to connect the shelf portion to the cabinet. Brushed bronze is the color of choice. Just to make sure everything was even, I did a whole lot of measuring before I actually attached anything. 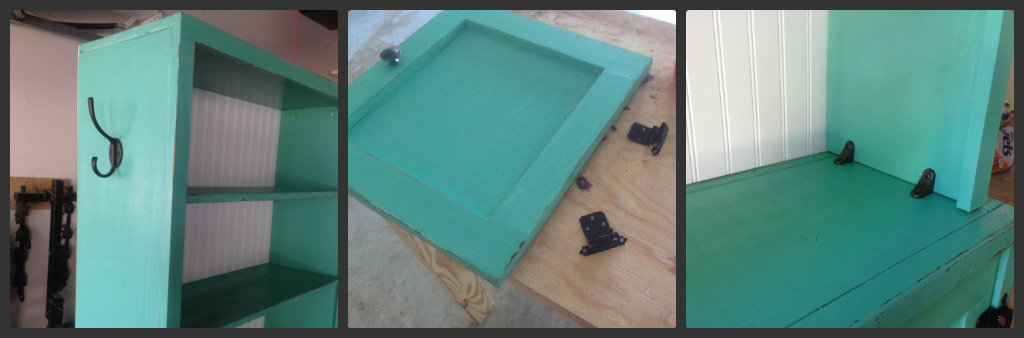
And finally, here’s the finished product: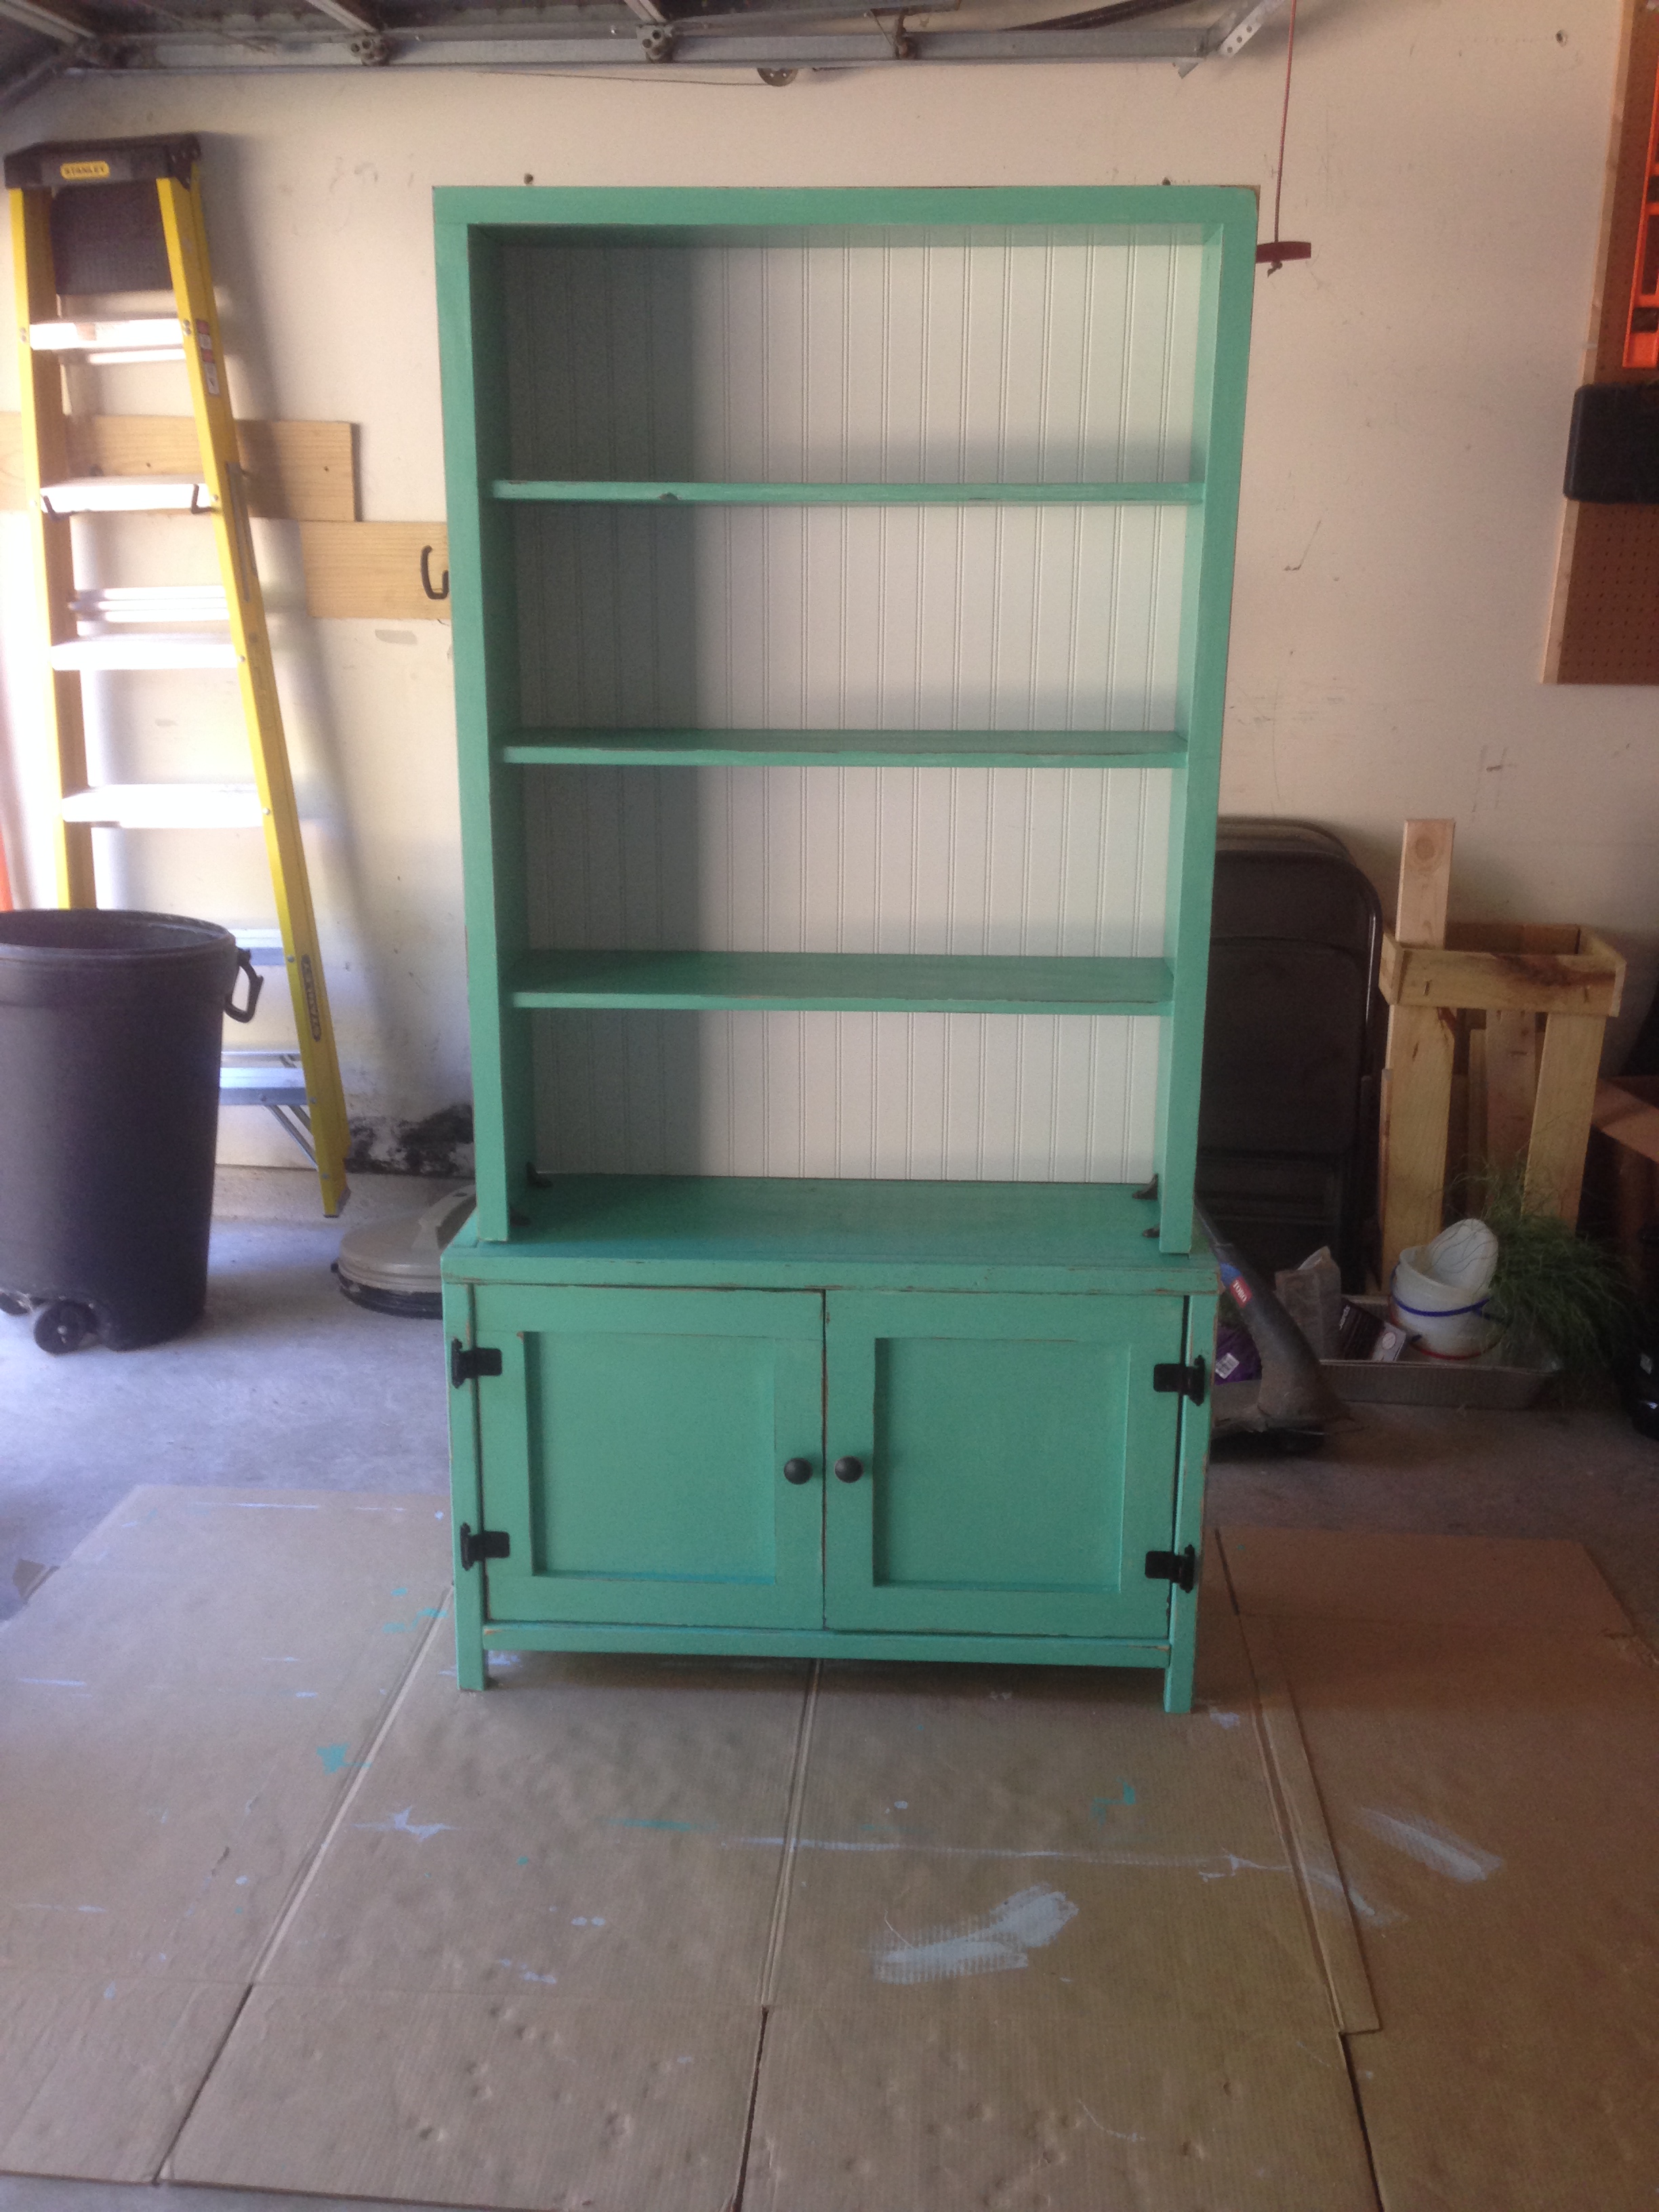
 It wasn’t a difficult build, but I guess due to timing, it took me forever to finish. Right around 4 months. But in that time frame, we had Thanksgiving, our trip to India, Christmas and New Years… so maybe that’s what slowed me down…
Either way, I’m very happy to be finished with the bookcase. Now I just have to get it to my co-worker’s place!

You’re a real life ron swanson…I’m super impressed
LikeLike
wow!!!!! you are amazing Sajan!
LikeLike
This was crazy impressive pal.
LikeLike
Can you build me a tree house? Thanks!
LikeLike
This is pretty awesome. Can i hire you in Hawaii? haha Hope you guys are doing well!
LikeLike
OH my word!!! LOVE IT! i’m coming to apprentice under you asap!!! seriously Sajan…legit! and i’m equally obsessed with the oops aisle. can you show me how to make an old beam fireplace mantle fakeout by next week 🙂 haha no but for real. ps nice model she’s hot.
LikeLike
Dude this is freaggin amazing! Keep these projects coming. They are great reads!
LikeLike
sajan, you are so awesome! Keep it up friend 🙂
LikeLike