I was commissioned to build another bookcase. It’s similar to the last one I built, but I wanted to explore some new wood and new methods on how to build it. First (as usual) I drew up a rough sketch.

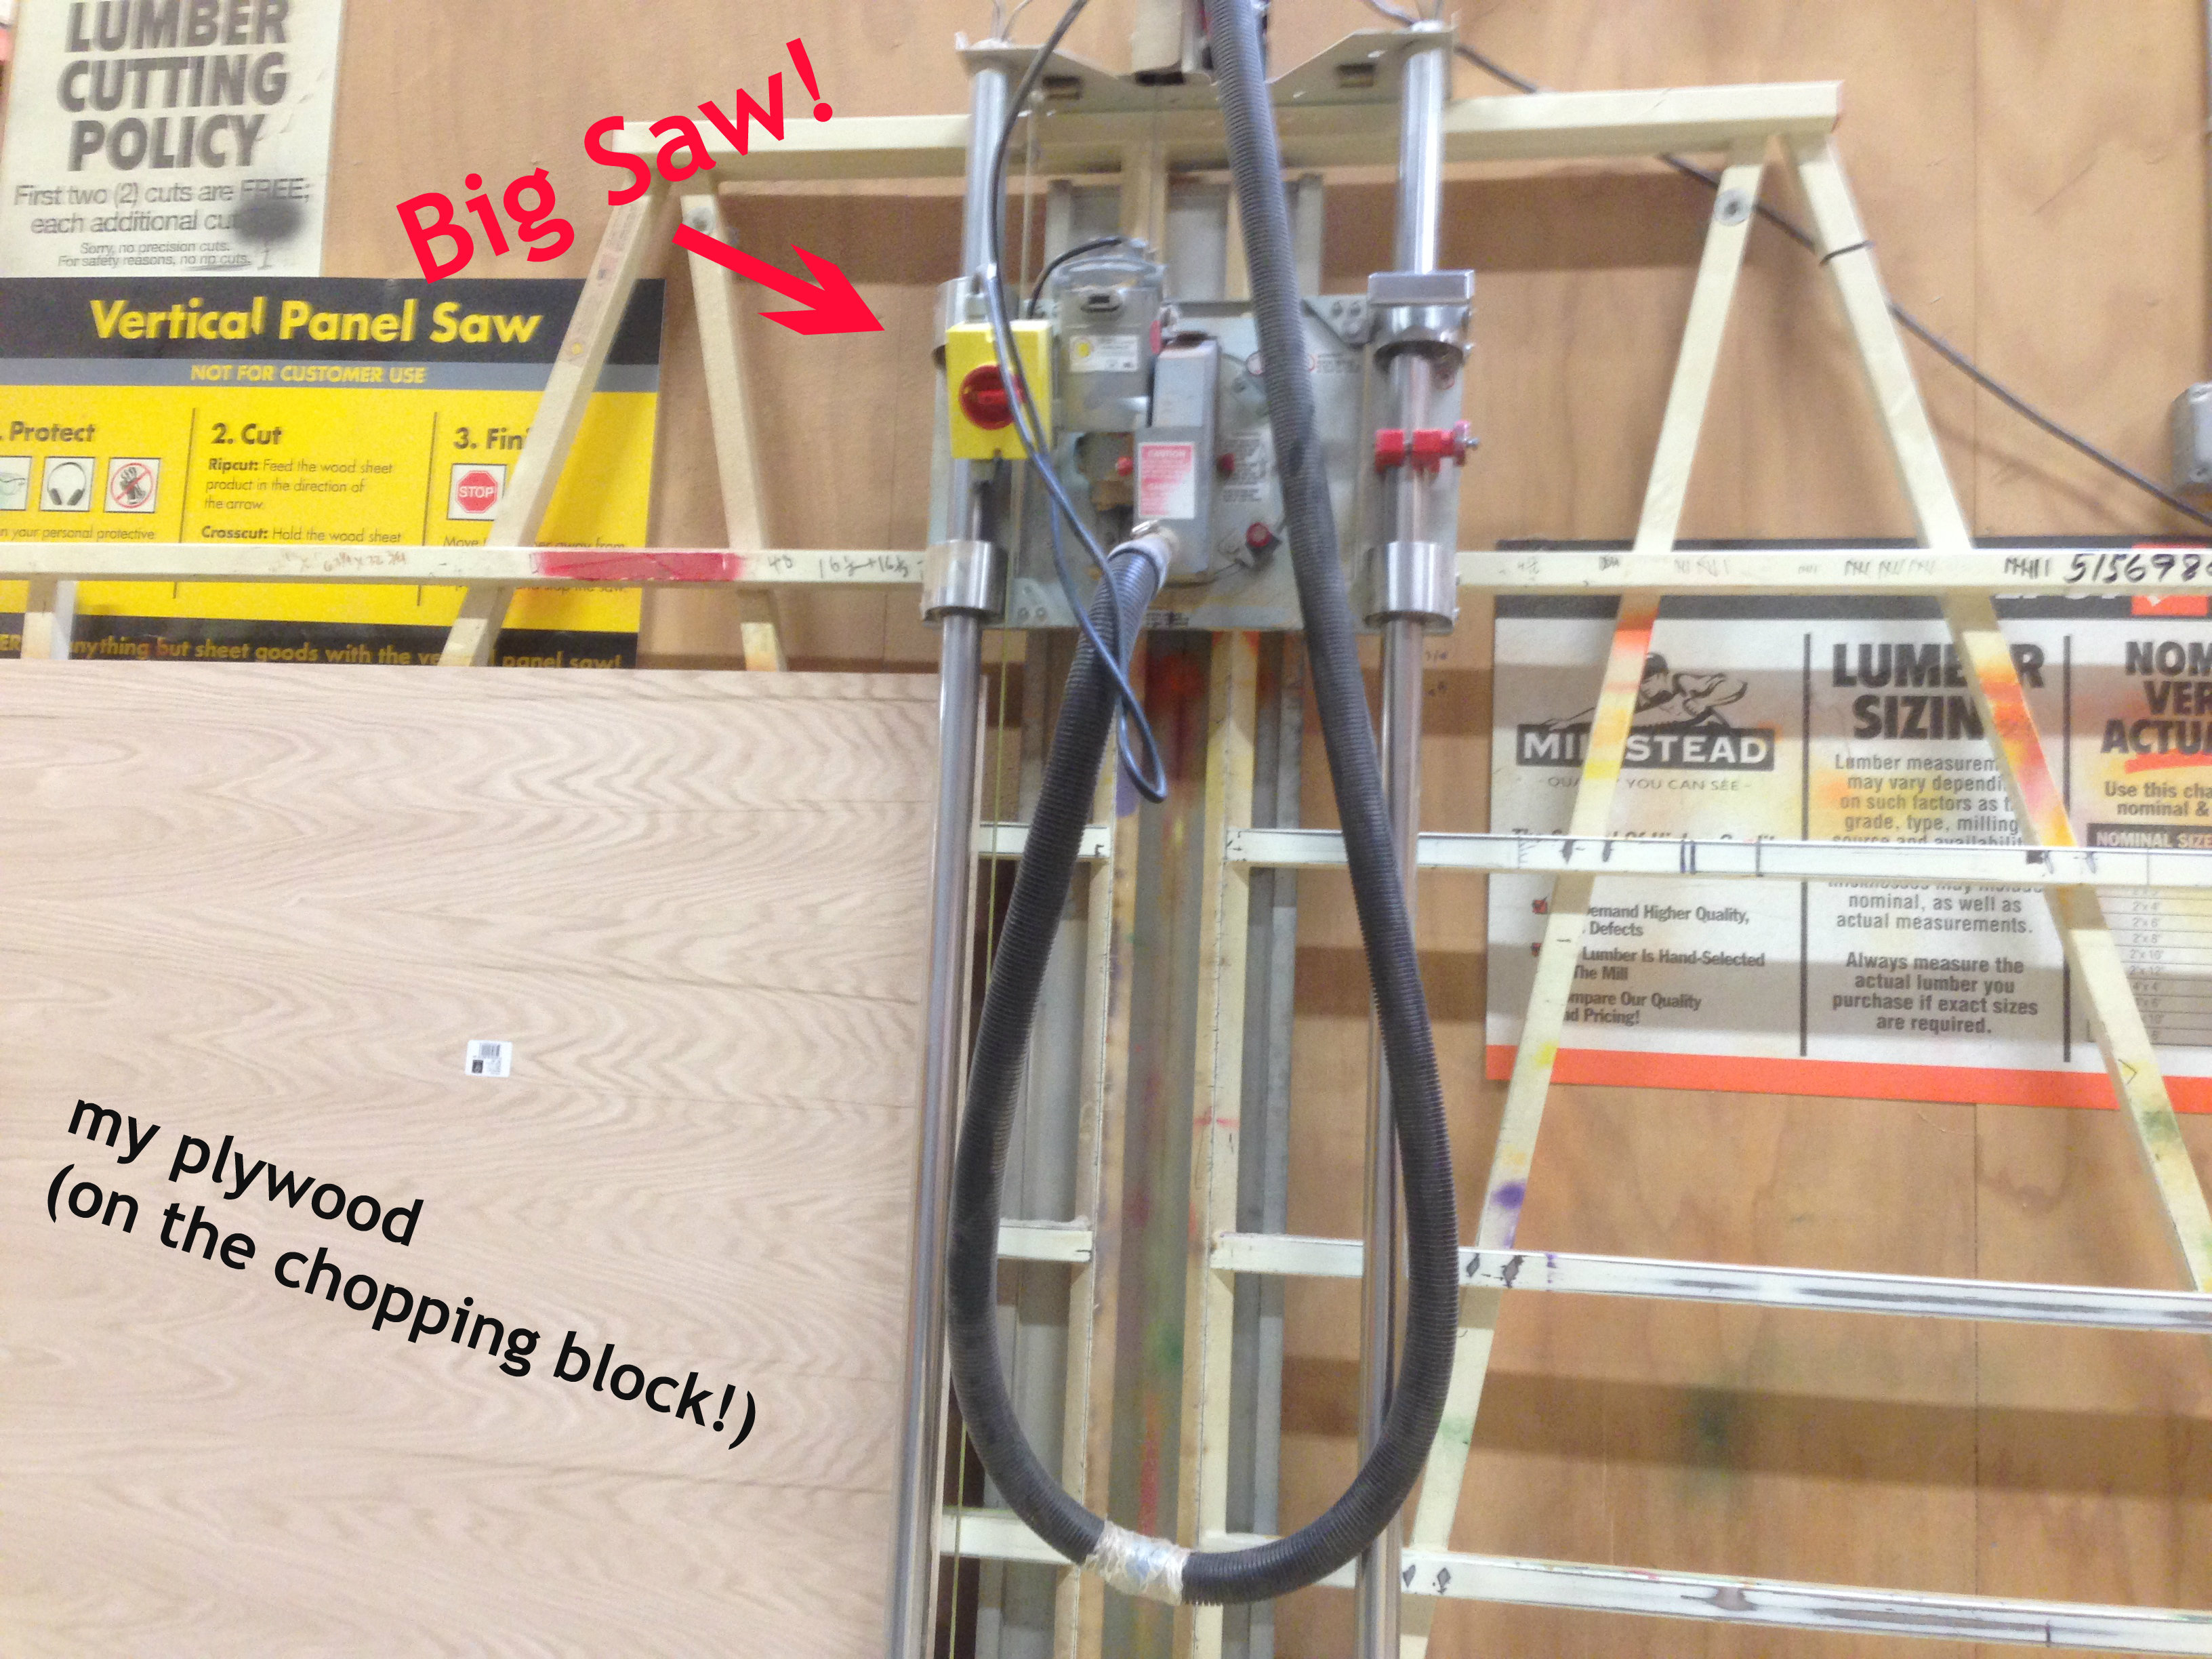
I wanted to use Red Wood plywood, so I drew out how I’d like the board to be cut up. Home Depot’s got a huge saw that’s able to easily chop up big boards, so I just had it cut there. 
Here’s an after shot when I brought all the cut wood back home.
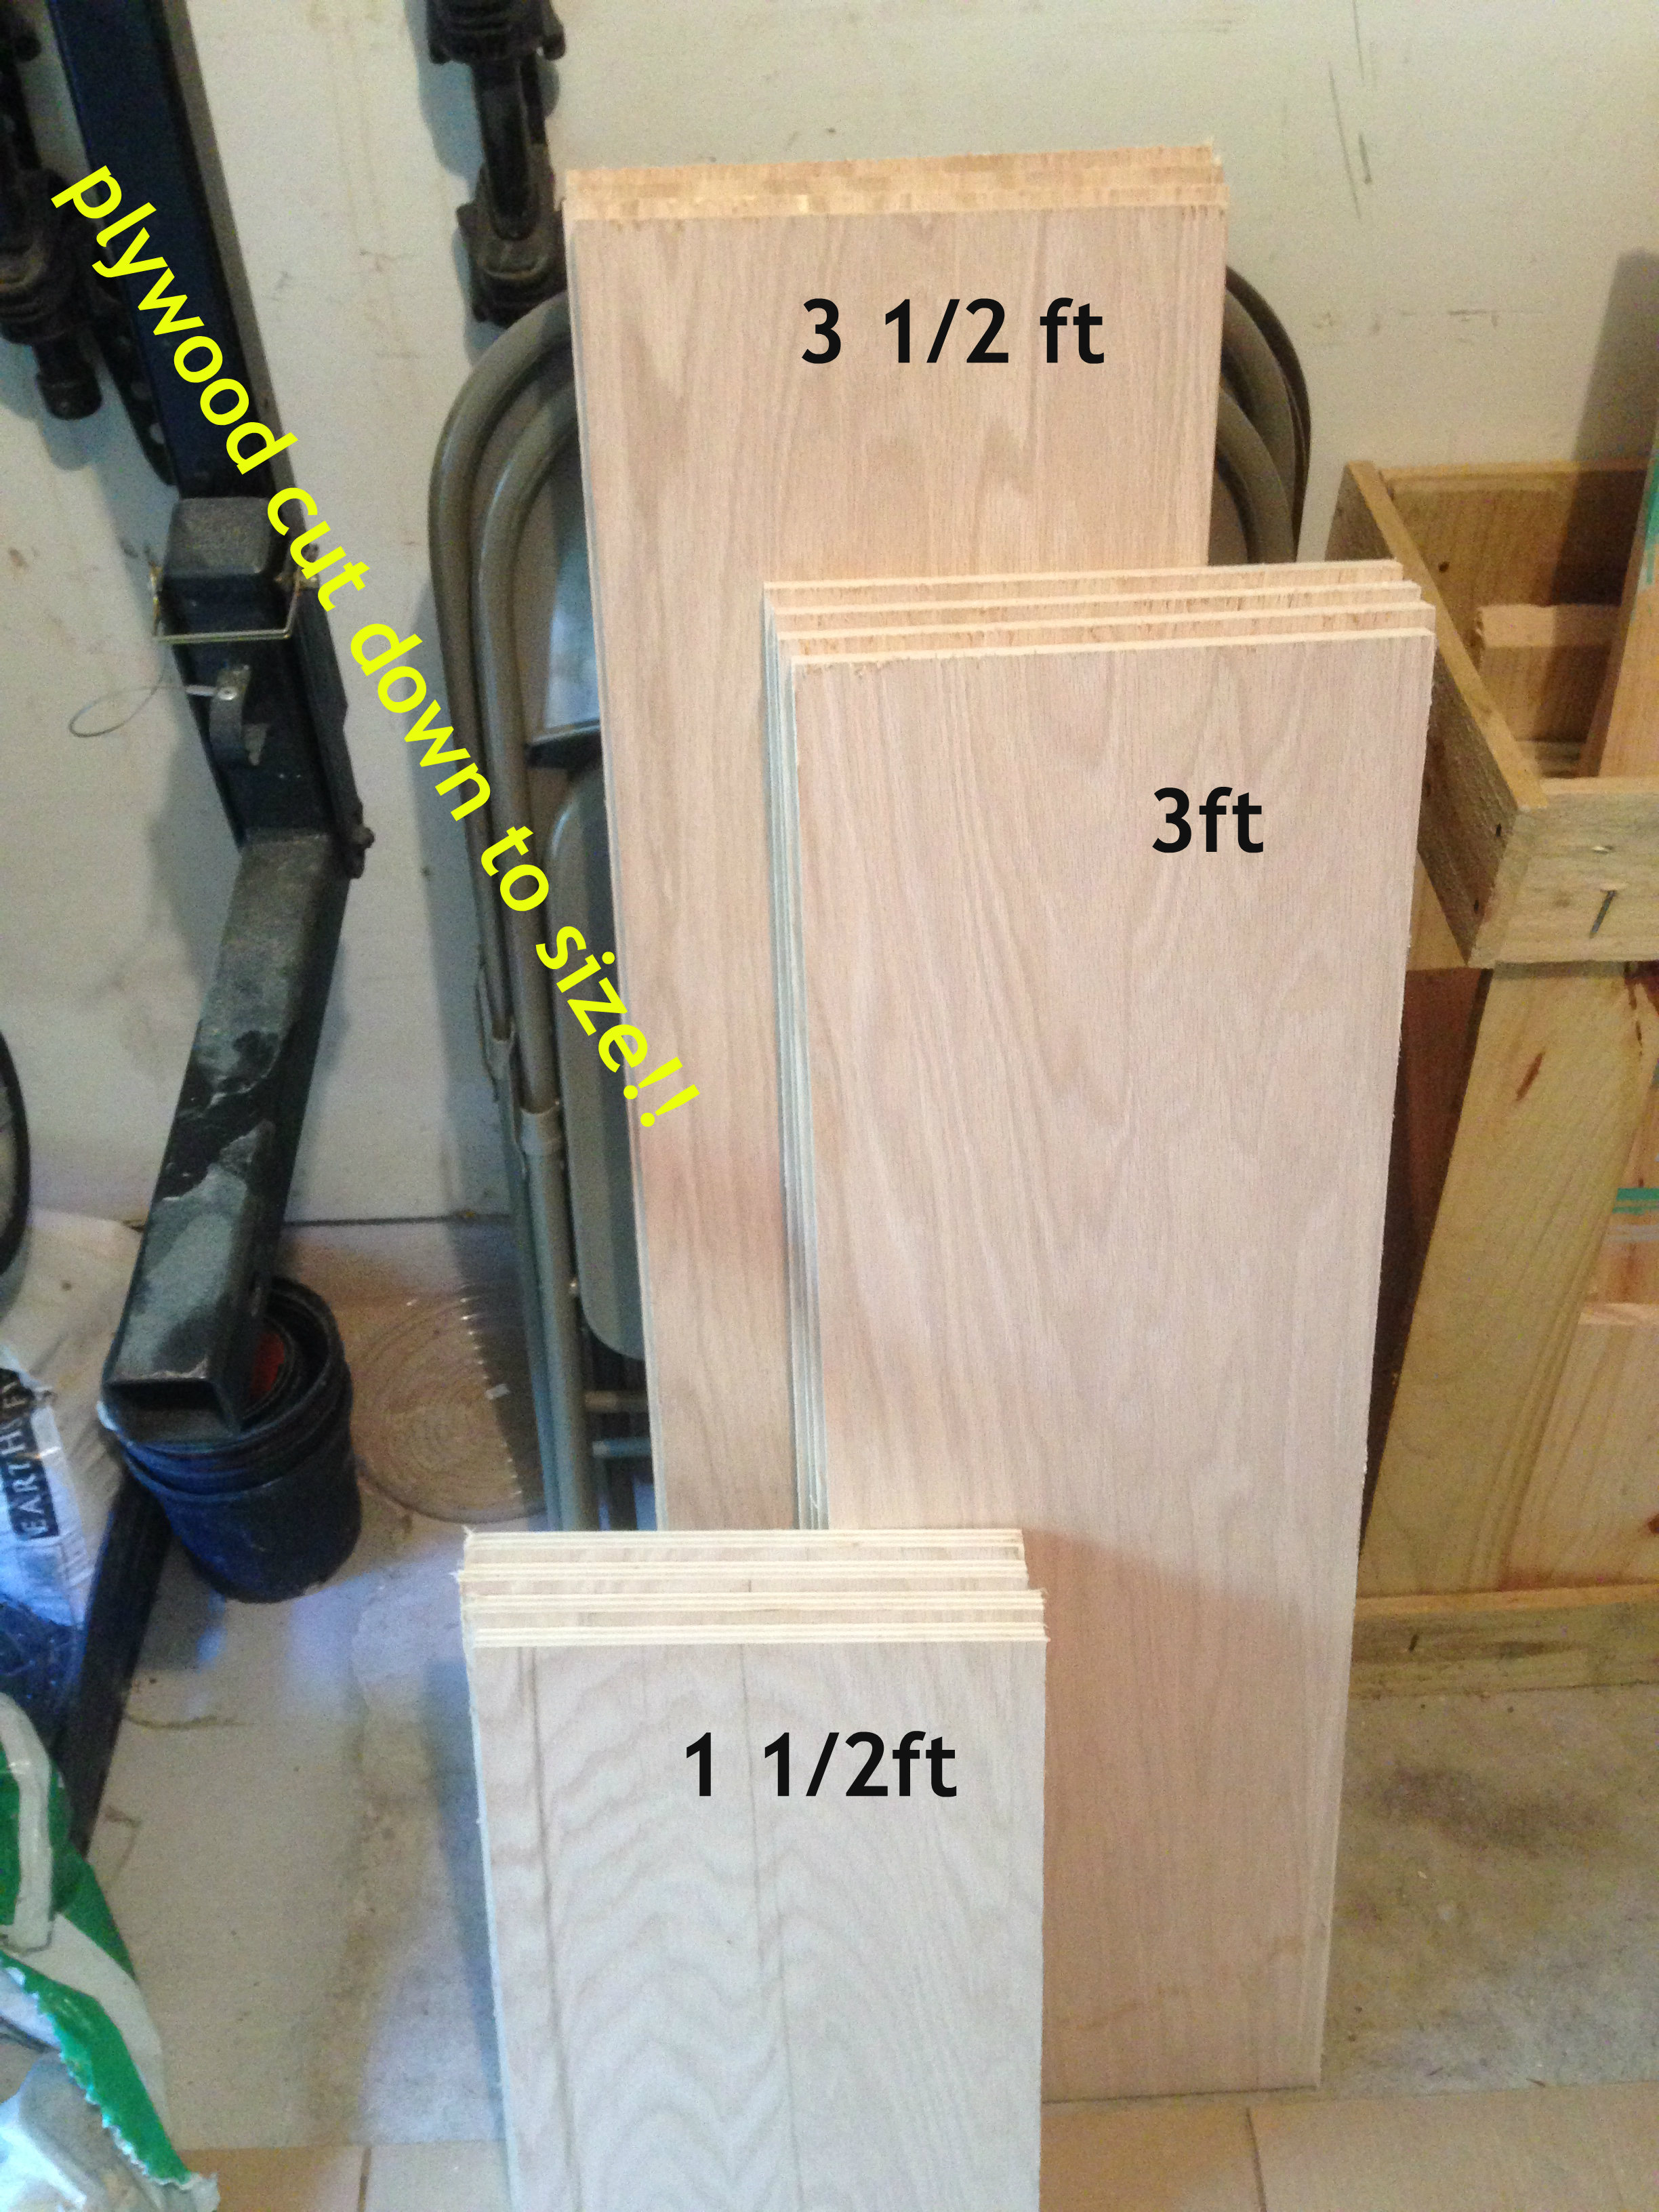
I’d never be able to make cuts that smooth at home with the tools I’ve got, so I’m happy with the results.
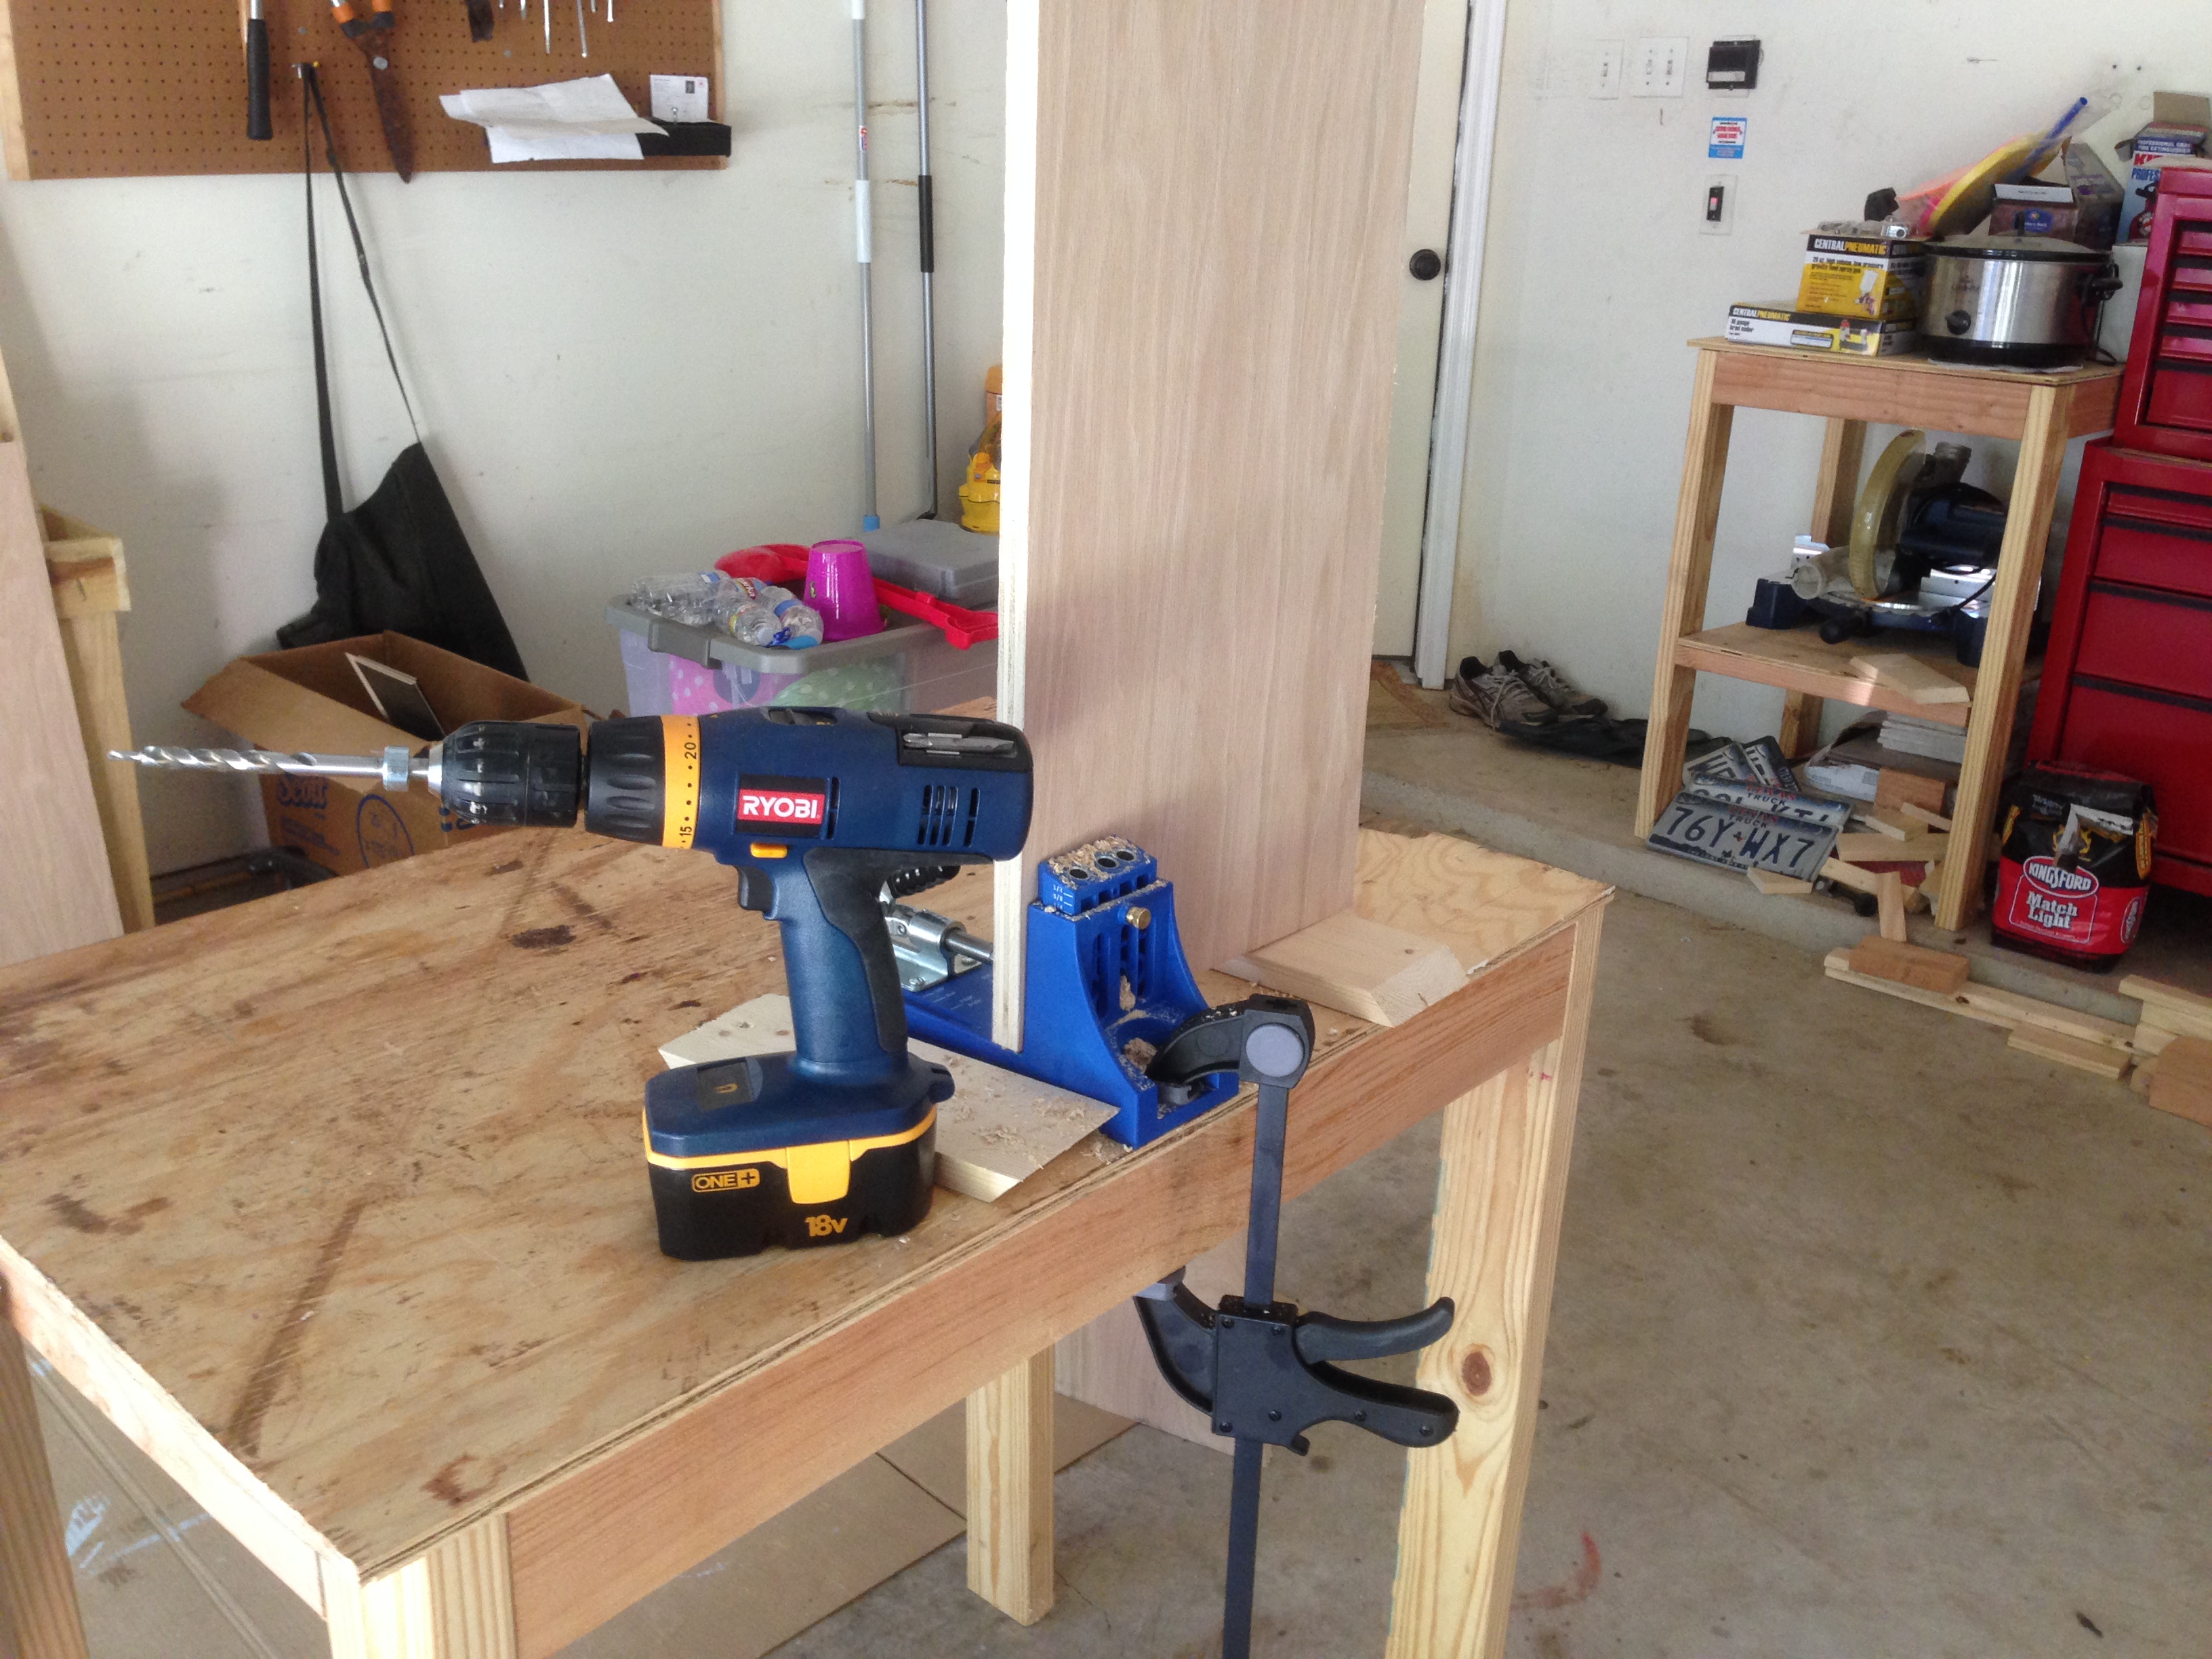
Next was to drill the pocket holes on the appropriate pieces. I used my Kreg Pocket Hole Jig. It’s such an awesome lil tool to have for these types of projects!
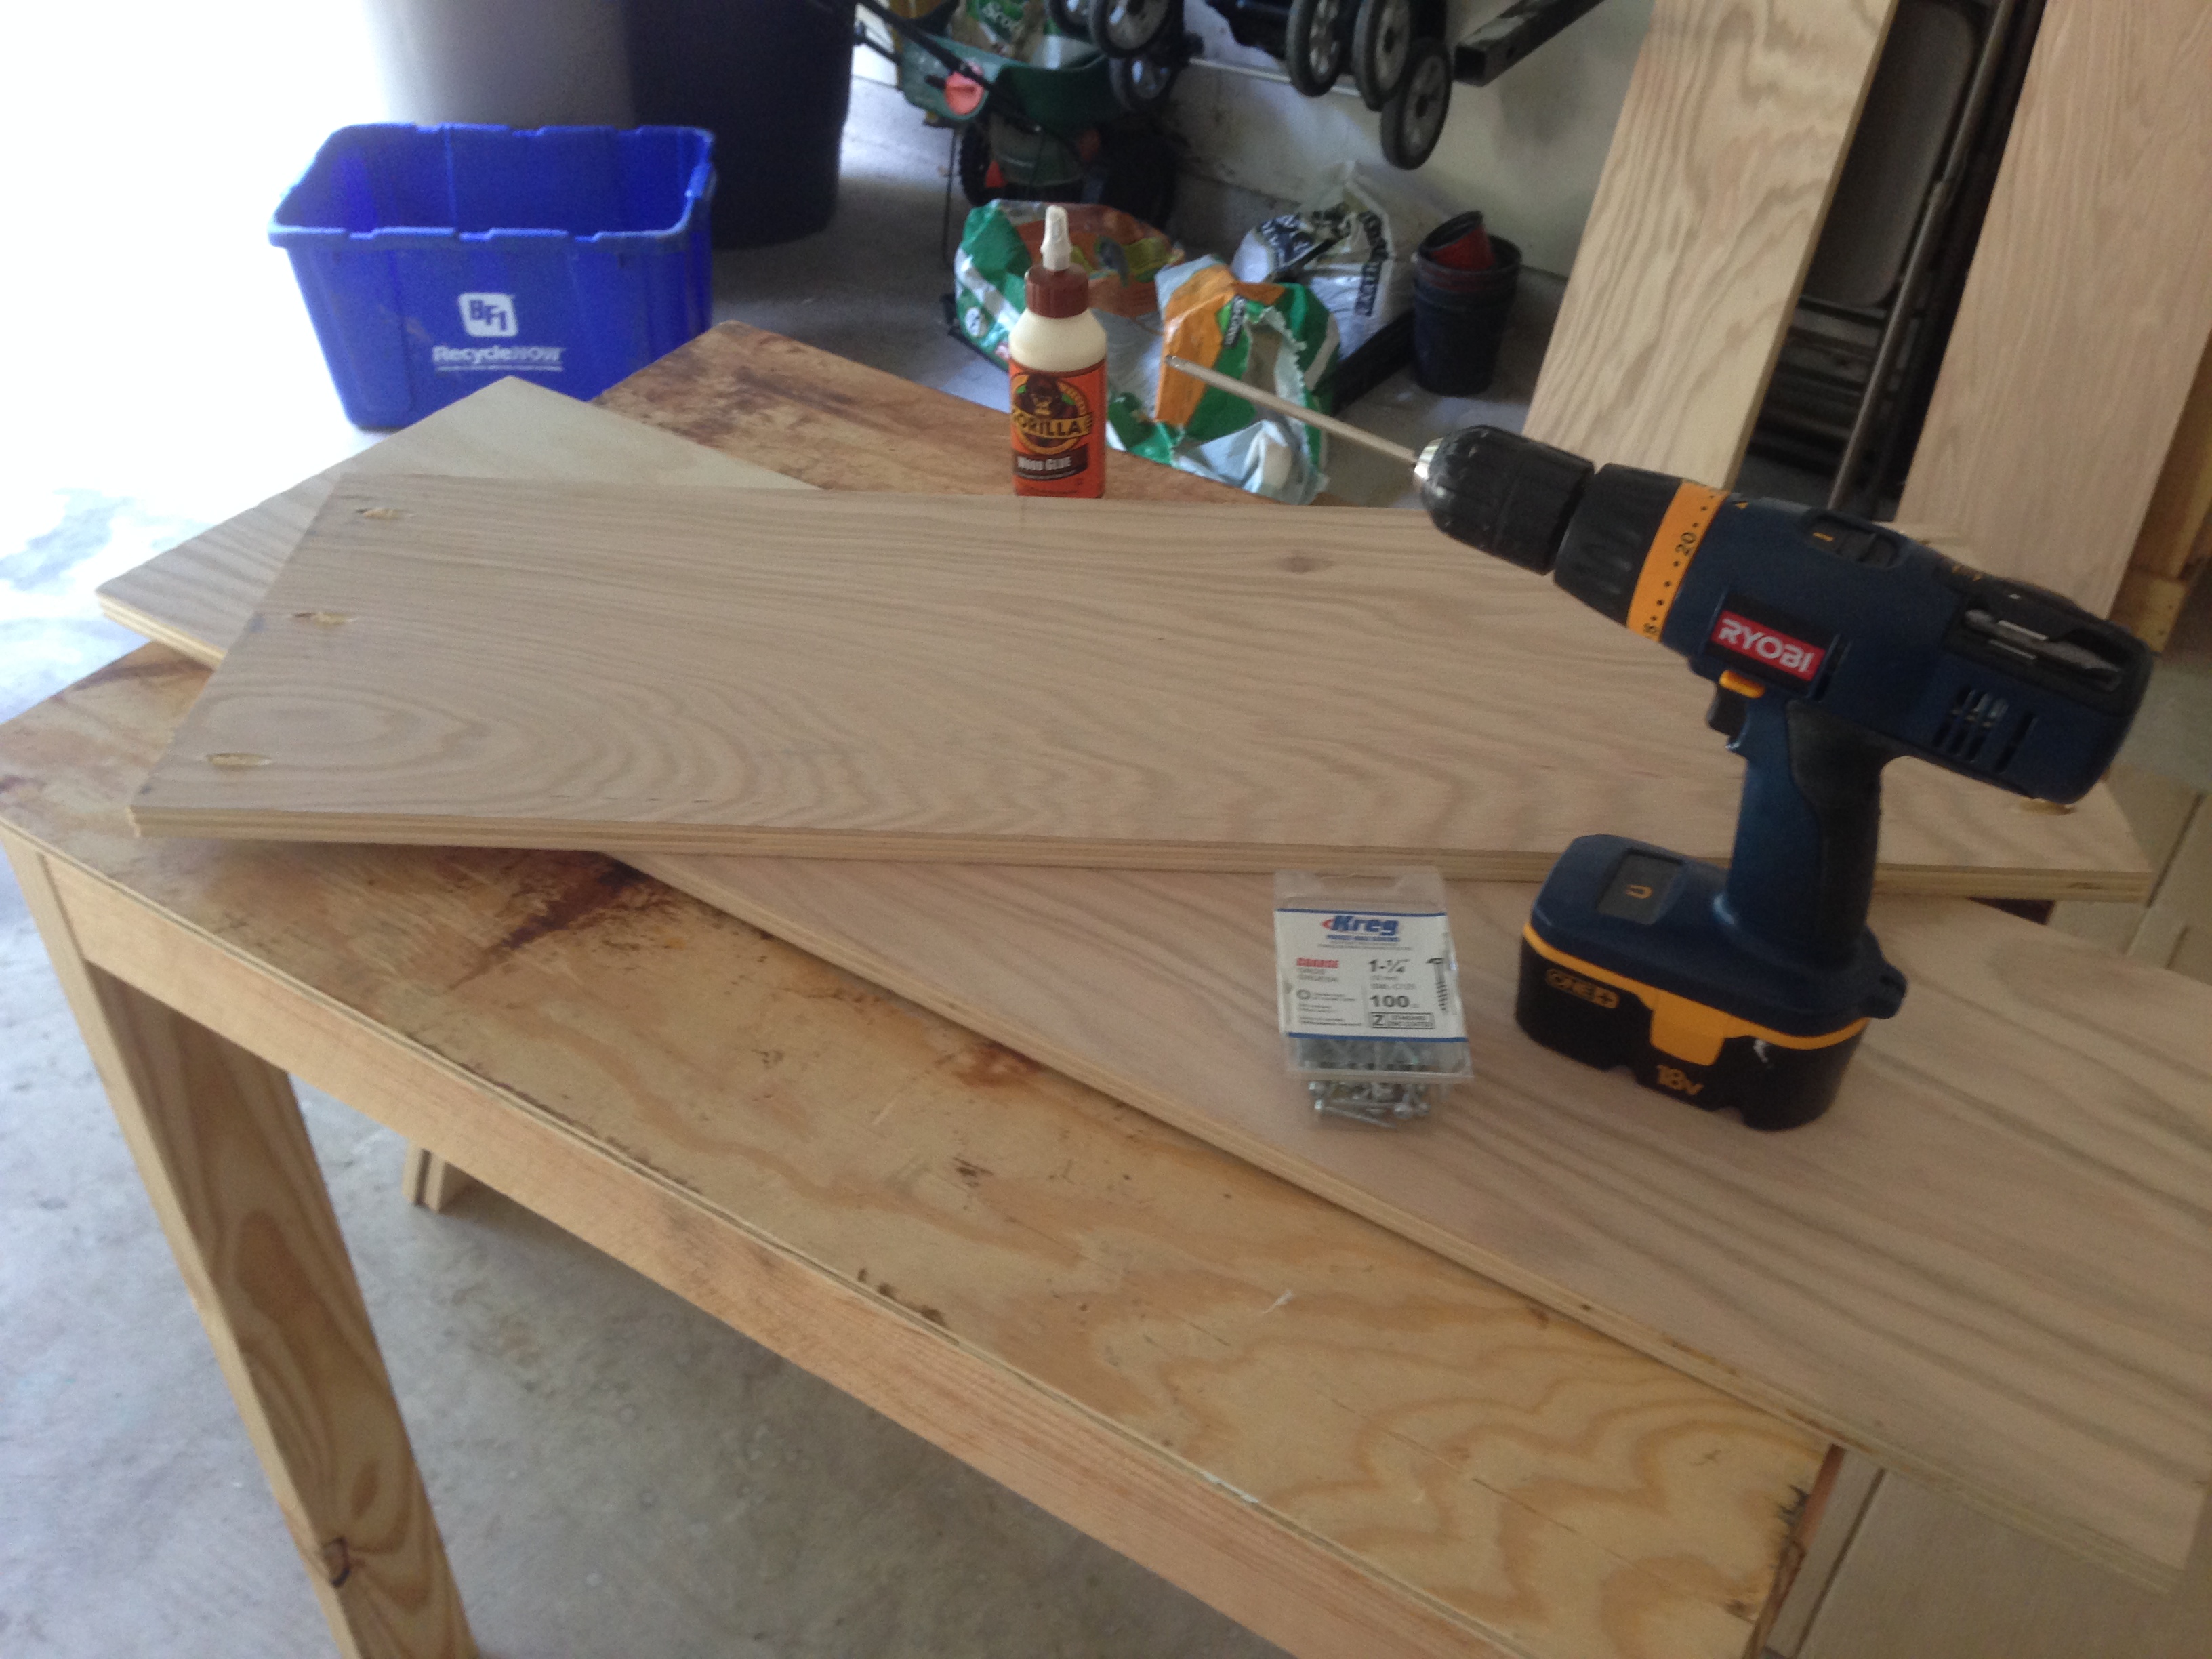
Then it was a matter of gluing and screwing everything together.
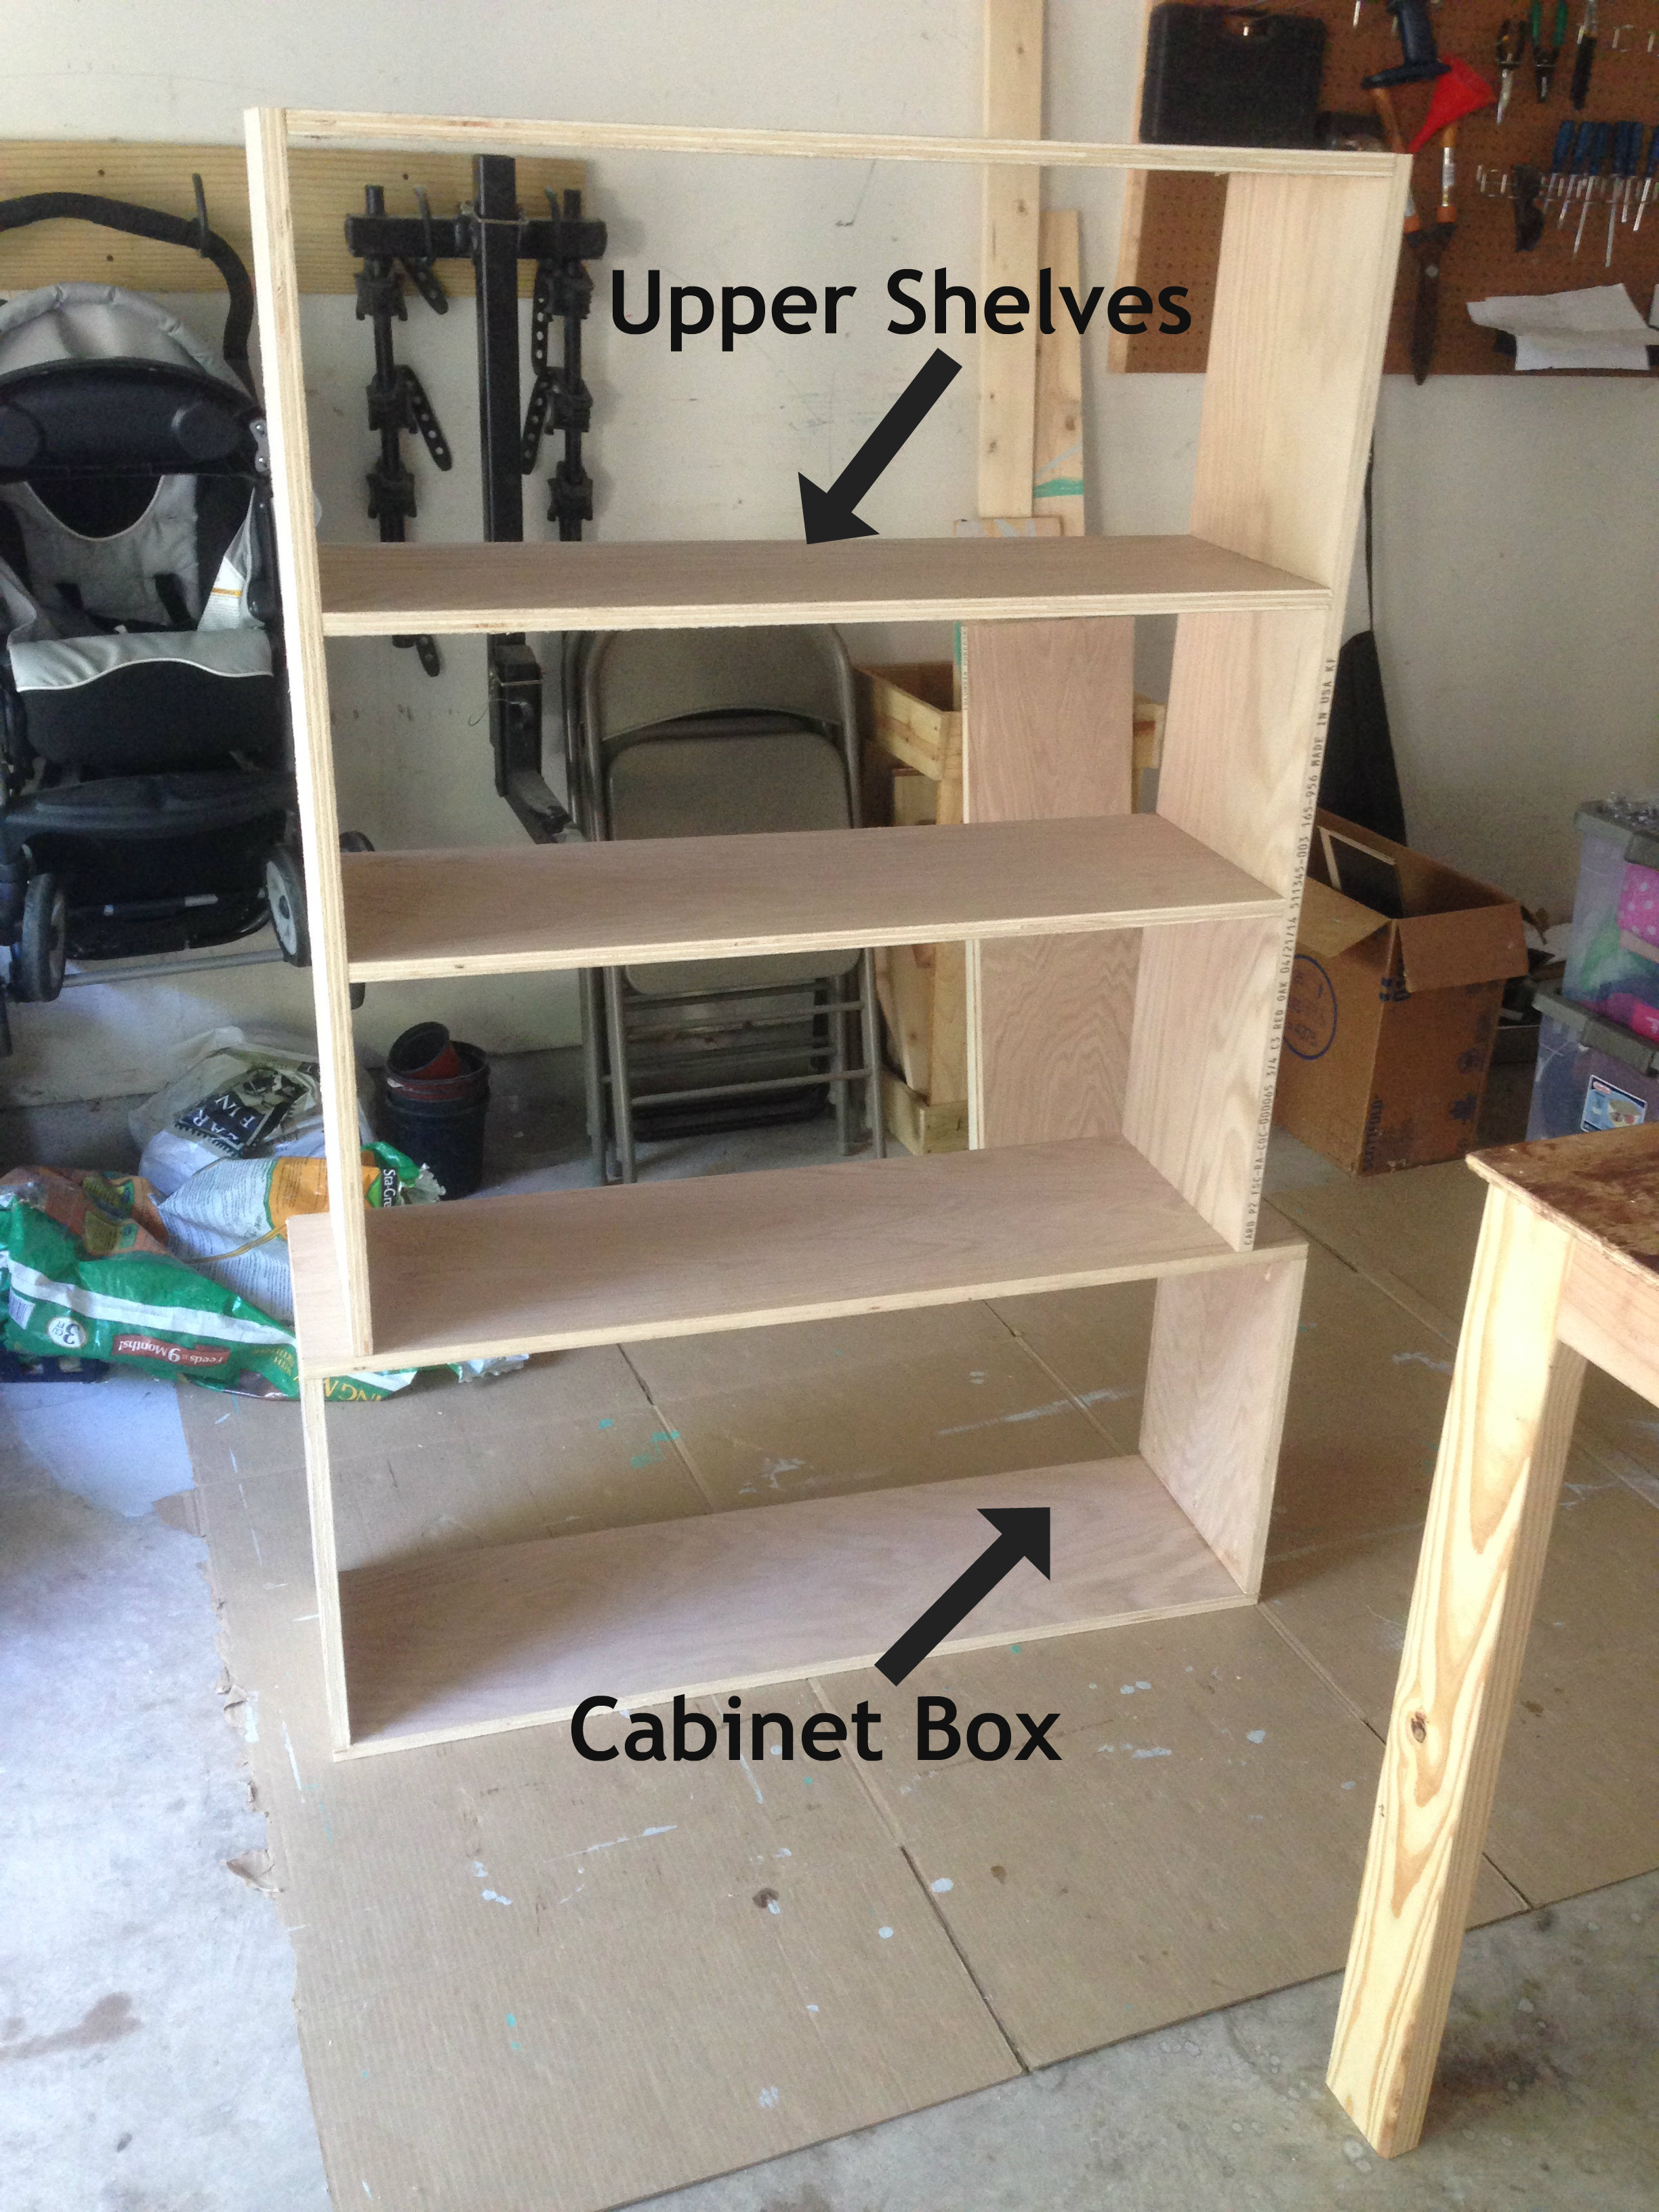
Here’s a shot of the upper shelves of the bookcase.

And here’s another with the upper shelves sitting on top of the bottom cabinet portion.
Next I framed up both the bottom cabinet and the upper shelves.

First I cut the framing pieces down to size. I didn’t cut everything in one sitting because I wanted a tight fit for each piece, so I measured and cut a few pieces, then I glued down those pieces and used my finish nailer to tack it in place. Then I would measure and cut the pieces that sit between those 2 pieces to achieve that “tight” fit. It was a lot of switching tools, but that wasn’t too big of a deal. It didn’t always work (I still had some gaps), but for the most part, I like the finished product.

My next step was to make the cabinet doors. I wanted to try something different. The method I wanted to do called for a table saw, which I don’t currently own, but luckily my friend Manju was gracious enough to let me borrow his!

I cut a channel along the long-grain of the wood piece and that allowed me to run the hardboard along said channel and sandwich the ends. I joined the whole thing together with pocket hole screws. Before putting it all together, I painted the bookcase. Its a lot easier to paint things in parts, rather than painting it all put together.


Here’s a shot of Layla directing me on how to paint:

After painting, it was simply a matter of putting it all together. Like attaching the hinges and knobs to the door….

and of course, attaching the doors to the cabinet…

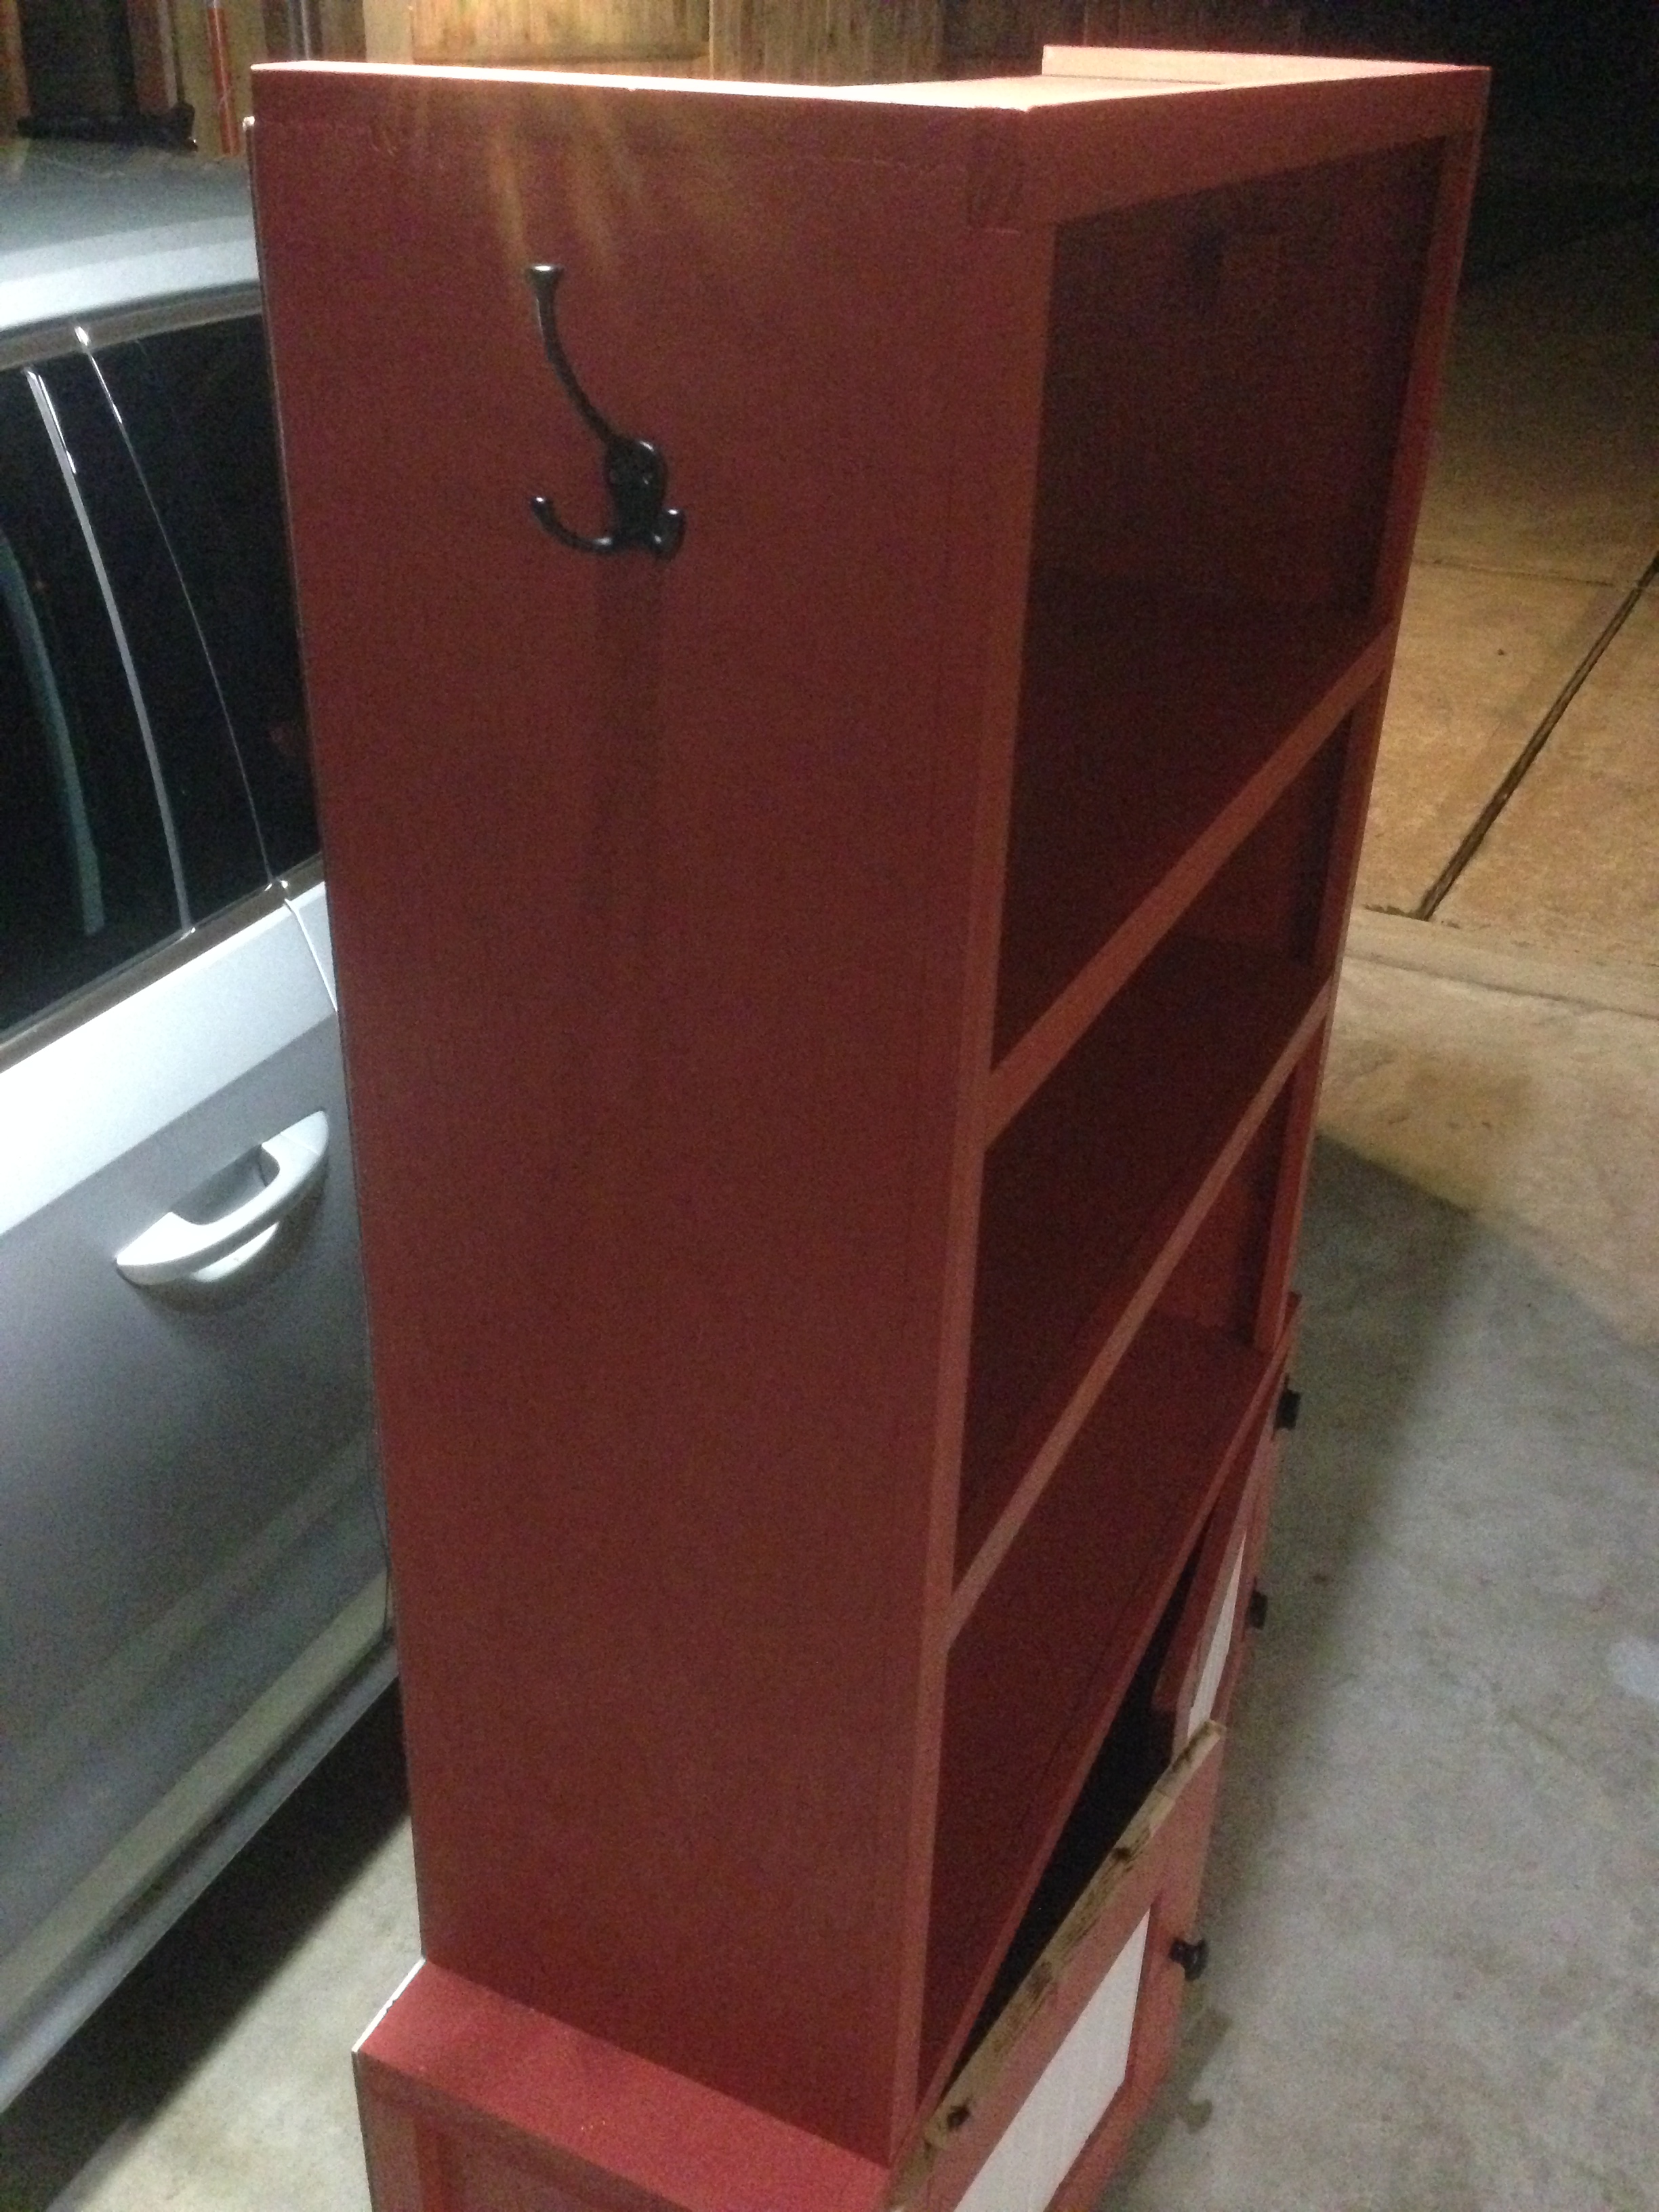
and attaching the hooks to the side of the bookcase….
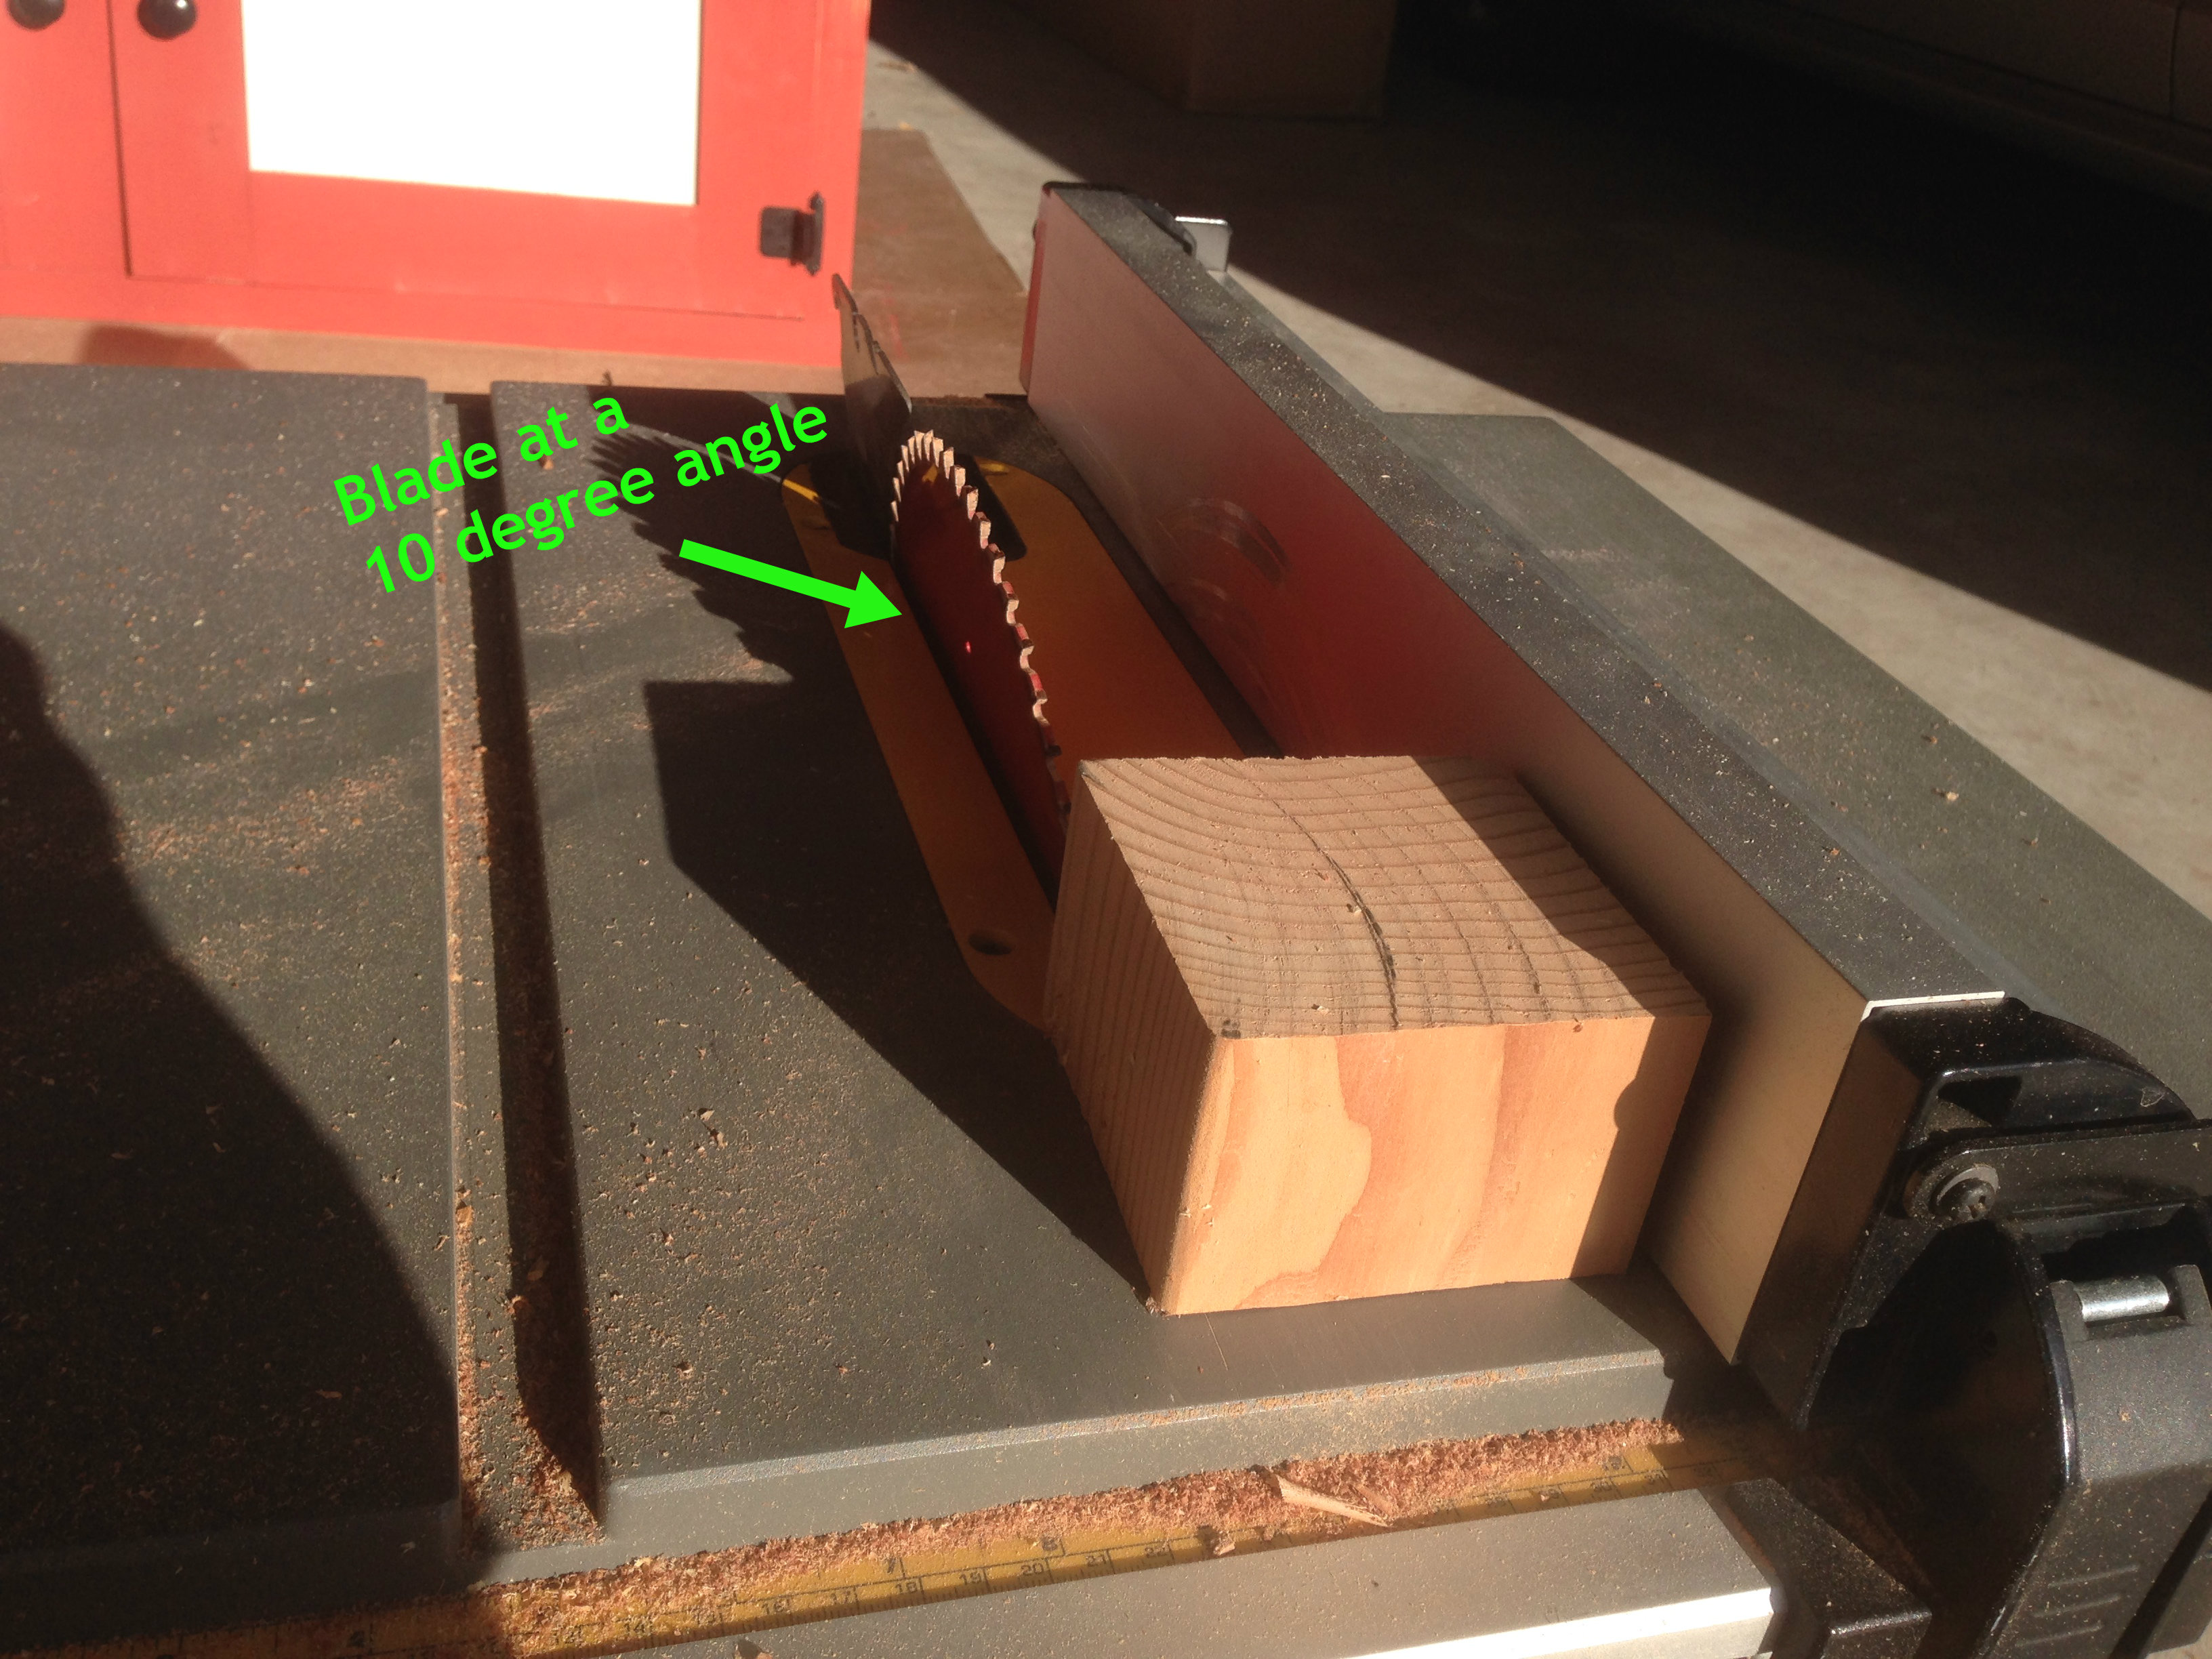
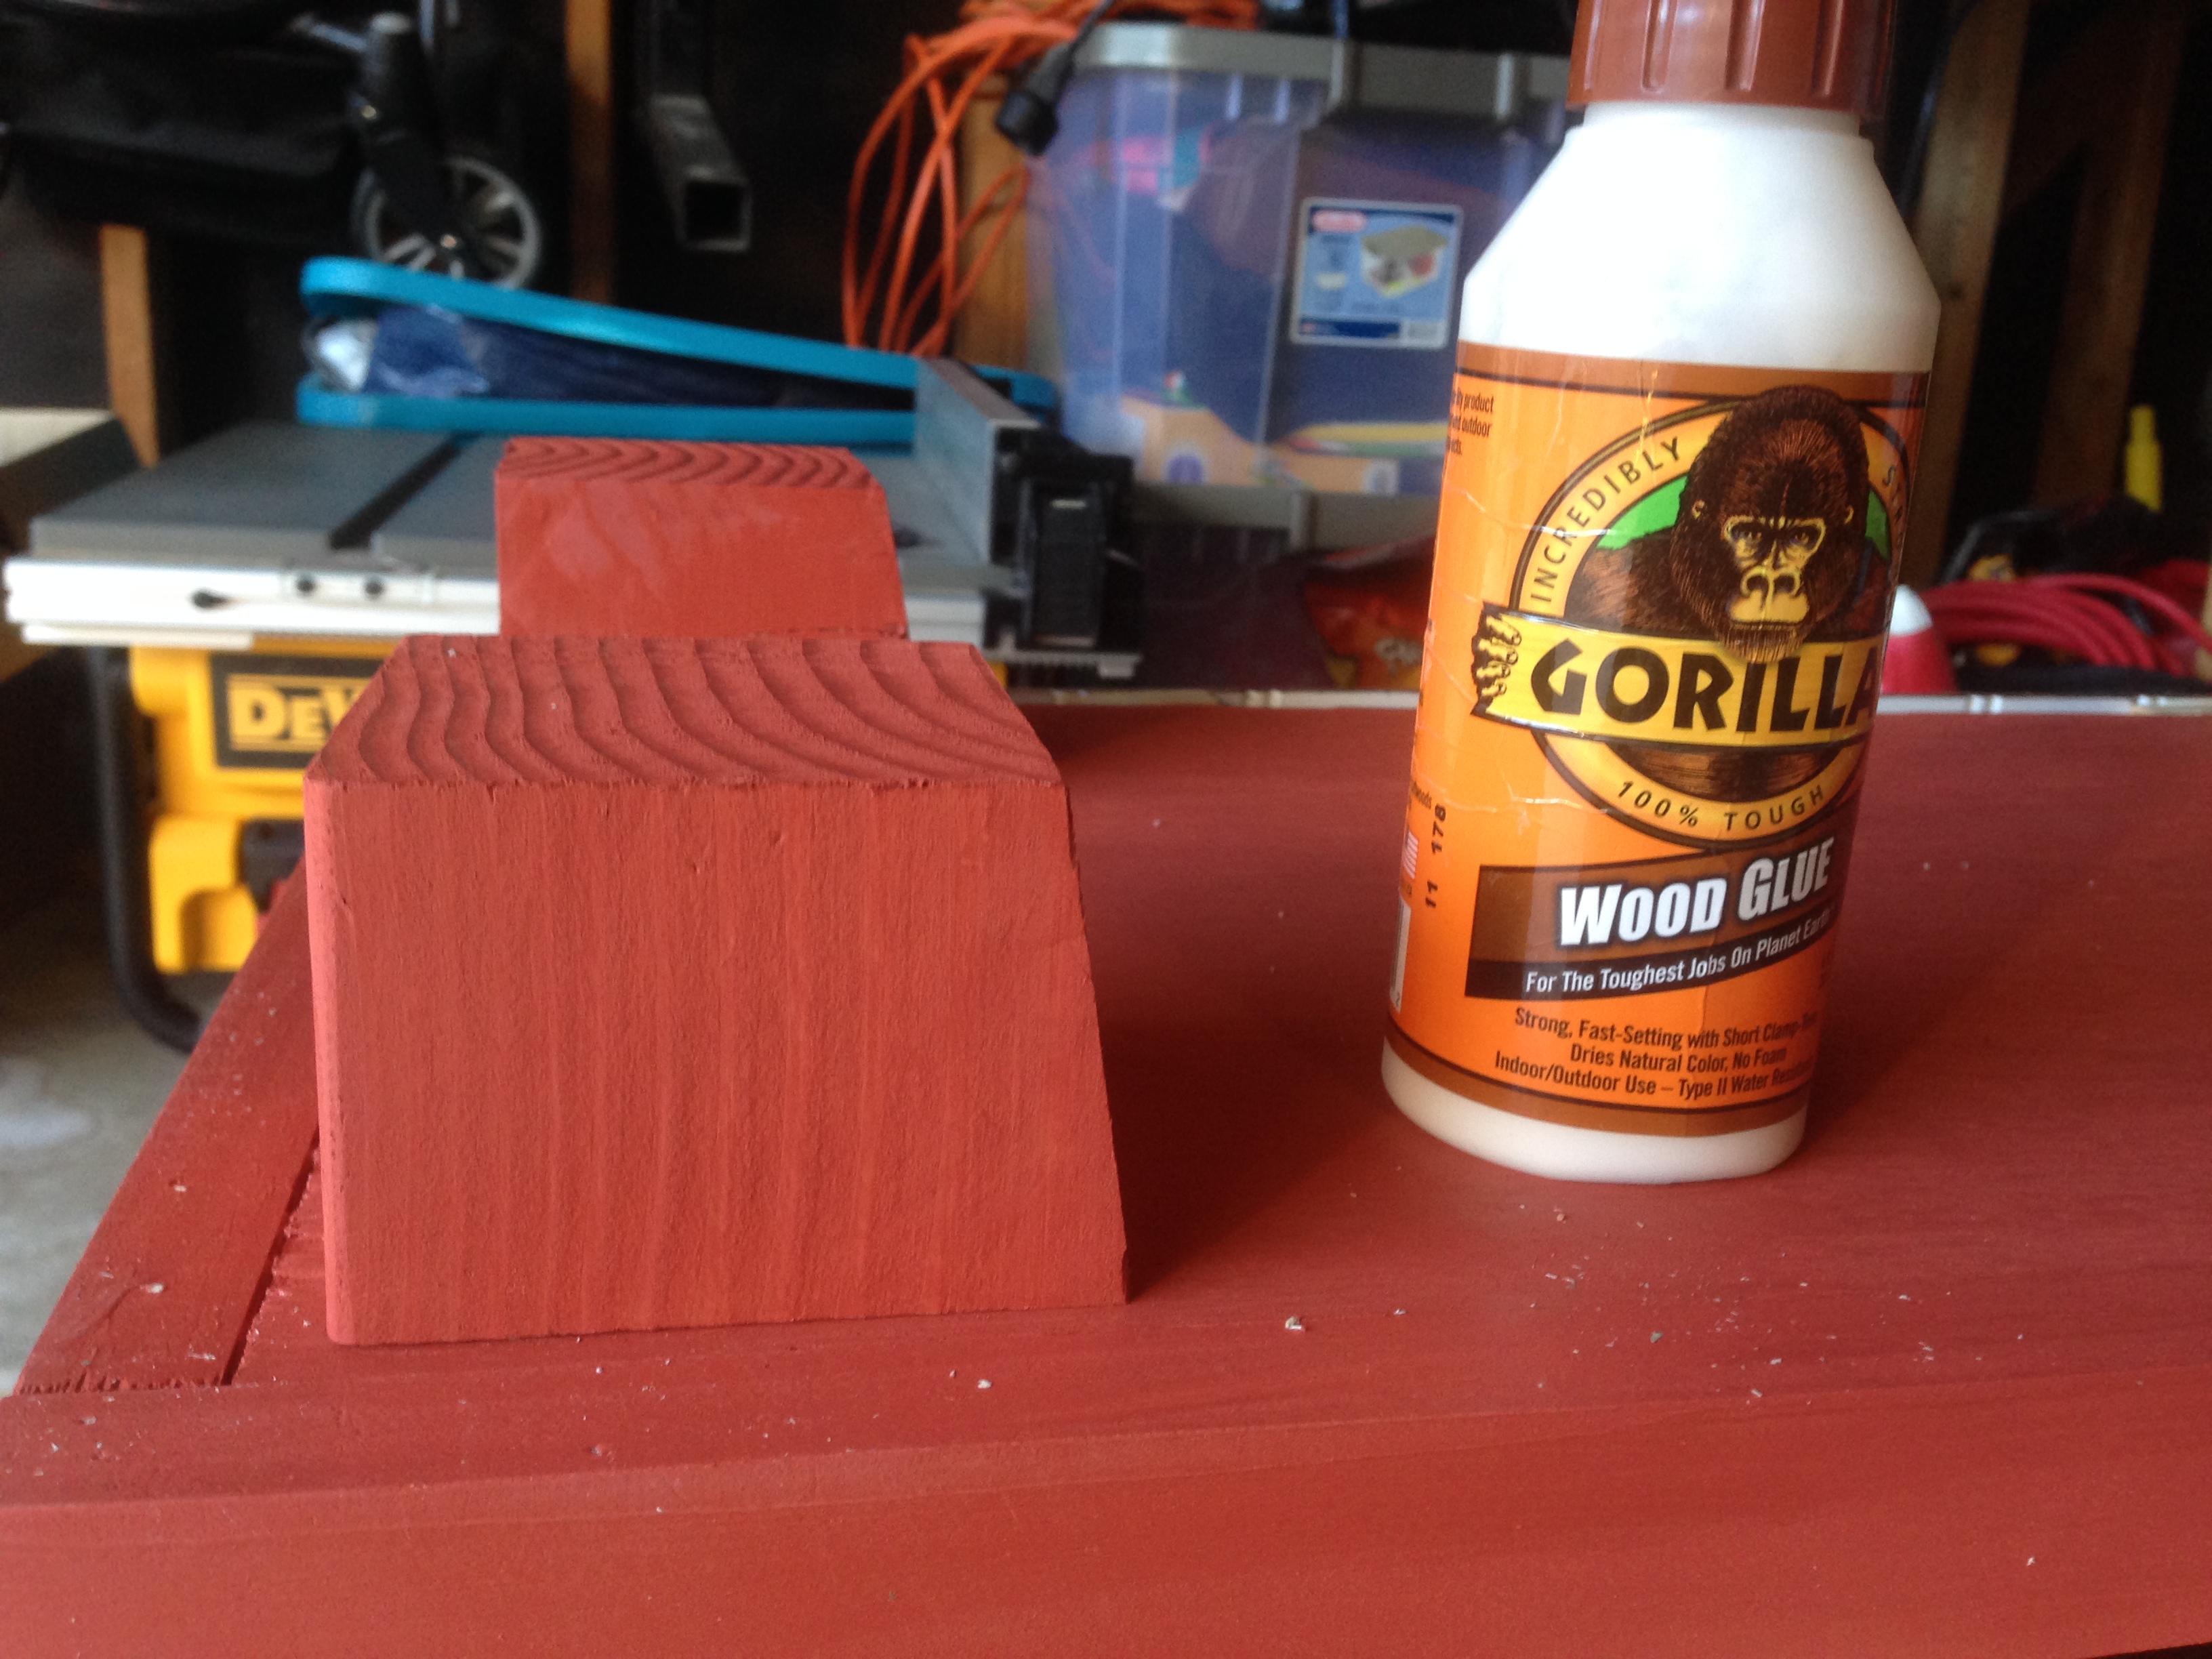
Then I needed to cut up some wood to become legs. I chopped up a 4×4 block down to size and then tapered 2 of the sides with a 10 degree angle.
The client said she wanted the door fronts painted the same color as the bookcase, so while I painted the legs, I covered the doors as well.
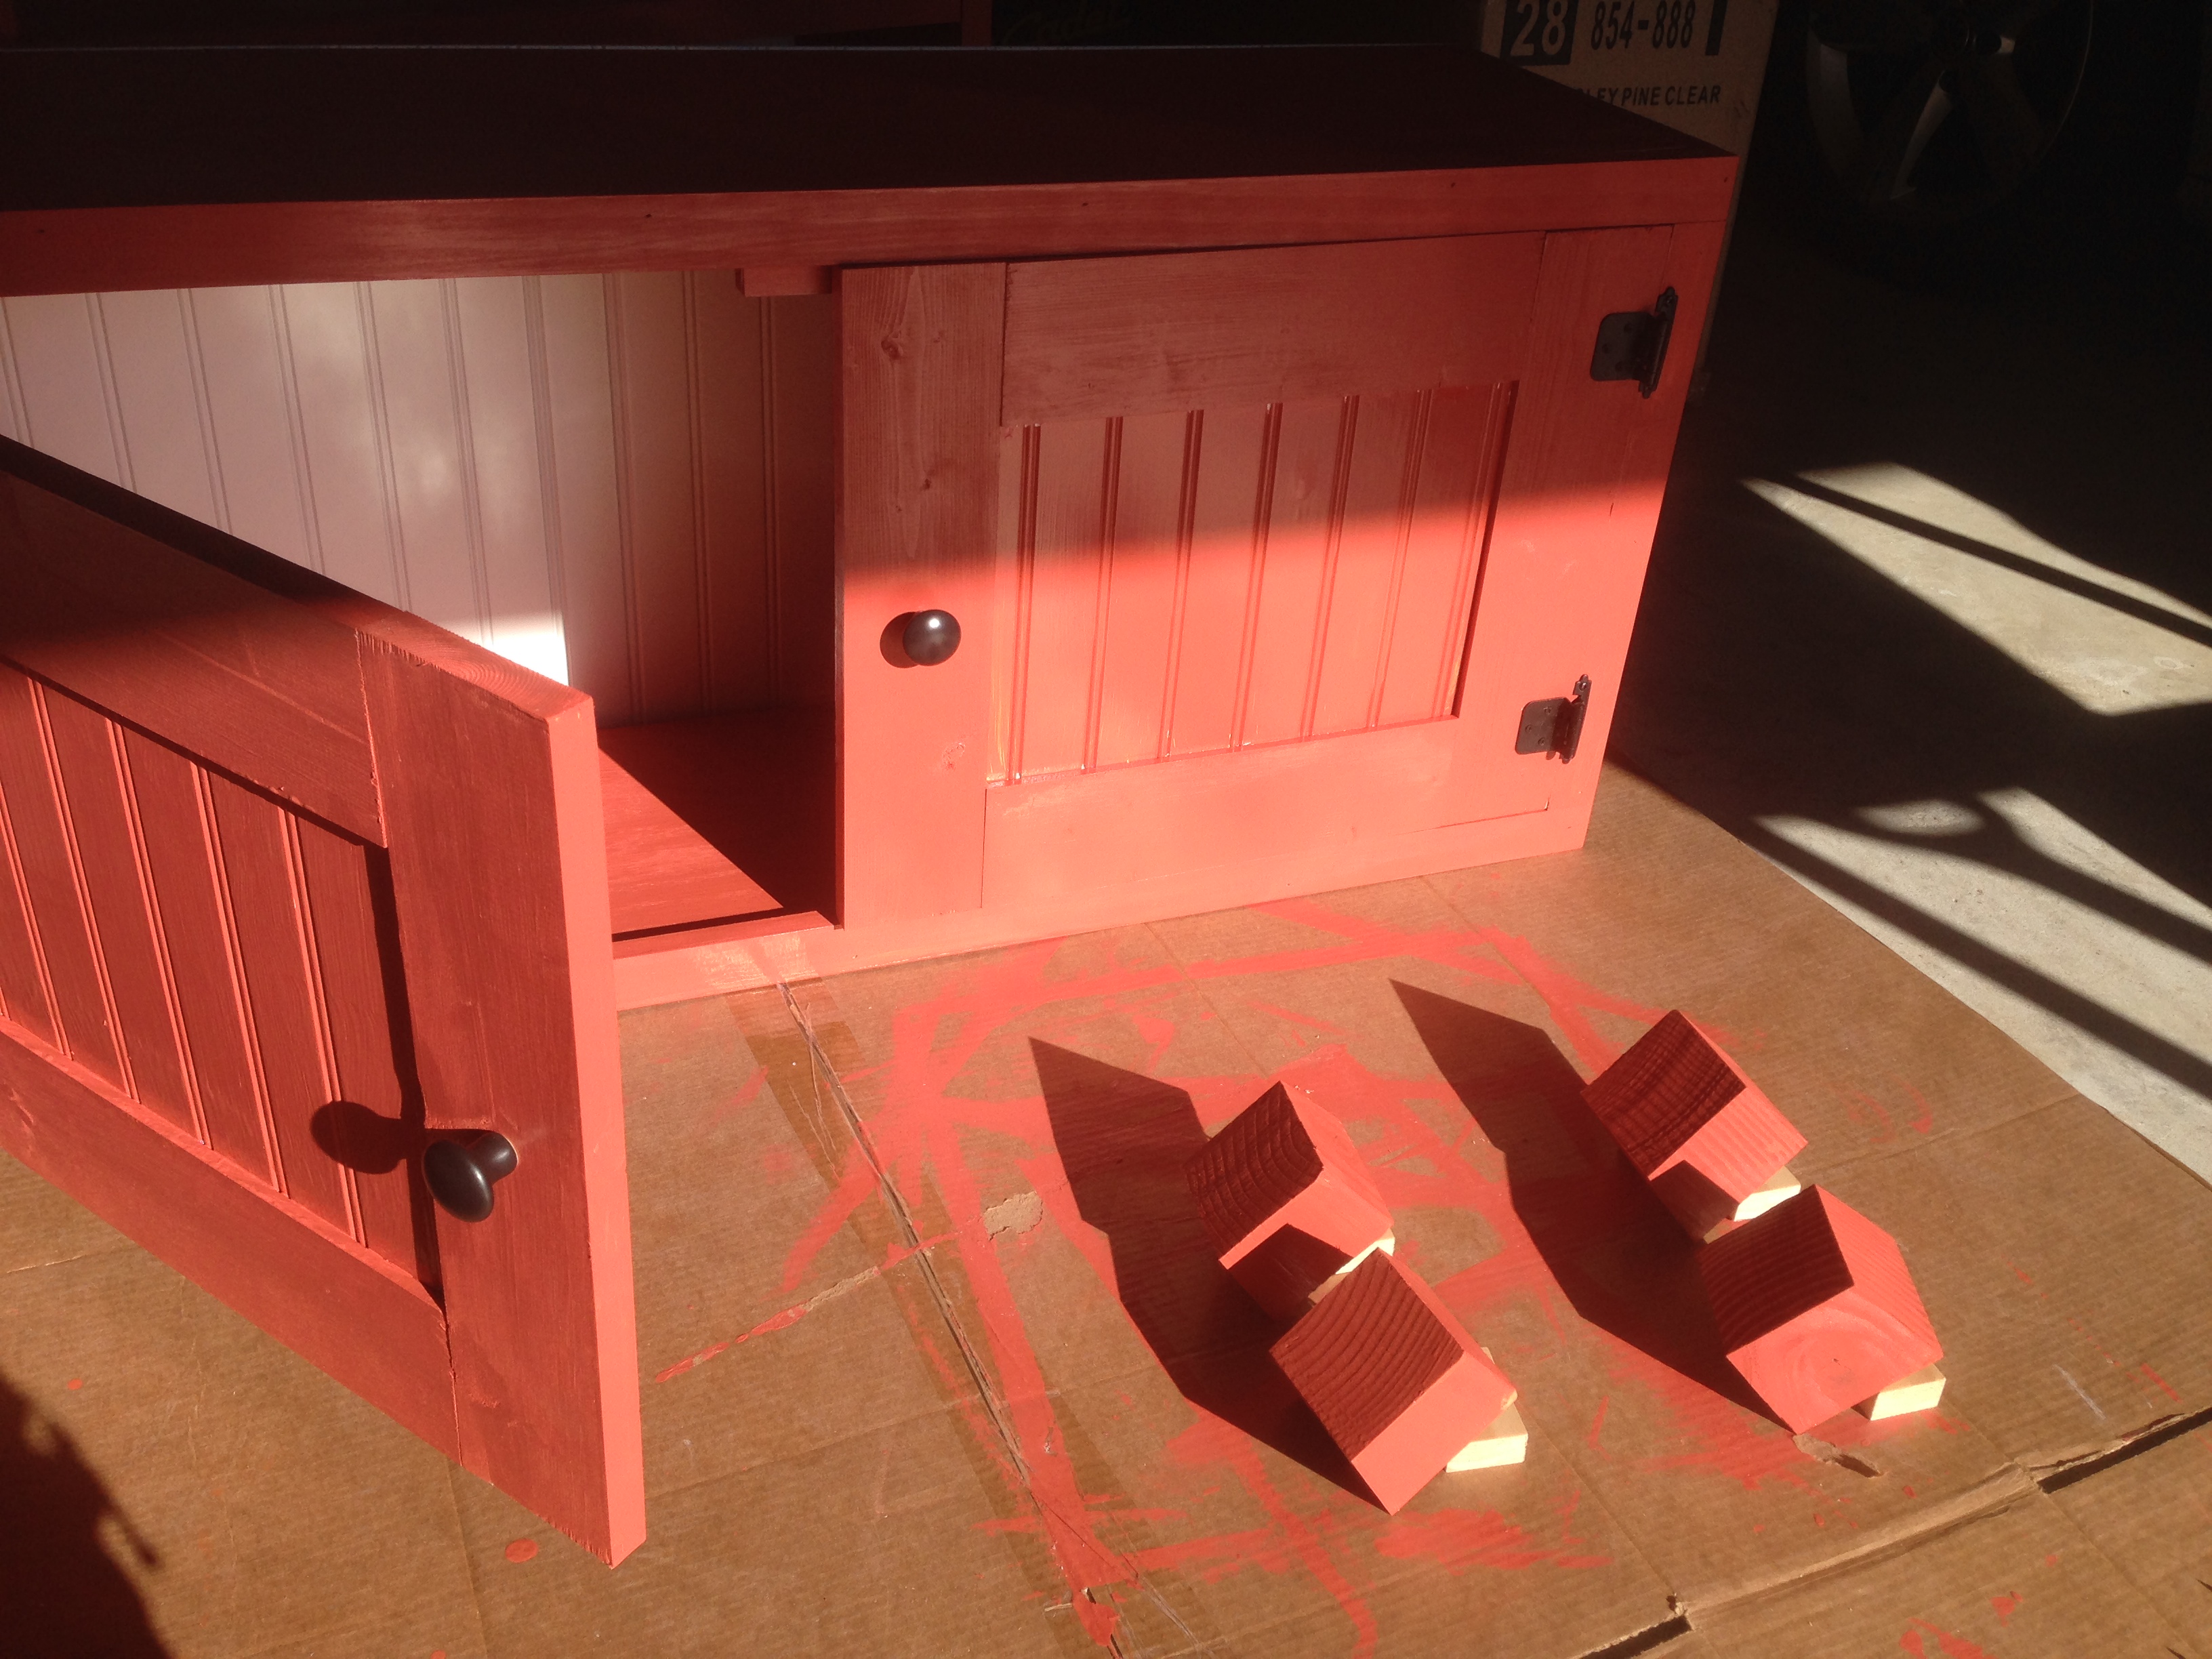
After the paint dried, it was time to attach the legs to the cabinet. First I glued ’em down.
Then put some weight on the legs to help the glue really stick!

Then I flipped the whole thing over and drove in a few screws to secure the legs in place.
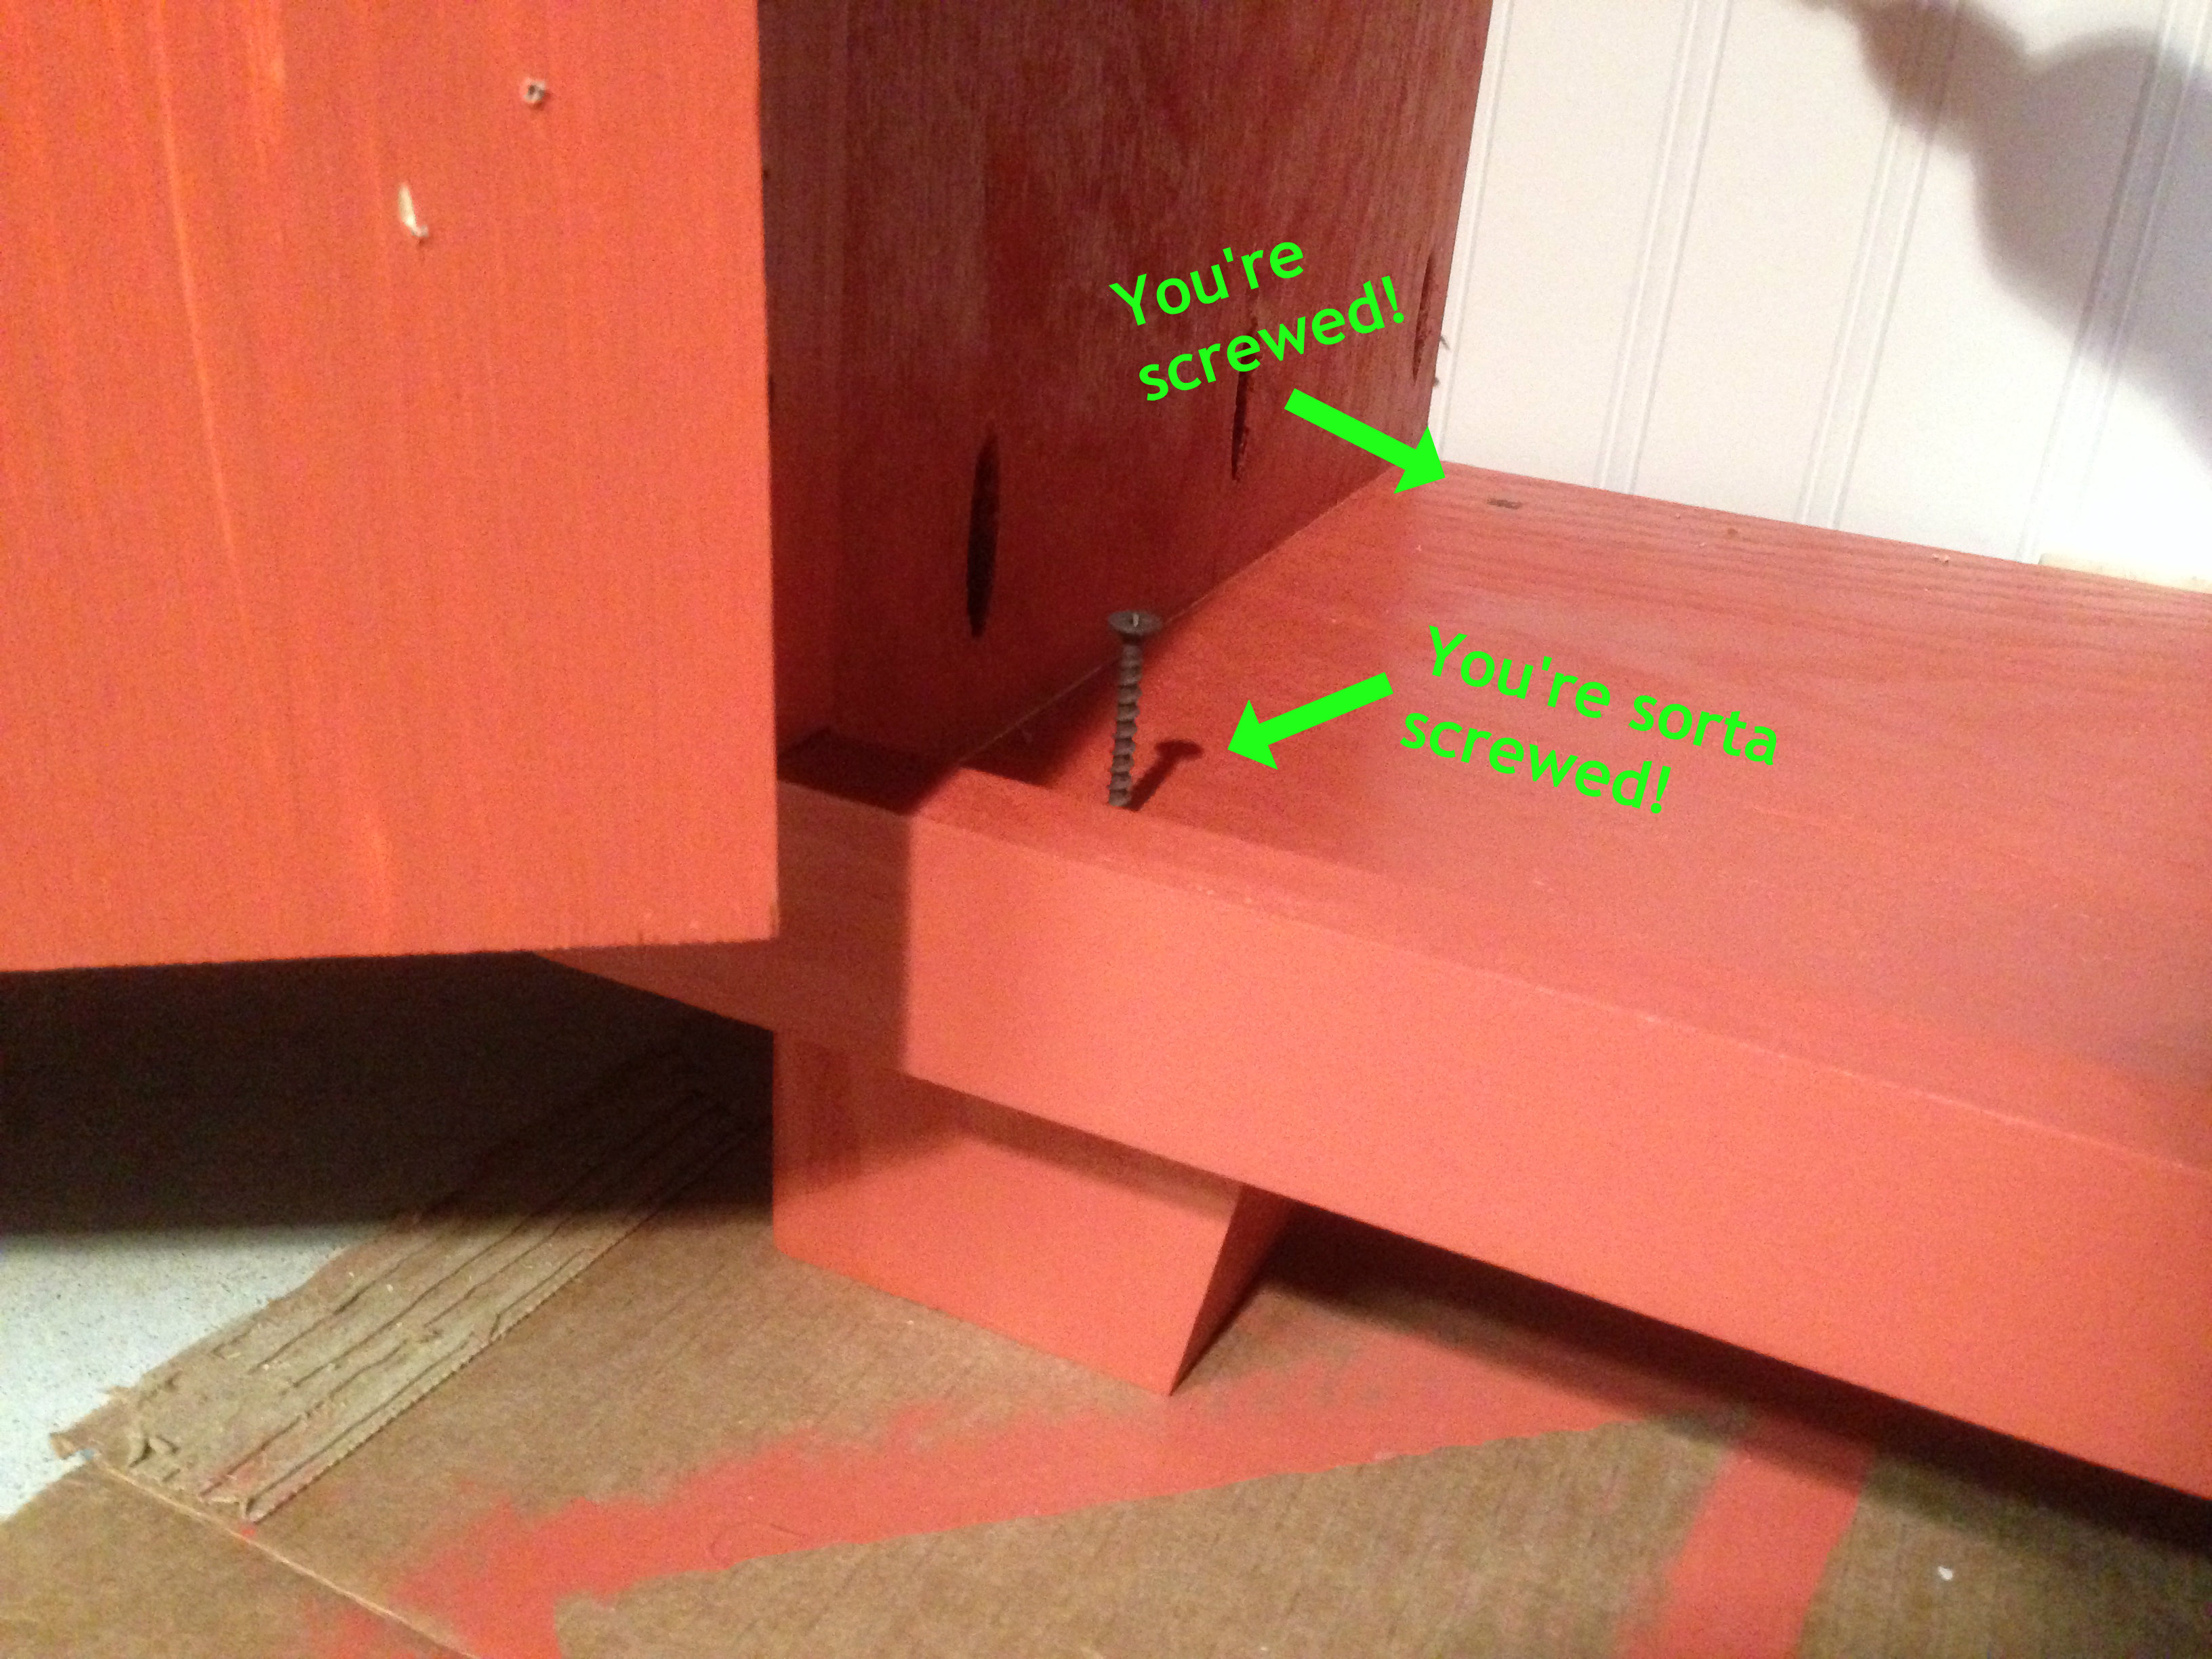
After that was done, the final touch was to attach the book shelf onto the cabinet. I used chair brackets to connect ’em because they look a lot better than regular “L” brackets.

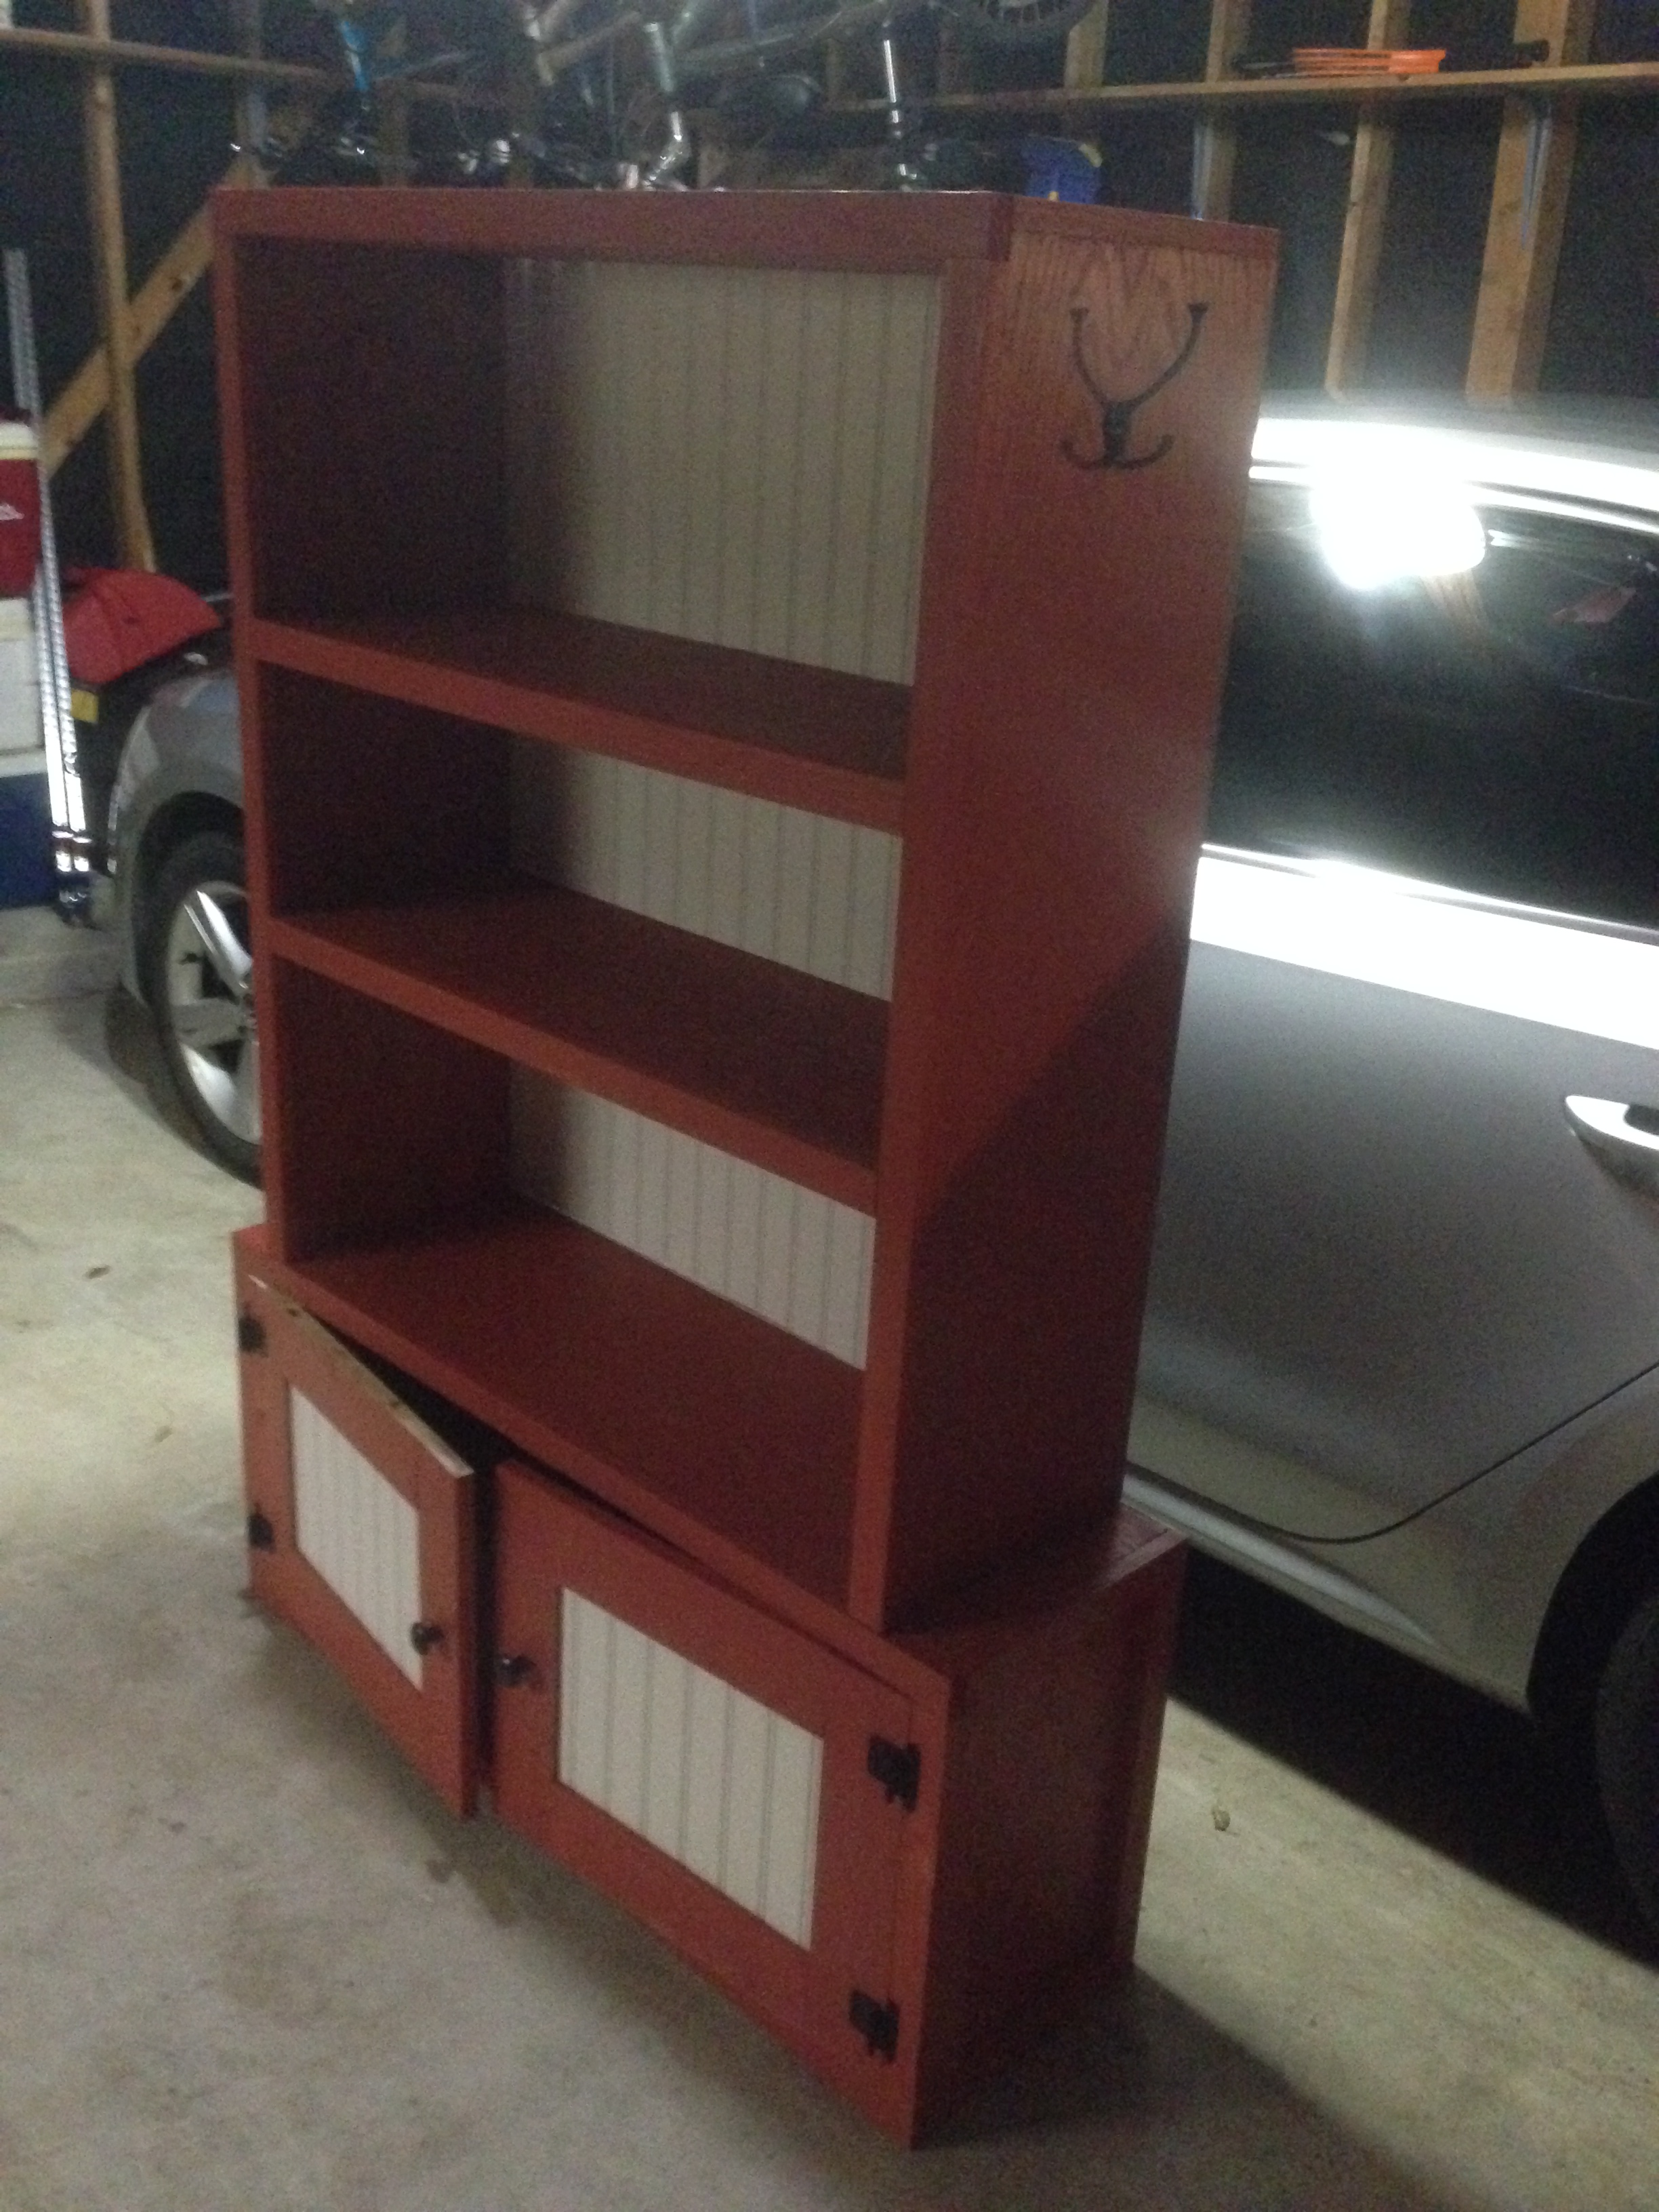
And here’s the final product!


This bookcase took waaaaaaay longer than I wanted. It’s actually embarrassing how long it took to complete. Roughly a year! But in my defense, a lot has happened in that year. My son was born, we moved to a new house, I was leadership in a national conference, just to name a few… trust me, there was a lot more!
Here’s a side by side comparison of my first bookcase and this current one:

A lot of similarities, but they’re different. I used different wood and different joinery techniques. I’m always excited to try new methods in building things, so this was a great way to try something new and continue to learn.
