I was commissioned to build a dining room table for a friend. The build “started” on February 5, 2015. I finished the job on July 14, 2016. 17 months. Extremely embarrassing… but the friend that wanted the table was understanding (luckily).
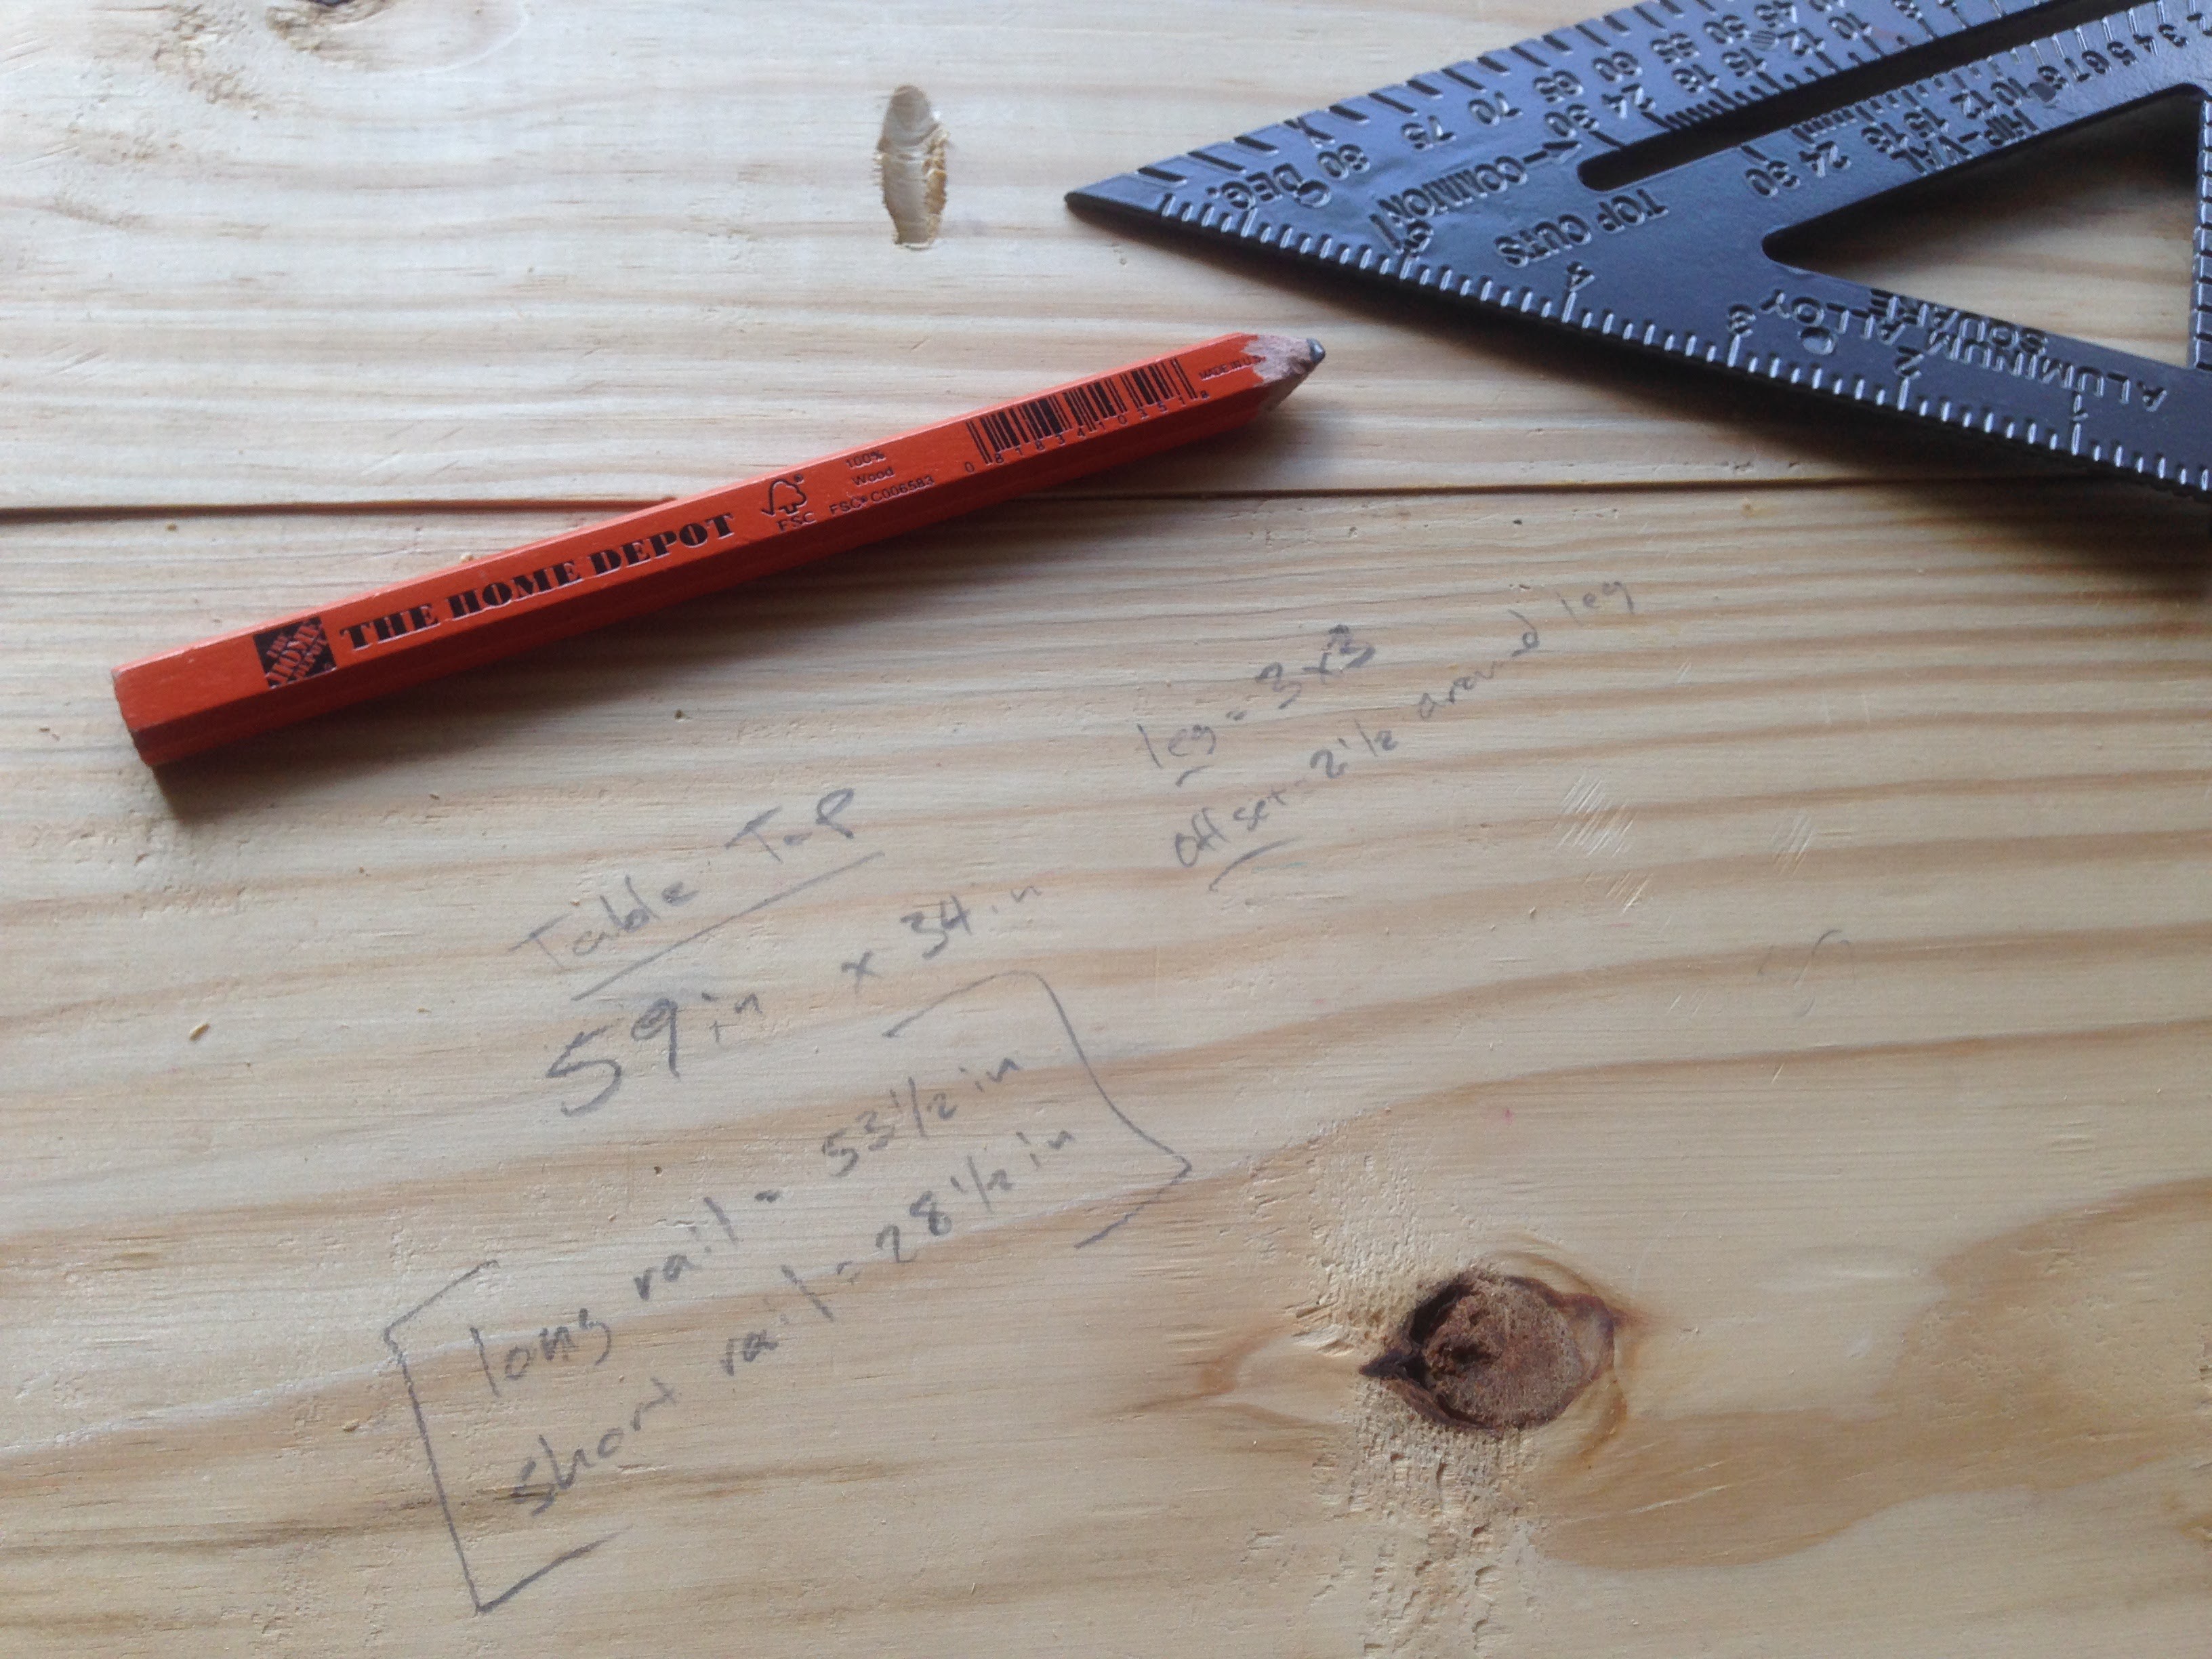
I had just completed building a bookcase for another friend. I thought I would take a break from doing builds for other people and focus on doing stuff around my own house, but I couldn’t pass this one up. He gave me a picture of what he wanted and I drew up a sketch to give myself an idea on how to start.
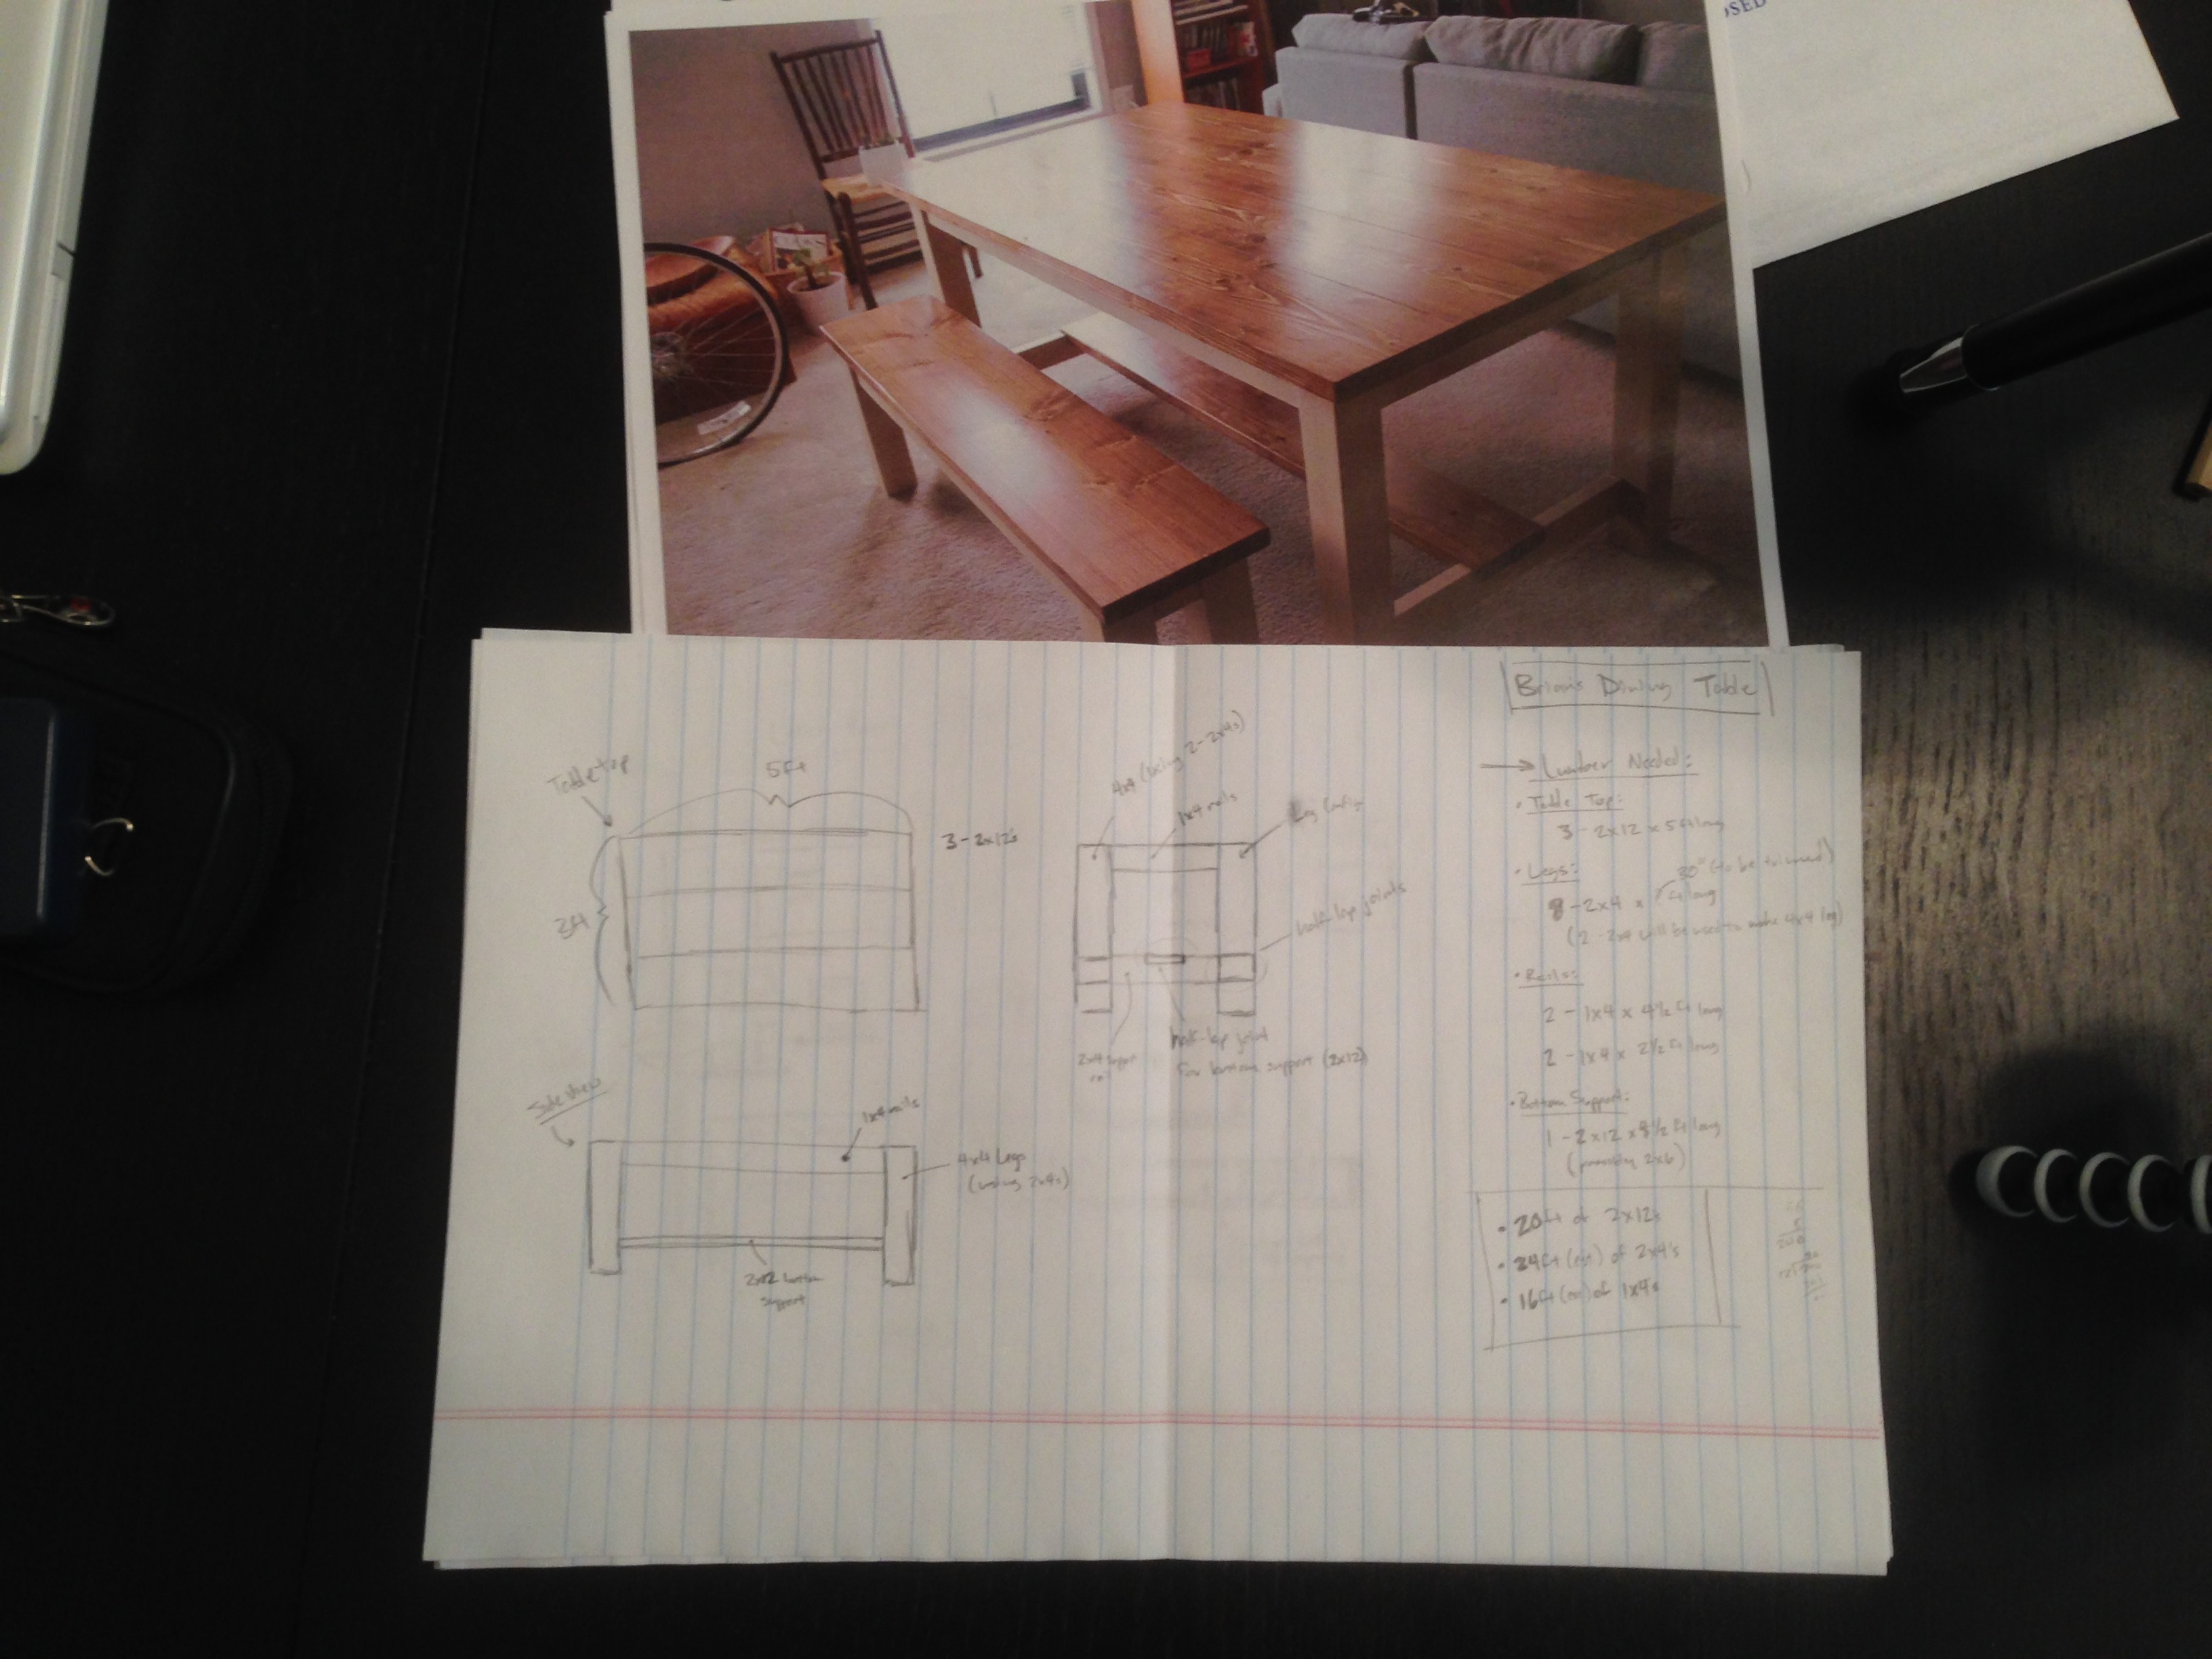
Then it was just a matter of buying and chopping down the wood.
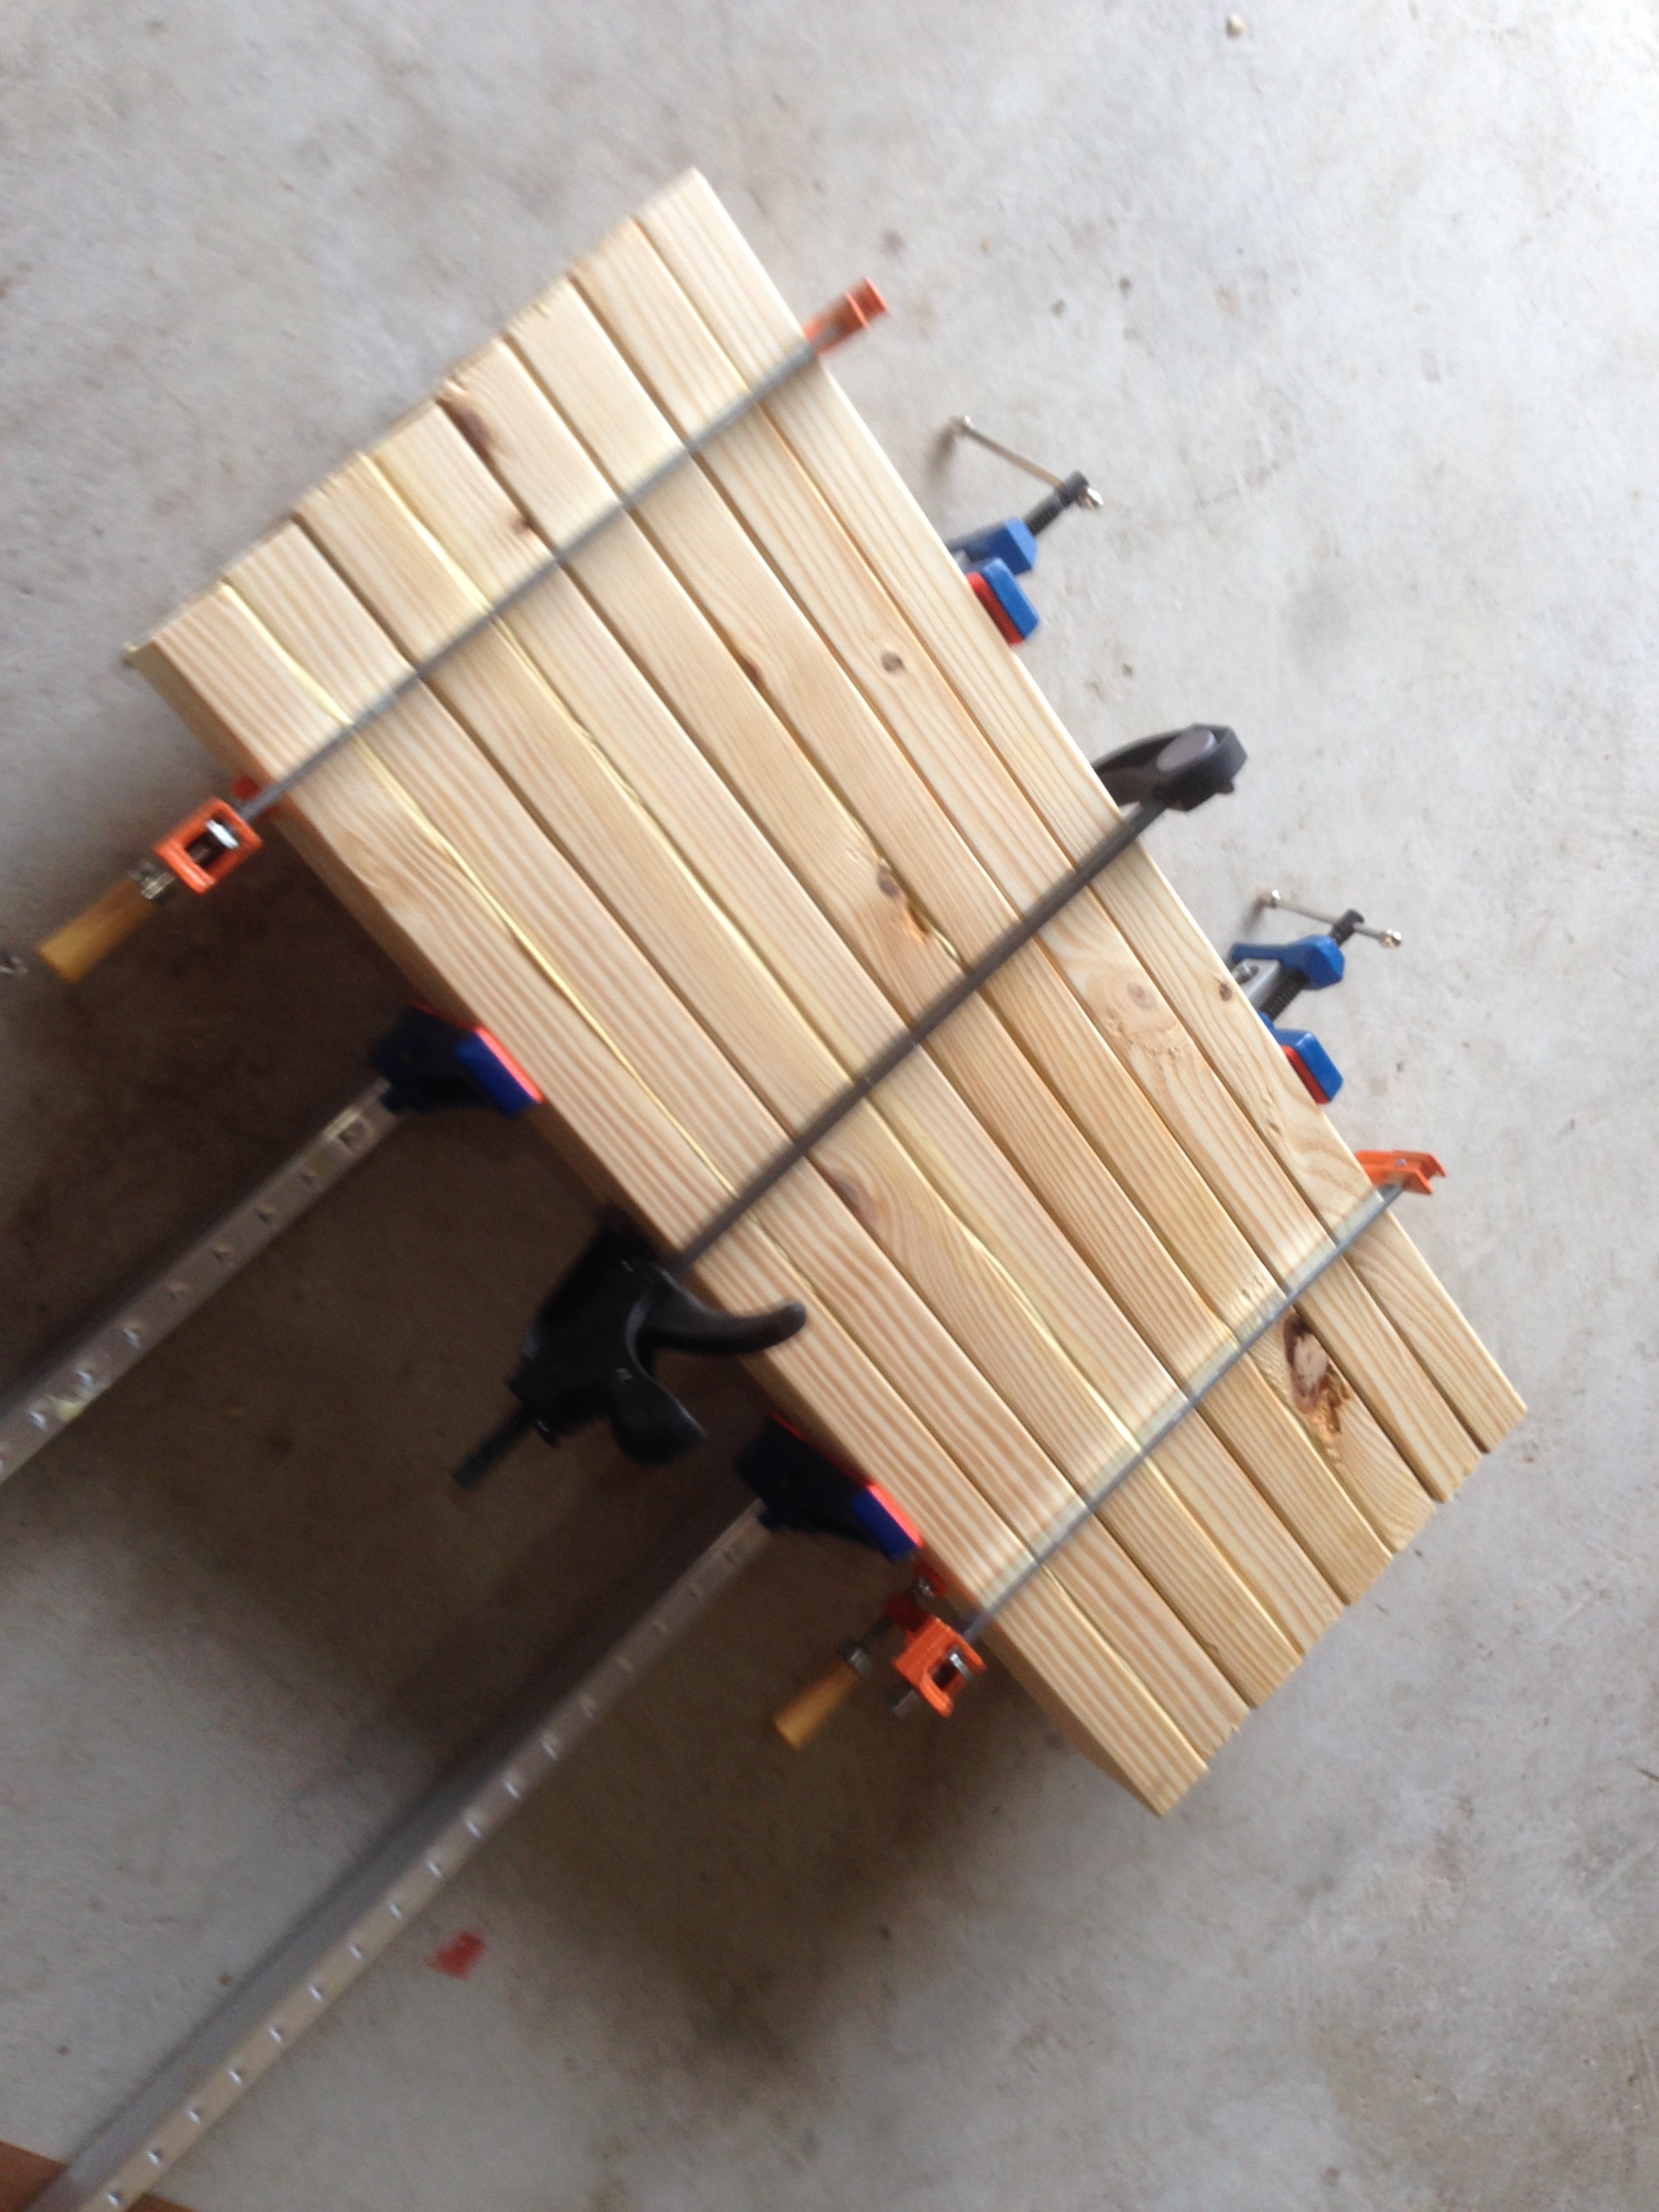
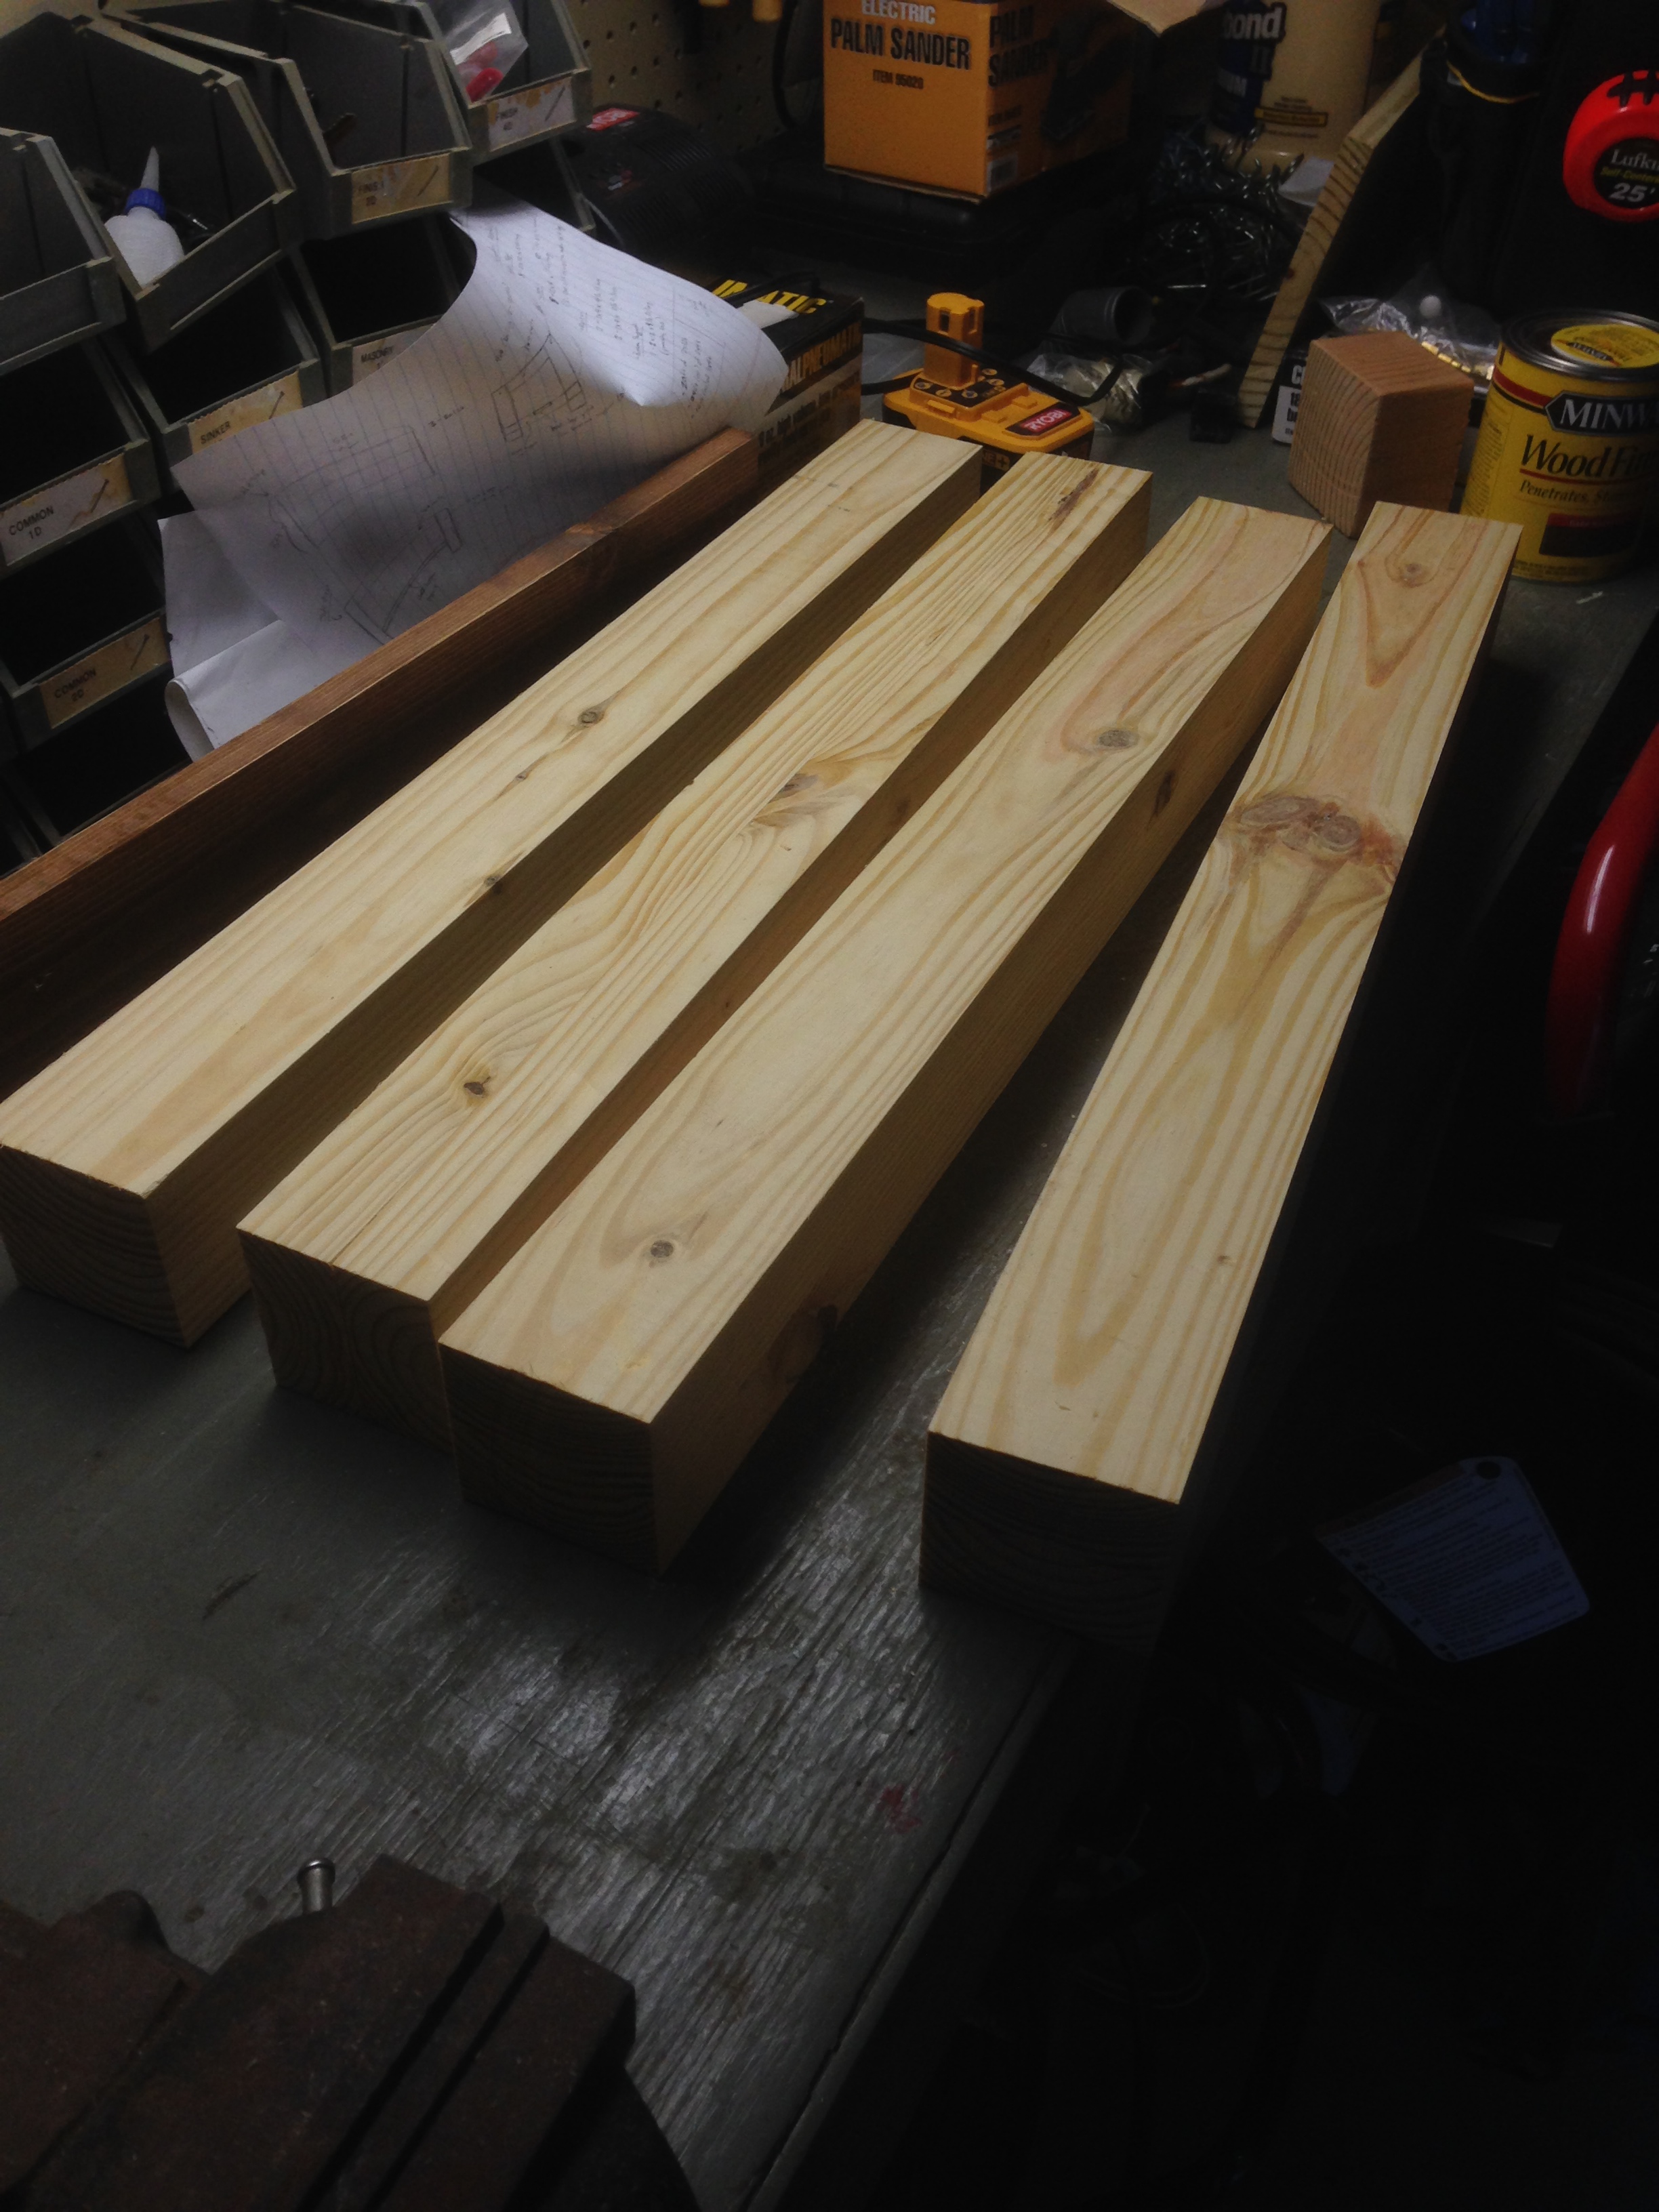
I started off by building the legs. I used 2×4’s and laminated (gluing) 2 of ’em together to make a 4×4 leg. In that process, I glued ’em up and then squeezed ’em all together since I’m limited in how many clamps I have. In the picture below, the glue is only touching 2 pieces at a time, while its dry between each “leg”.
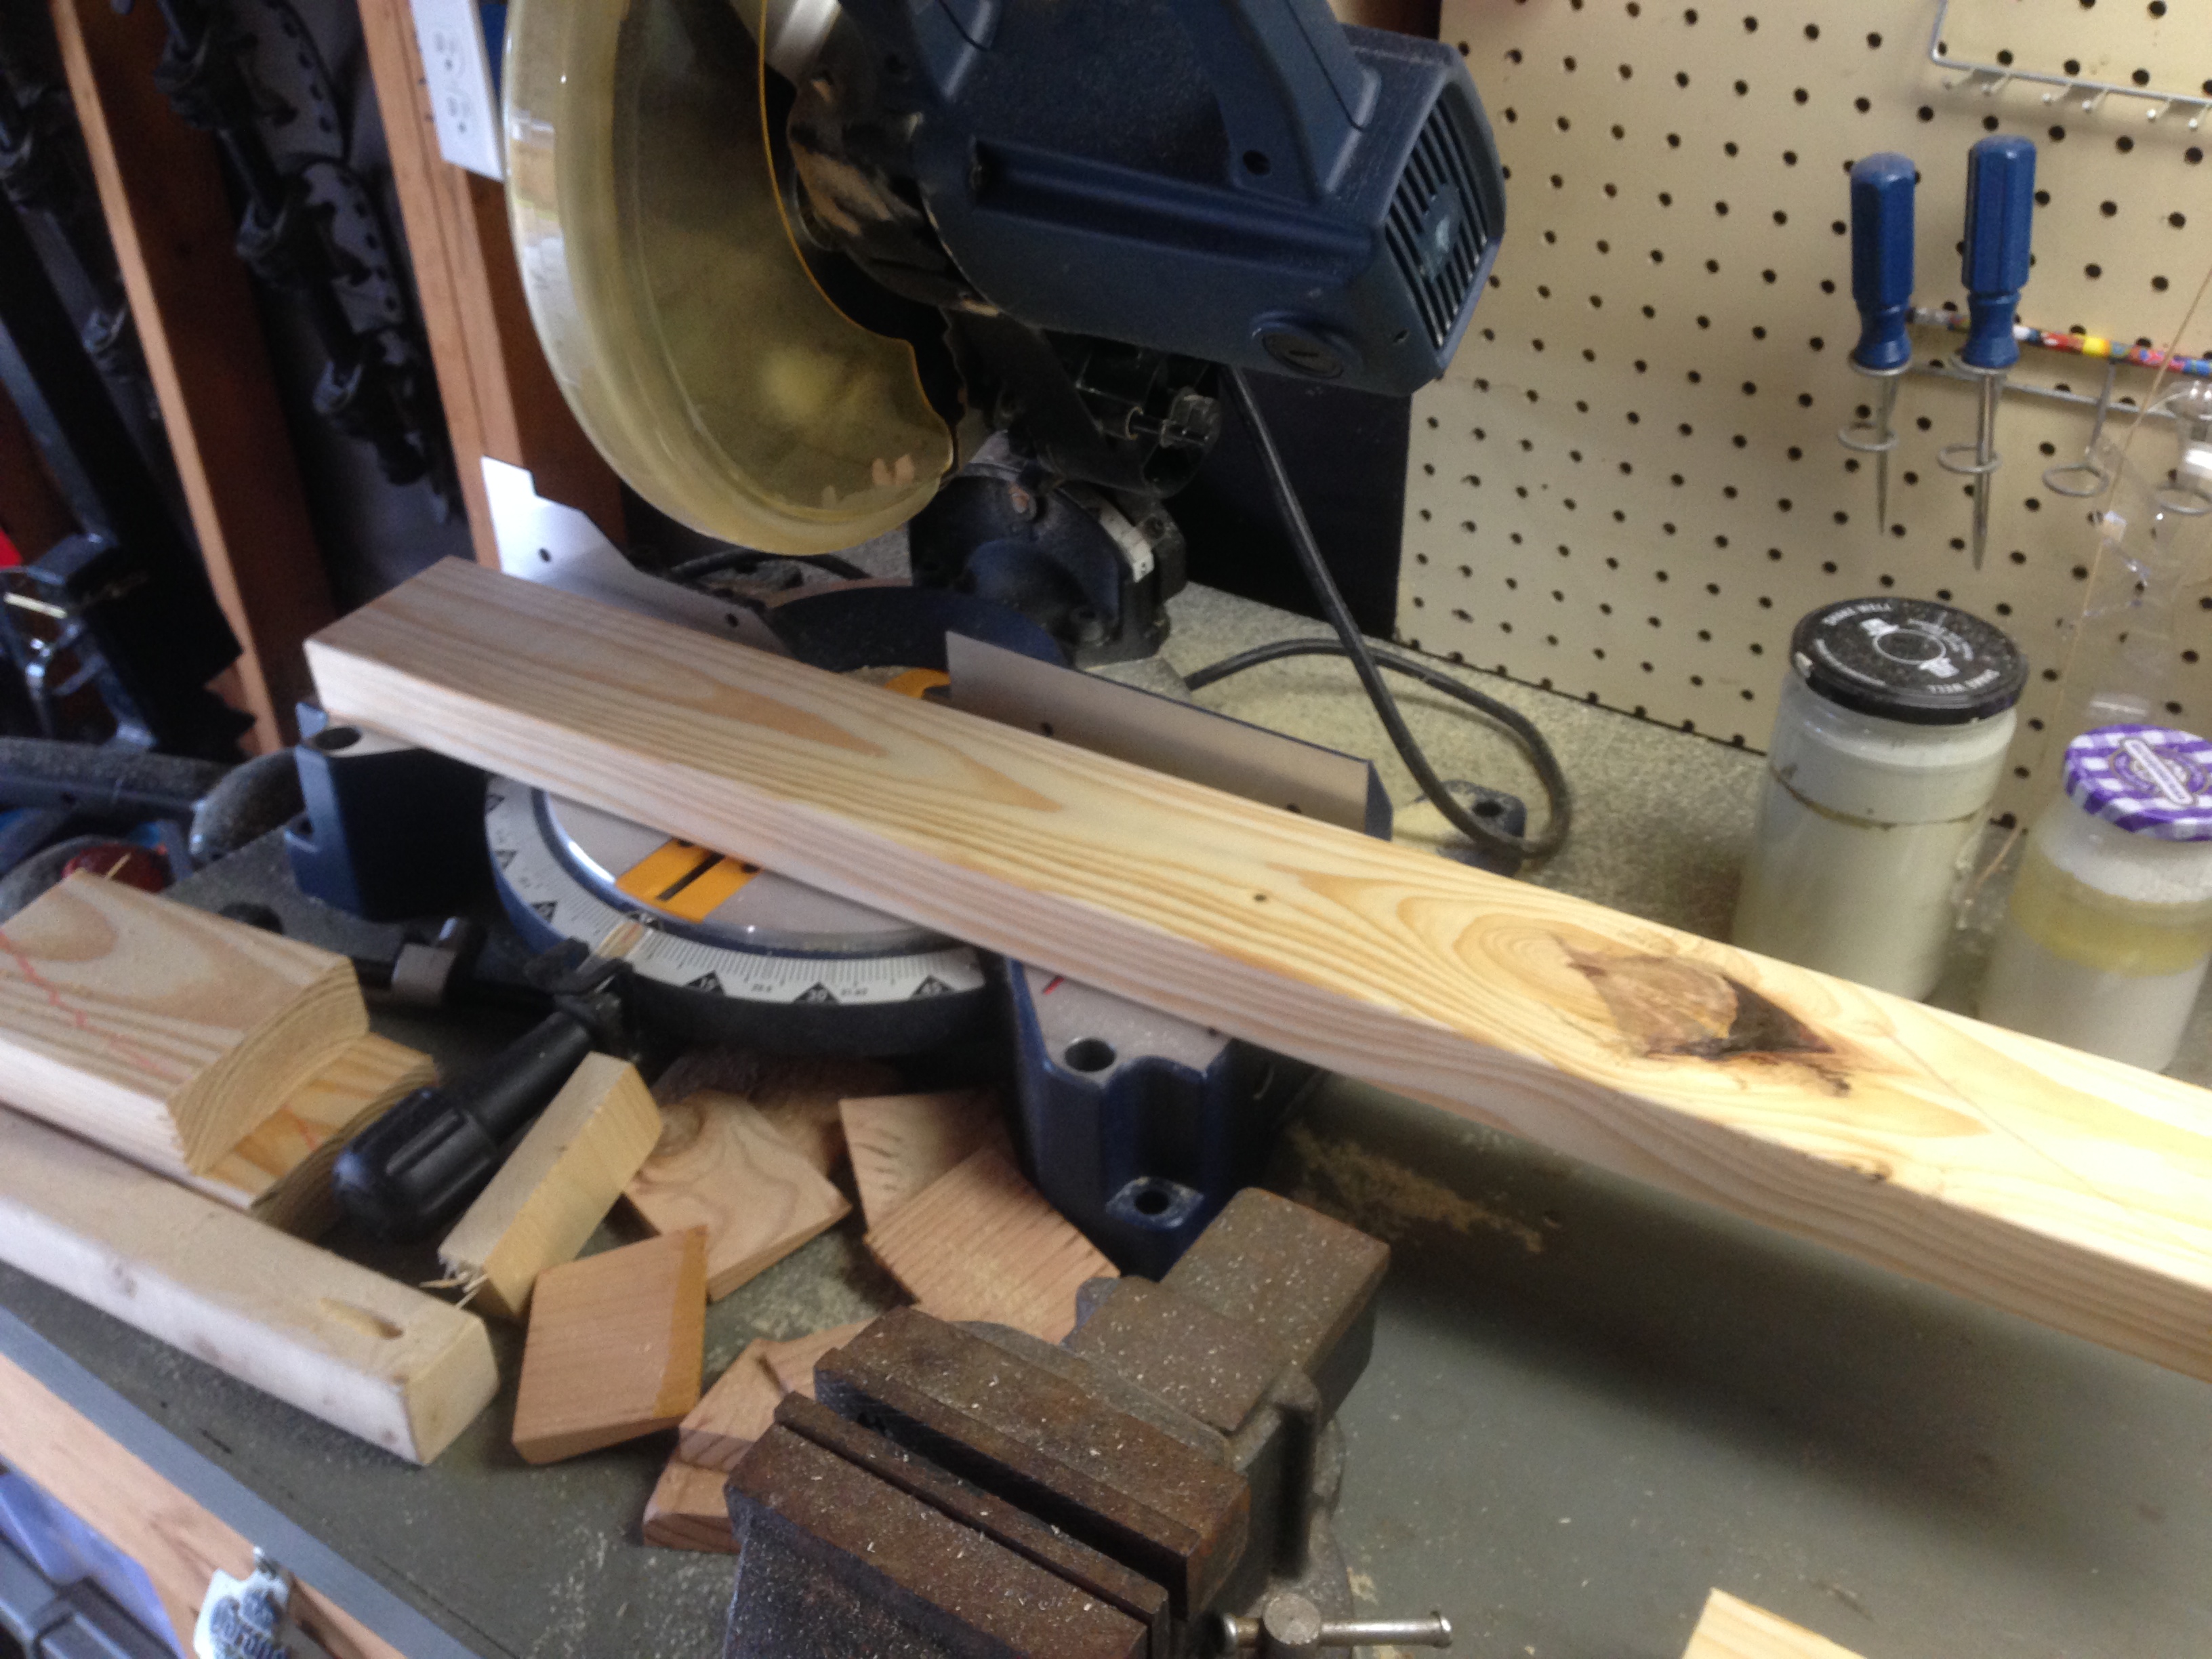
I made the tabletop out of 2×10’s. The wood comes with a rounded edge, so while the legs were drying, I trimmed off the sides of each 2×10 to create flat sides. Essentially, they will all be butted up next to each other, so the flatter the sides are, the better and more seamless the connection will look.
Cutting down all that wood produced a good amount of saw dust.

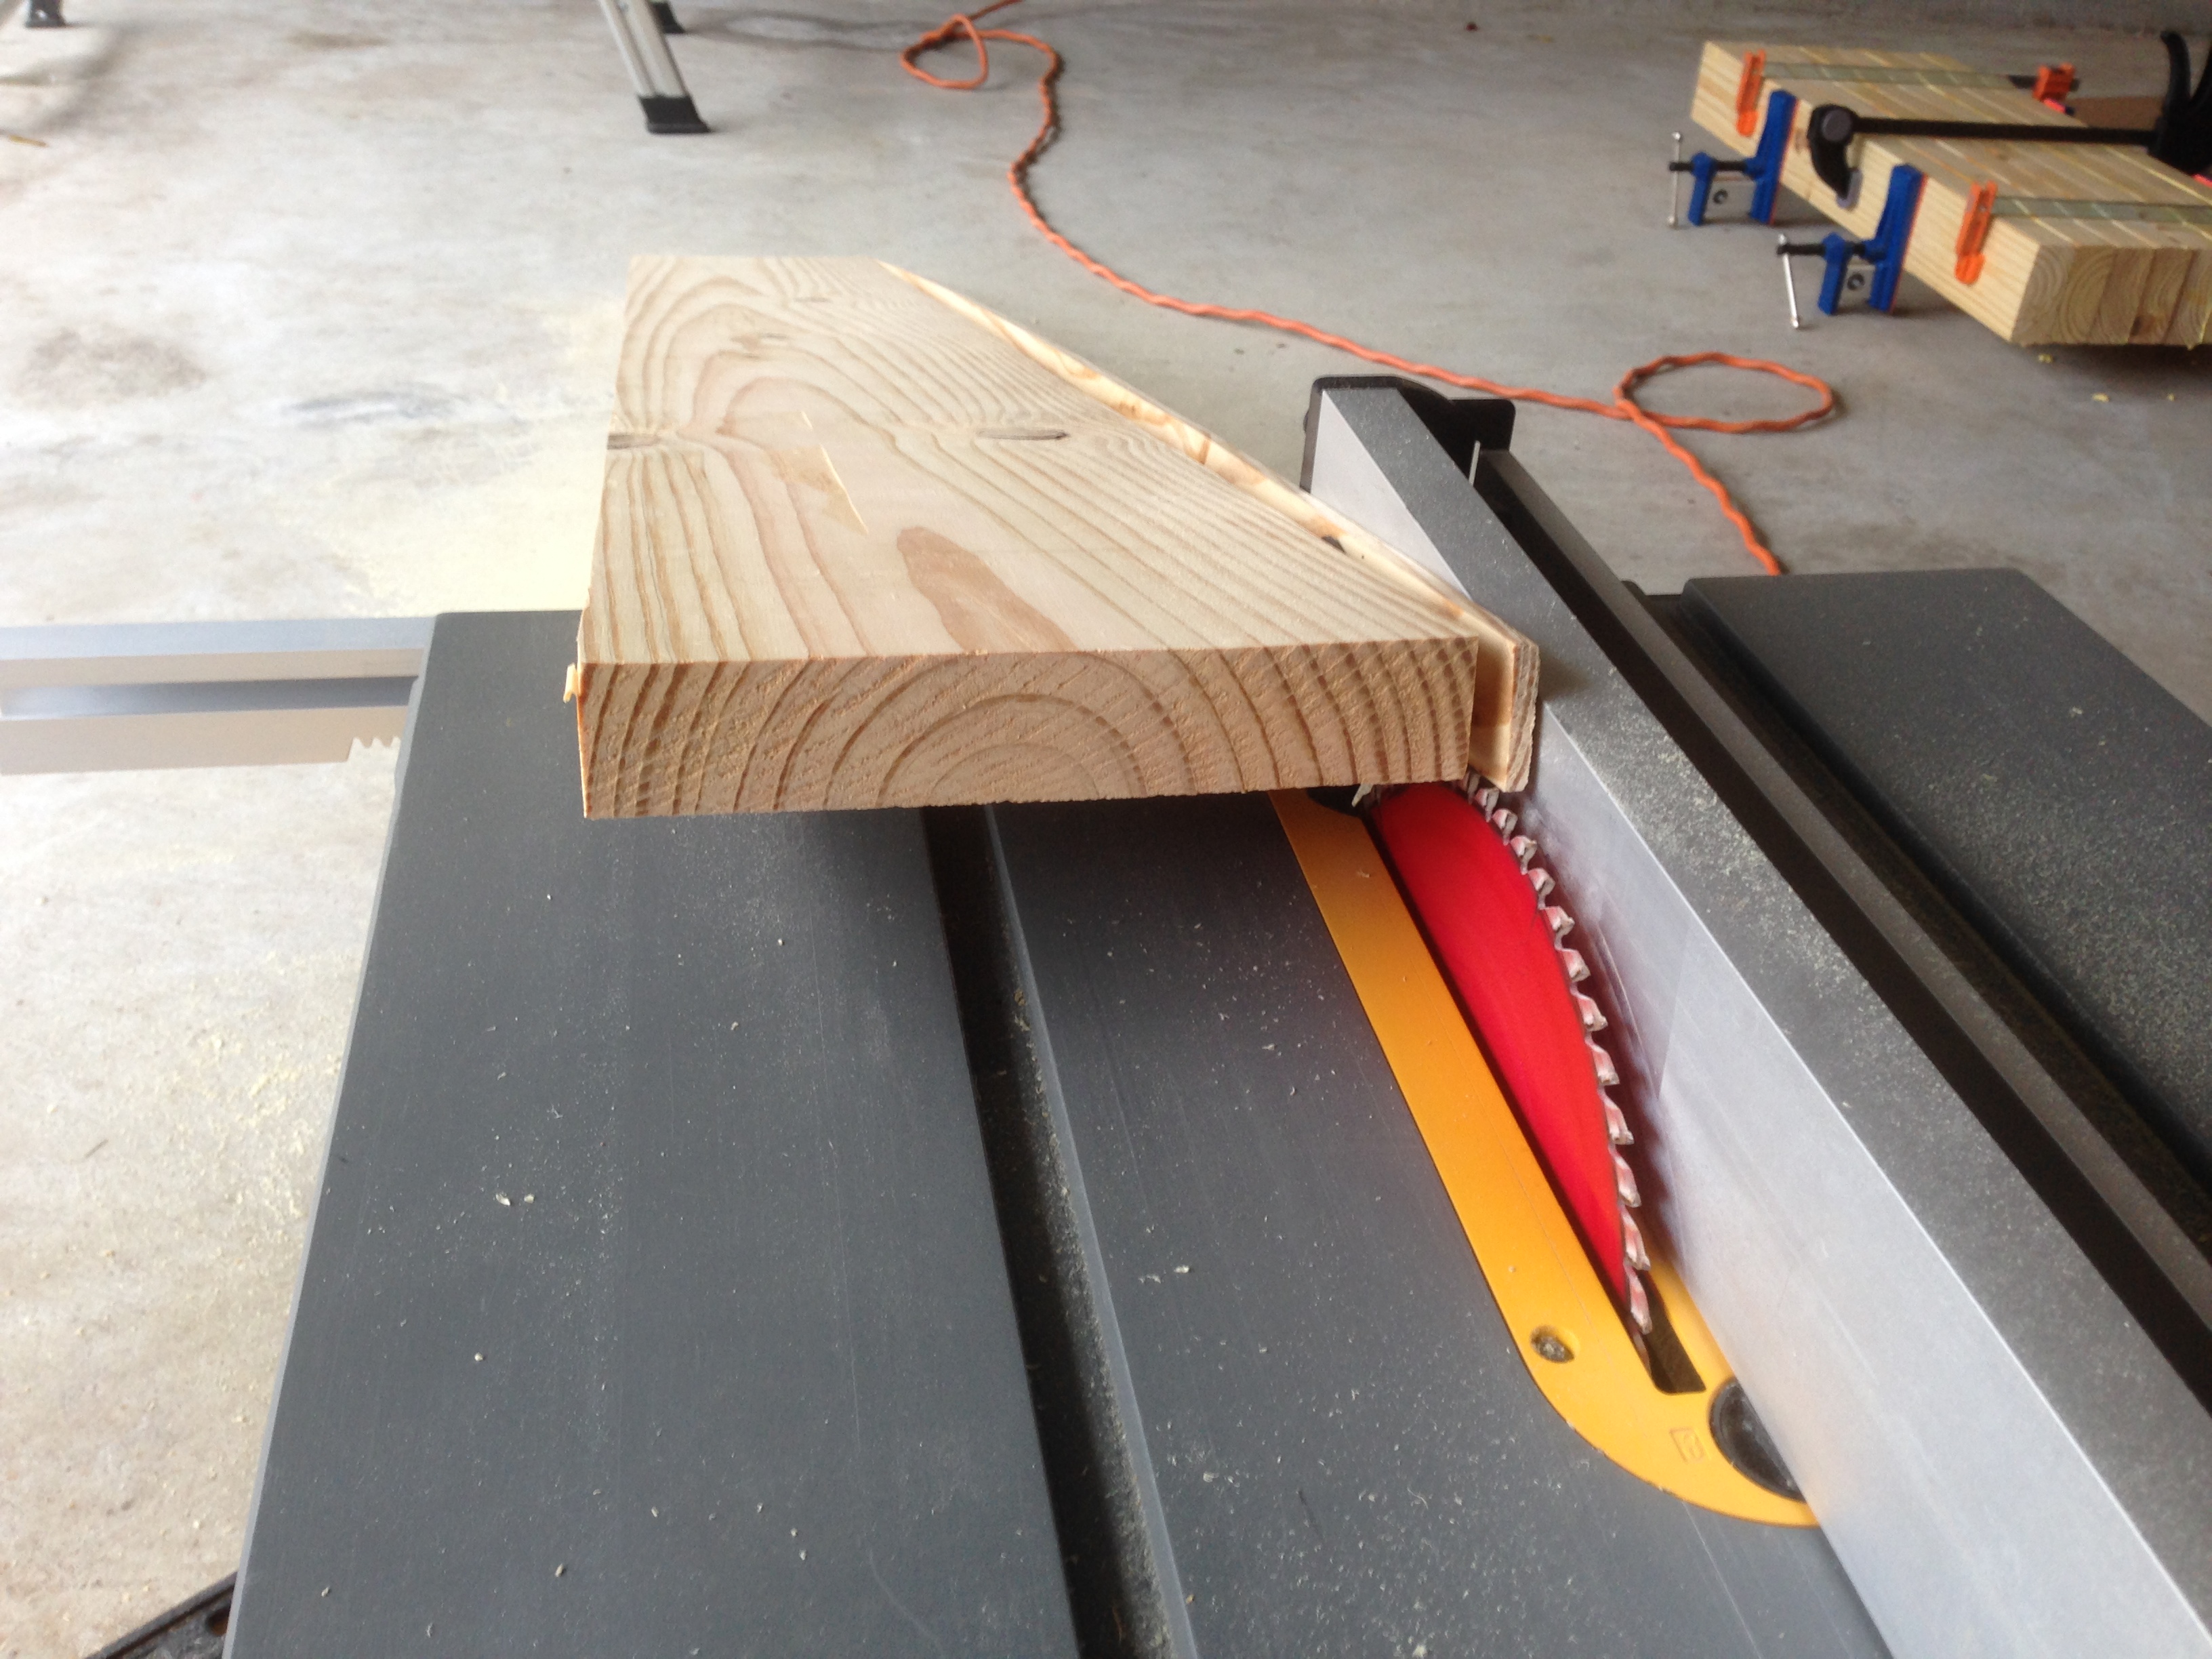
After a couple of days, I took the legs off the clamps. To clean it up, I adjusted the table saw to trim off a little bit of the two “rounded” sides of each leg.
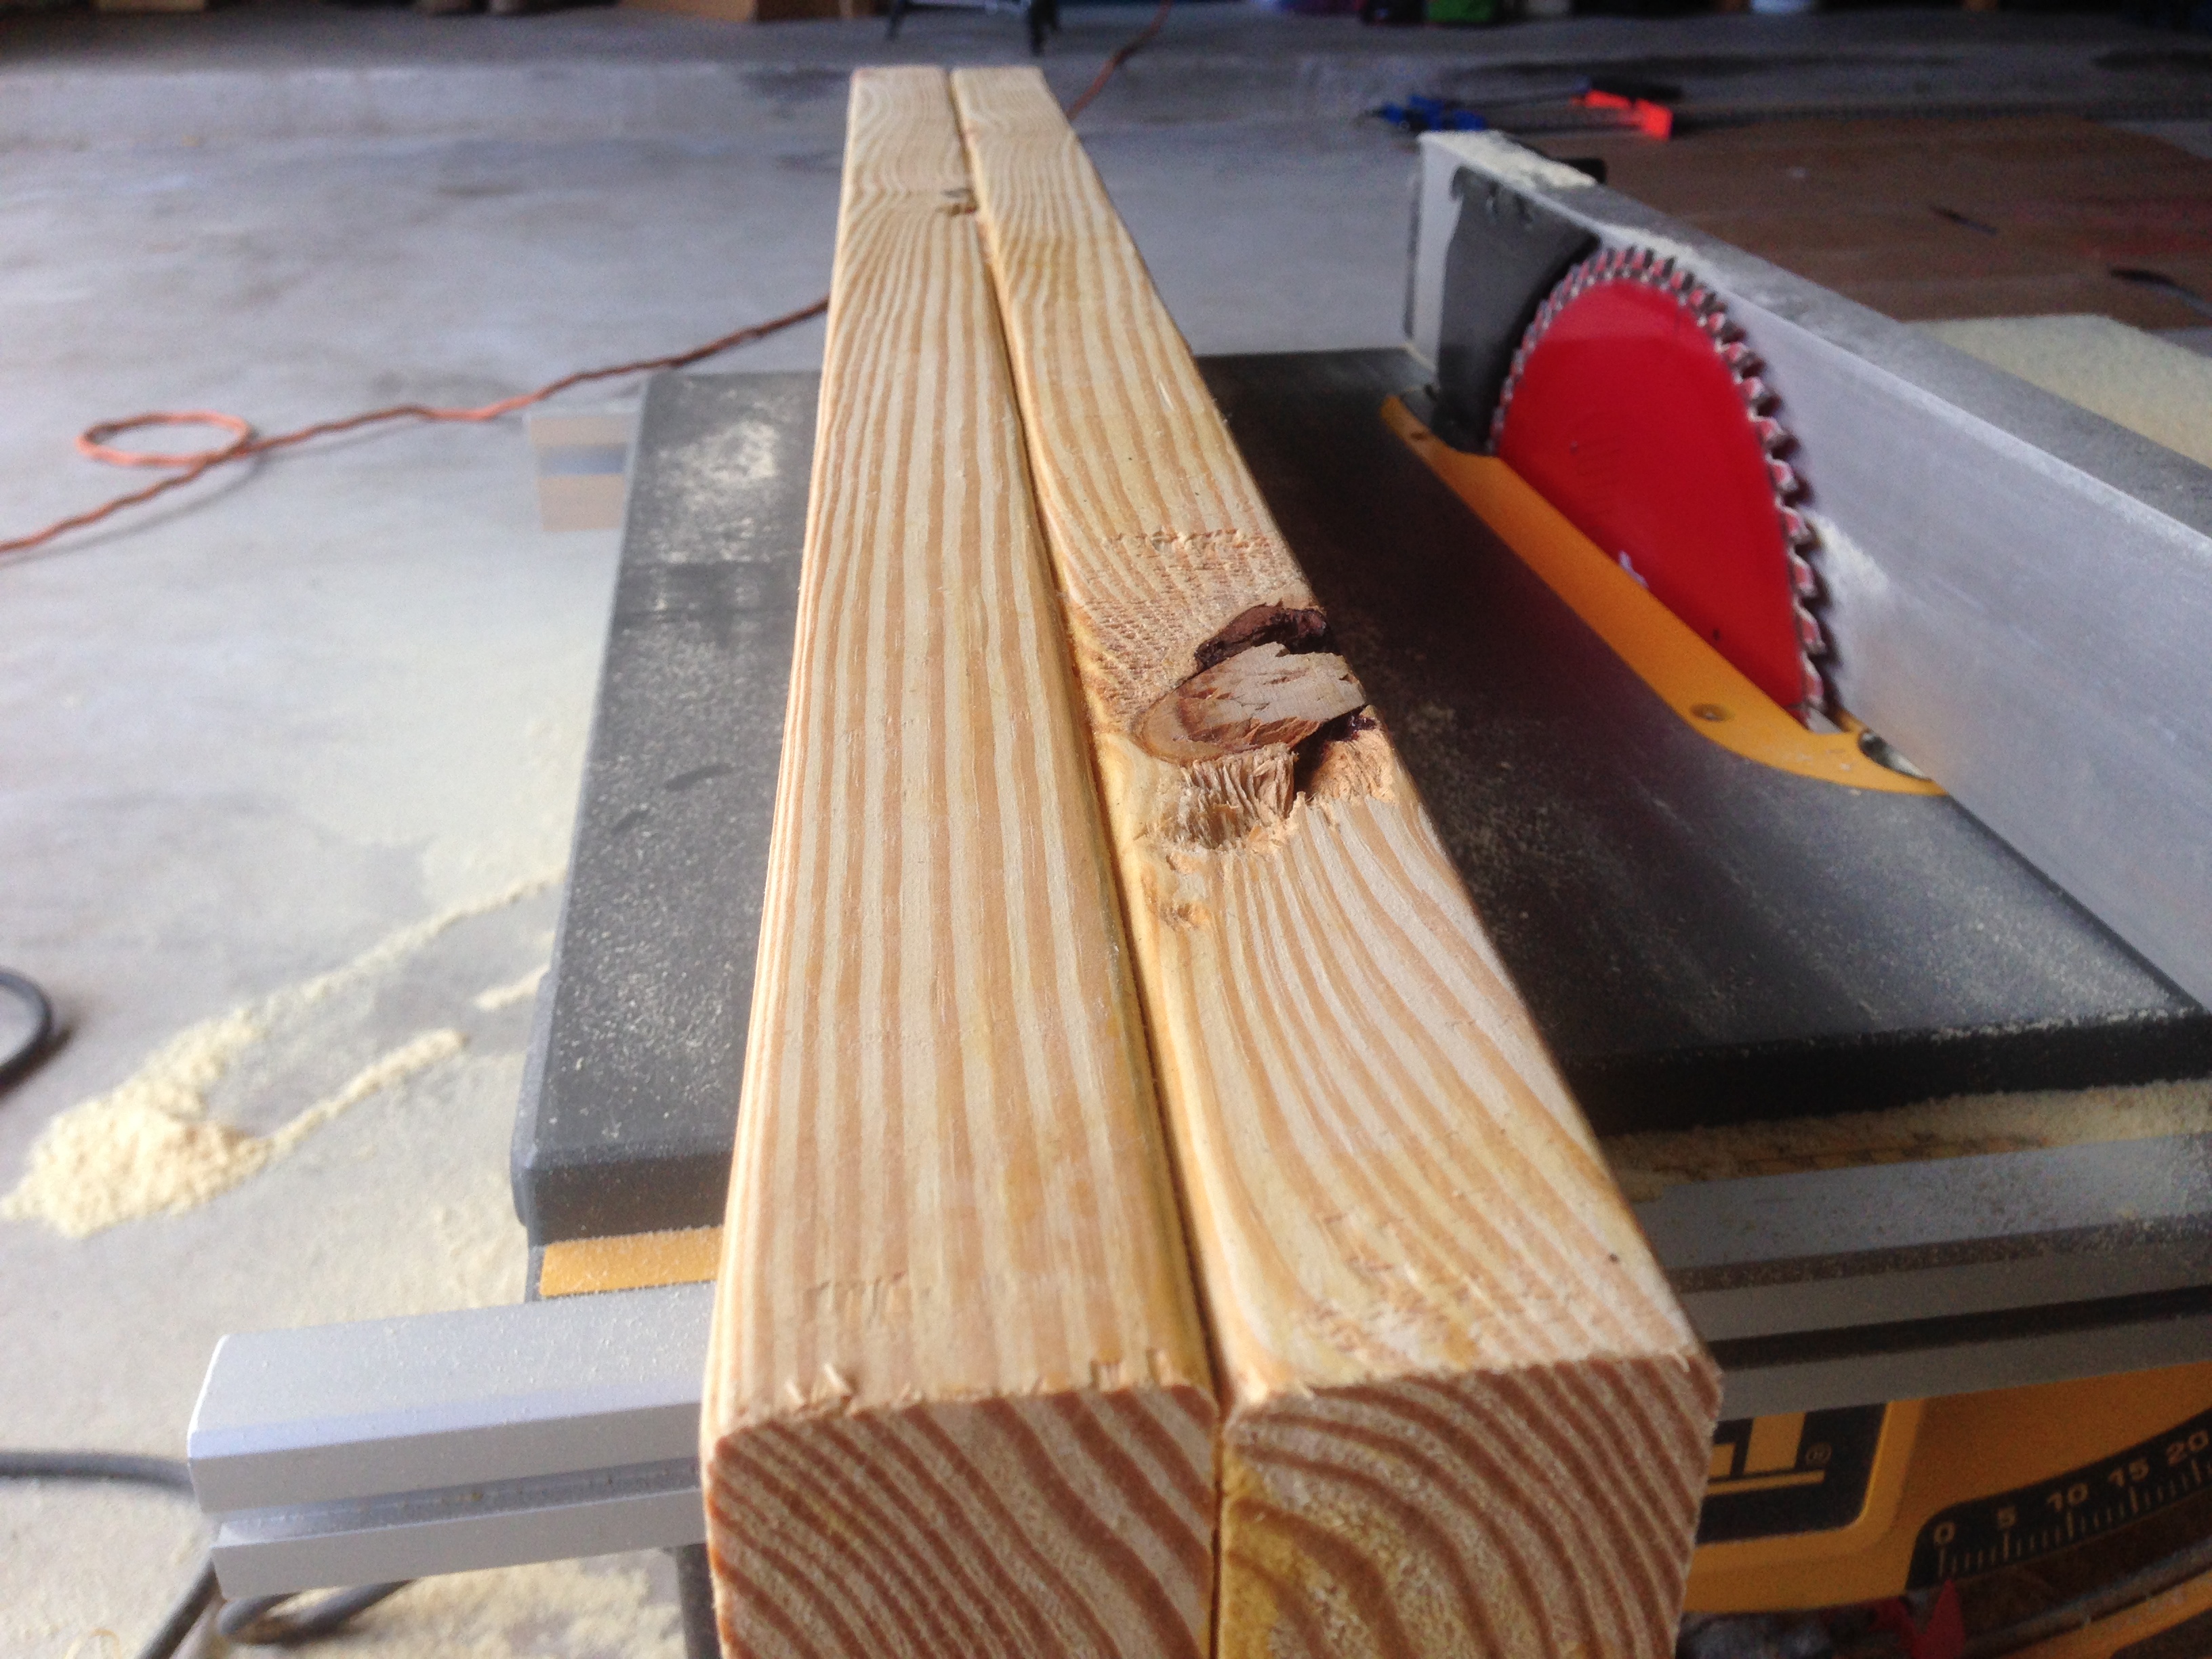
Here’s a shot to better show what I was doing. Cutting off the rounded sides help make the piece look more like one solid piece rather than two pieces of wood glued together.
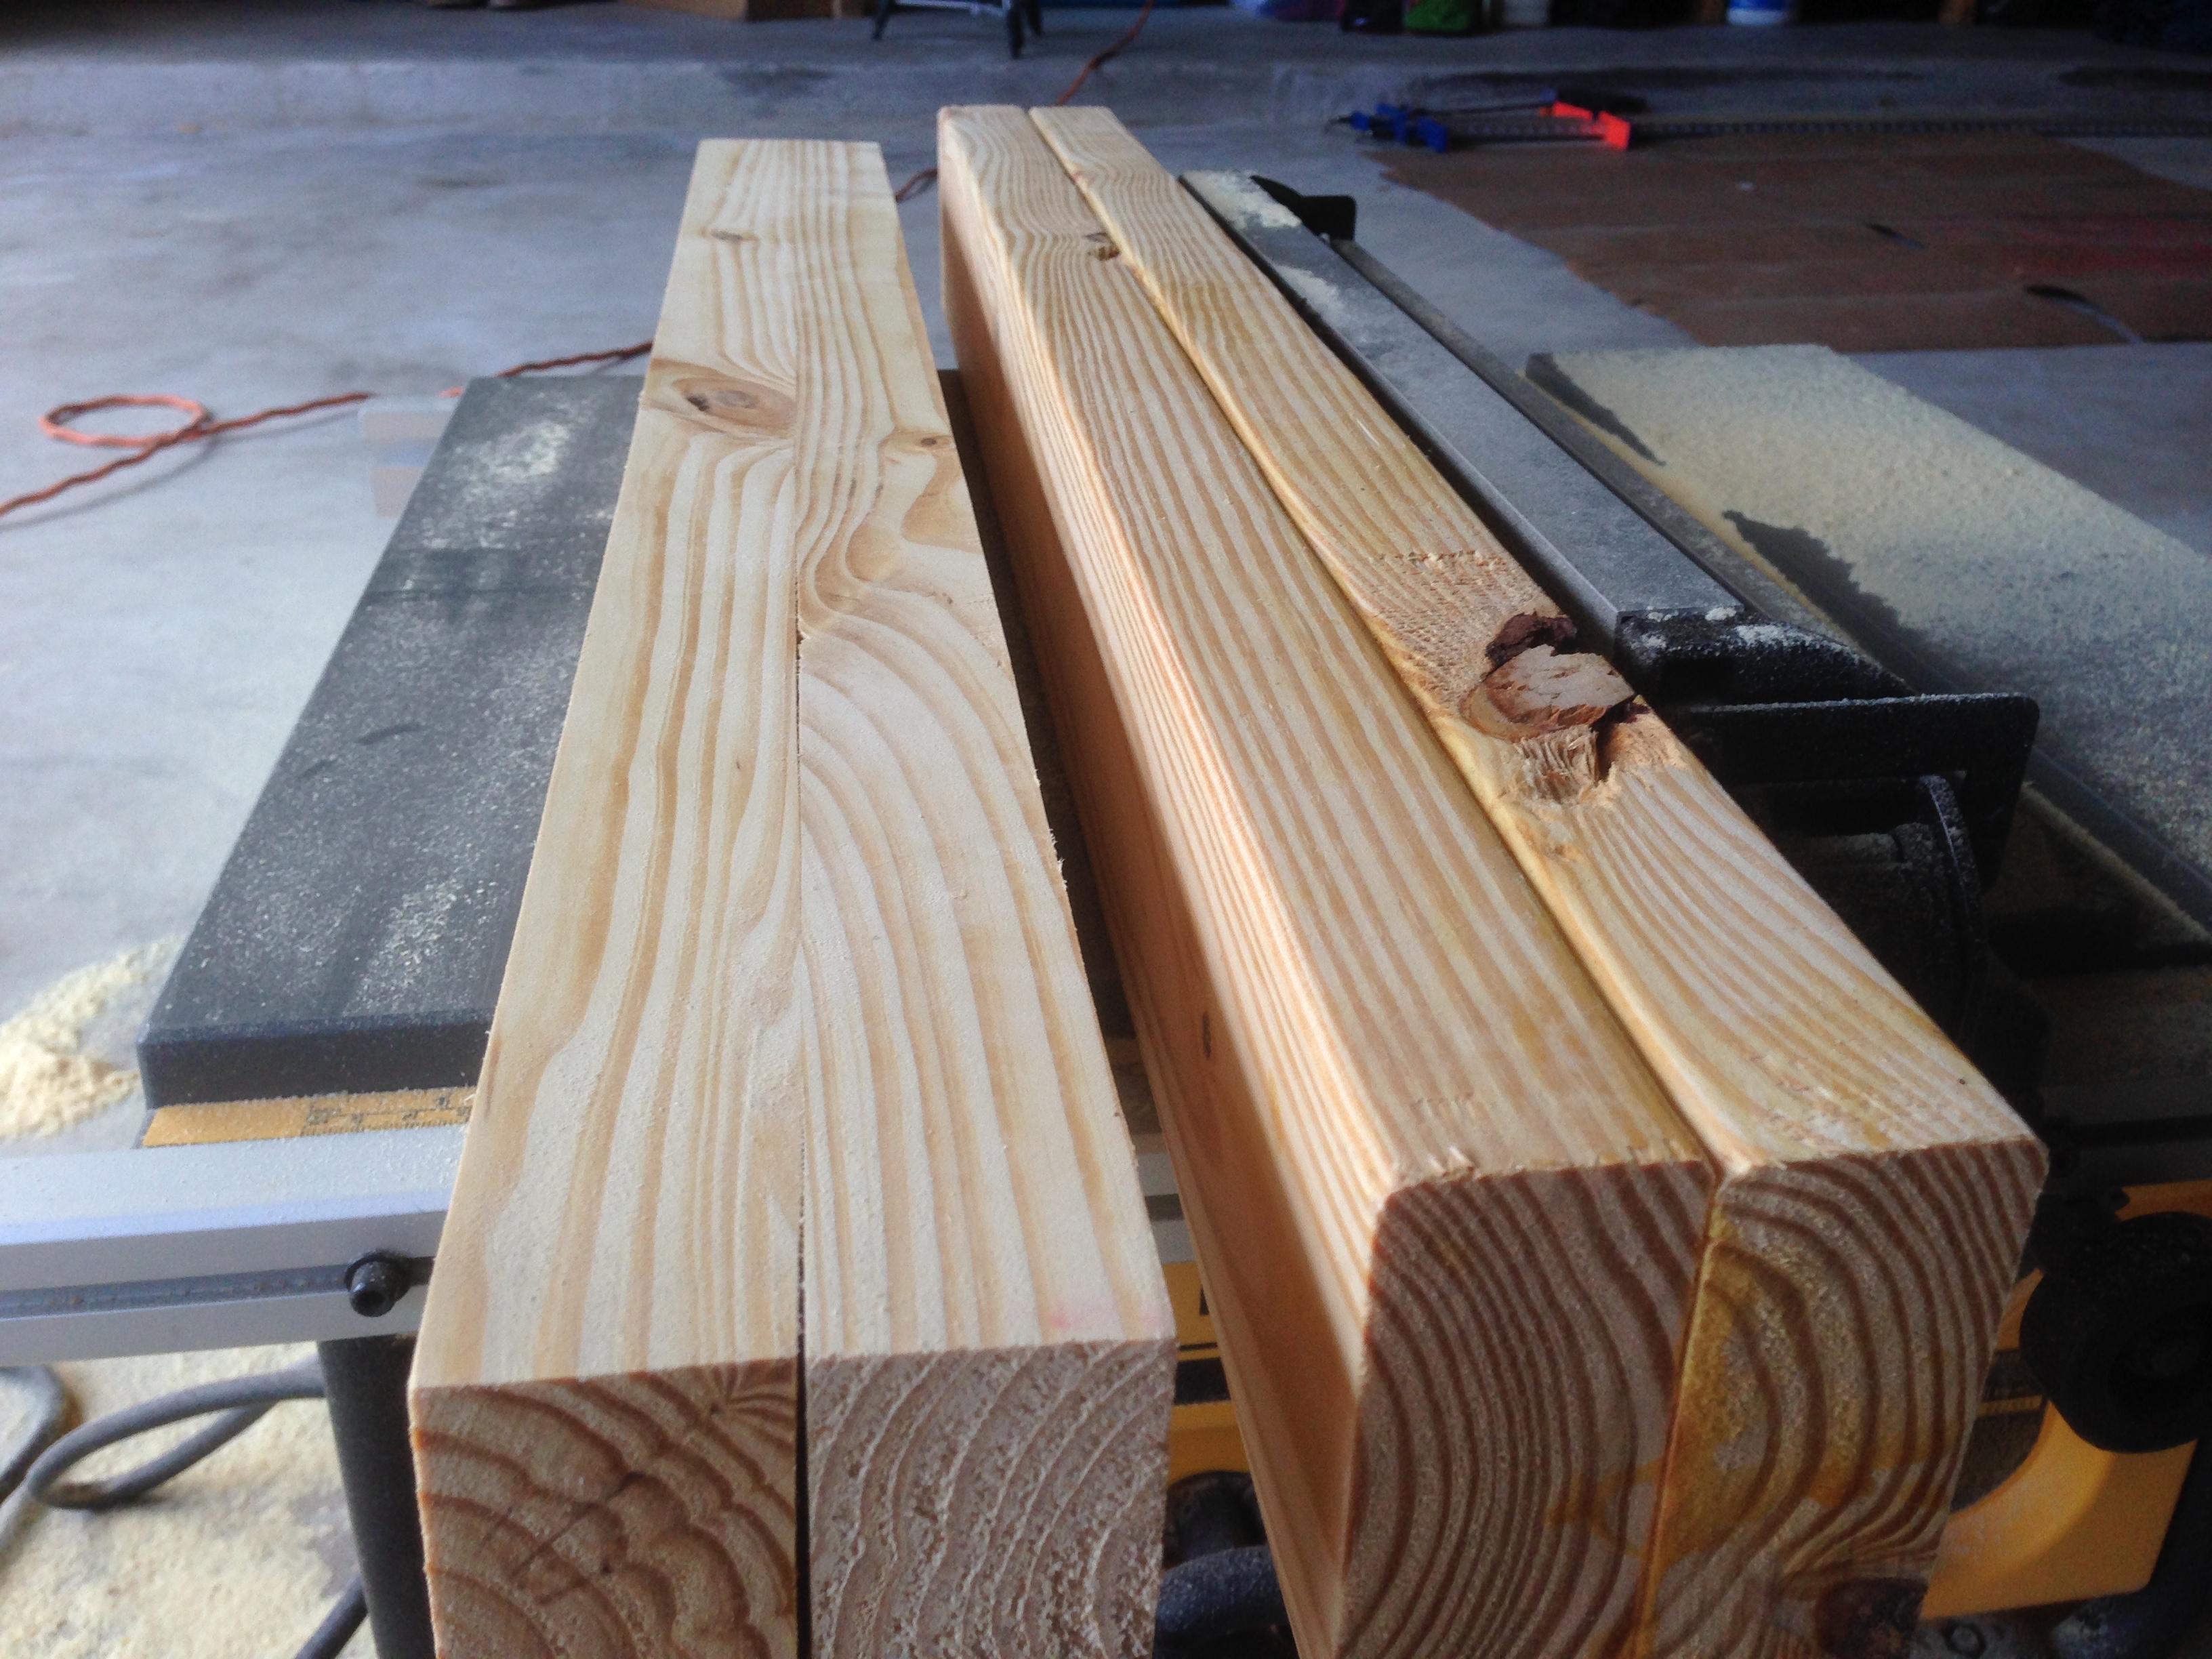
After trimming up the sides and squaring up the legs, I measured out 28″ to be the final height of each leg. Since the ends on each “raw” leg were uneven, I wanted to trim both sides to make flat ends. The raw legs were each roughly 30″, so I ended up cutting off 1″ on one end of each leg, then measuring out 28″ from that fresh, flat cut to get the final length and cutting it down to size.
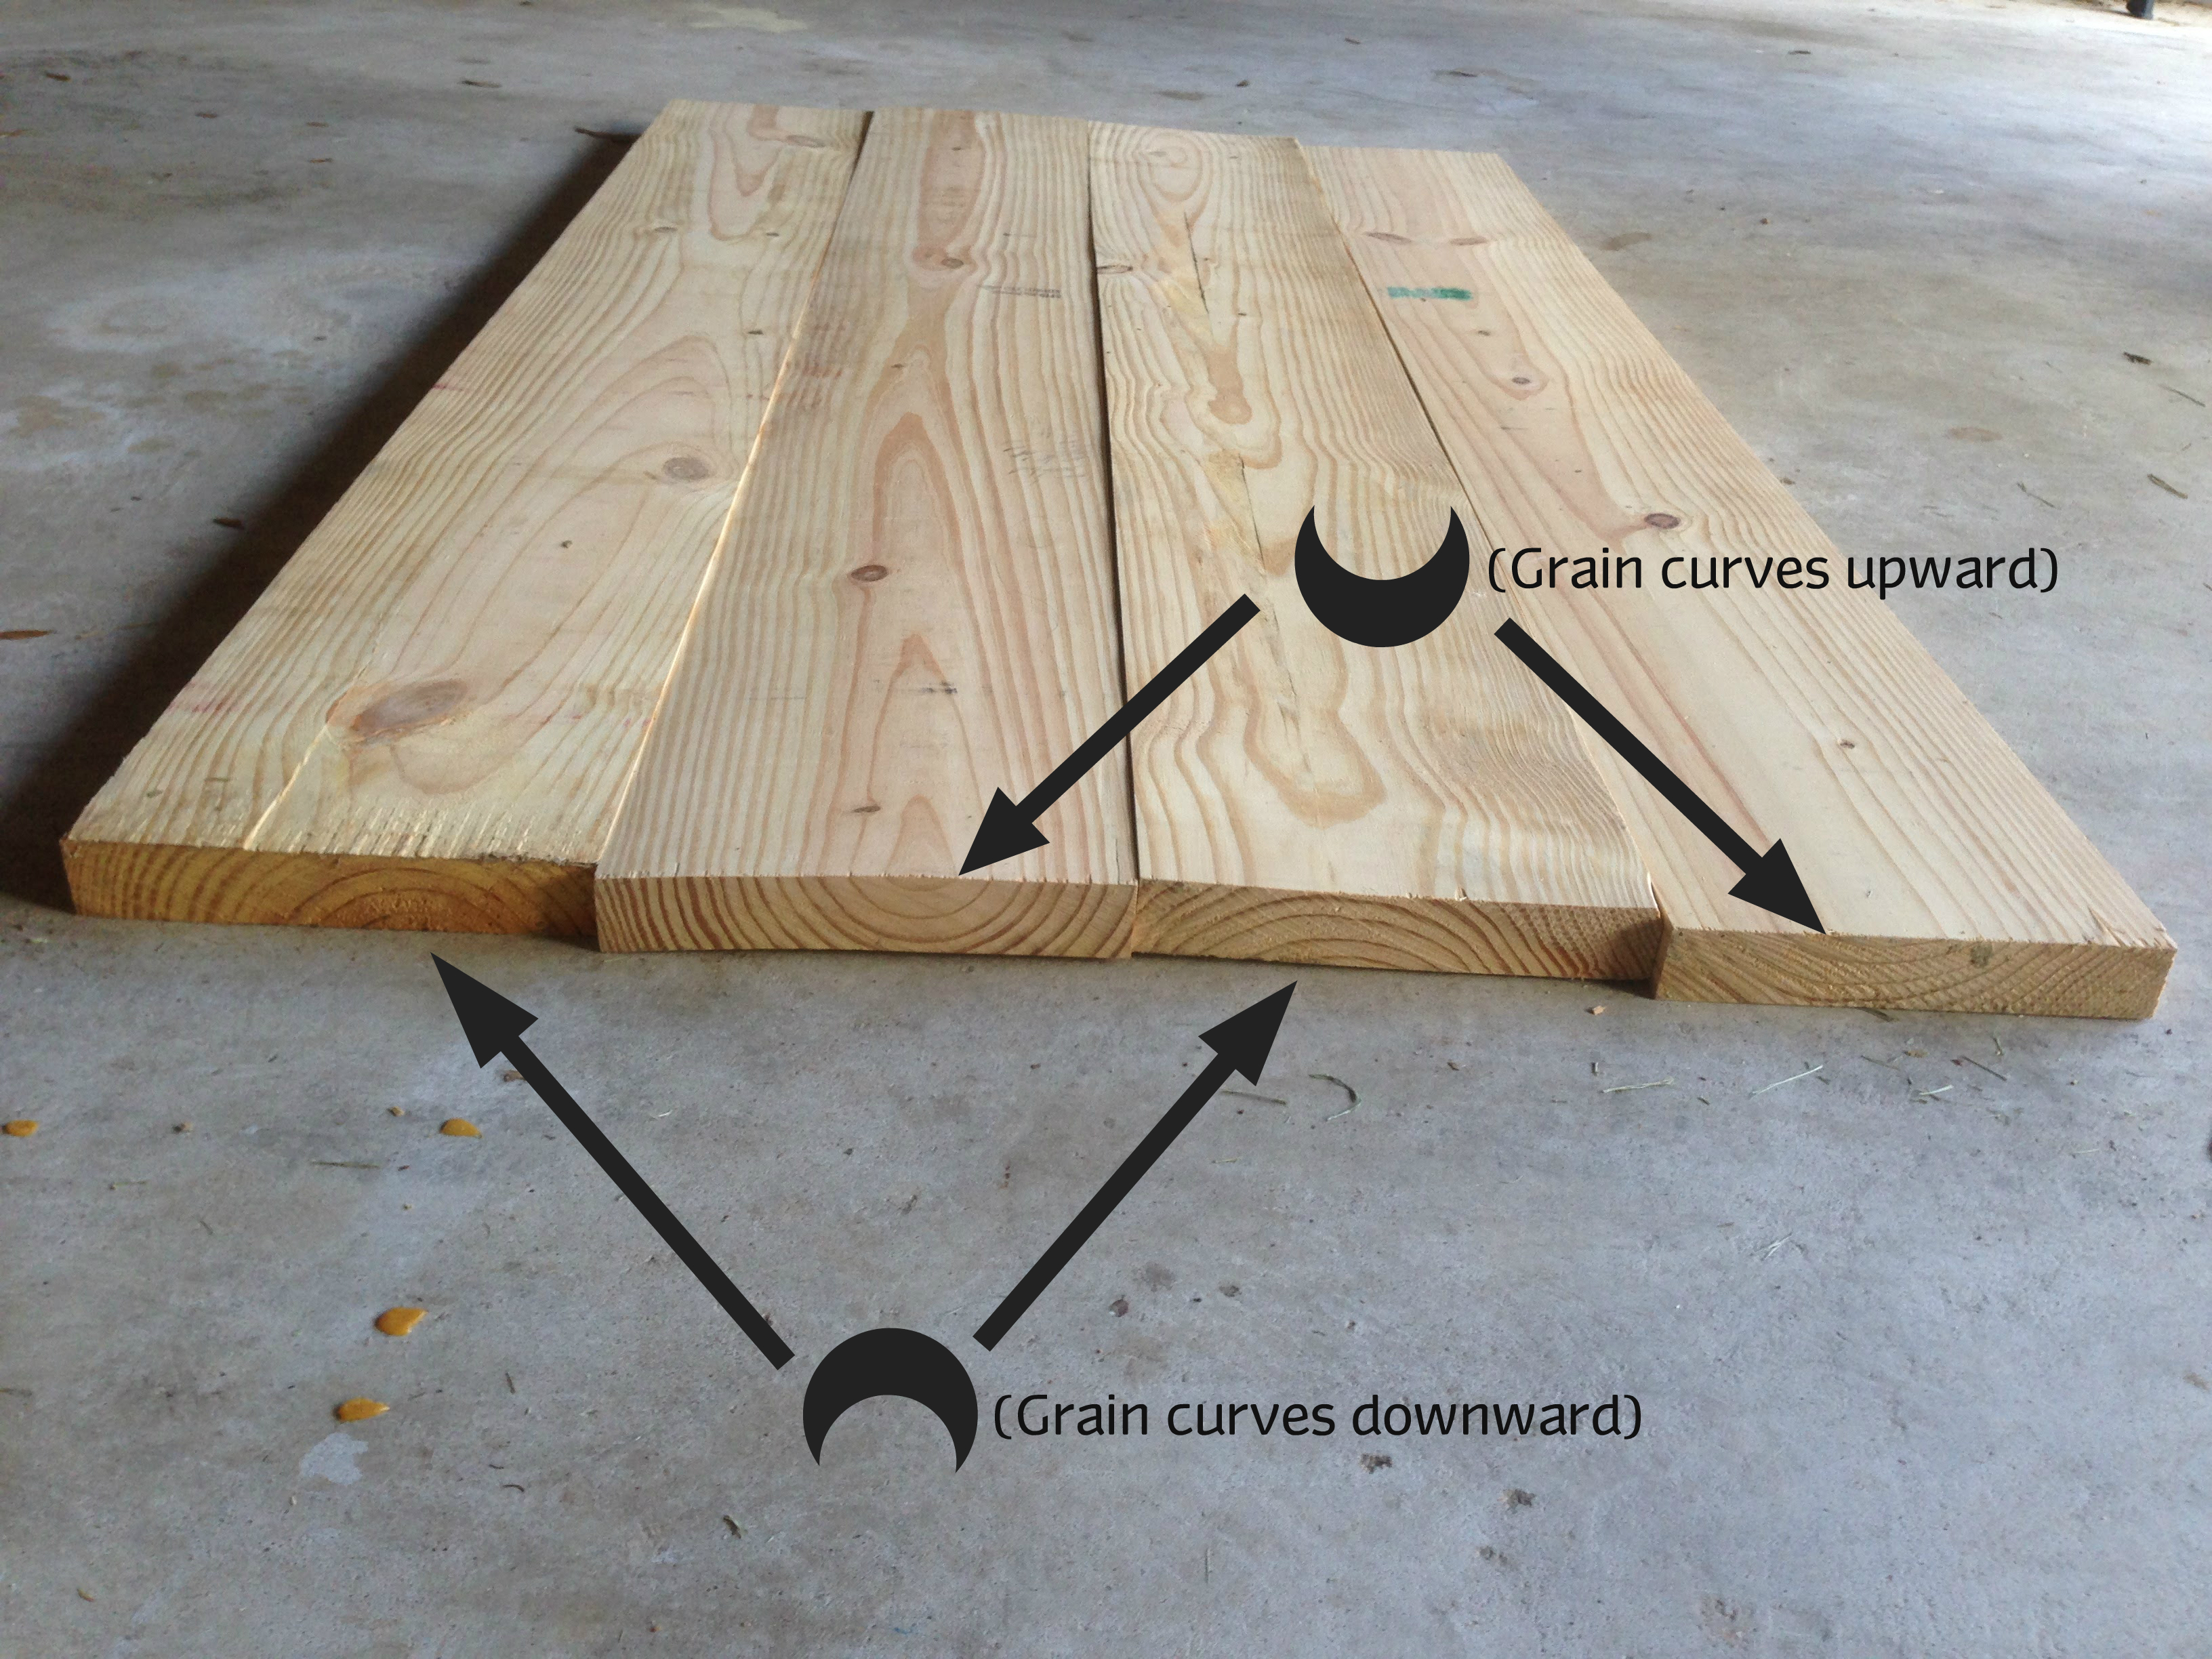
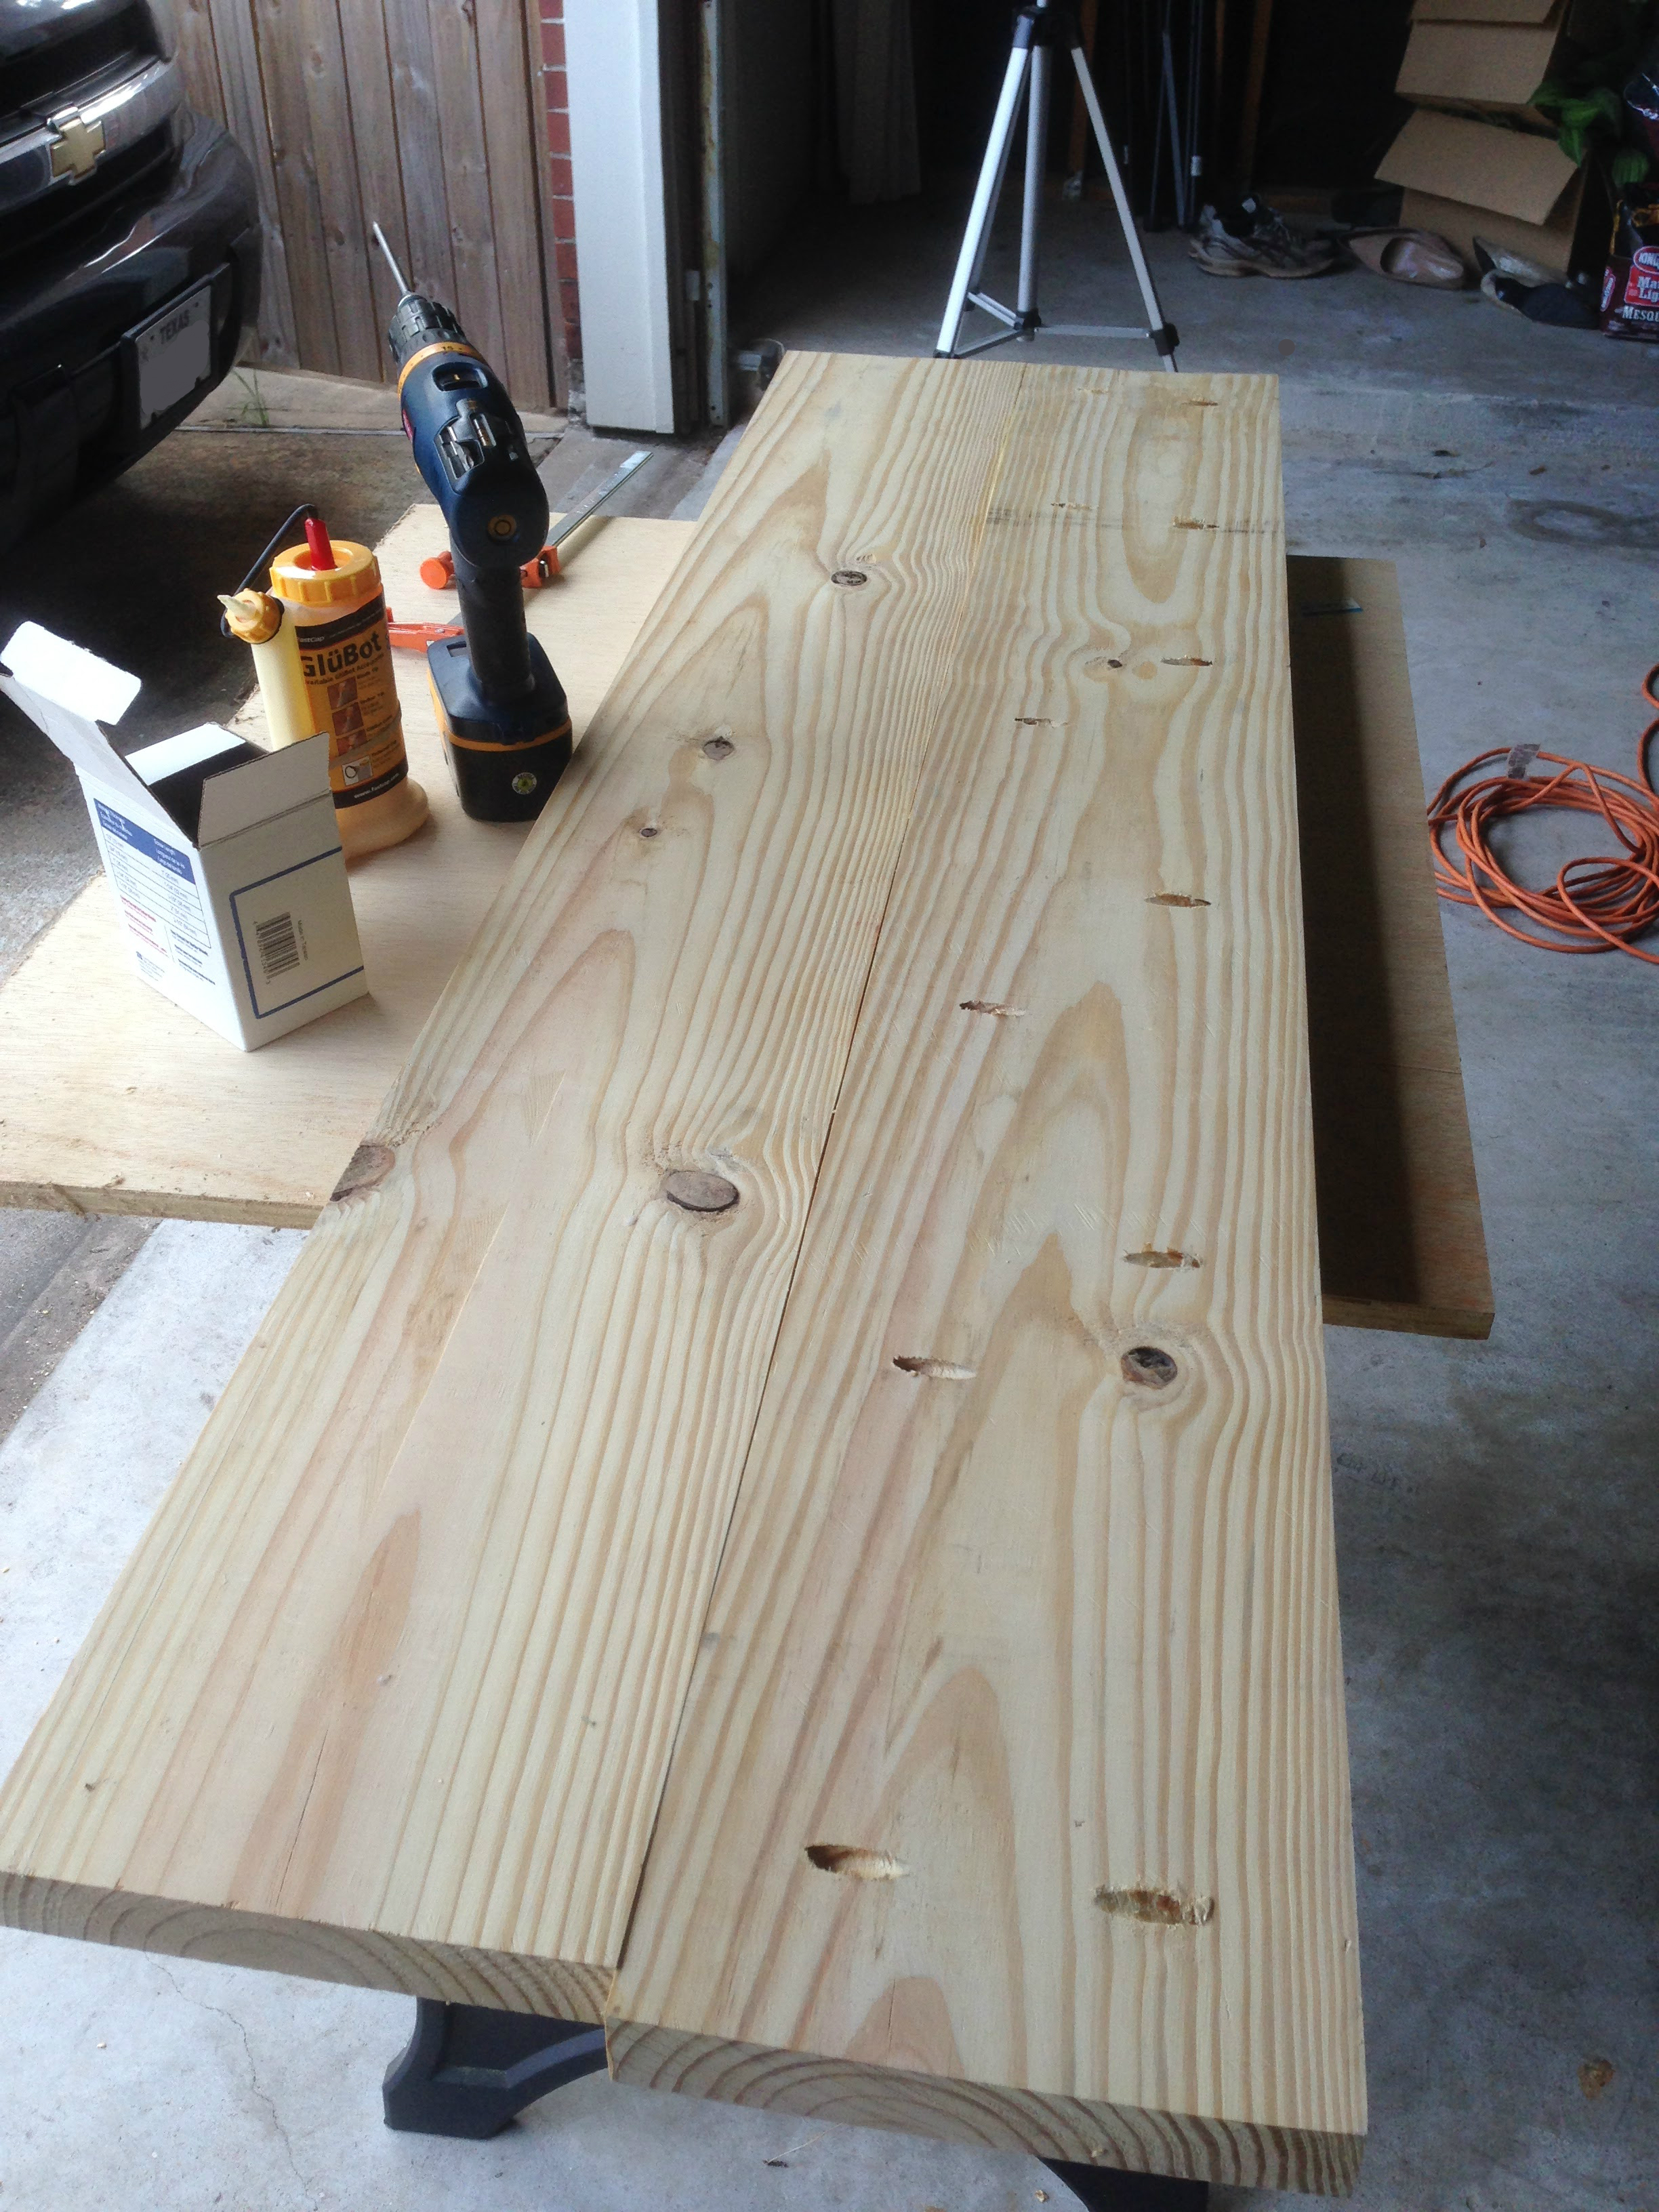
For the tabletop, I laid the boards out to determine which sides were best. Then I also had to consider the grain of the wood as well. I read somewhere that having the grains of the wood go opposite of each other would help eliminate major warping in the future. If the wood warps at all, it’ll naturally warp according to the grain, so if all of the grain is faced in the same direction, it’ll have more of an obvious warp. Hopefully the picture below gives you a better idea of what I’m saying.
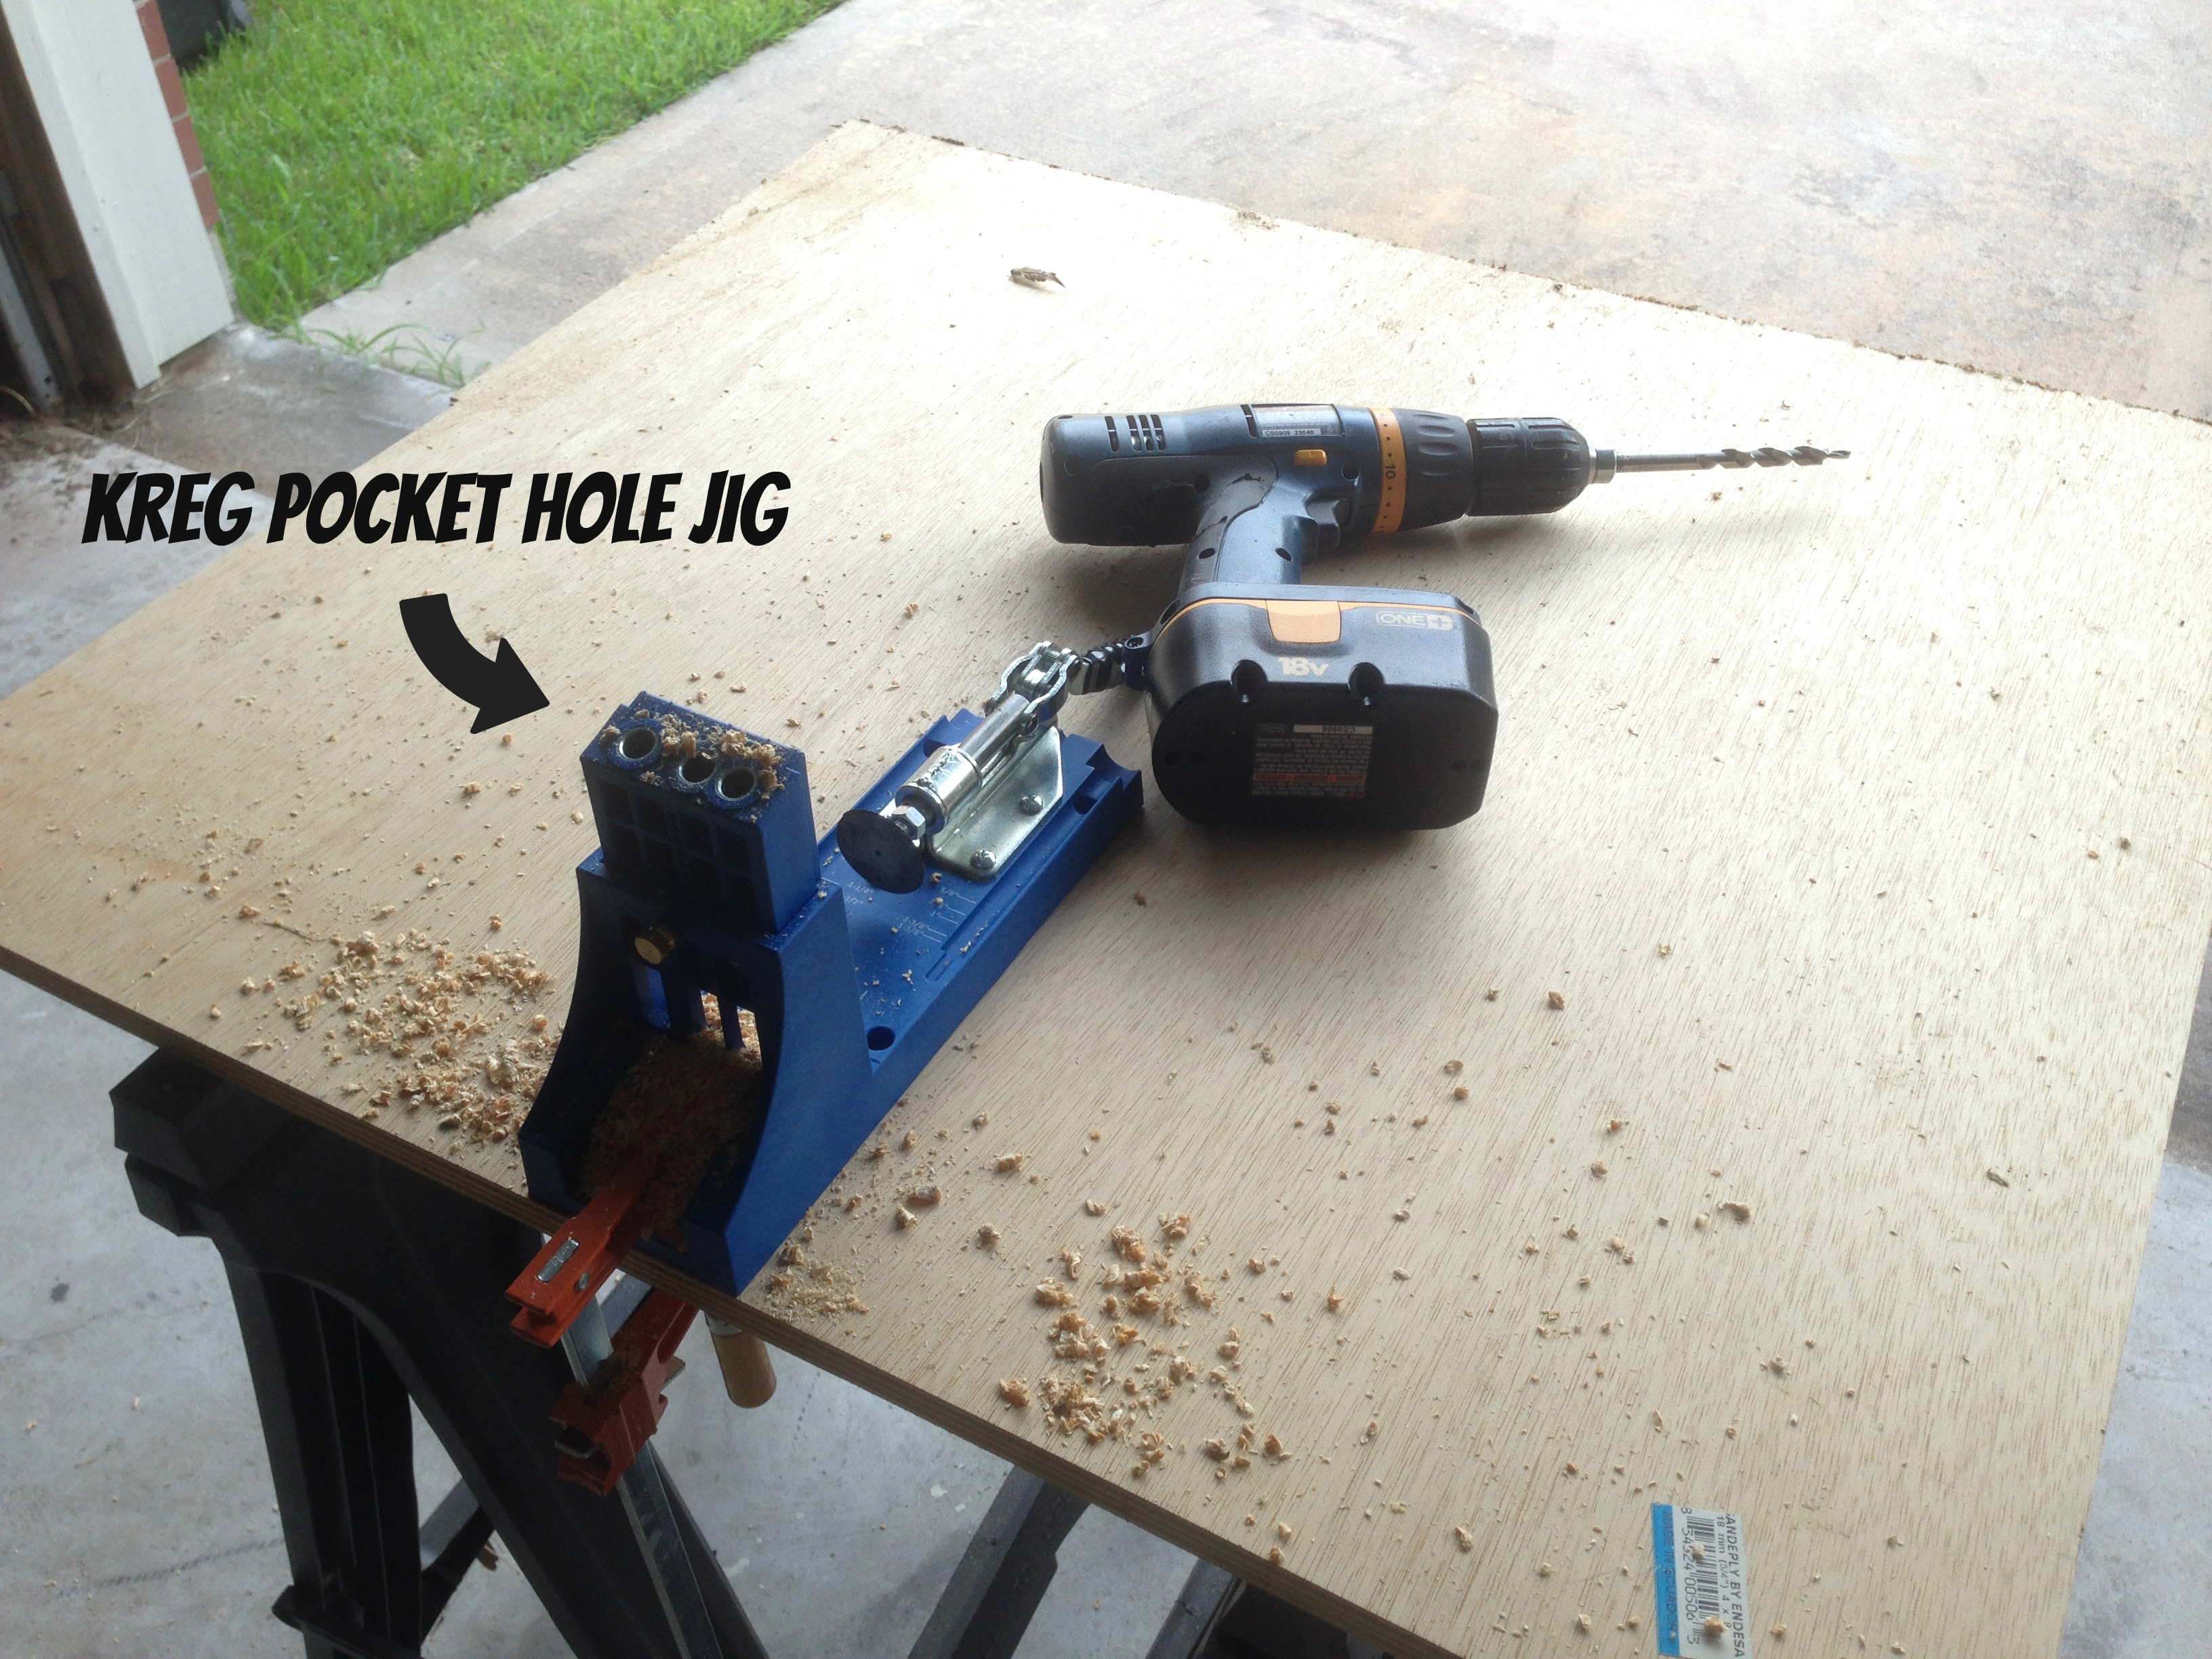
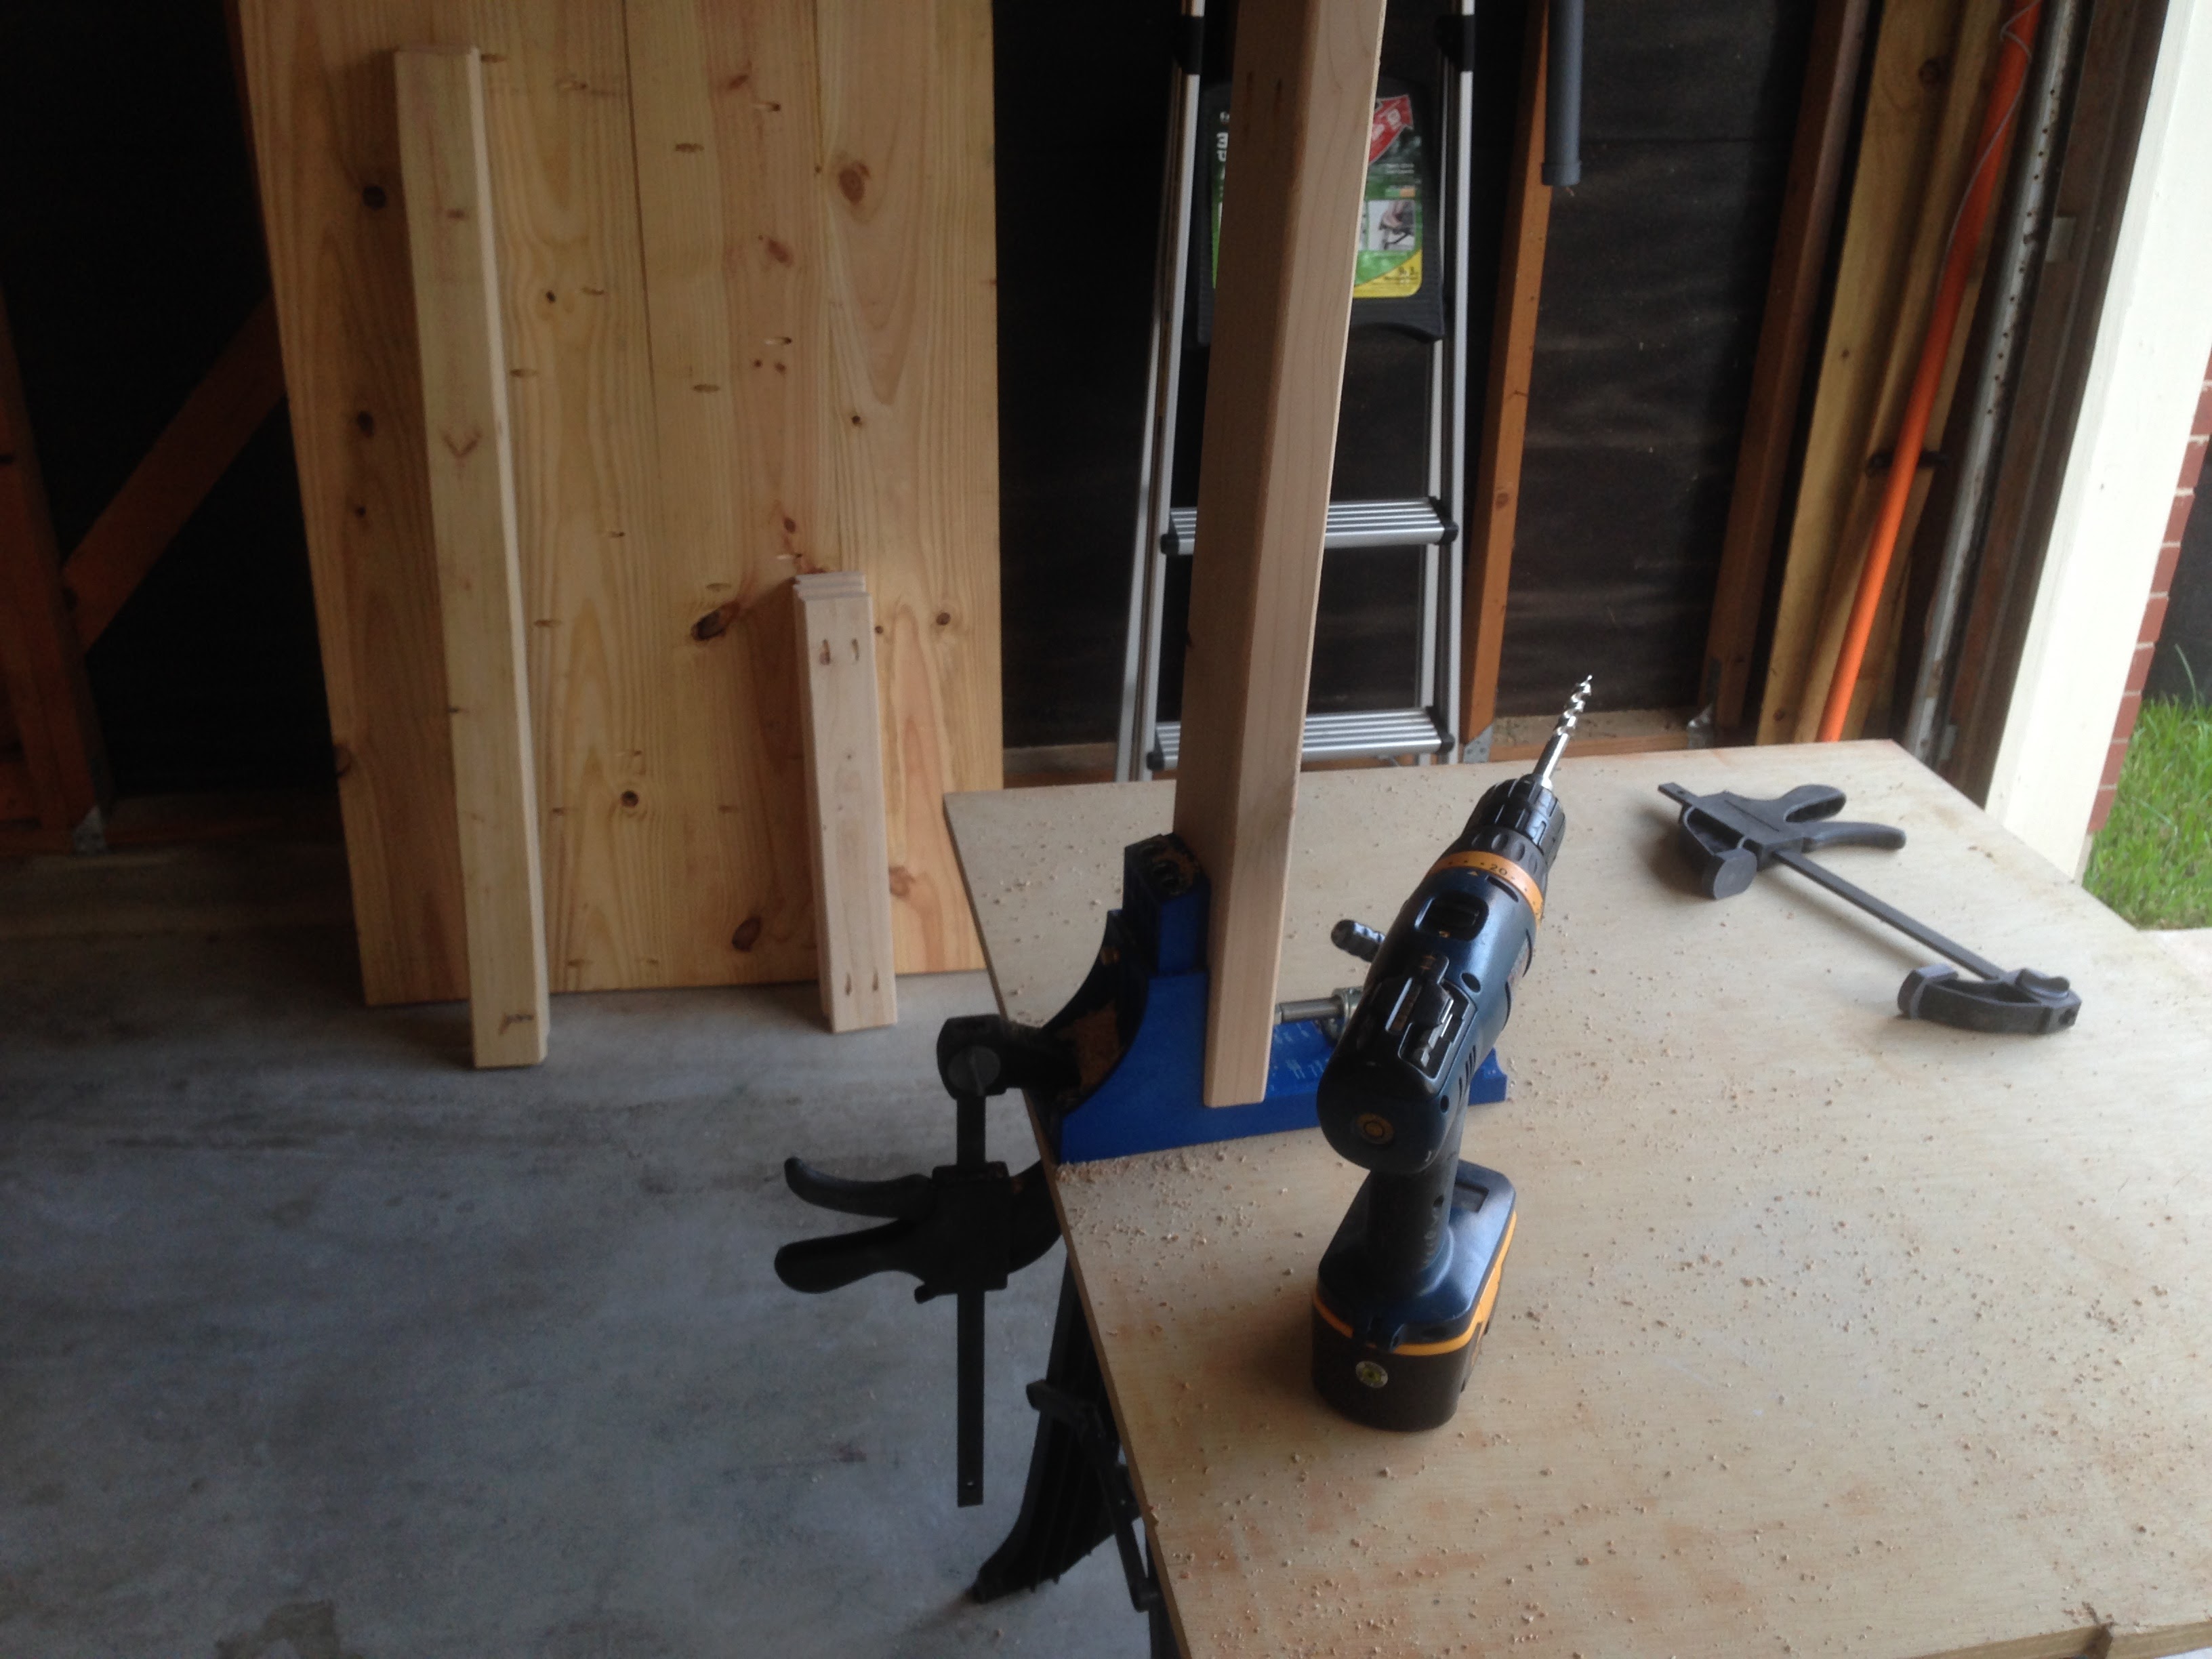
Then I set up a pocket hole drilling station to get things going.
I drilled pocket holes in the center 2 boards to join all 4 boards together.

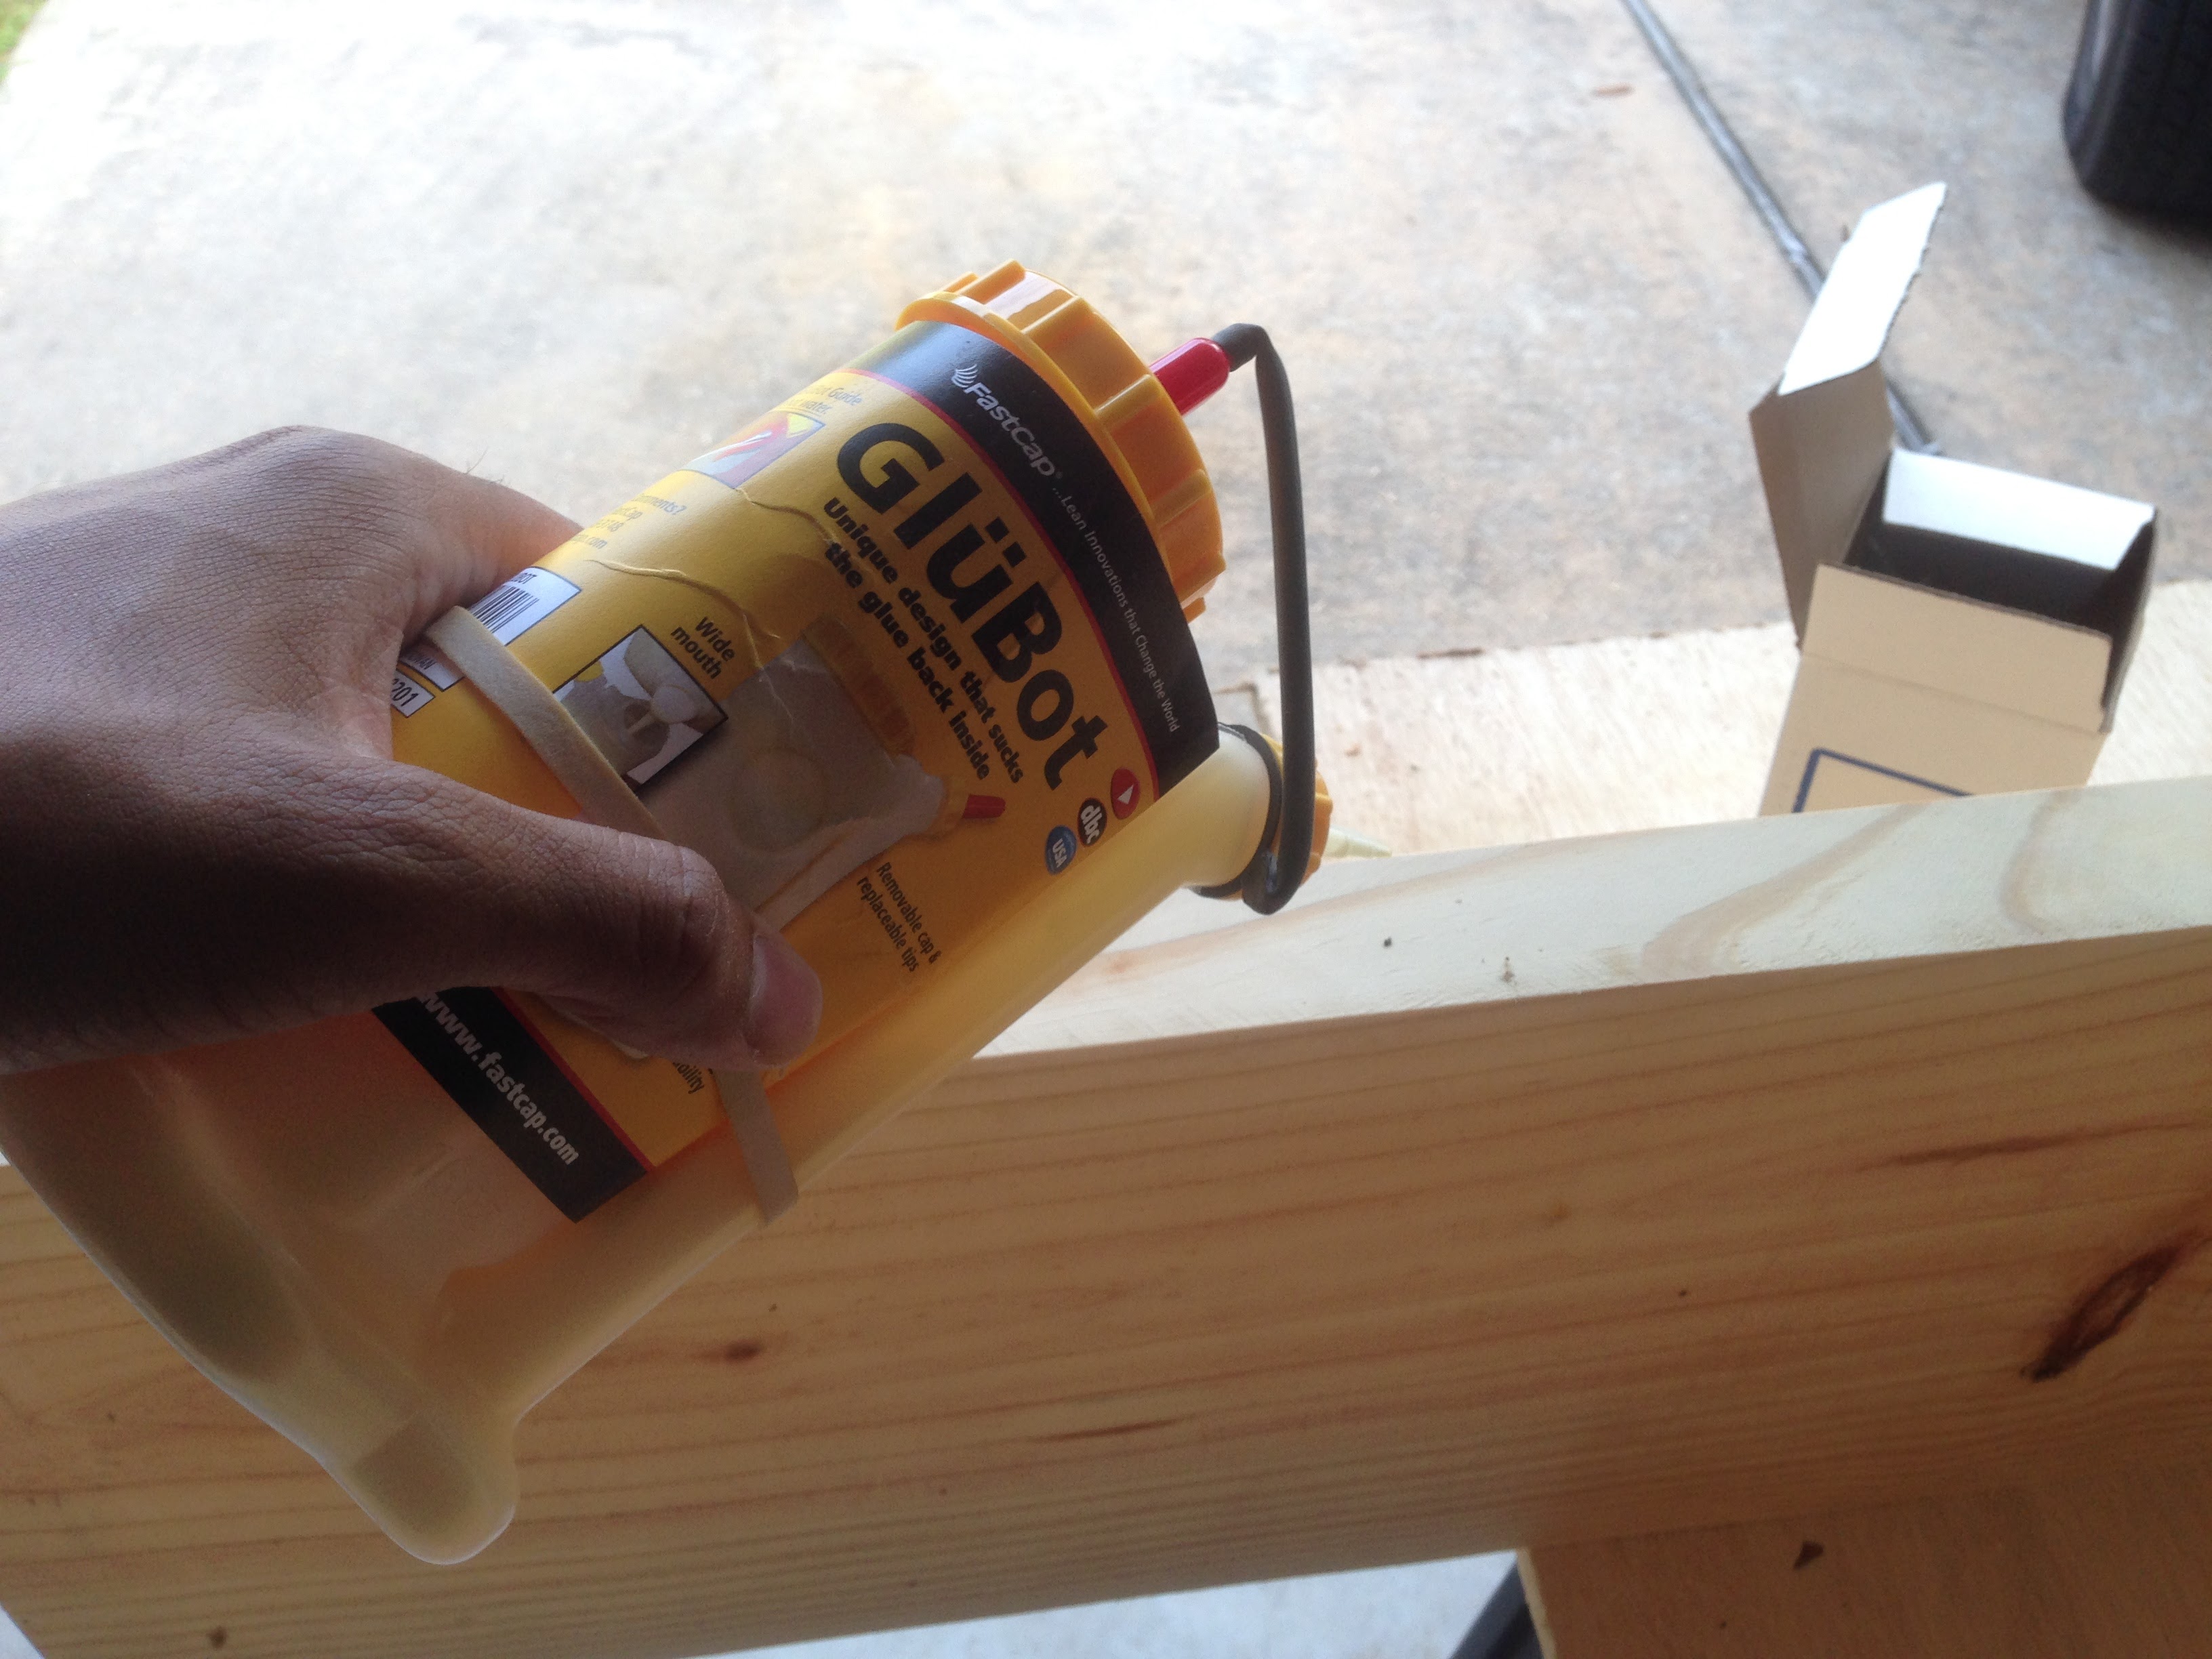
The process of joining all 4 boards together consisted of doing 2 boards at a time. I would stand them up on their sides and lay out a bead of glue.
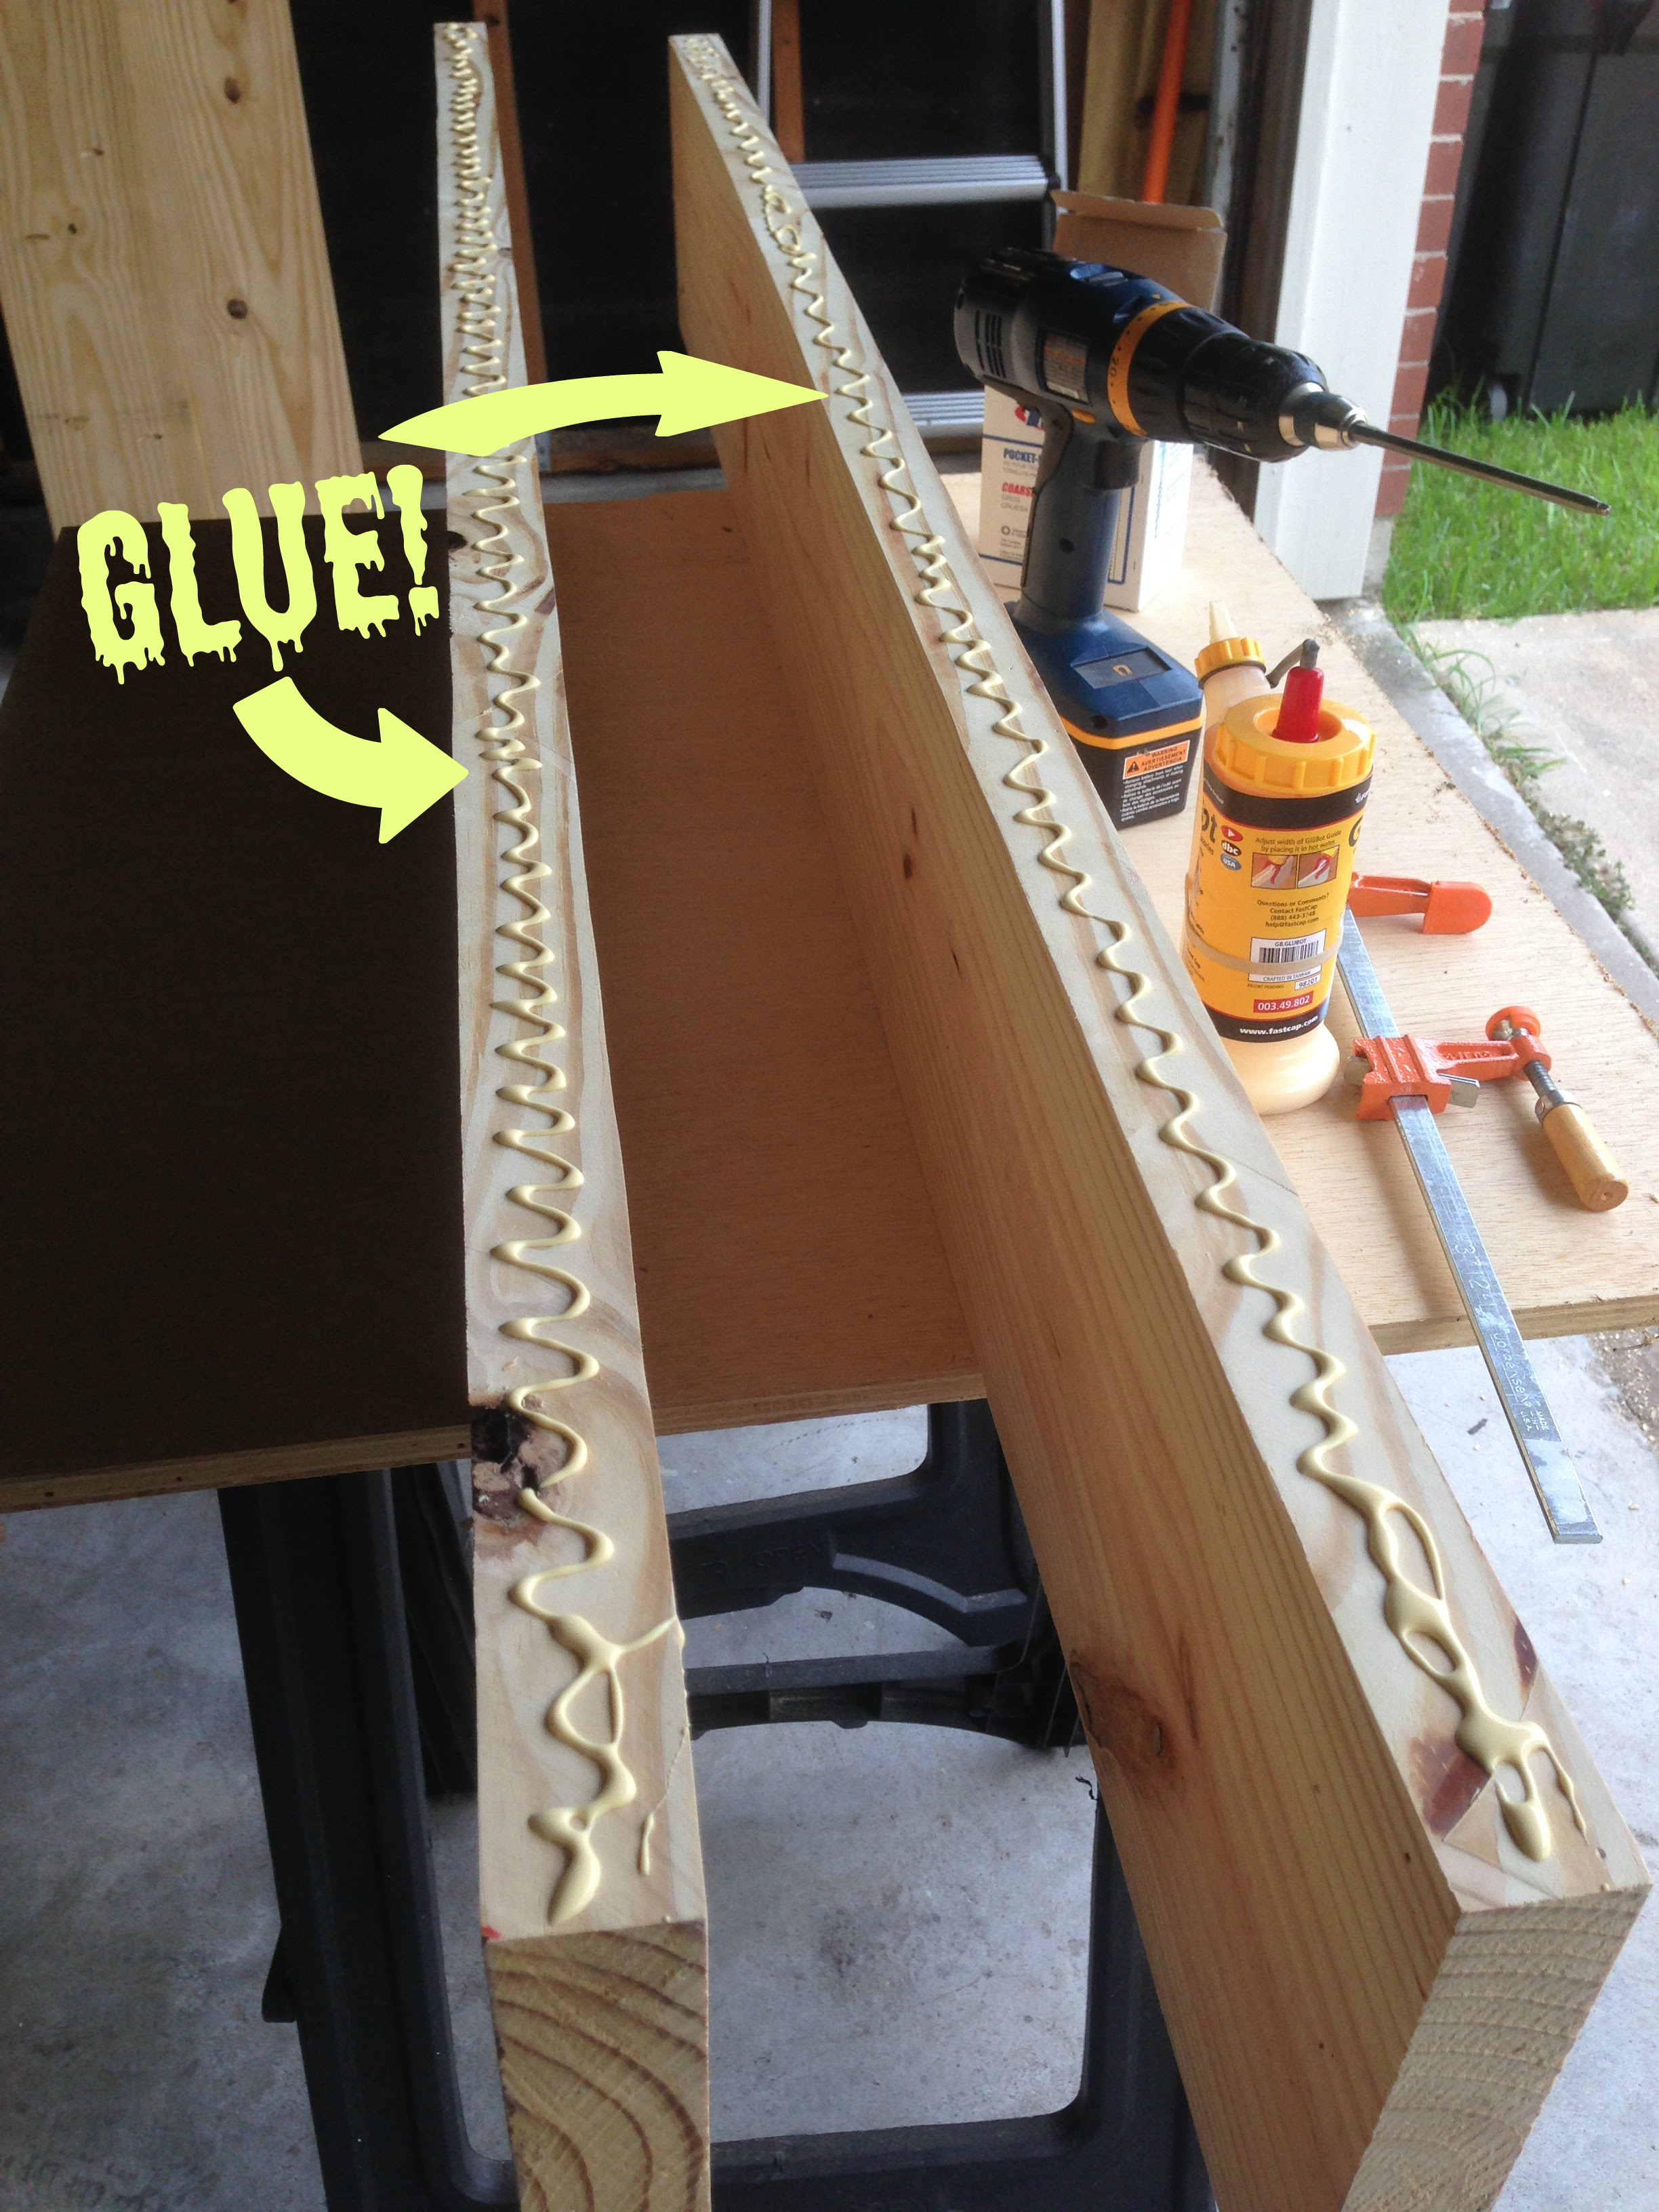
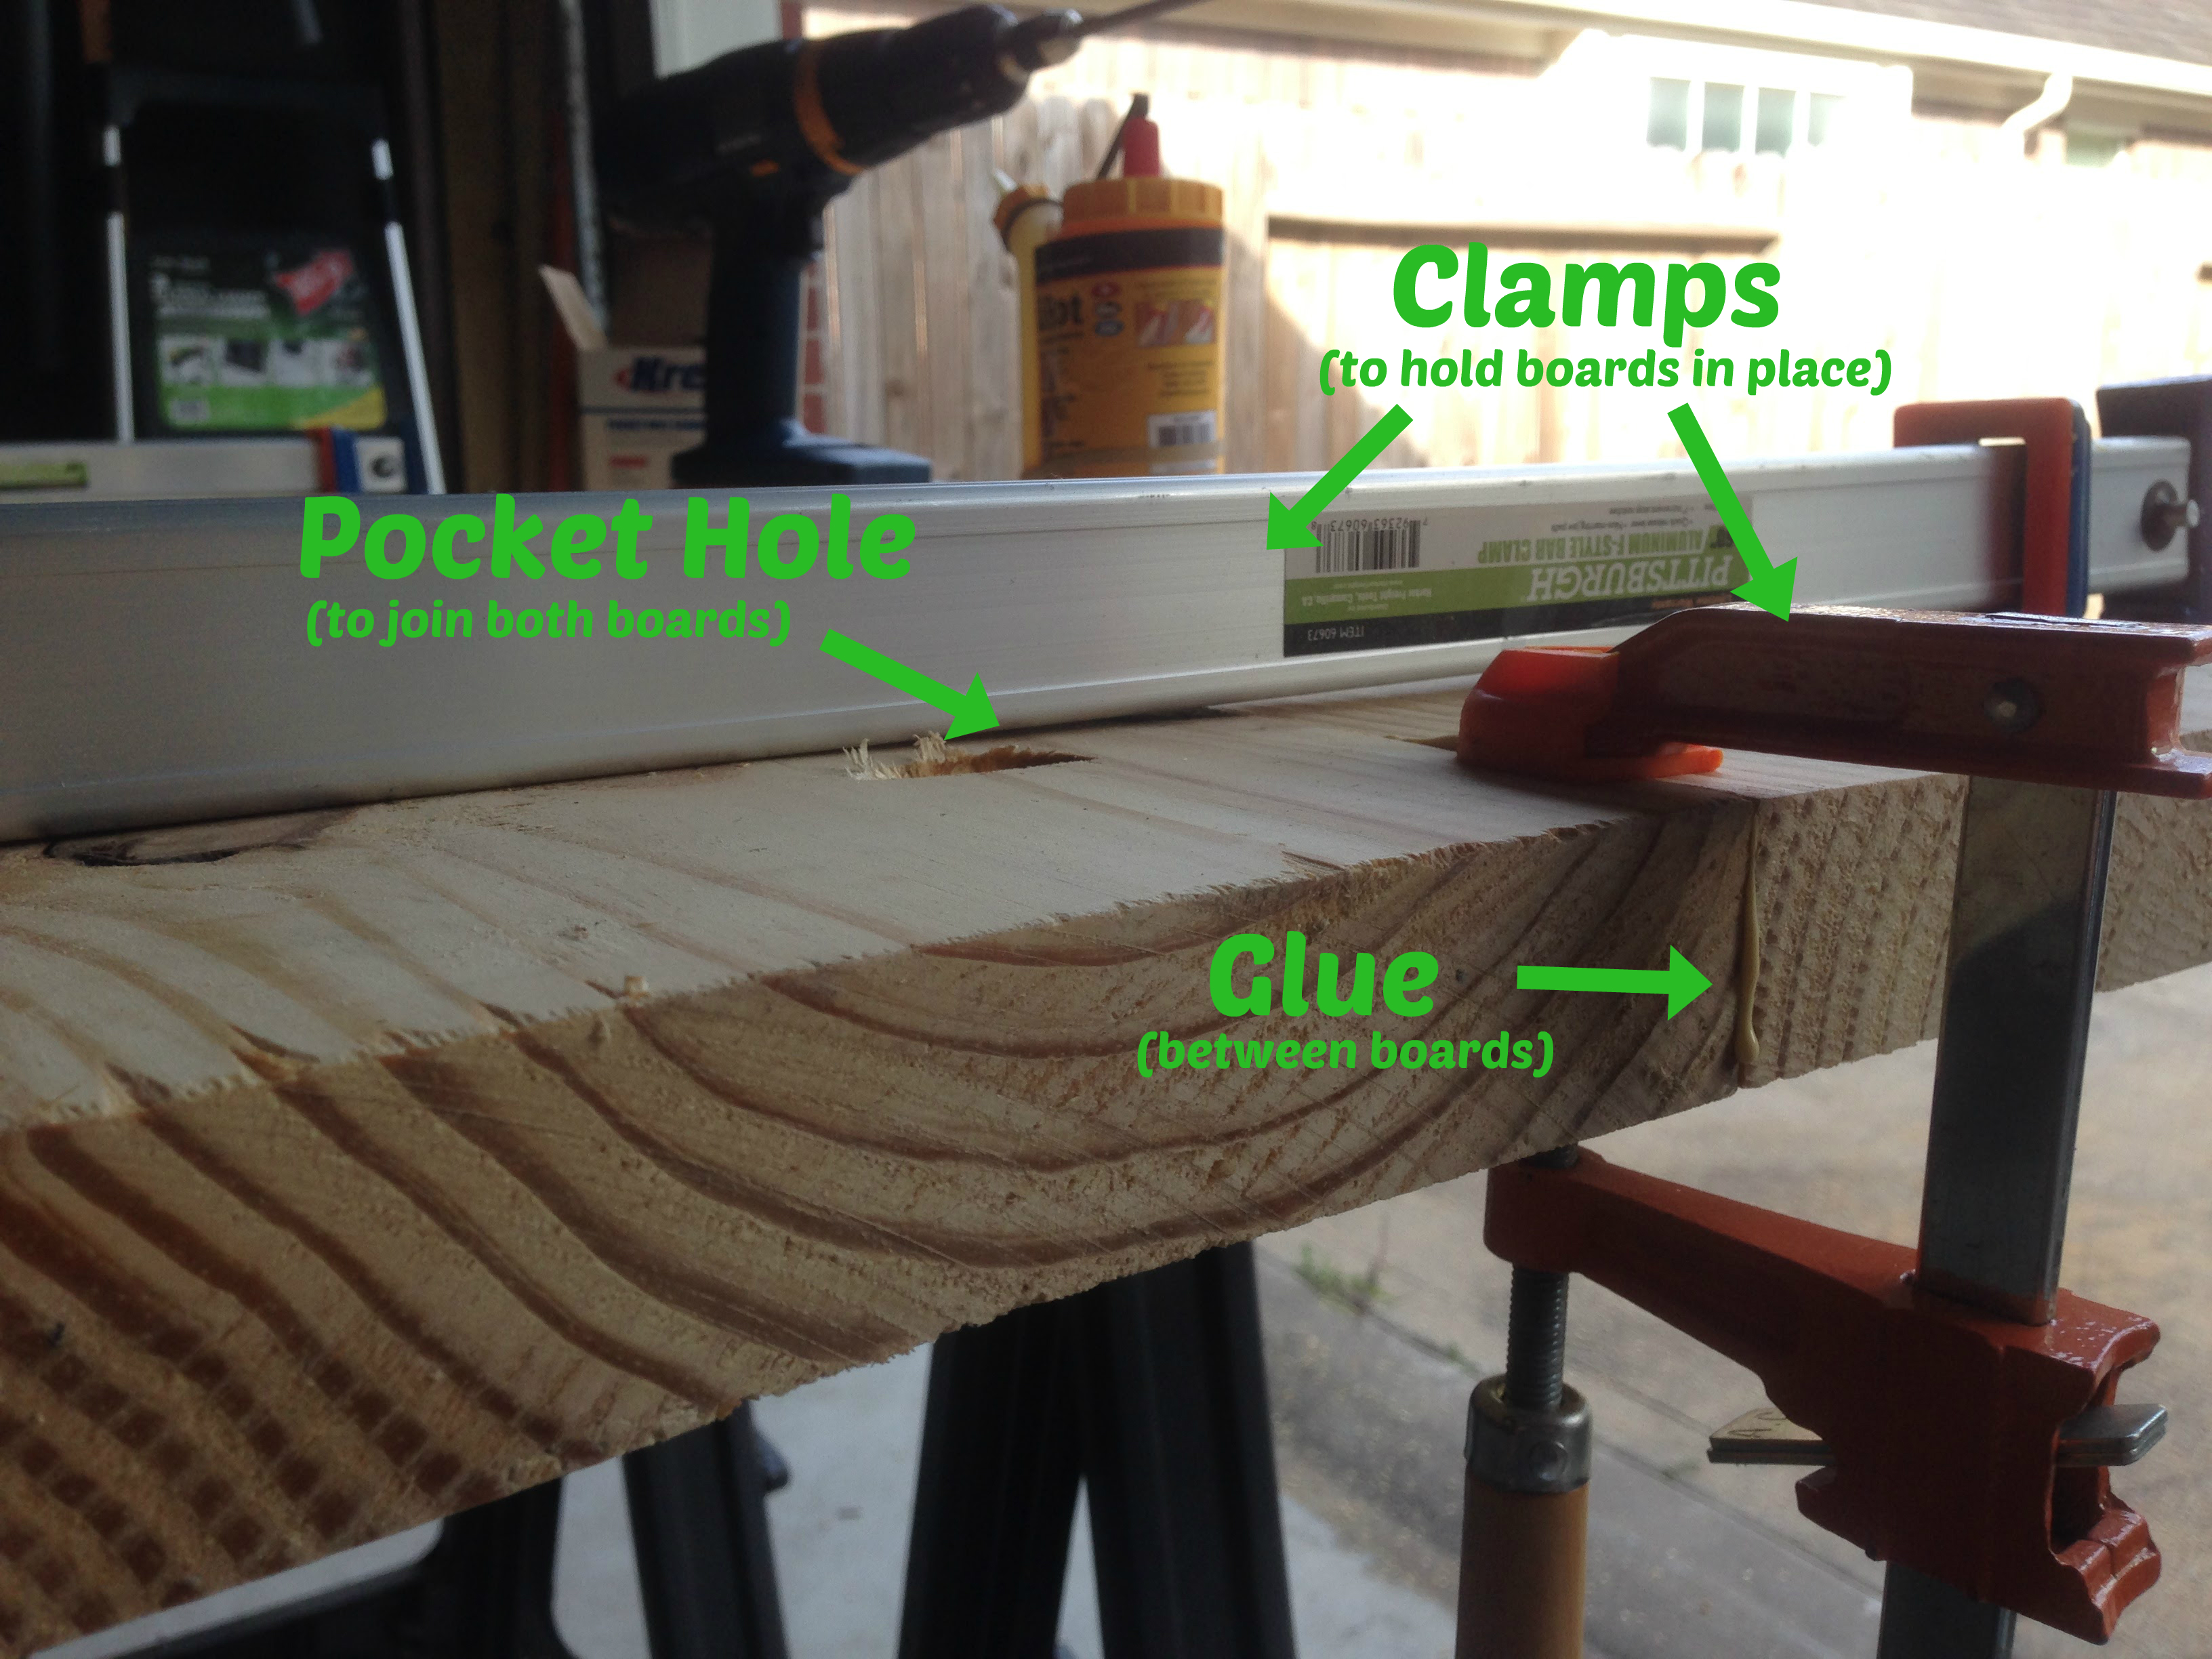
Then I would smooth it out with my finger, lay it flat, butt them up together, clamp it all down and start drilling the pocket hole screws in.
After that, I basically did the same thing to join the center boards together. Here’s what the top side of the table looks like after joining all 4 boards together.
You’ll note that the table top is not as flat as it should be. The next step it is to take a planer and scrap it down till it’s all flat. That along with sanding should do the trick. You’ll also note that the short ends of the table top are not perfectly straight. I took a straight edge from a scrap piece of wood and clamped it on to the table top, measuring a 90 degree line from the long side of the table top.
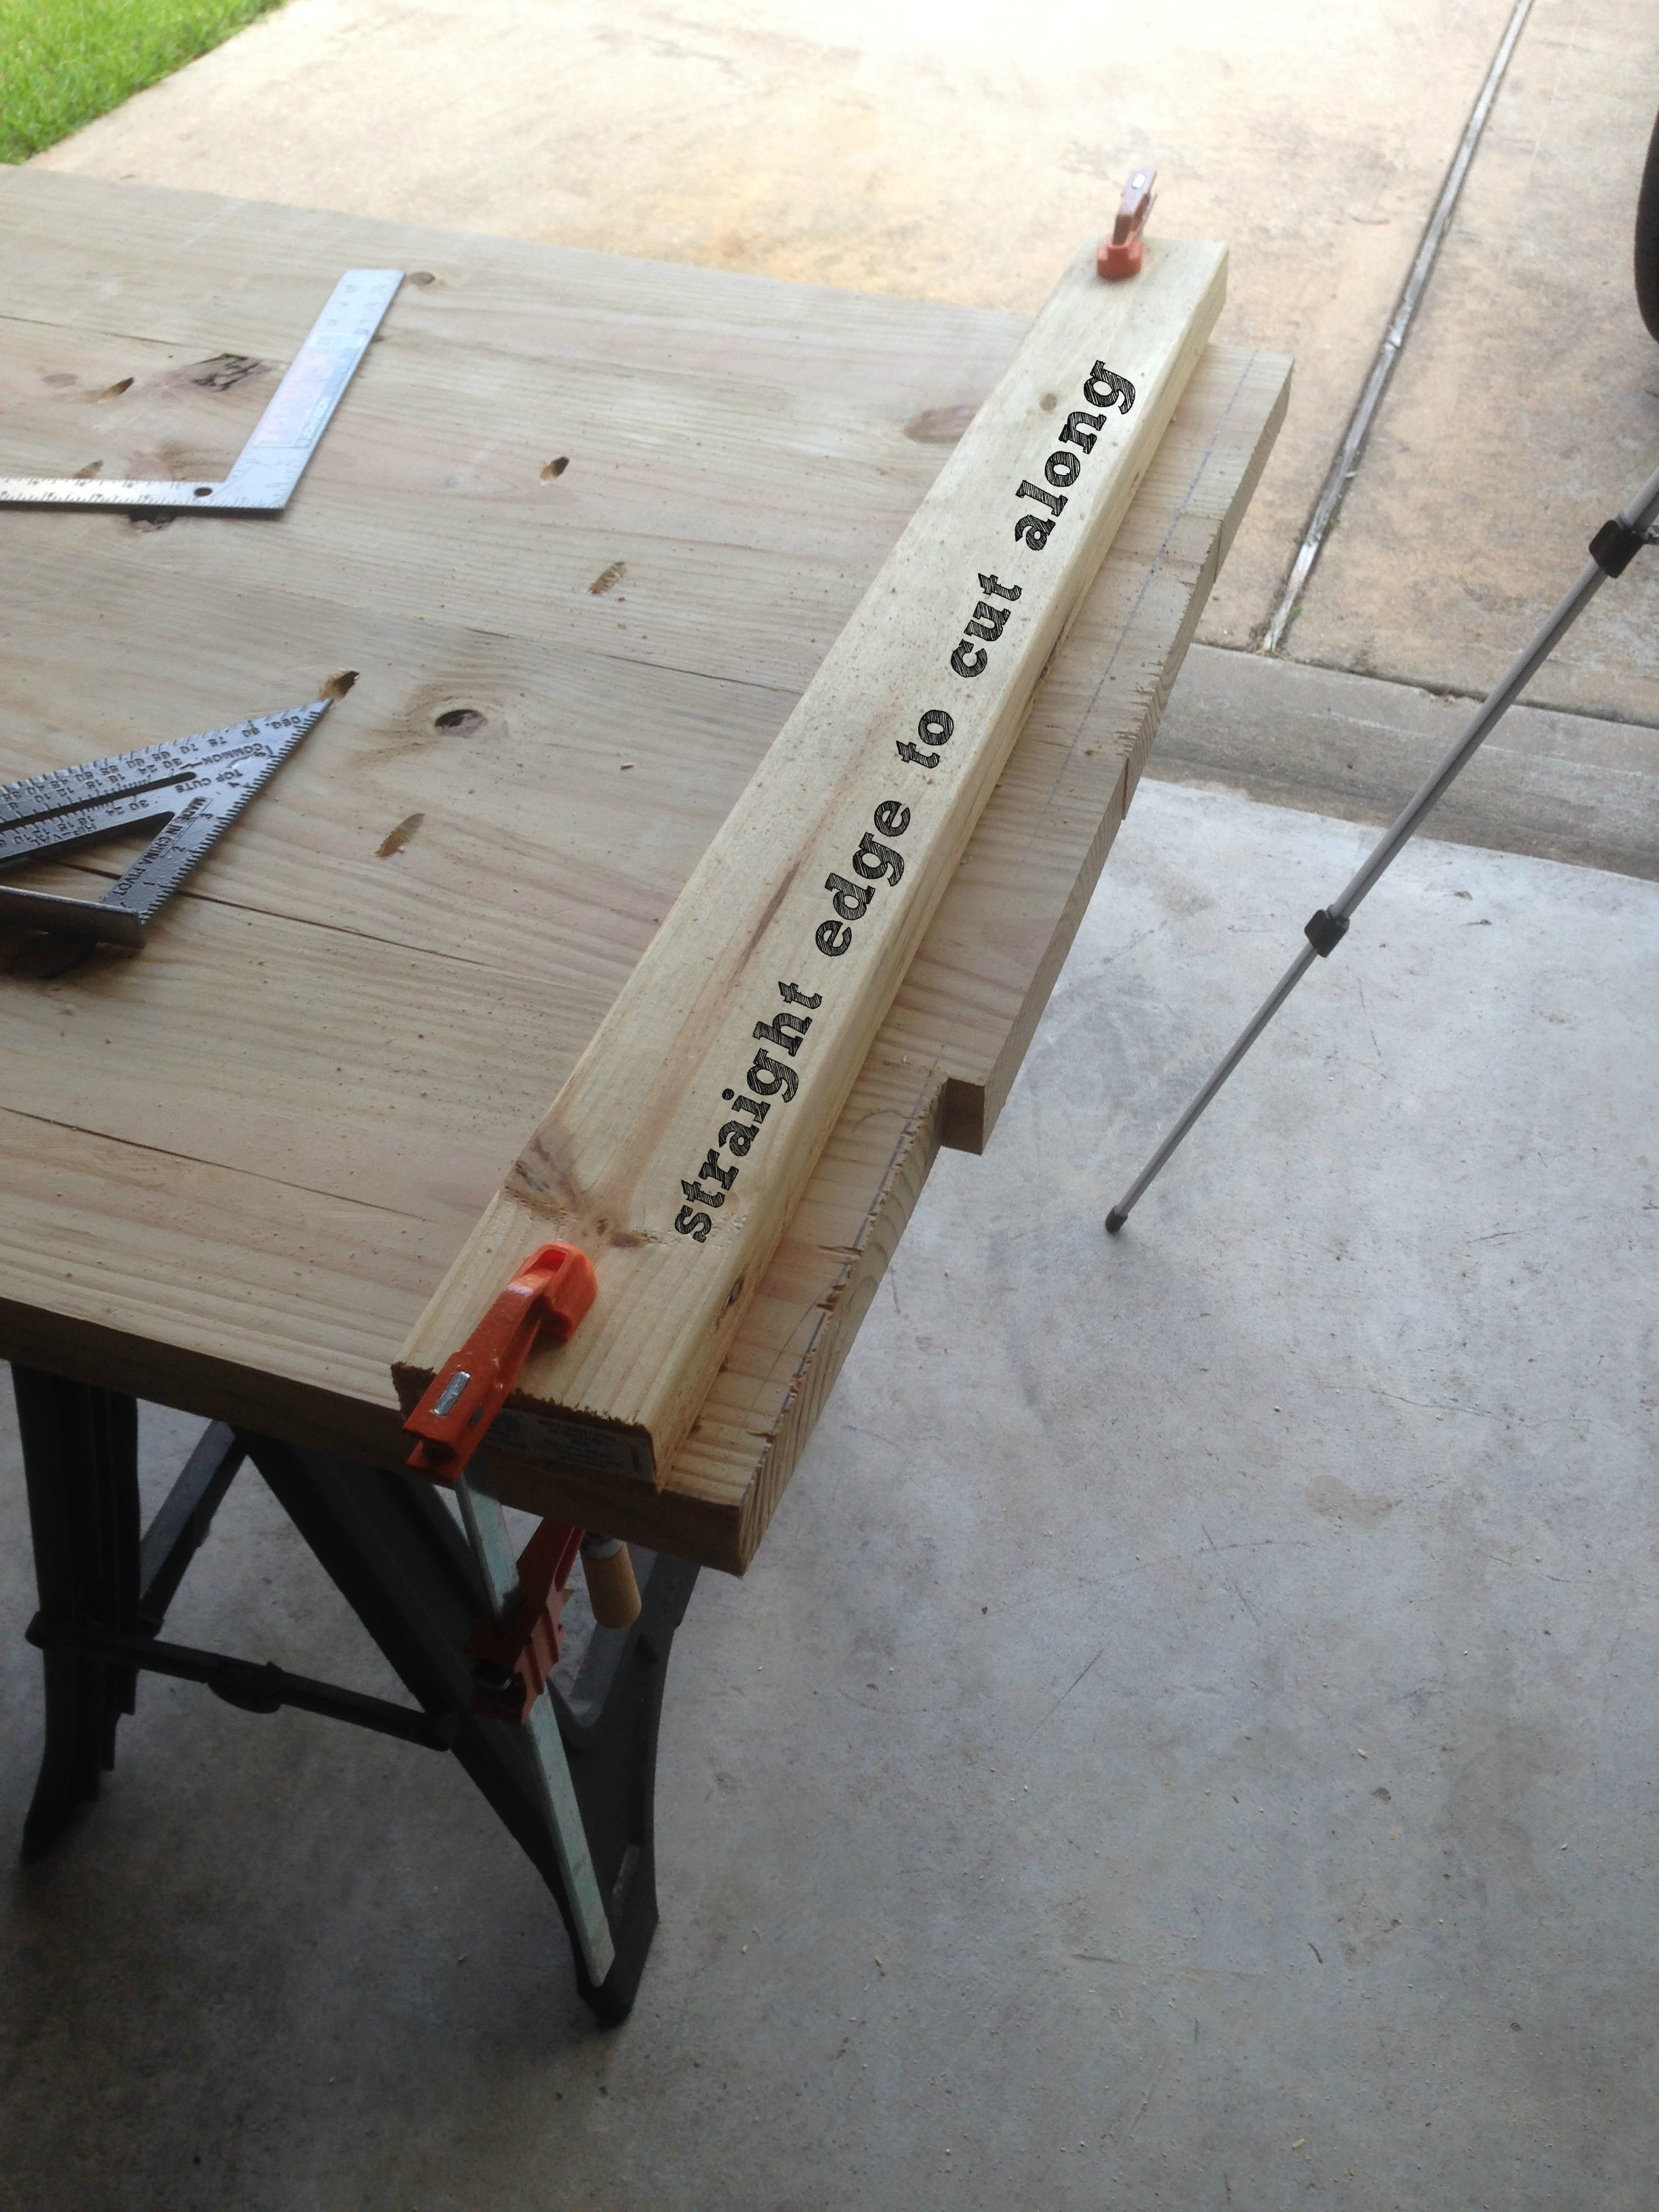
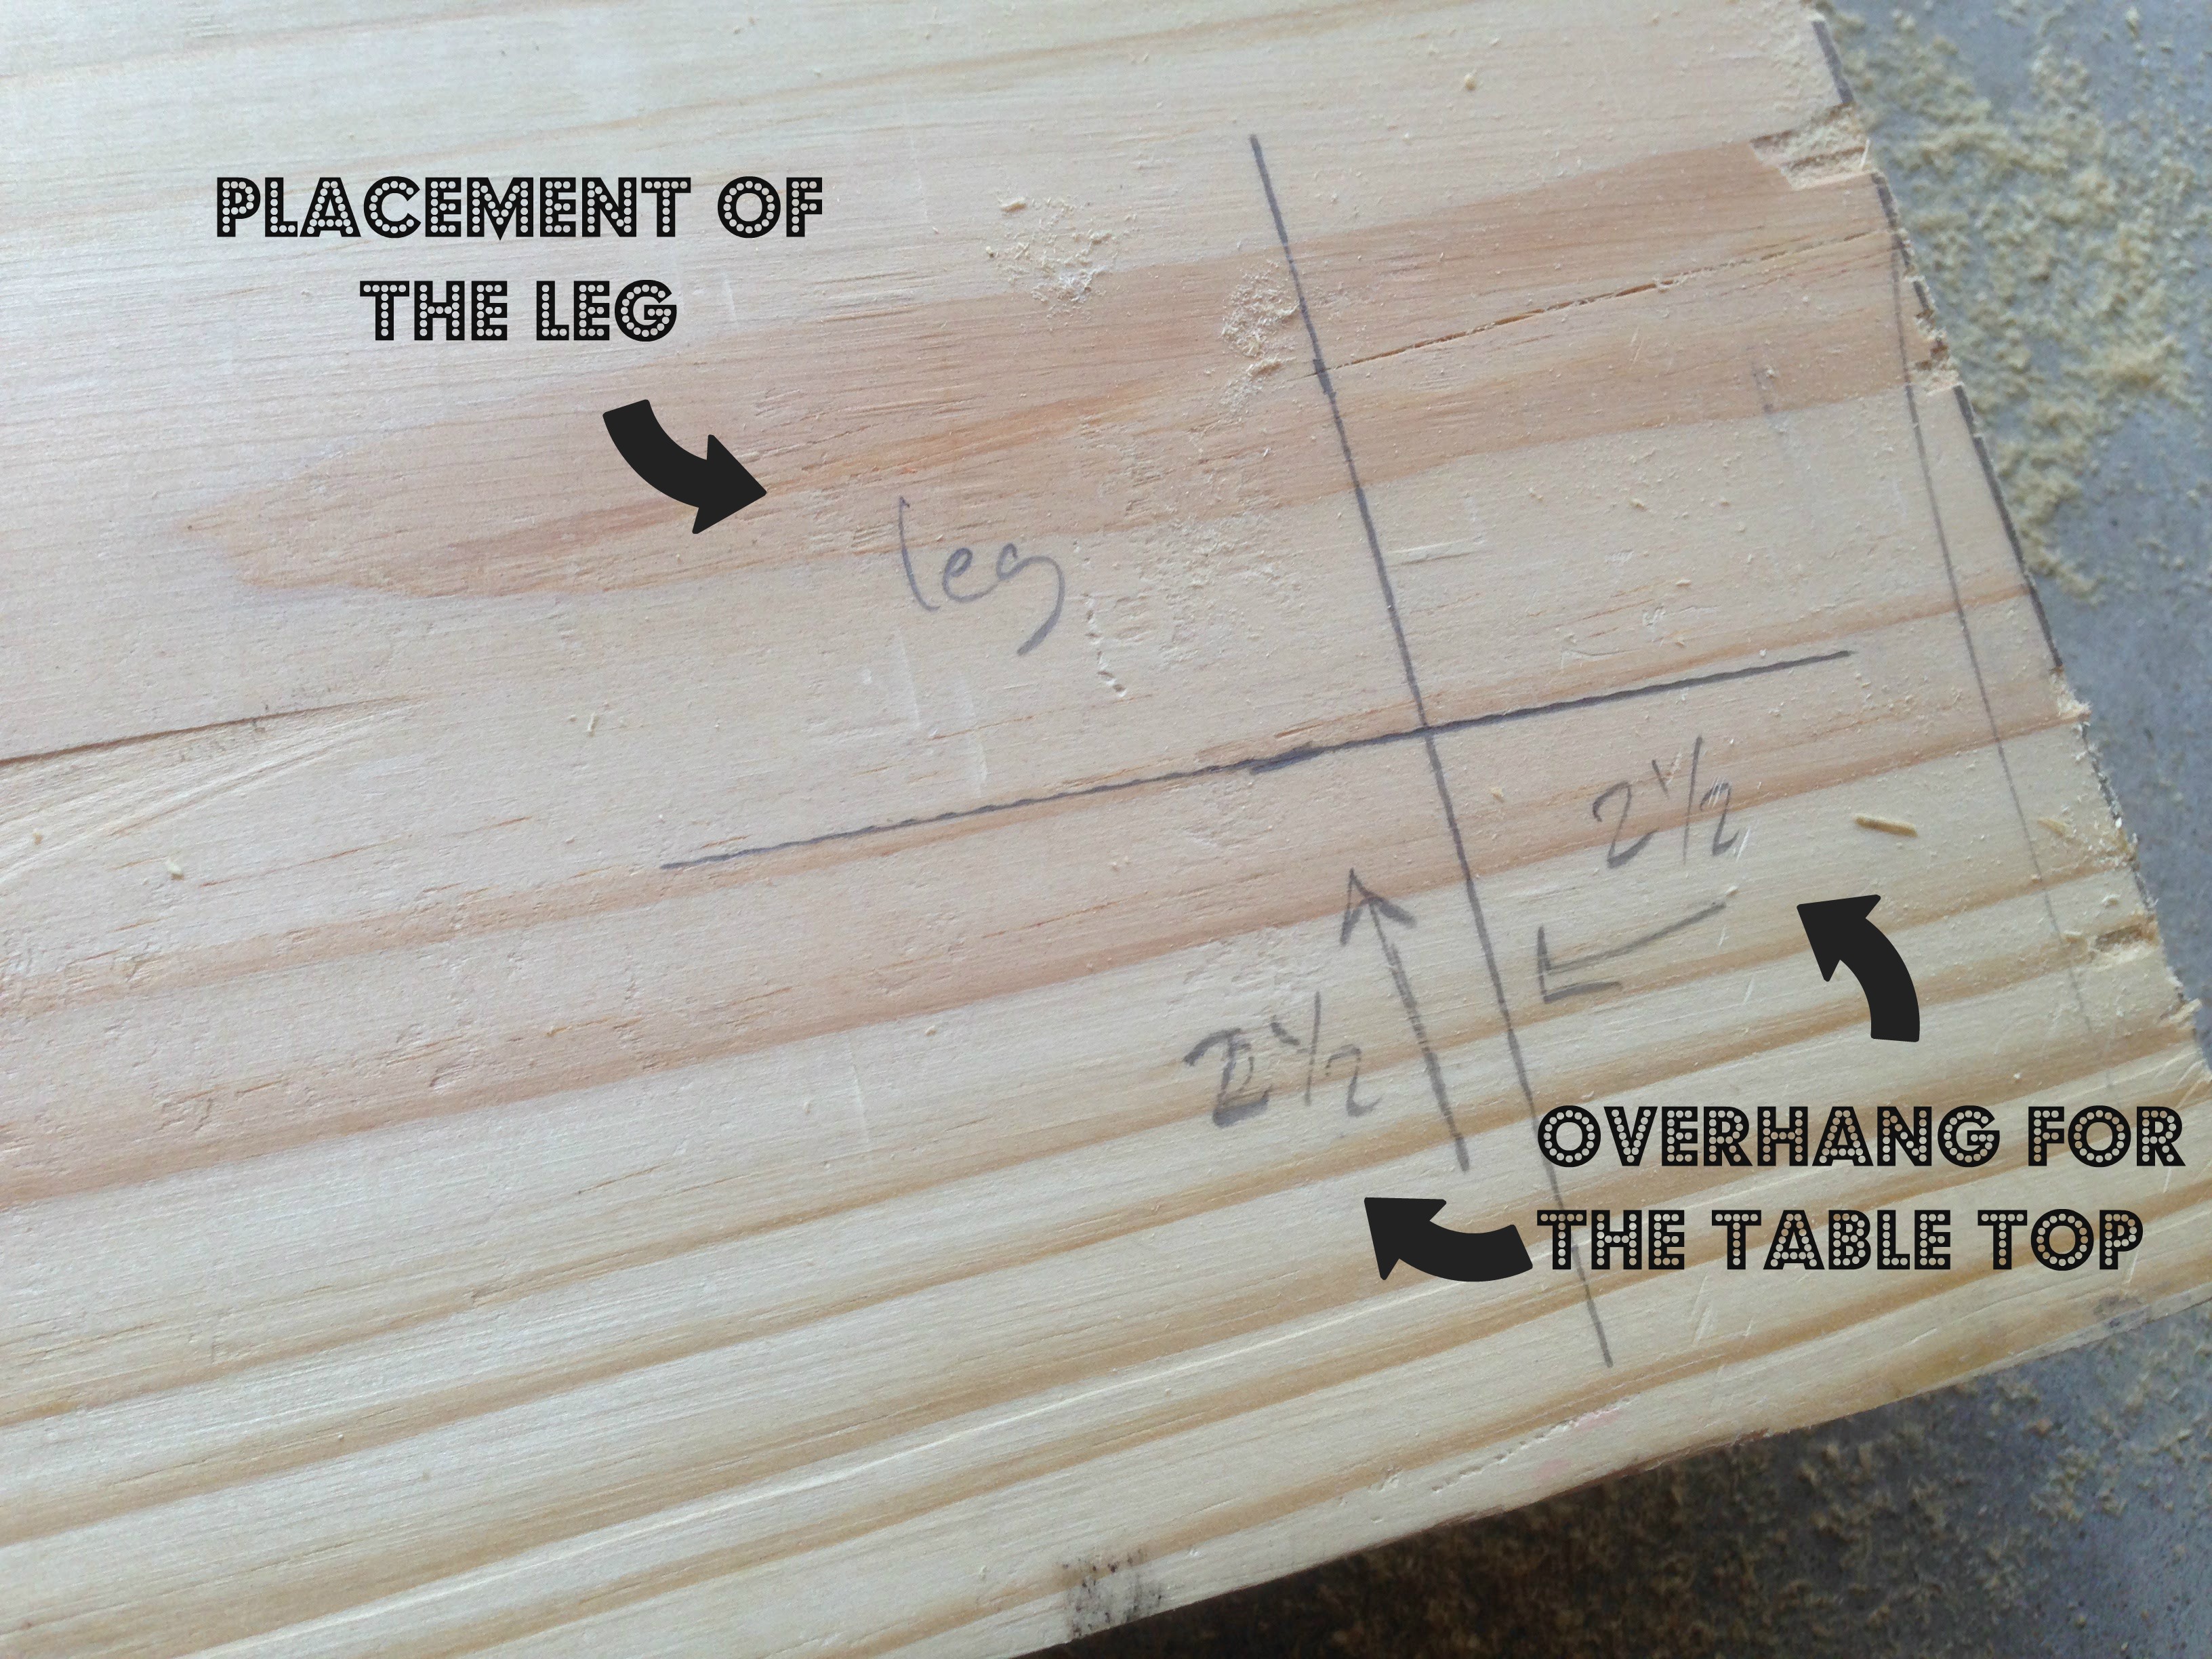
I used that straight edge as a reference guide for my circular saw to cut a straight line out of the table top. Next I started to mark up the bottom side of the table top to get some measurements. I wanted a 2.5 inch overhang around the entire table, so I drew that in.
Based on that, I started doing some math to figure out how long my rails needed to be.
Based on those measurements, I went to the miter saw and chopped up some wood. I did a quick test fit and they were waaaay off. Apparently I didn’t do my math right.
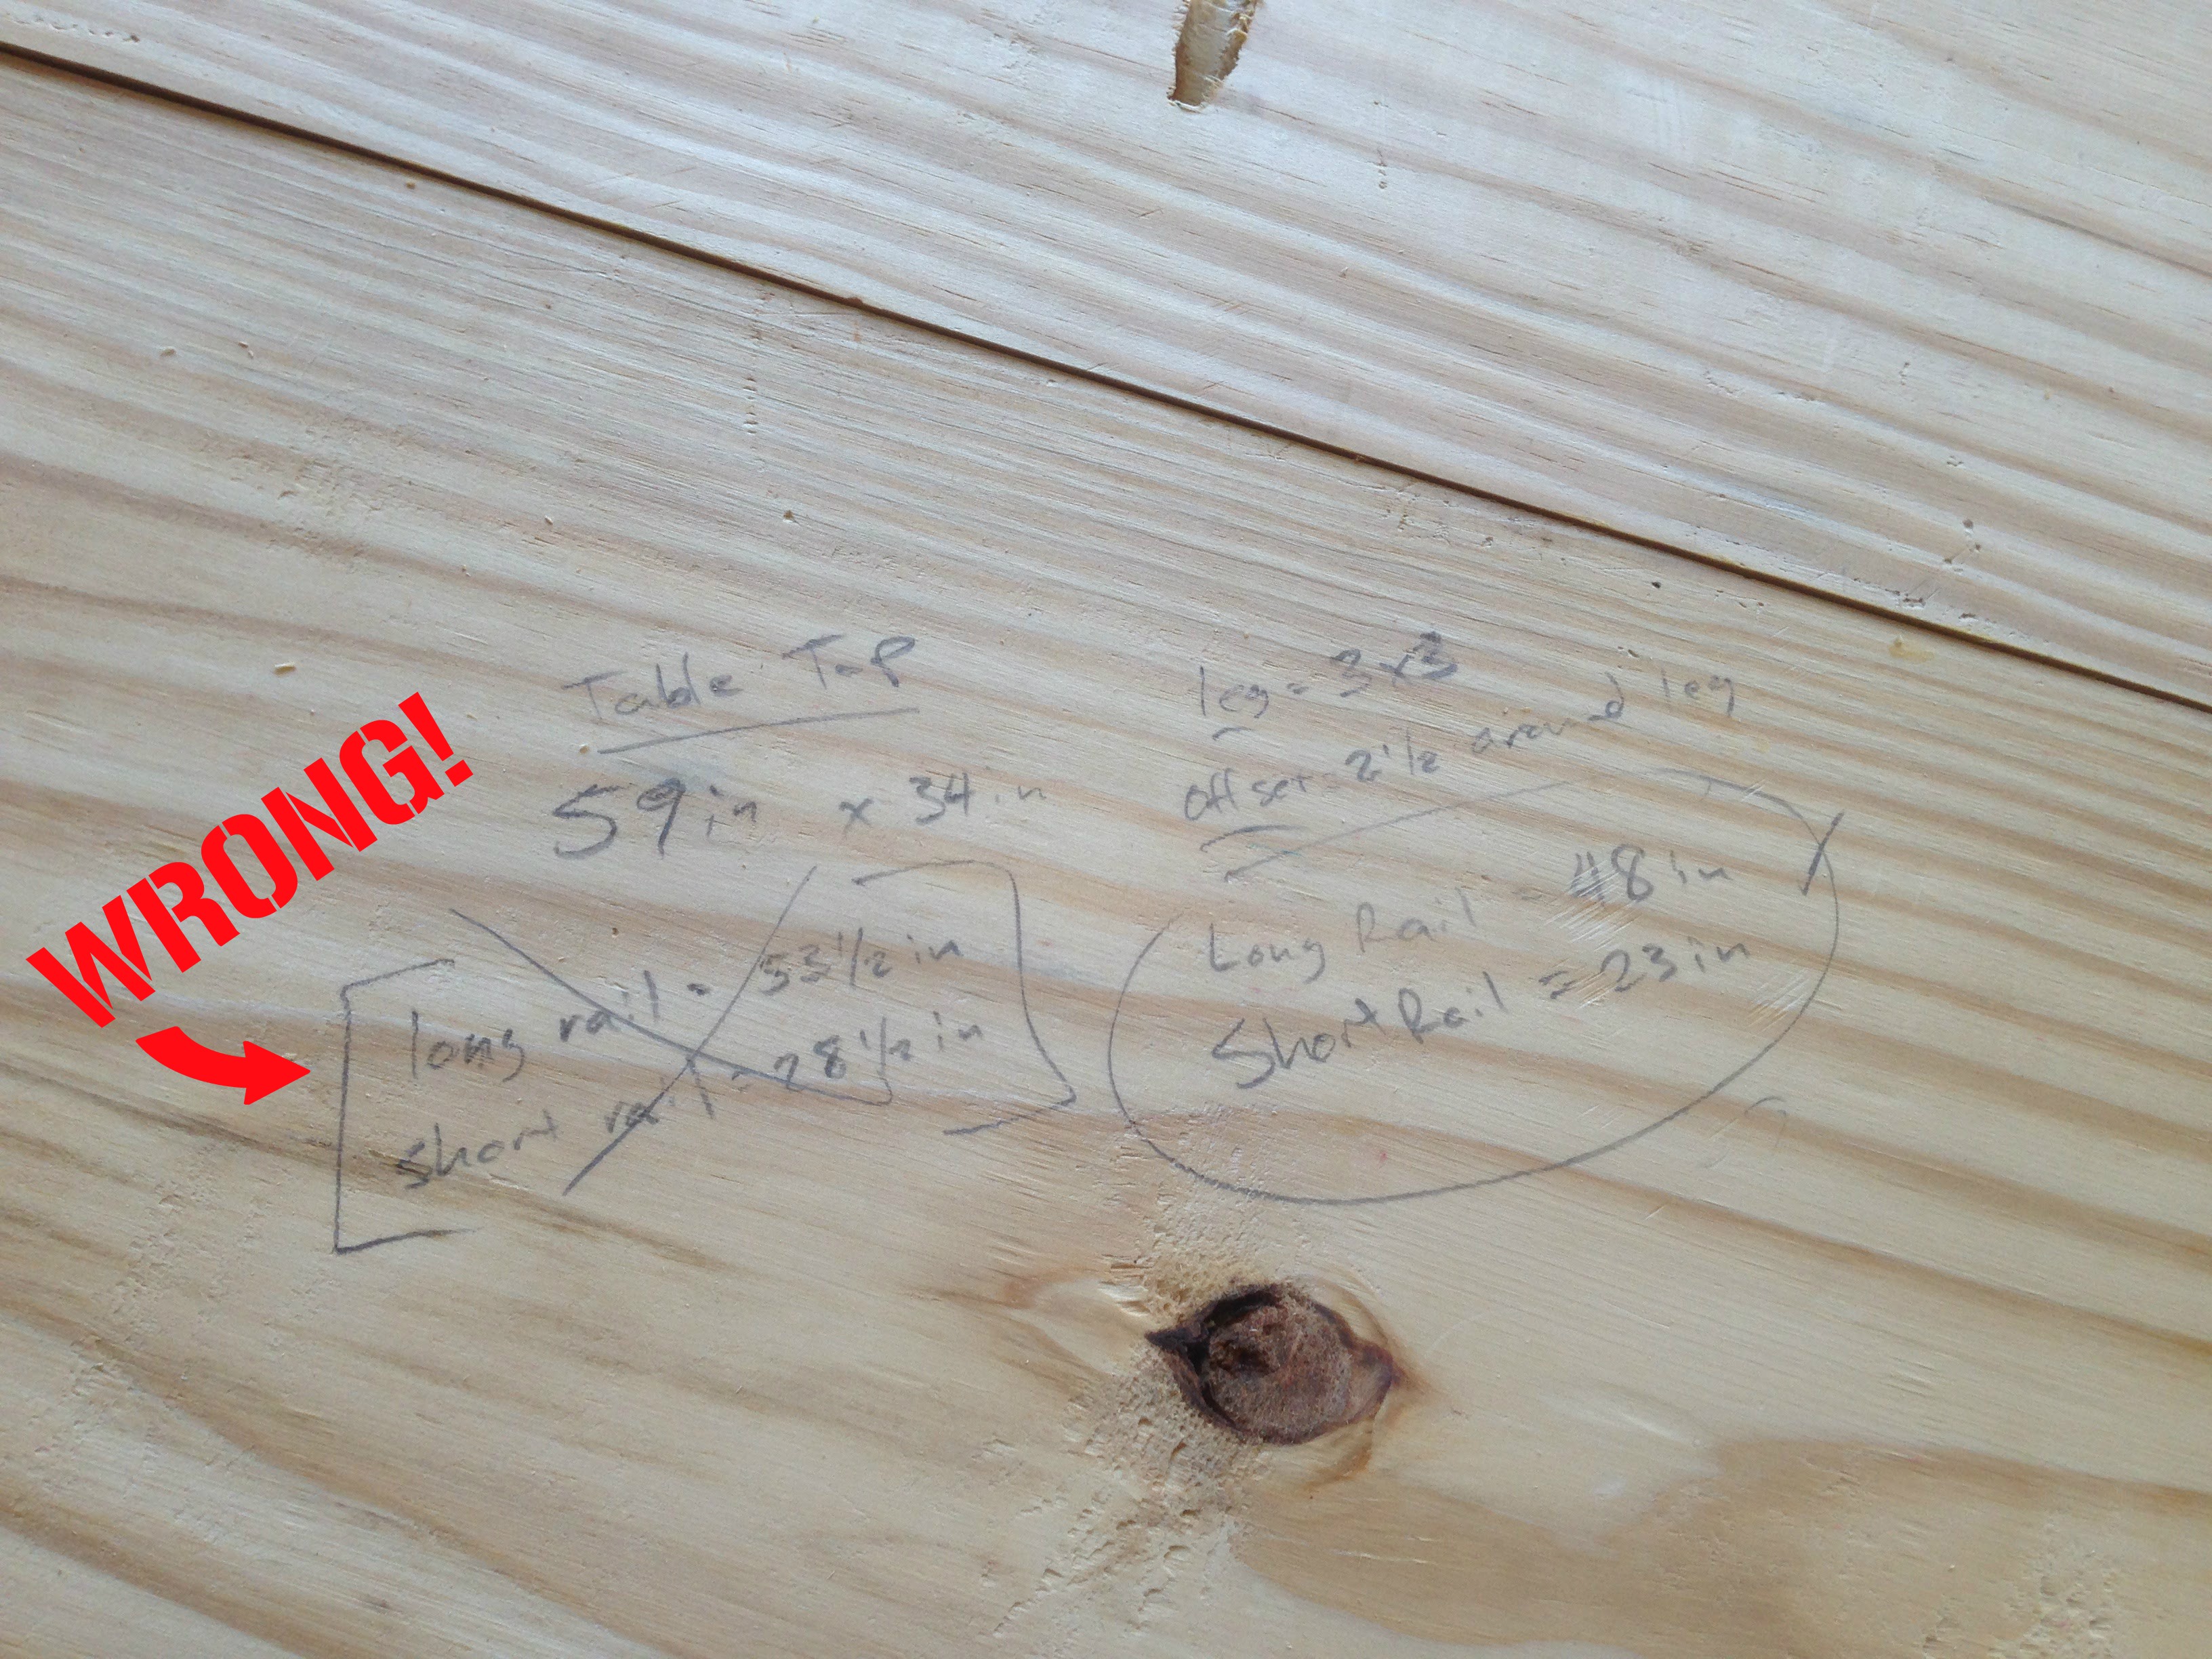
Luckily I just needed to trim a little more off and I was back in business.
Everything needed a really good sanding, so I invested in a belt sander and went to town.
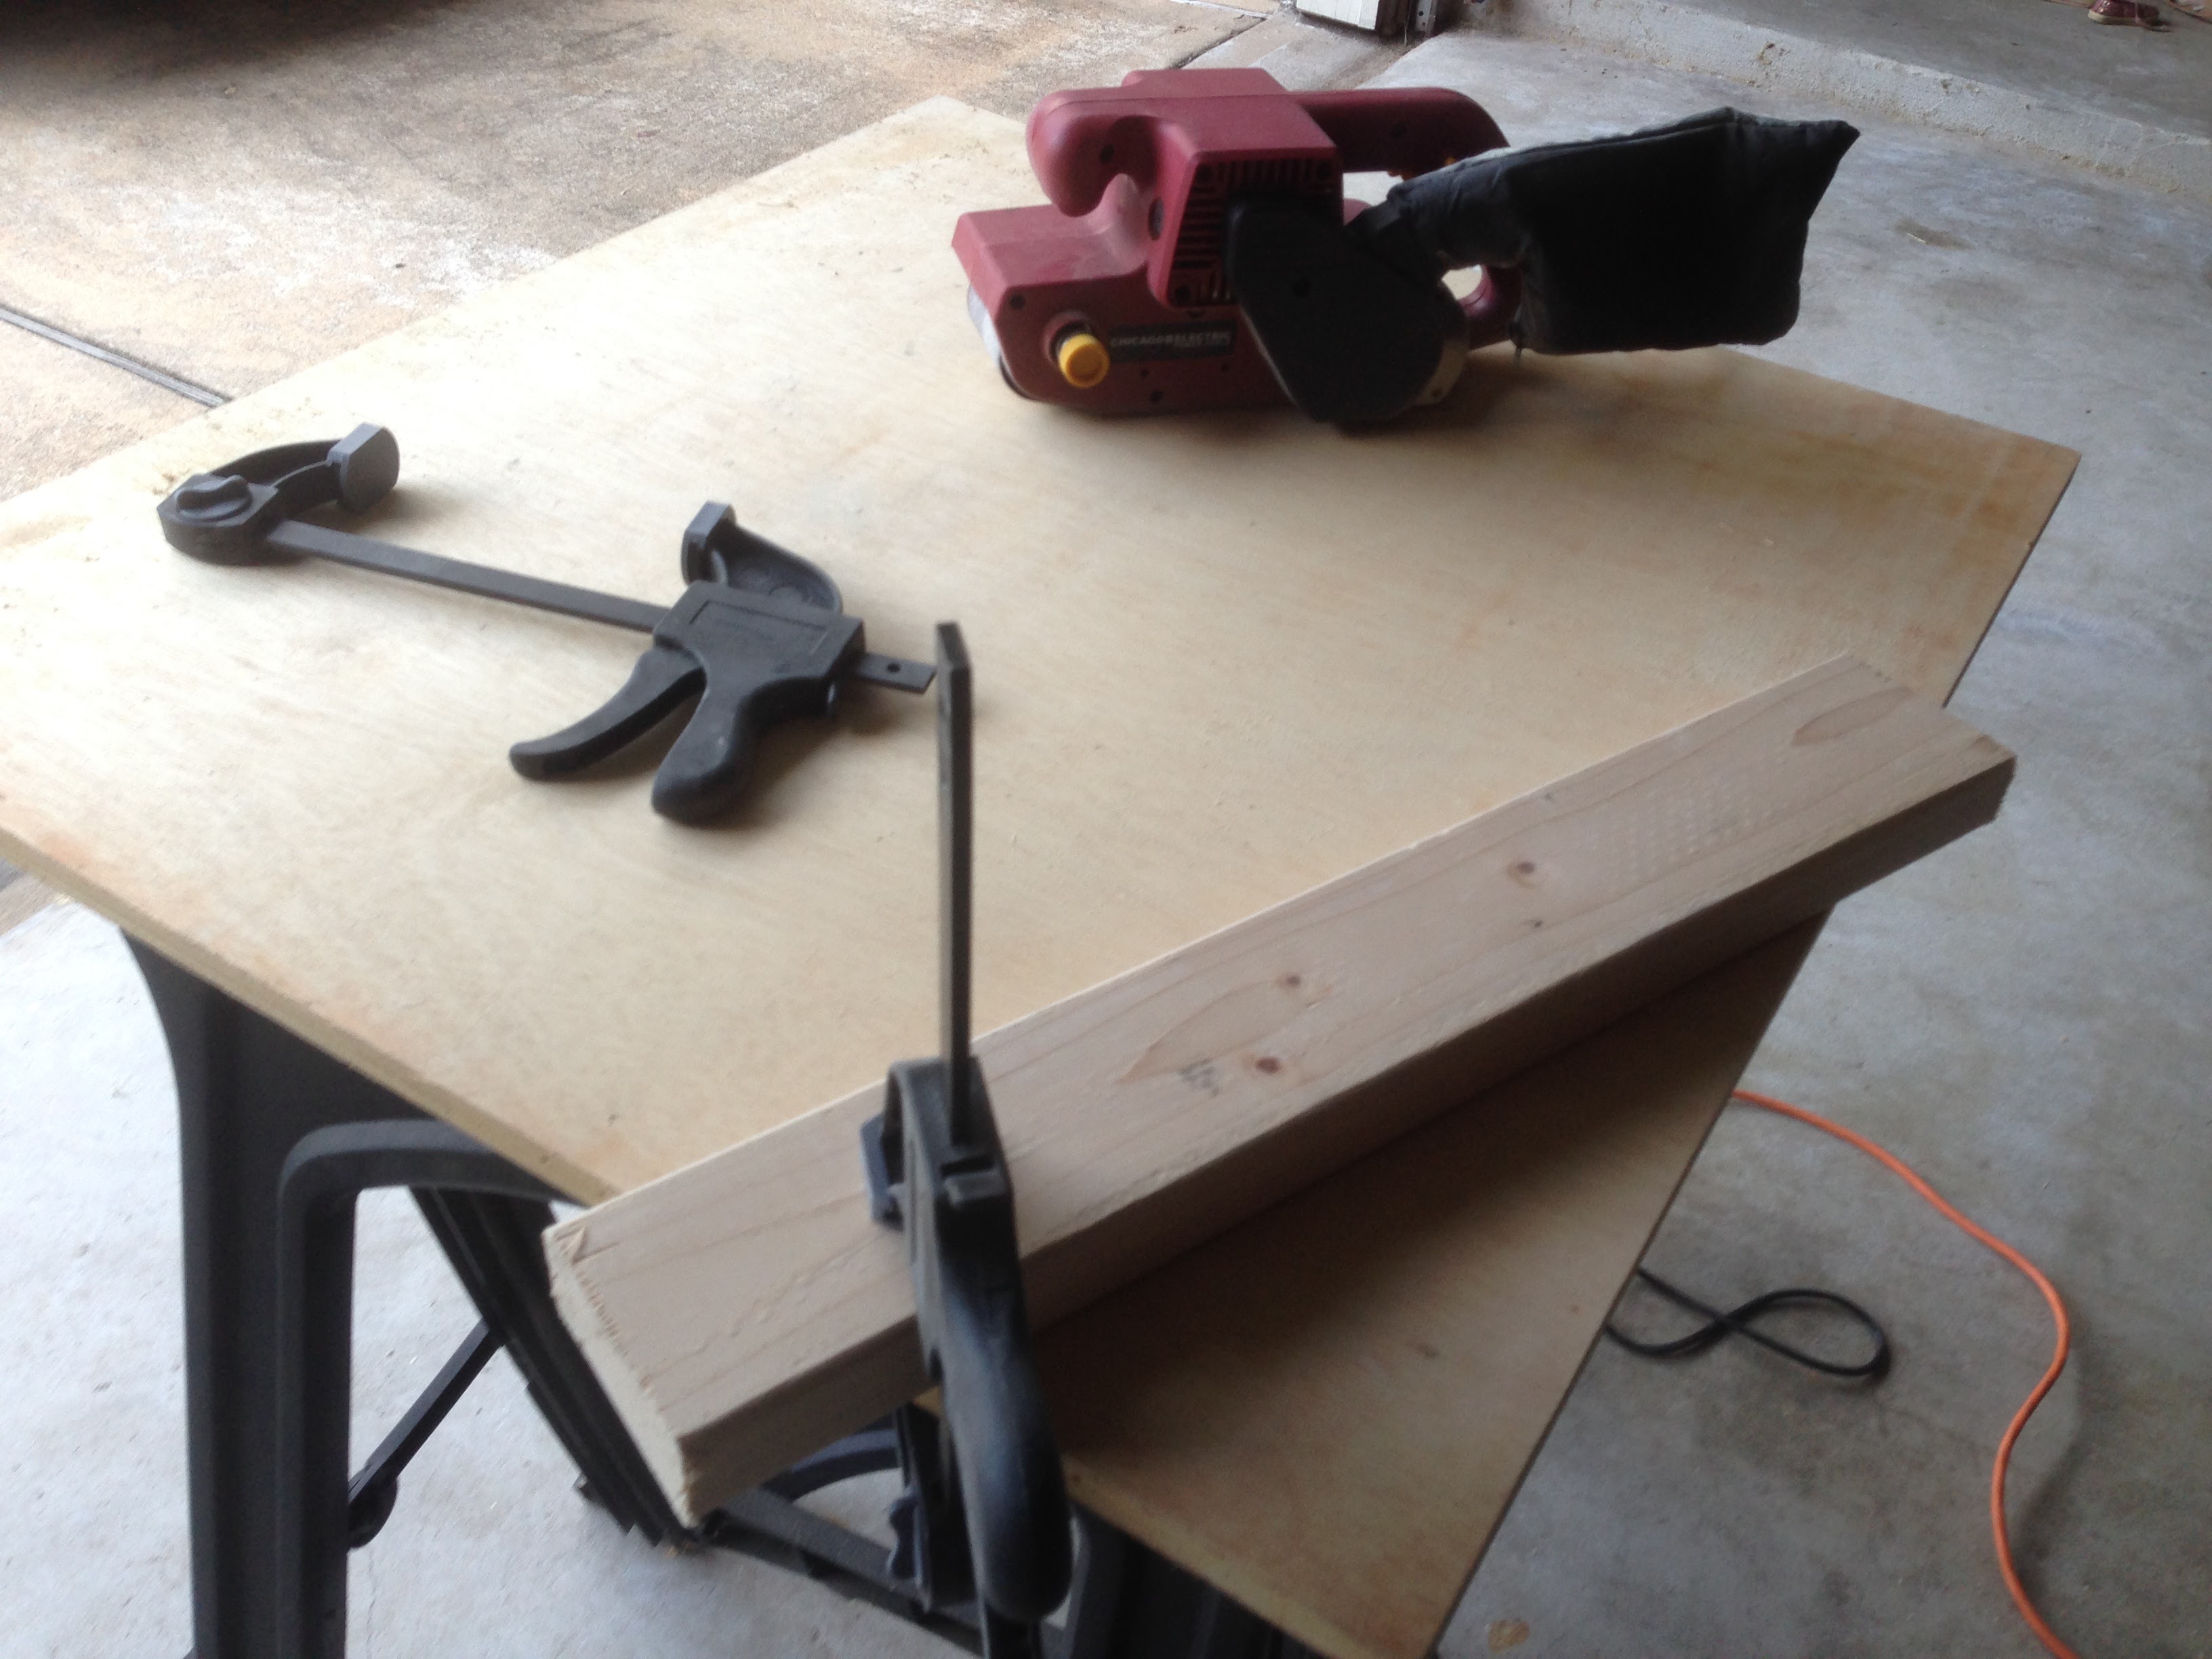
The belt sander made light work of an otherwise long, boring task. After everything was cleaned up, I drilled pocket holes in all of the rails
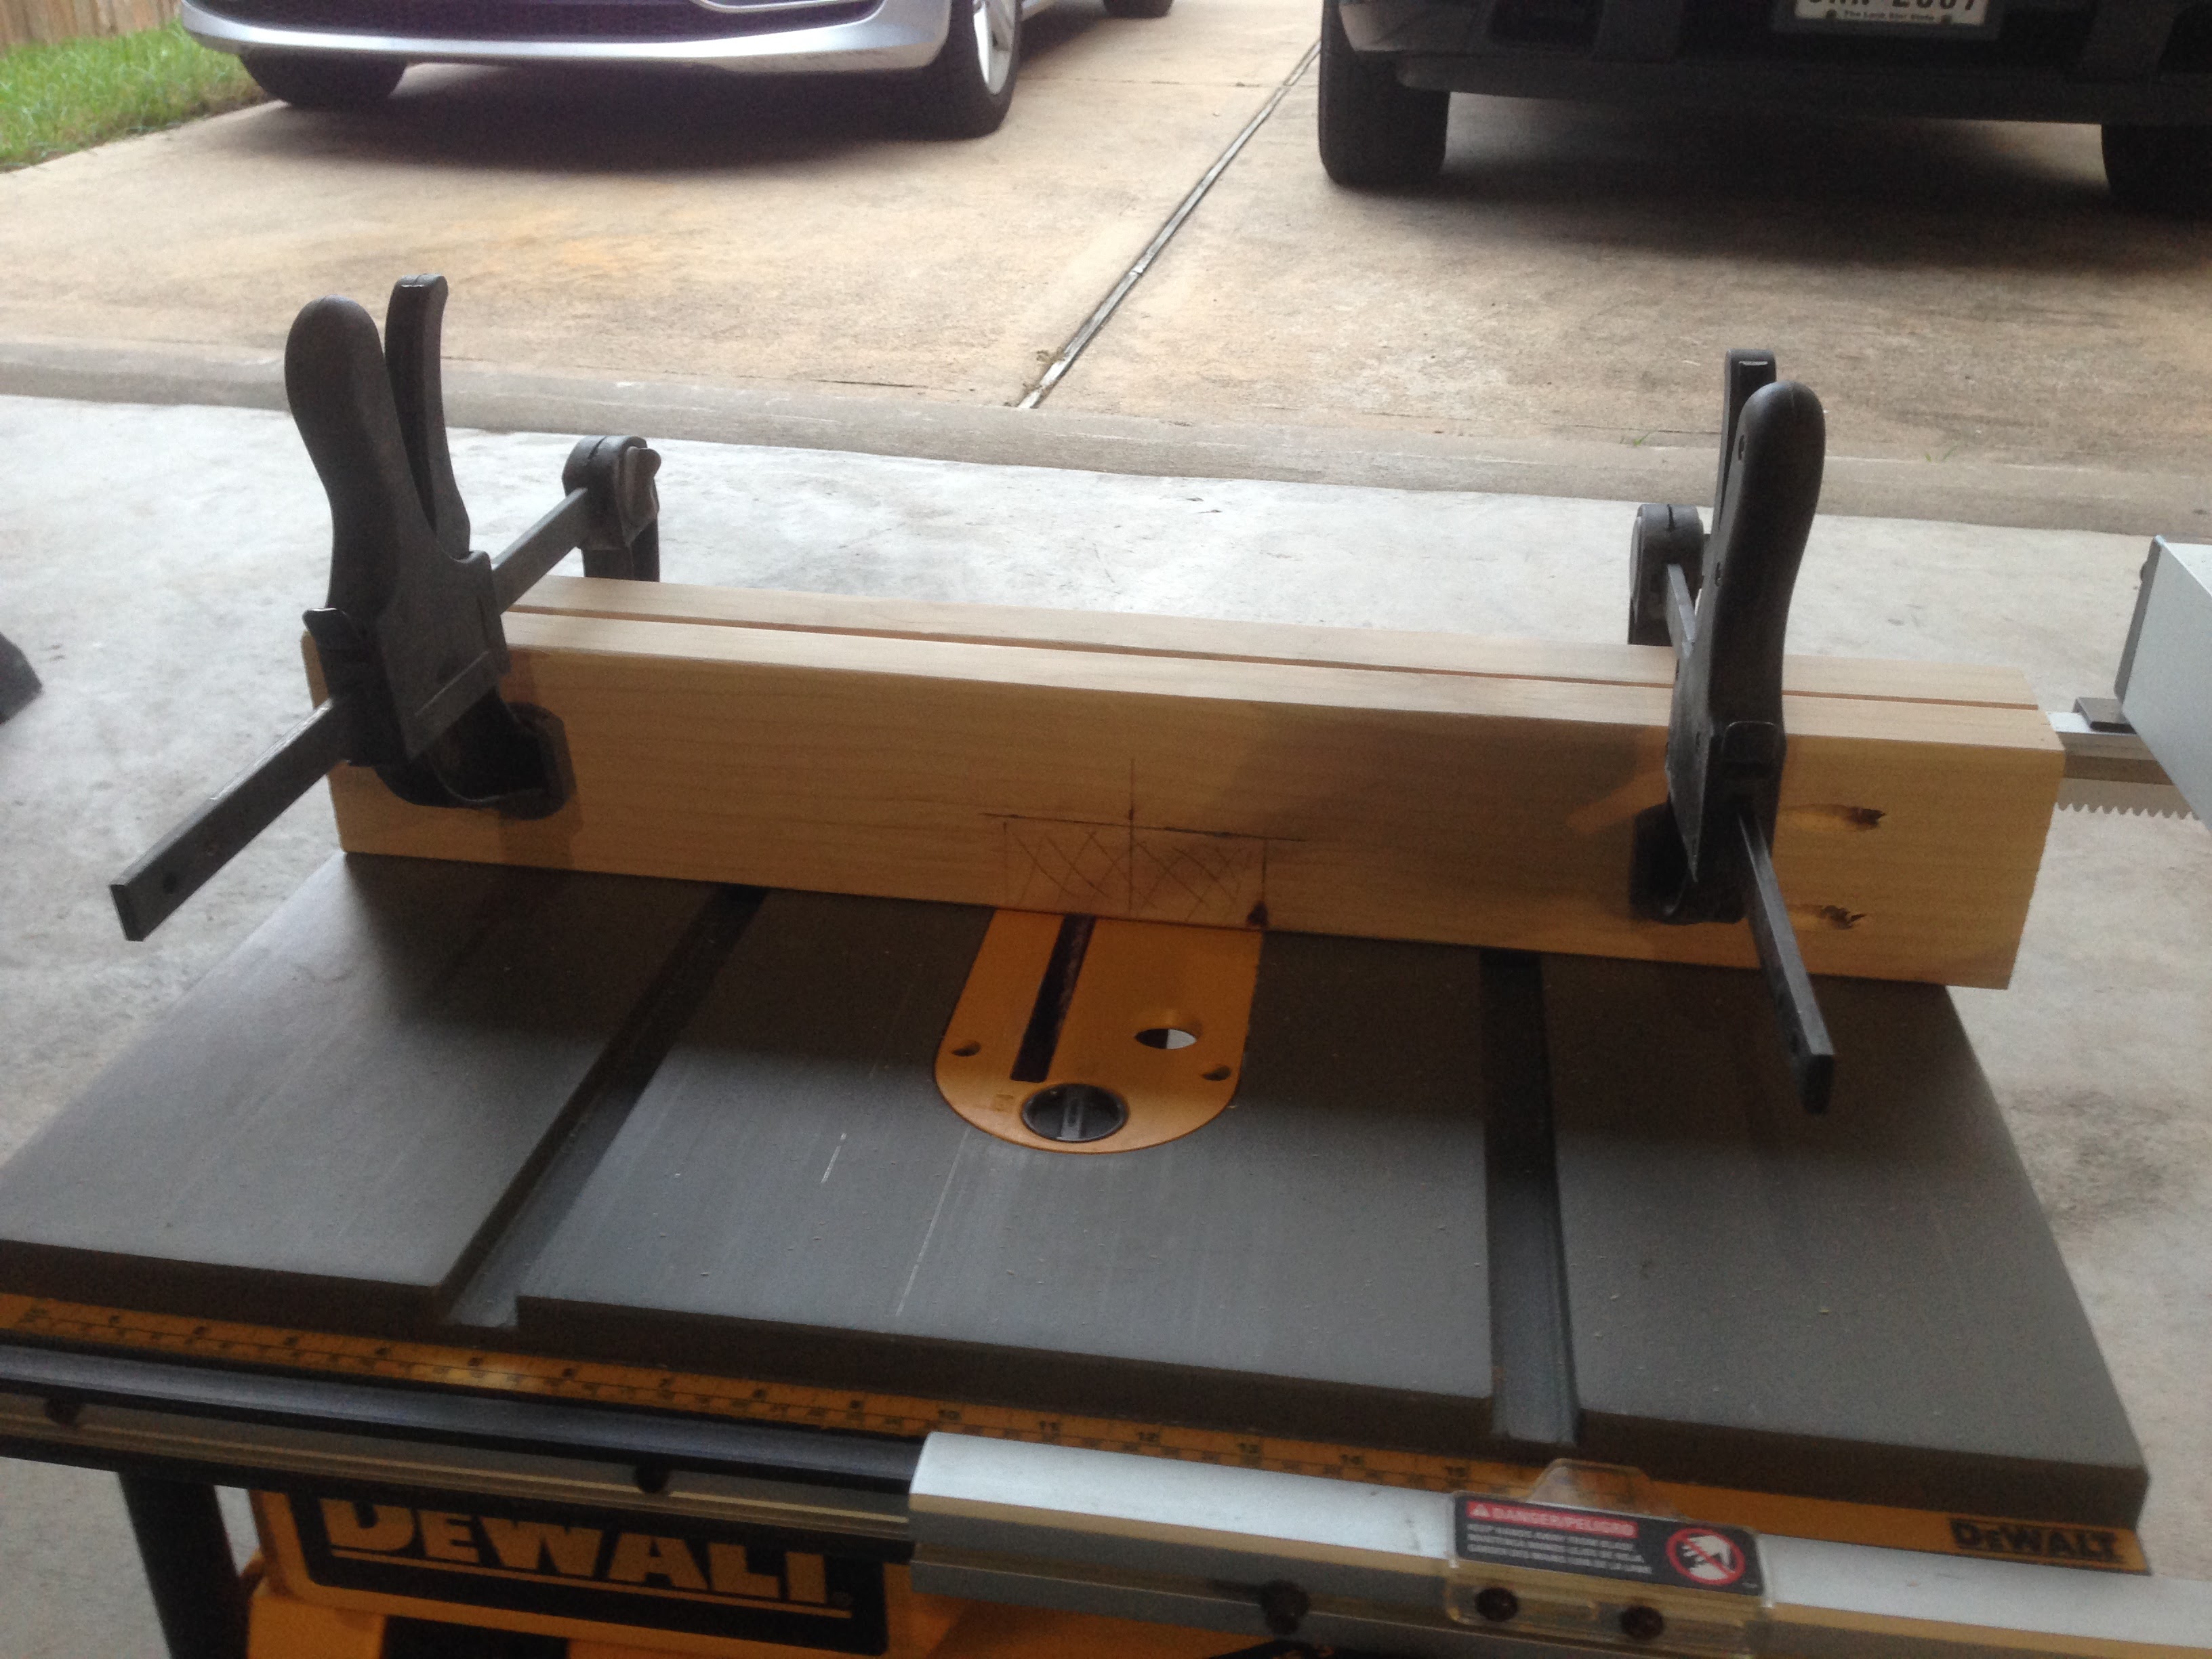
The two bottom supports needed a notch cut out of them to make space for a center support beam. I started by finding the center point.
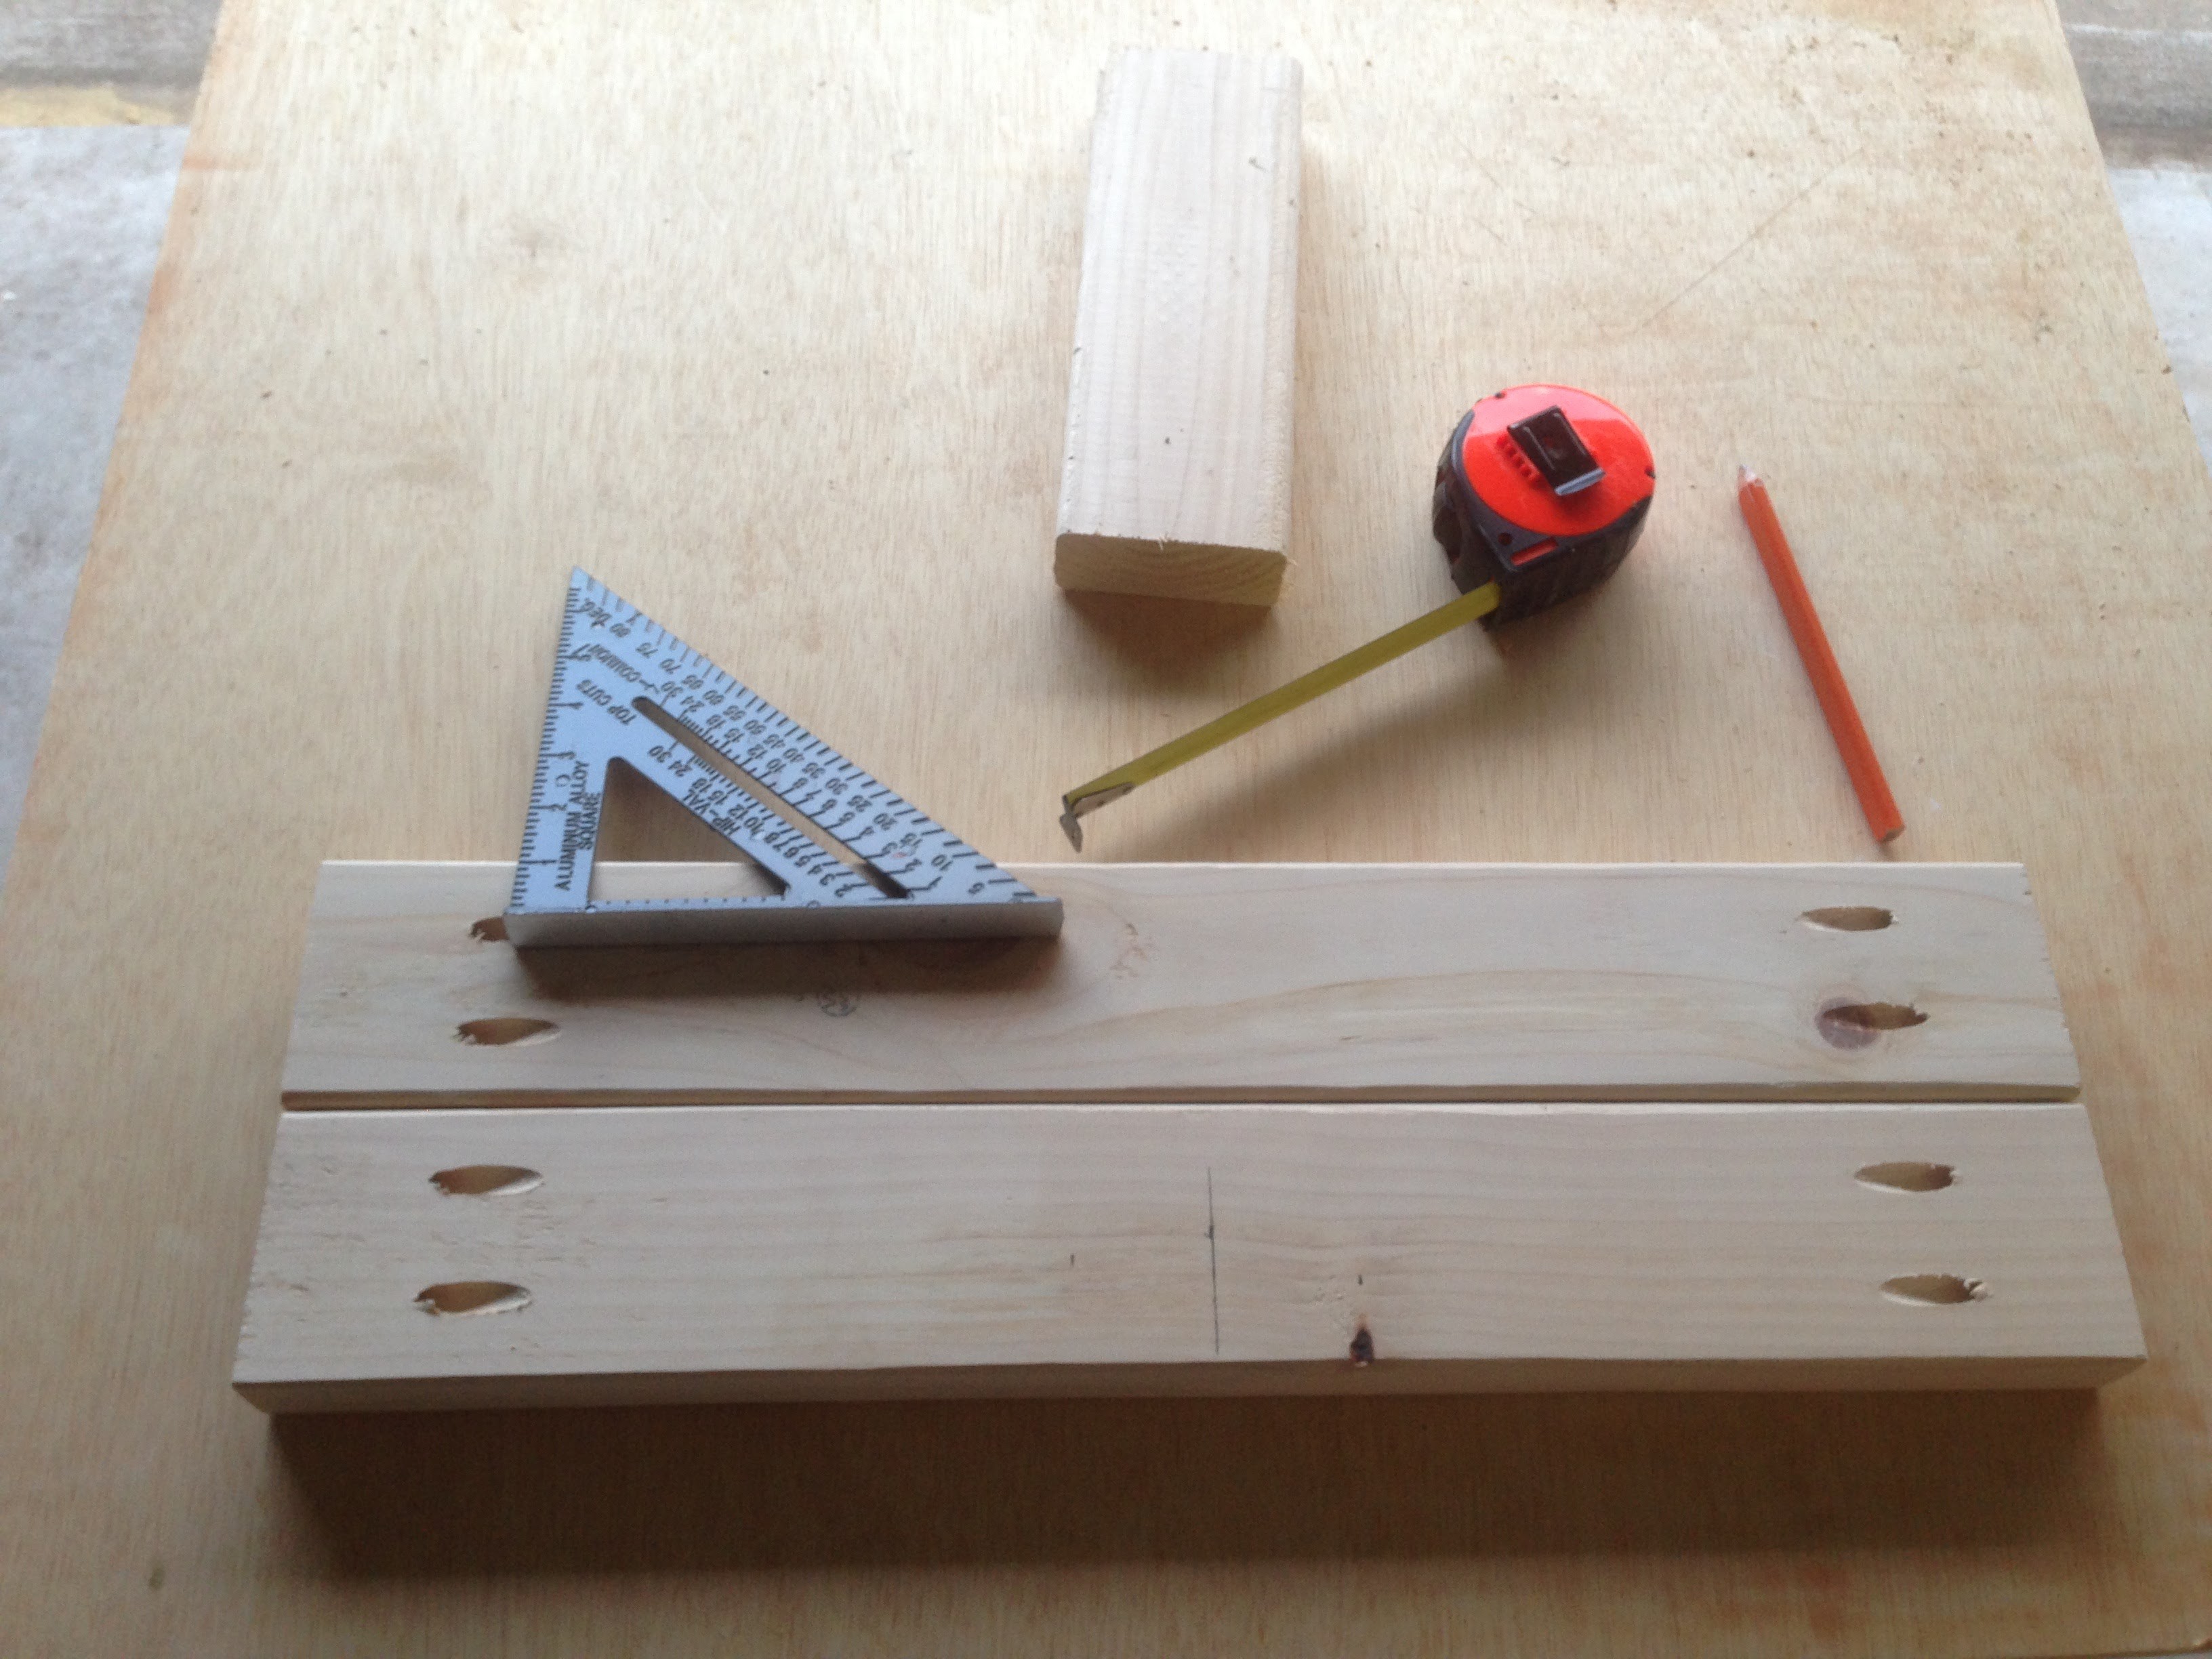
Then, I measured the width of the board being used and marked out what needed to be cut out.

Then I took it to the table saw and rose the blade to the proper height and made numerous passes within my marked area to cut off the bulk of the materials.
Then I followed up with a chisel to clean up any remaining pieces.
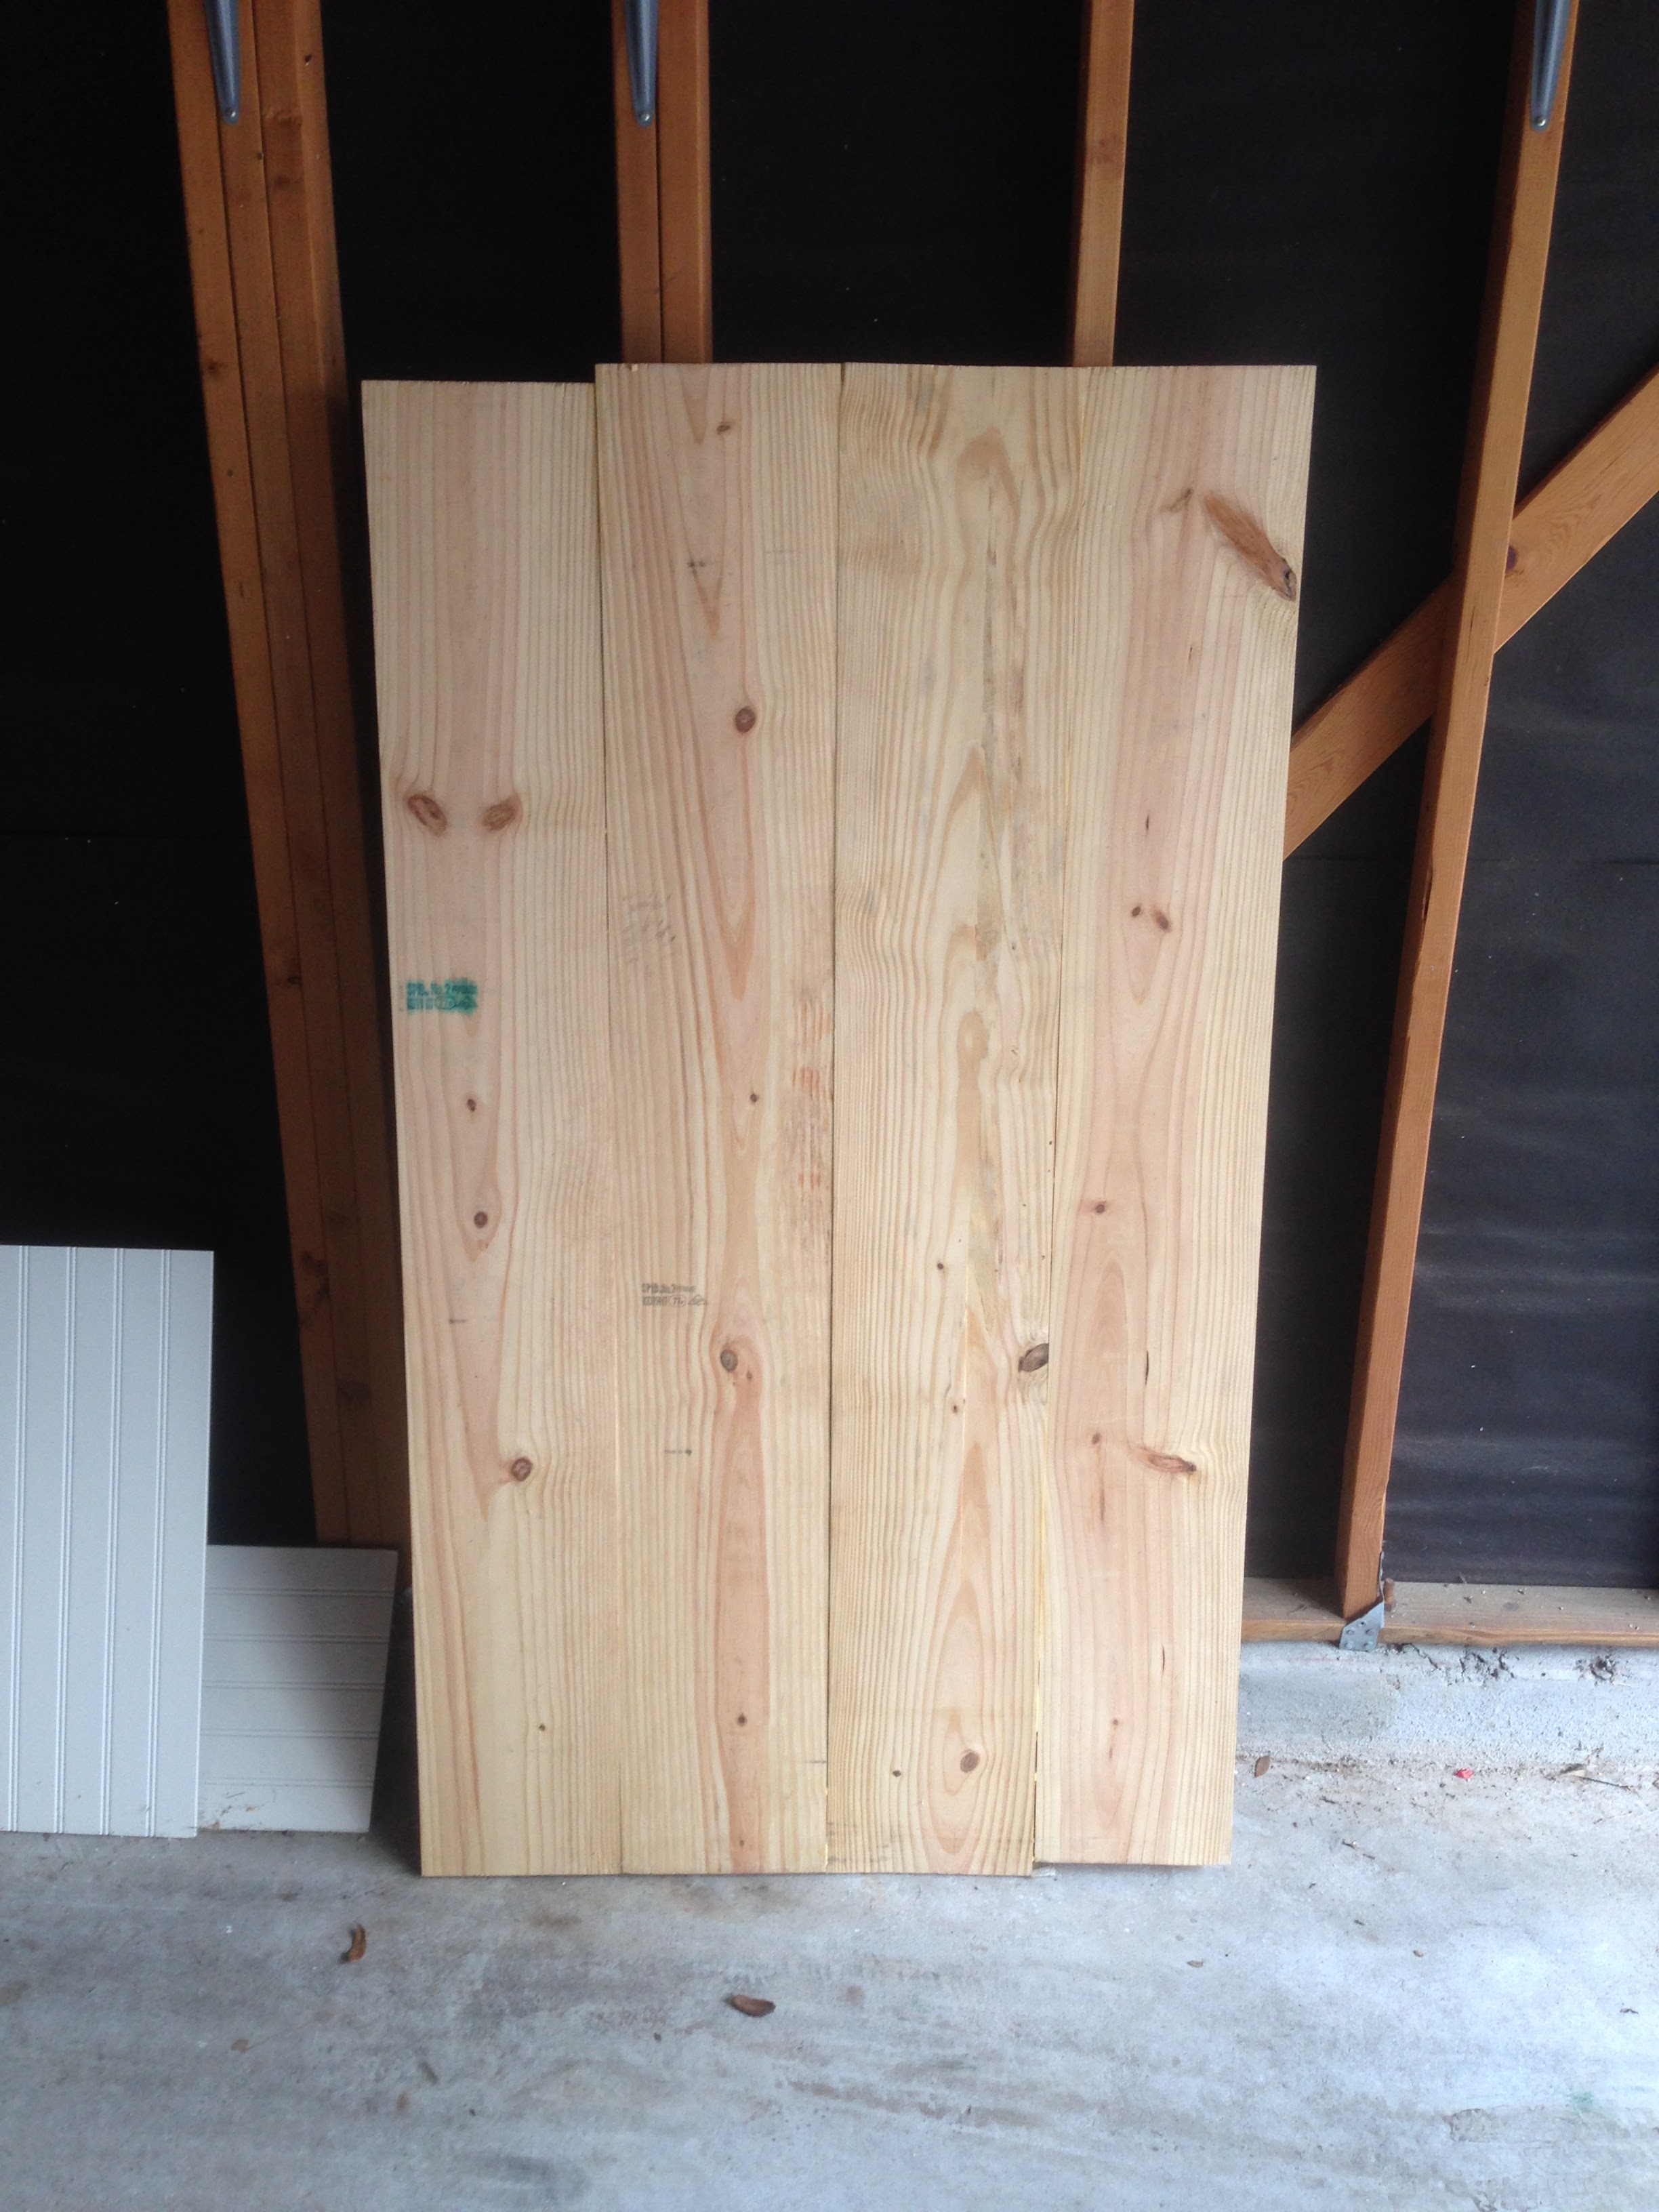
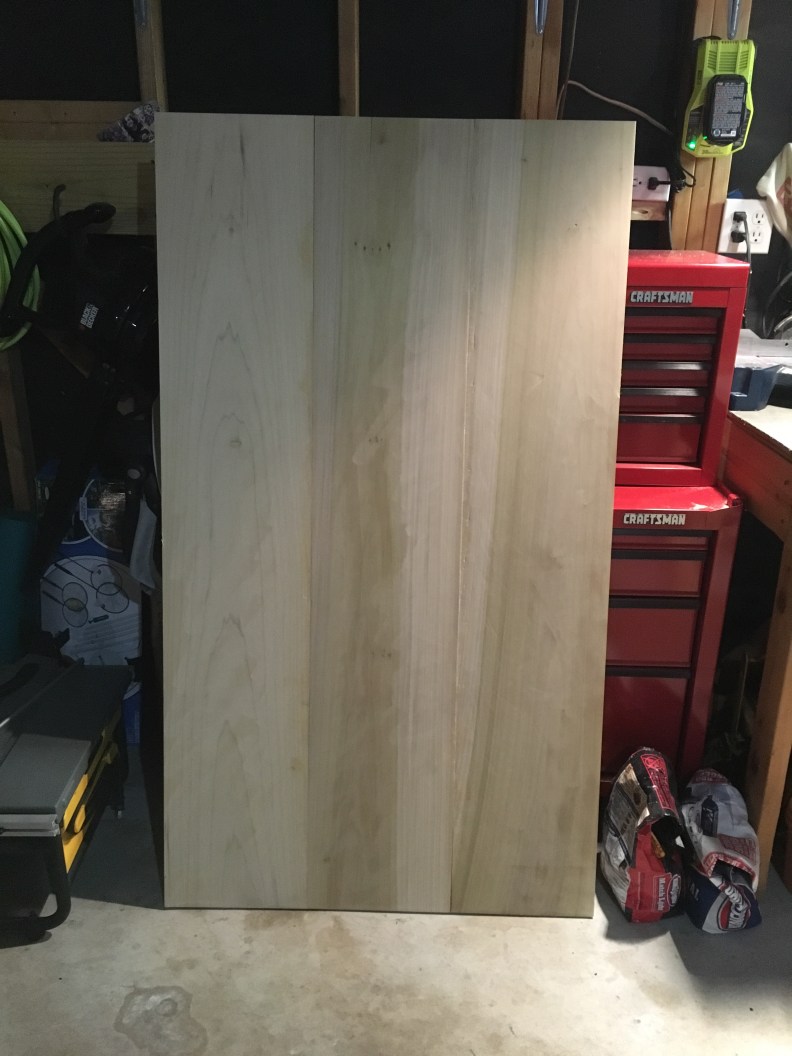
Going back to the table top, that turned out the be a fail. It was too large and heavy. Plus it was too warped to do anything with, so I decided to use 1×10’s rather than the 2×6’s. This produced flatter and square boards, which made it easier to have a flat table top. Here’s a shot of the new and improved table top:
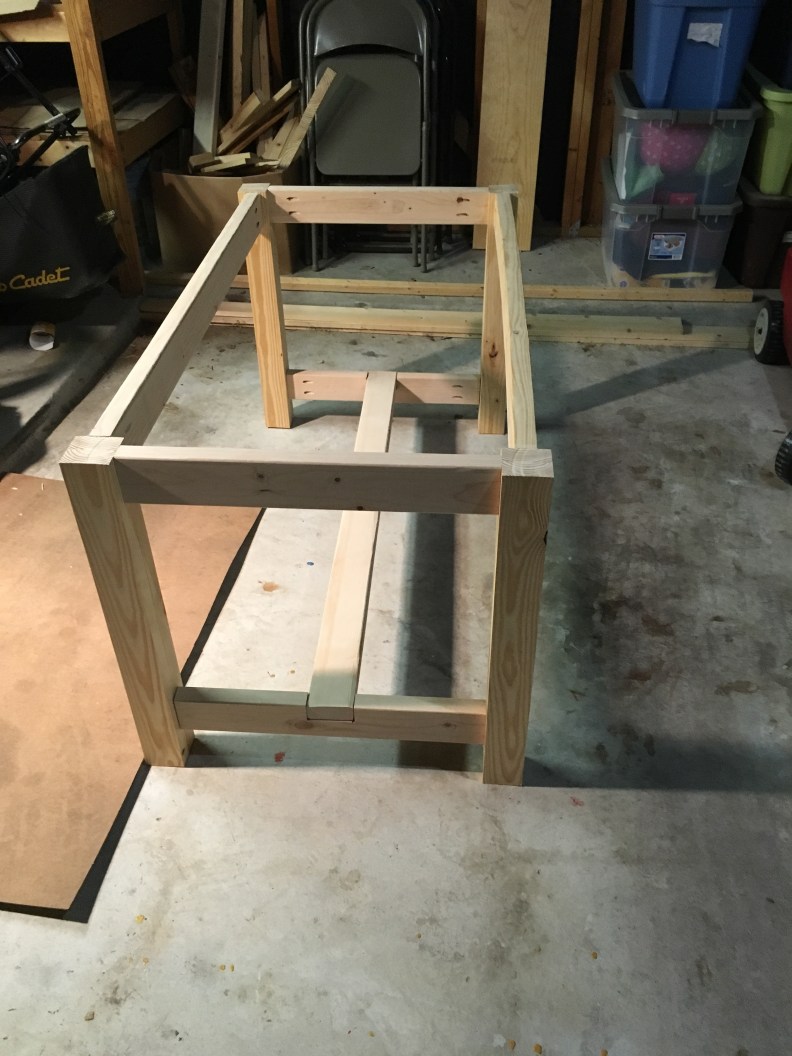
Then it was time for assembly. I used my kid’s wagon as an additional tool stand.

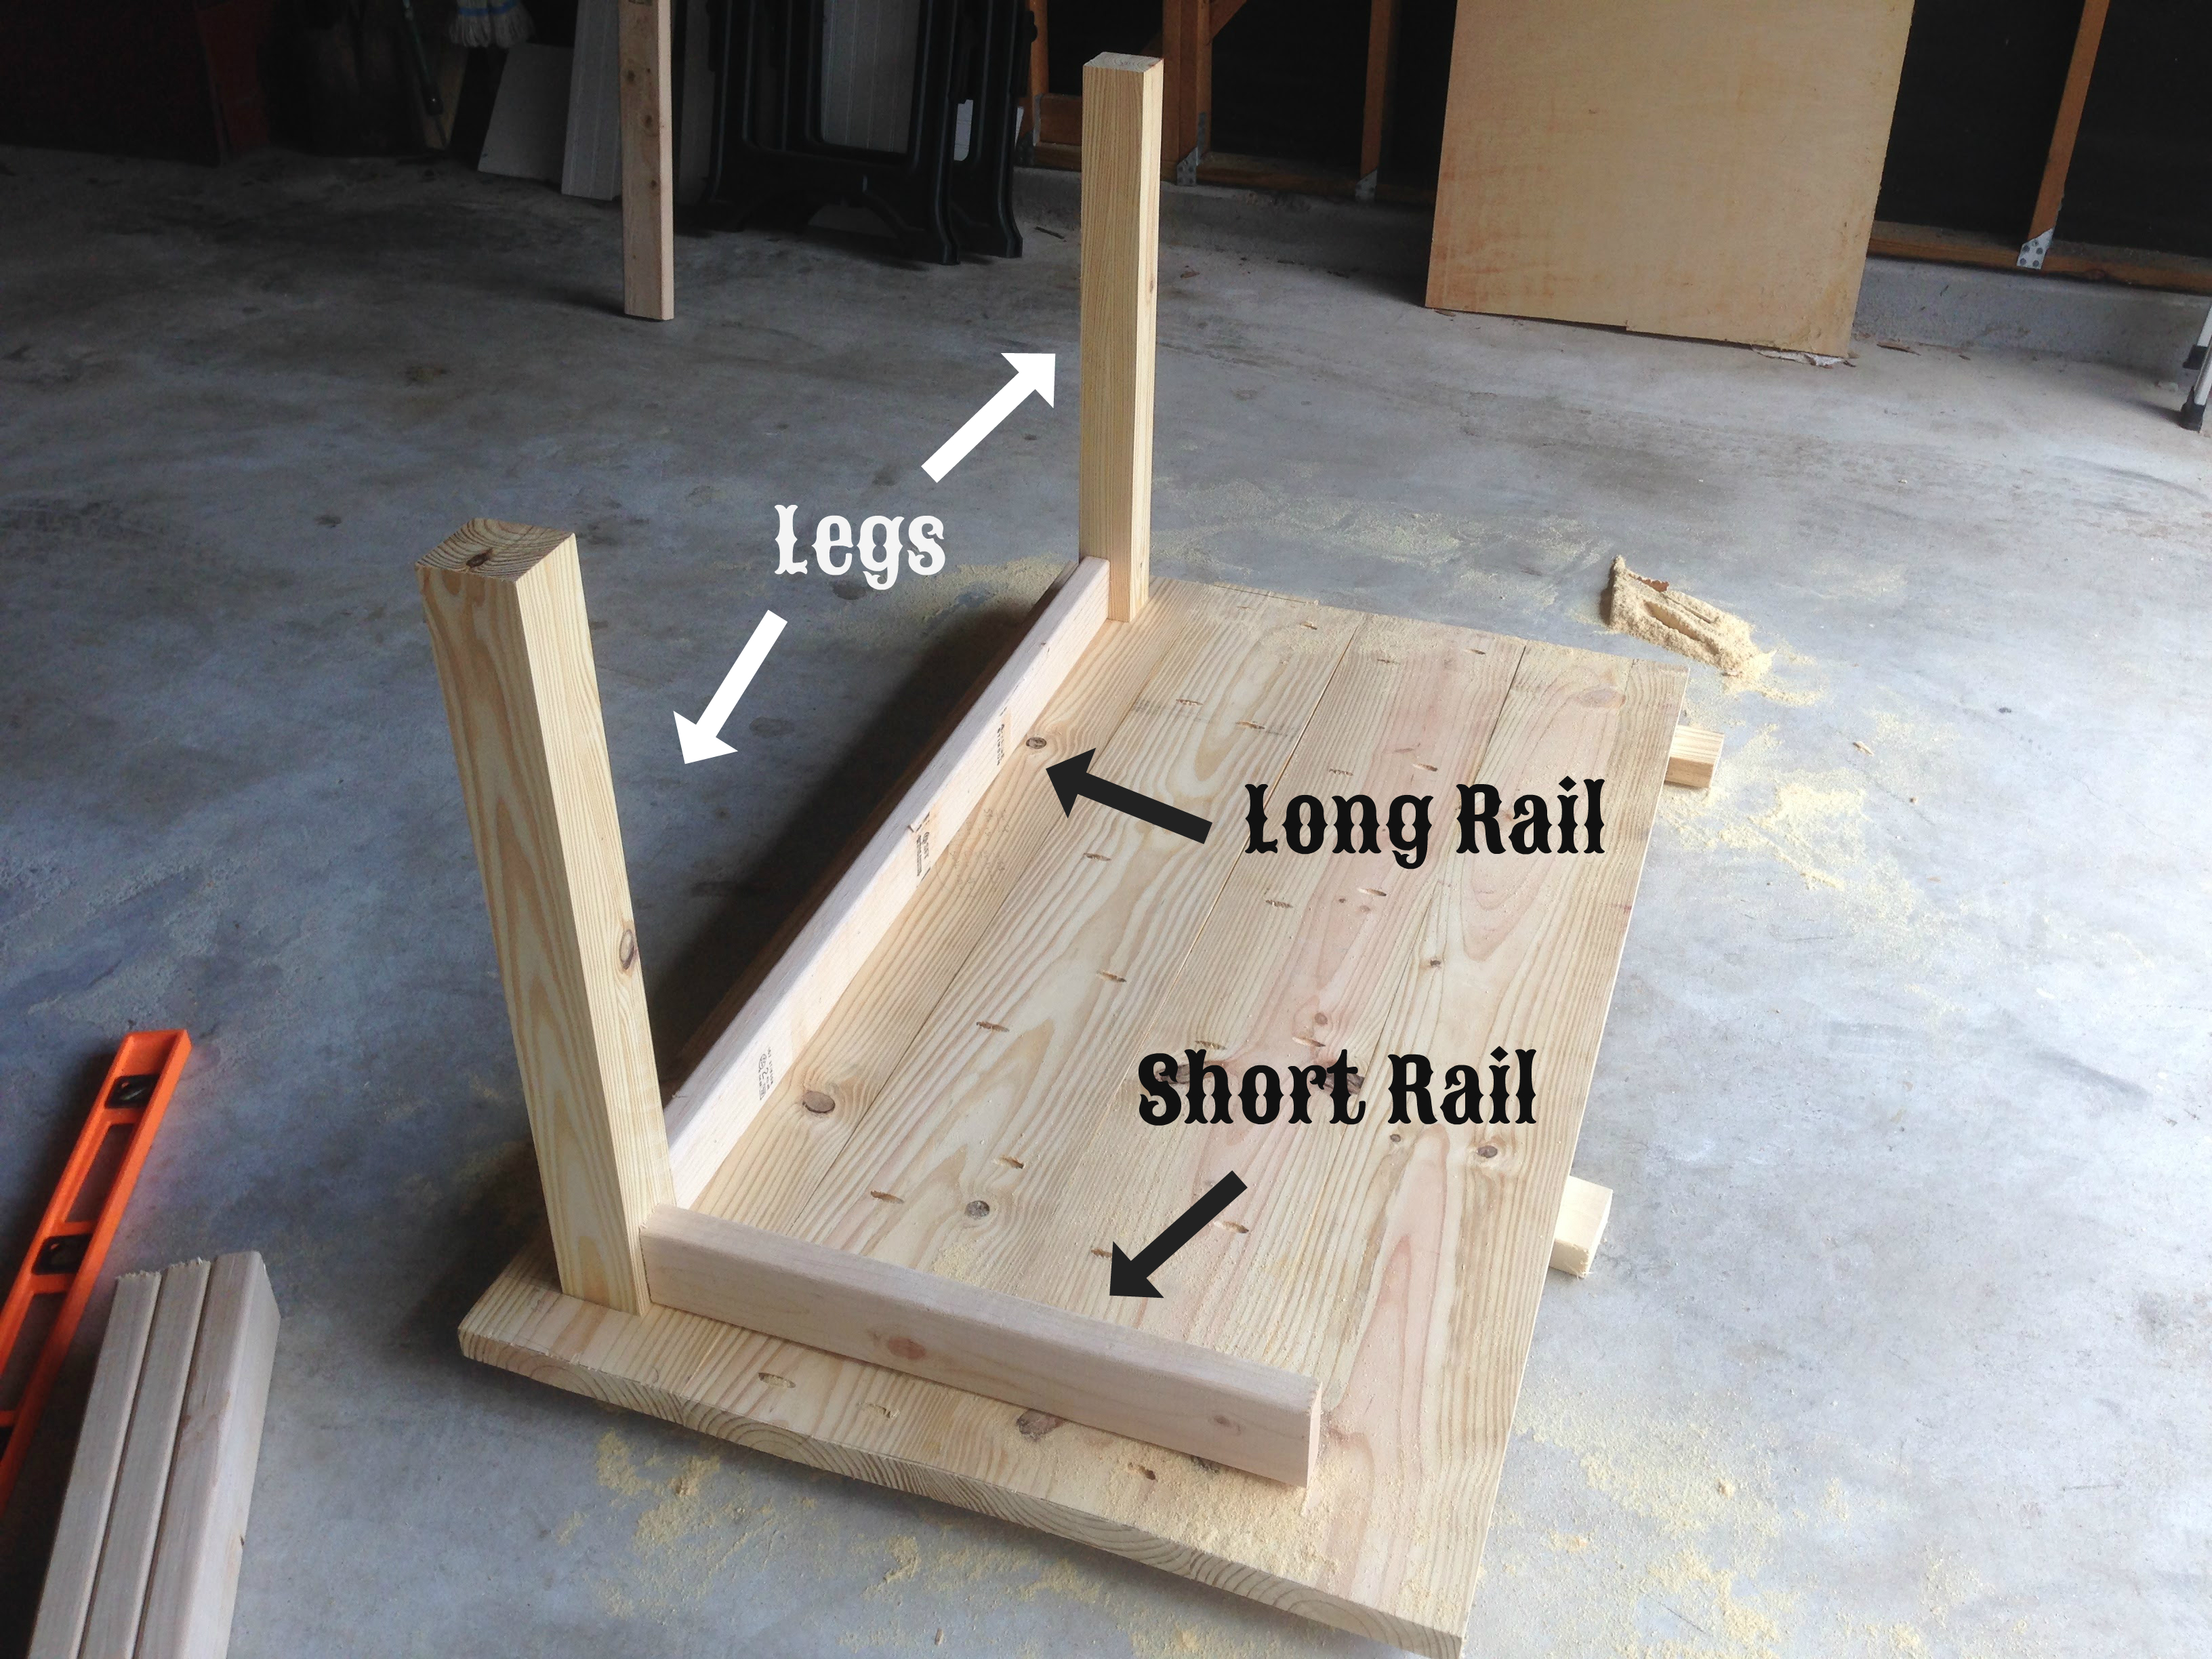
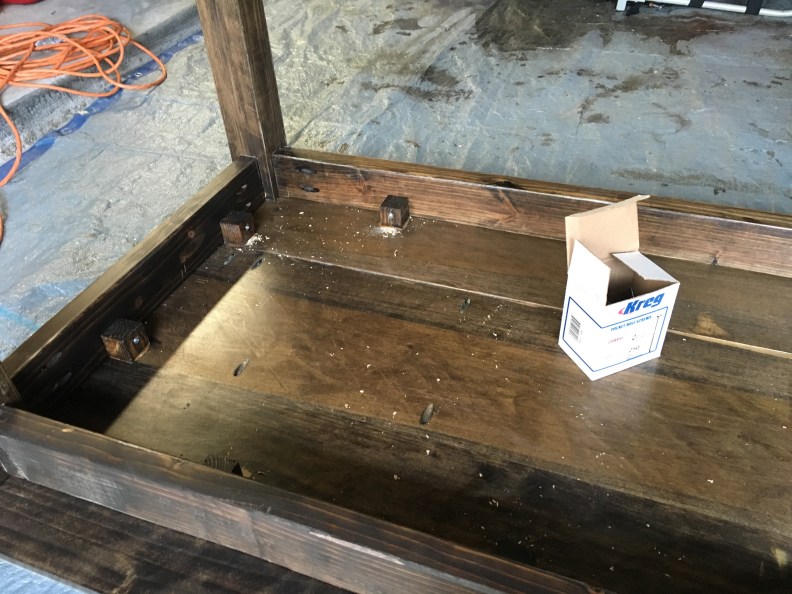
Using glue and pocket hole joinery, I put the puzzle together. Here’s the base.
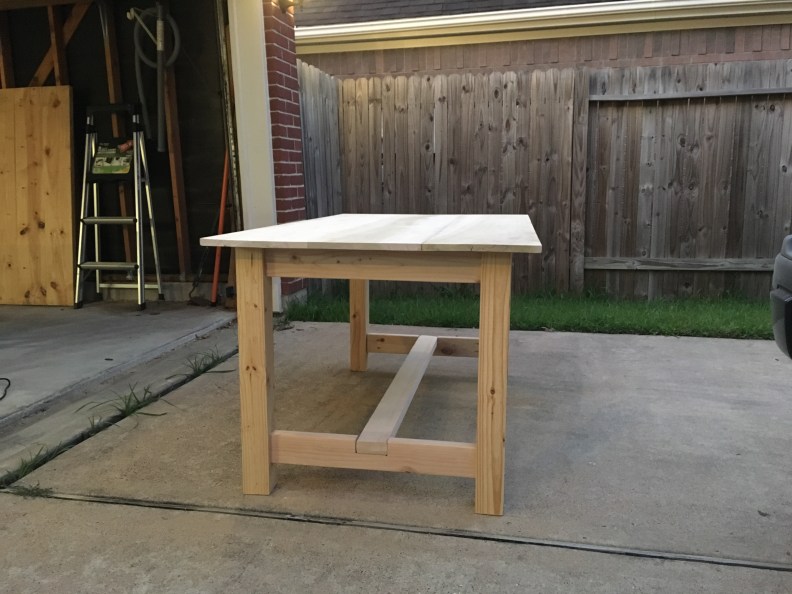
And here’s a shot with the table top placed on top.
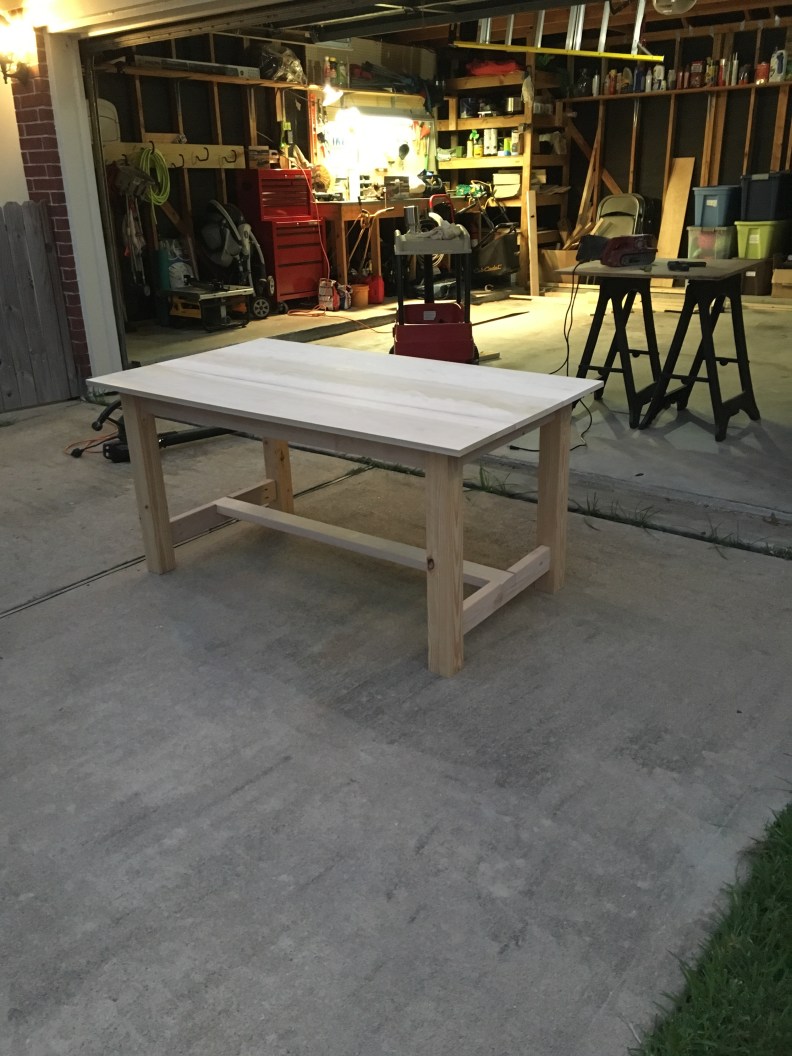
After a lot of sanding to make things smooth to the touch, it was time to add stain…
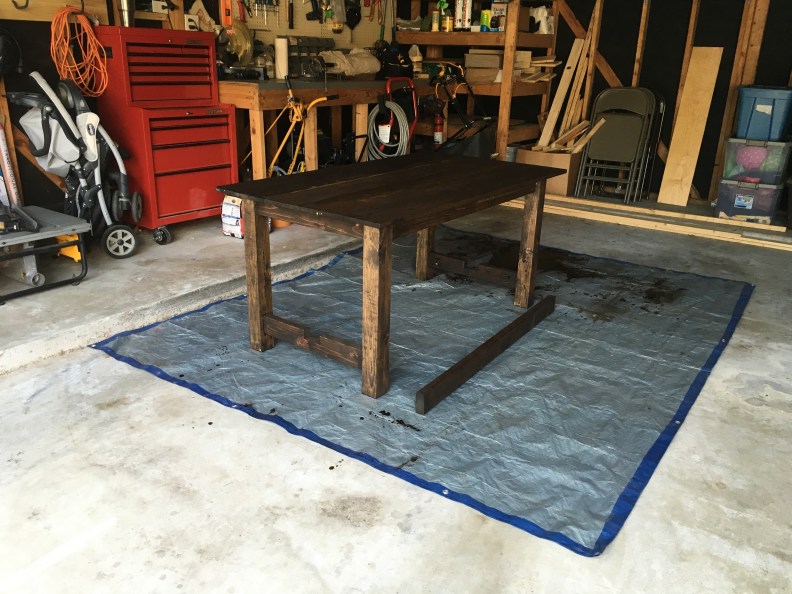
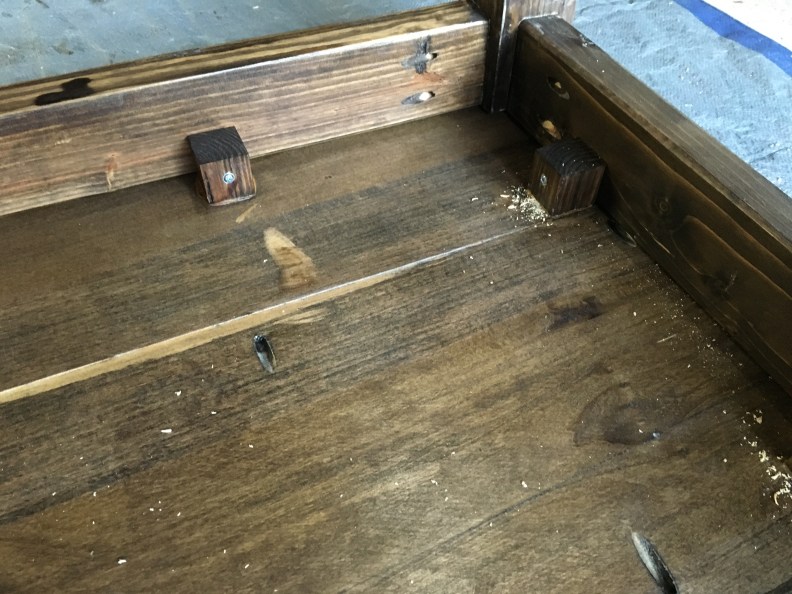
…and a polyurethane coat to seal it all up. Between polyurethane coats, I would sand lightly to maintain a smooth finish. I installed wooden cubes to the bottom of the tabletop and then used those cubes to attached the tabletop to the bottom.
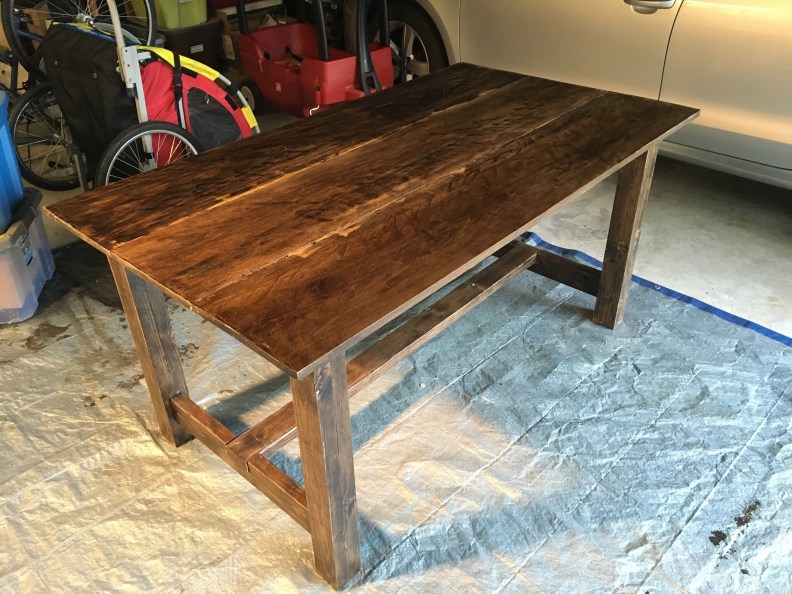
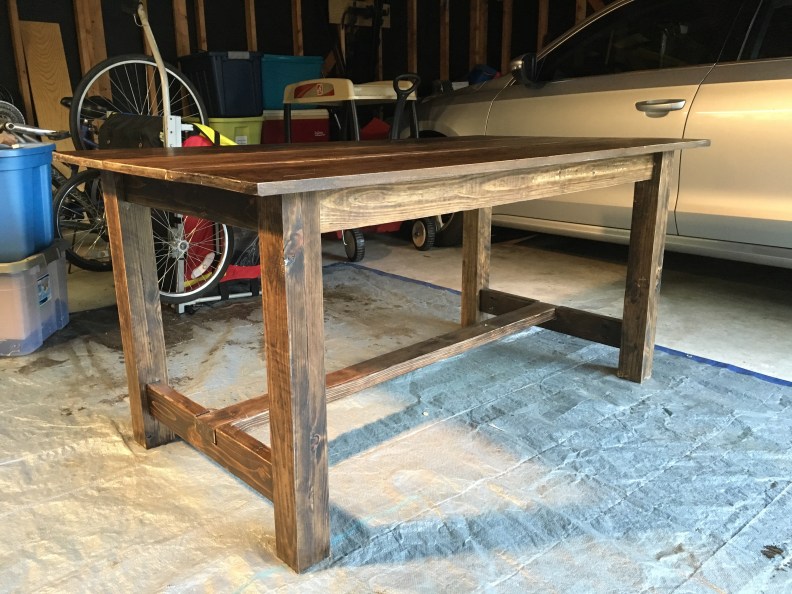
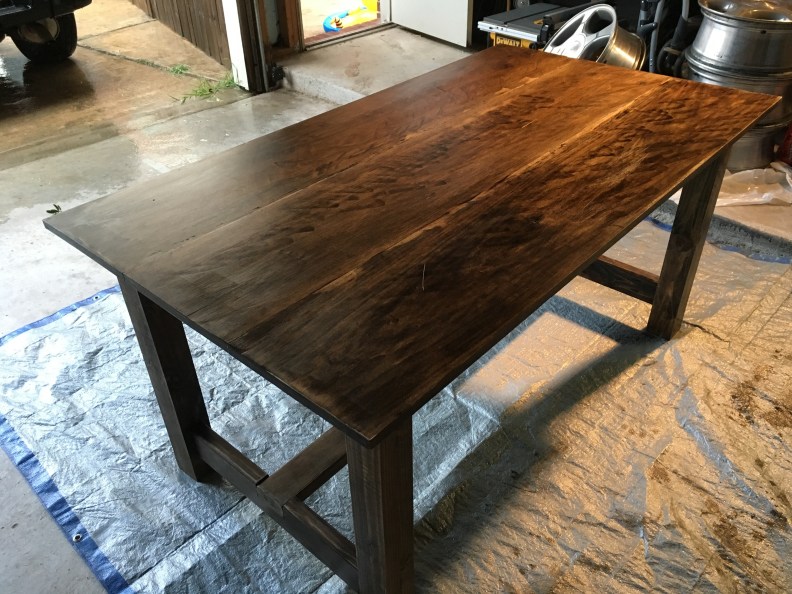
Here’s the final product after it’s last coat of poly.
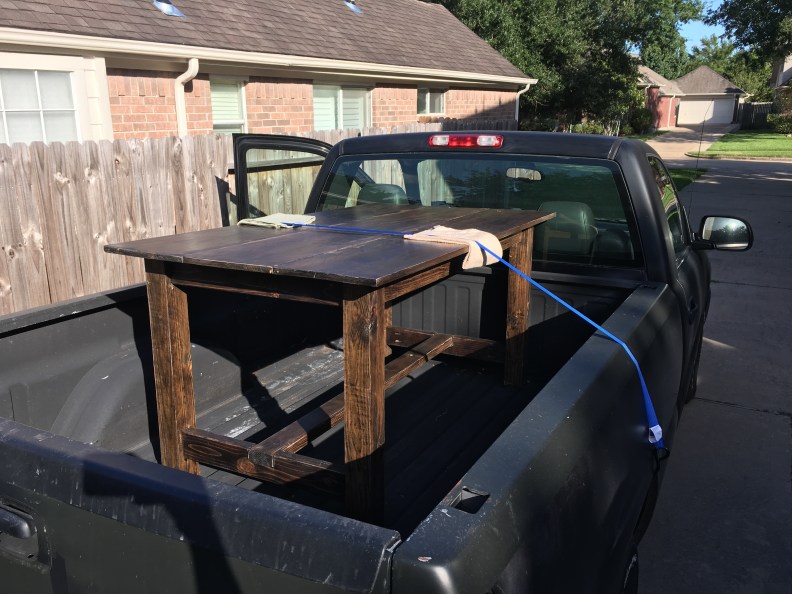
Sheena helped me load it up to the truck.
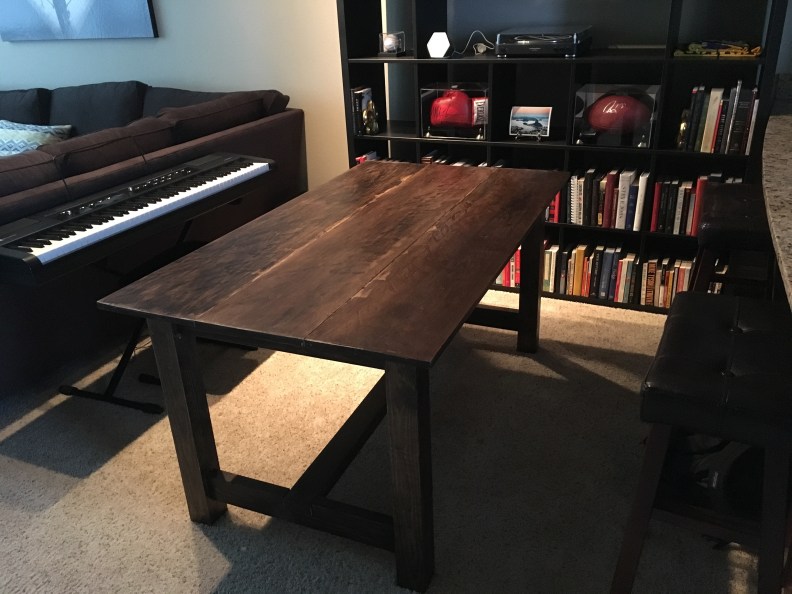
… and here it is finally at my friend’s house.
I’m so glad it’s done! Every time I’d go into the garage, I would see the table, or parts of the table (over the span of 17 months) and it would be a reminder of how I DIDN’T finish the project yet. It’s extremely embarrassing, so with that, I’m happy that it’s done! I hope my friend enjoys his new dinning table!
